(*) Caution : DO NOT OVERTIGHTEN.
In any correpondence regarding this product, please include the complete Butler Identification
number located on the underside of the product.
Copyright ©Butler Specialy Company, 02/18
page 02 of 02
F
E
Step # 1
Attach stretcher (C) to legs (B), insert bolt (D), spring washer (E), flat washer (F) to the counter
bored holes and tighten using allen key (J).
Step # 2
Press the left side plastic down and press the right side plastic up then pull out the drawer.
Step # 3
Attach leg assembly to top (A), insert bolt (G), spring washer (H), flat washer (I) to the bored
holes and tighten using allen key (J).
Step # 4
Press the left side plastic down and press the right side plastic up then pull the drawer in.
We hope this product will be a useful and decorative addition to your home for years to come.
Congratulation
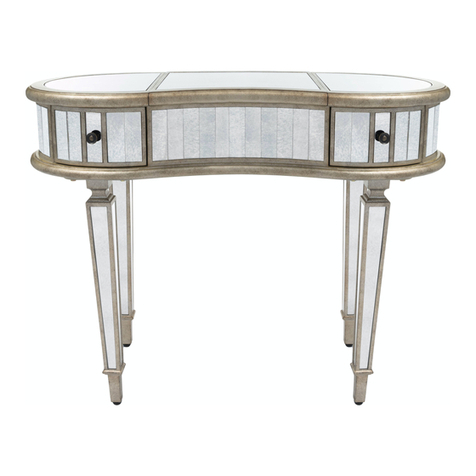
Assembly complete, you Console Table is ready to use.


