manuals.online logo
Brands
  1. Home
  2. •
  3. Brands
  4. •
  5. Buzzard Models
  6. •
  7. Toy
  8. •
  9. Buzzard Models Mark 8 User manual

Buzzard Models Mark 8 User manual

MARK 8
A pint sized F3P style fully aerobatic 3D aircraft. Small enough to fly in the smallest of backyards, and even your living room! This
rehashing of an old design from the “new depron”, giving it the weight advantage of the “old depron” with much greater durability
and damage resistance. Our advanced engineering gives you a high performing airframe with very easy assembly.
Wing span : 16"
Length : 16.5”
Battery: 1S 130-1600mah
Weight RTF w/battery: 30 - 35 grams
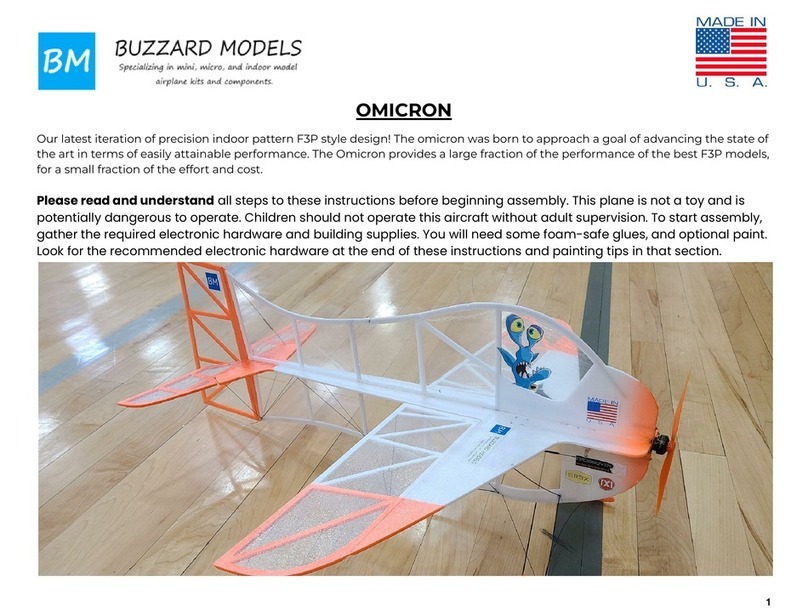
Please read and understand all steps to these instructions before beginning assembly. This plane is not a toy and is
potentially dangerous to operate. Children should not operate this aircraft without adult supervision. To start assembly,
gather the required electronic hardware and building supplies. You will need some foam-safe glues, and optional paint.
Look for the recommended electronic hardware at the end of these instructions and painting tips in that section.
1
Supplies and tools - We recommend Foam-Cure from Bob Smith Industries for gluing most of the foam joints, and will work just
fine to glue everything with. It remains flexible when cured which helps the durability of the completed airframe. There are certainly
other brands of foam glue such as Foam-tac, or UHU por. Regular super glue will attack the depron foam, use only “foam safe” CA
glues. We like to use the BSI Super Gold Plus which is a medium viscosity foam safe CA glue. It also works well on foam to foam and
foam to carbon joints and can be accelerated. To install the covering you will need to buy a small can of 3M super 77 spray
adhesive, don’t try other brands, I have not found anything else that is suitable.
2
Kit contents-
3
Hinge beveling - Start by beveling all of the hinges. Use a sharp edge of a table or board to support the foam while doing this. Fold
the hinges open, and place over the corner of the table with the hinge side down. Using 120grit paper, bevel the corners of the foam
just enough to allow the hinges to flex closed at least 45 degrees. Be careful that you do not sand though the hinge.
4
Picture of hinge flexed closed to 45 degrees - Flex the control surfaces up and down and verify free movement. Sand more if
necessary to allow easy and free movement. Do the rudder, elevator, and aileron hinges the same way.
5
Empennage assembly - With the elevator and rudder hinges beveled and freely flexing, dry fit the carbon fiber reinforcements in
place, and then liberally apply a foam safe CA glue with an extender tip. Dabb the excess glue off with a paper towel before it dries.
Do the same with the rudder and elevator control horns. Working on wax paper prevents the parts from sticking to the table.
6
Painting- You can optionally paint now, or after the covering is in place. It is easier to do it now. Basic craft acrylic paint works well if
thinned and brushed on conservatively. Makeup brushes work for bigger areas. Alternatively, airbrushing is the best way to paint,
alcohol or india inks are ideal, the same basic acrylic paint thinned one-to-one with windshield washer fluid works great through
an airbrush. Paint can add a lot of weight, so be careful. Good markers also work well. Make sure to test any paint for compatibility.
7
Assembly - Working on some wax paper, glue the wing to the mid-fuselage and the horizontal stabilizer. Add the 1.2mm carbon
mainspar first, the 0.8mm fuselage reinforcements go over the top. Add the 0.8mm aileron reinforcements and aileron horns.
Again, dry fit the parts and then add medium foam safe CA. Make sure everything is flat as it dries. CA accelerant can be used.
8
Covering - Now is the time to cover the parts. Layout the mylar covering on a flat work surface and starting in one corner and
working your way around, tape the edges down pulling it just taught enough to remove any wrinkles. Layout where your parts will fit
before applying glue. One part at a time, remove each aircraft part from the covering film, and very lightly mist one side with 3M 77
spray adhesive. Stick the part back down on the covering where it came from. Repeat that process until all of the parts are glued
down. I highly recommend finding a large cardboard box to place each part in while spraying the 3M 77 adhesive.
9
Trim the covering - With the parts still upside down, trim around their perimeters with a new sharp hobby knife blade over a
cutting mat.
10
Painting - Here is an example of a similar plane that was painted after covering.
11
Glue it all together - Glue lower fuselage in place.
12
Receiver and servo install - Carefully glue the 3mm foam receiver doublers in place if using the PRO-BRICK MXL-RX62E. Trim the
attachment ears off of the 1.7g BM5320S aileron servo and install it in the direction shown, securing it with glue. The MXL-RX62E can
be installed, secure it with small dabs of foam glue in the corners, wait to stuff the power wire up through the fuselage until later.
13
Pushrod assembly - Overlap the two 1” long zee-bends onto the 11” 0.5mm carbon pushrods as shown, shrink the tubing.
14
Elevator pushrod install - Slide two of the composite pushrod supports over the pushrod, insert the end with the 1” zee-bend into
the smallest hole of the linear servo, be careful the servos are fragile. Install a 5/8" zee-bend into the inner-most hole in the
elevator horn. Slip a piece of heat shrink over the pushrod and then the zee-bend, but do not shrink yet. Push the pushrod supports
into the pre-cut slots and trim them to make the pushrod travel straight, glue them in place. The next step is very important, power
up the receiver and bind it to your transmitter following the MXL-RX62E instructions, set your transmitter trims to zero. Now with
everything flat on your work surface and the servo centered, shrink the connection to the elevator horn. A soldering iron or even a
butter knife tip heated with a lighter works good for shrinking the heat shrink close to the fuselage. Later, once assembly is
complete, and we are happy that the control surfaces are centered with the radio on, we will lock these in place with thin CA.
15
Assemble aileron servo arm - Locate the composite aileron servo arm and the nylon straight servo arm from the BM5320S 1.7g
servo hardware. Sand both mating surfaces flat with 120 grit sandpaper and clean with alcohol. There are two holes in the
composite arm that correspond with holes in the nylon arm, pin with two of the 7/8" 0.8mm carbon pins from the hardware kit
through a piece of wax paper into a block of foam or otherwise pinnable substrate. Glue with a plastic compatible glue. When
cured, trim and sand the pins flush. Install the arm onto the servo, verify the aileron is centered by powering up the radio again.
16
Aileron pushrod install - With everything still flat on the table, install the 2-1/8" pushrods by lapping them over two of the 5/8"
zee-bends with heat shrink. Use the outer hole on the aileron servo arm, and the middle holes on the aileron horns. Again, verify
that the aileron servo is centered, and shrink the tubing. The receiver antenna can be taped to the fuselage, I like blenderm tape.
17
Upper fuselage - Find a secure way to support the fuselage, these two foam blocks work great. Glue the upper fuselage in place.
18
Vertical Stabilizer- The vertical stabilizer can be glued in place, pins can help hold the part in alignment.
19
Rudder Pushrod - You can now install the rudder pushrod just like you did the elevator pushrod. Trim the two composite supports
so that the pushrod runs straight, then glue in place. The 1” zee-bend goes into the smallest hole of the linear servo, the 5/8"
zee-bend goes in the innermost hole of the rudder horn. Make sure the servo and rudder are centered, and shrink the connection.
20

Other Buzzard Models Toy manuals

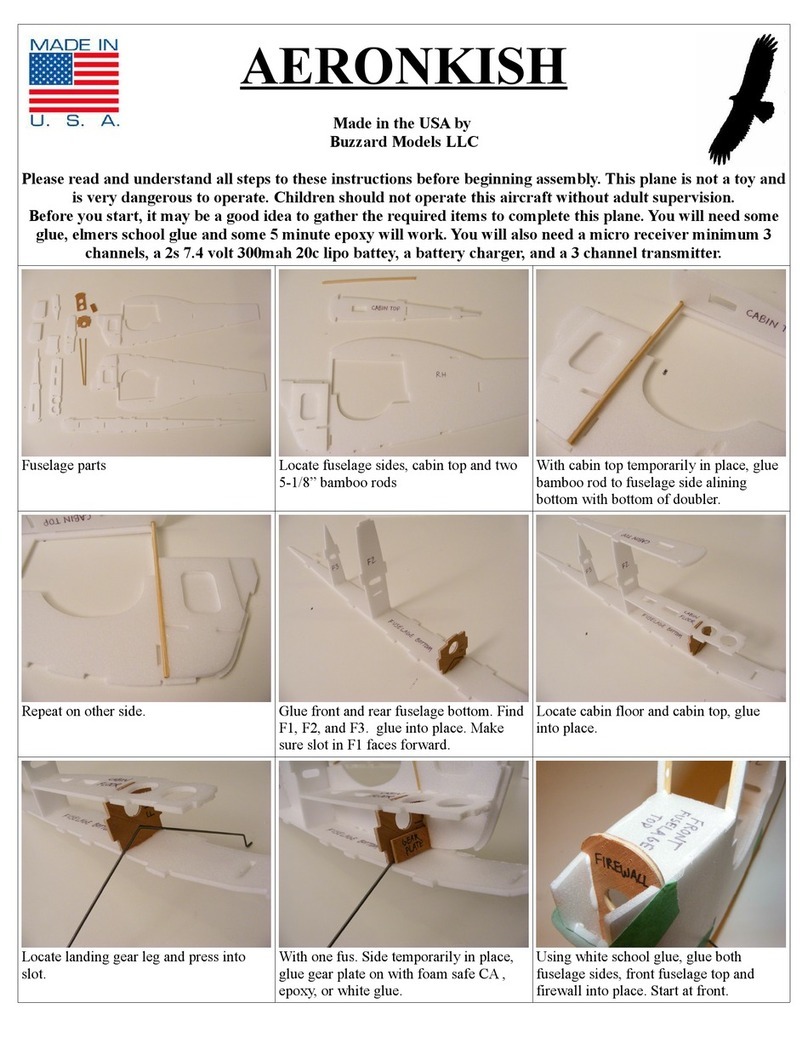
Buzzard Models AERONKISH User manual

Buzzard Models

Buzzard Models AERONKISH User manual

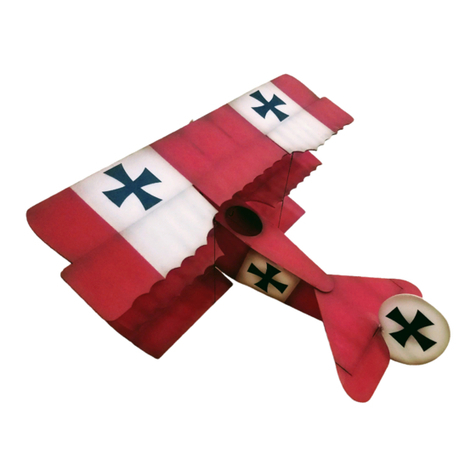
Buzzard Models FOKKERish User manual

Buzzard Models

Buzzard Models FOKKERish User manual

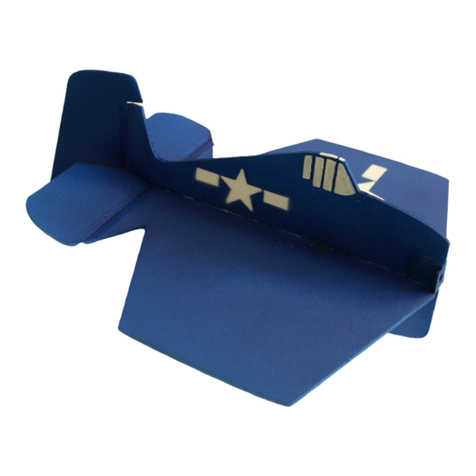
Buzzard Models MINI-HELLCAT User manual

Buzzard Models

Buzzard Models MINI-HELLCAT User manual

Buzzard Models OMICRON User manual

Buzzard Models

Buzzard Models OMICRON User manual

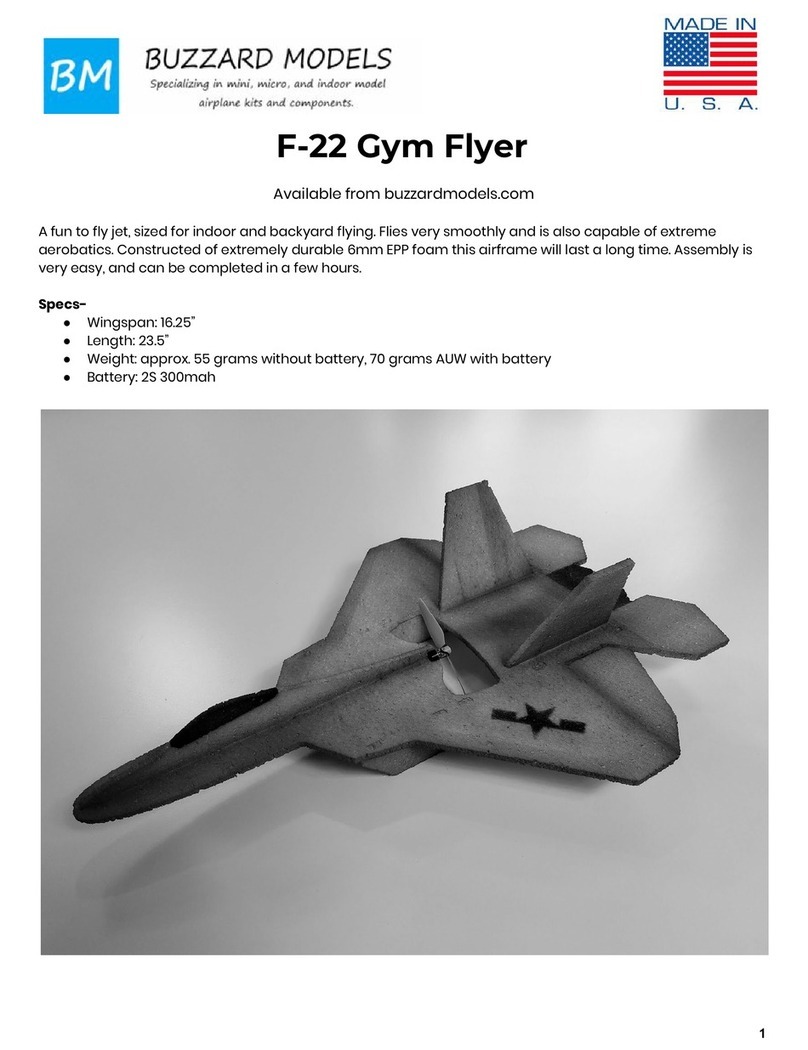
Buzzard Models F-22 Gym Flyer User manual

Buzzard Models

Buzzard Models F-22 Gym Flyer User manual

Buzzard Models OMICRON User manual

Buzzard Models

Buzzard Models OMICRON User manual

Popular Toy manuals by other brands

Horizon Hobby blade 230 s instruction manual

Horizon Hobby

Horizon Hobby blade 230 s instruction manual

M.T.H. Premier Bombardier Operator's manual

M.T.H.

M.T.H. Premier Bombardier Operator's manual

marklin 28590 user manual

marklin

marklin 28590 user manual

Power Wheels DGL23 owner's manual

Power Wheels

Power Wheels DGL23 owner's manual

LEGO Technic 8248 Building instructions

LEGO

LEGO Technic 8248 Building instructions

GREAT PLANES Super Sportster 20 Instruction book

GREAT PLANES

GREAT PLANES Super Sportster 20 Instruction book

Hasbro Spiderman 3 Bump and Go Spiderman 4 Wheeler... instruction manual

Hasbro

Hasbro Spiderman 3 Bump and Go Spiderman 4 Wheeler... instruction manual

PASCO ME-6952 instruction sheet

PASCO

PASCO ME-6952 instruction sheet

REVELL KIT 8341 Assembly manual

REVELL

REVELL KIT 8341 Assembly manual

REVELL Northrop B2 Bomber Assembly instructions

REVELL

REVELL Northrop B2 Bomber Assembly instructions

Viessmann 6045 Operation manual

Viessmann

Viessmann 6045 Operation manual

LEGO CARS 9485 Building instructions

LEGO

LEGO CARS 9485 Building instructions

Famosa Feber Quad Pinypon quick start guide

Famosa

Famosa Feber Quad Pinypon quick start guide

Premier designs Wind Garden Aircraft Spinner PK-5200 Assembly instructions

Premier designs

Premier designs Wind Garden Aircraft Spinner PK-5200 Assembly instructions

Lionel Whirlpool 0-27 owner's manual

Lionel

Lionel Whirlpool 0-27 owner's manual

Model Shipways Charles W.Morgan instruction manual

Model Shipways

Model Shipways Charles W.Morgan instruction manual

GREAT PLANES Slow Poke Sport .40 instruction manual

GREAT PLANES

GREAT PLANES Slow Poke Sport .40 instruction manual

Mattel Star Wars Mandalorian instructions

Mattel

Mattel Star Wars Mandalorian instructions

manuals.online logo
manuals.online logoBrands
  • About & Mission
  • Contact us
  • Privacy Policy
  • Terms and Conditions

Copyright 2025 Manuals.Online. All Rights Reserved.