manuals.online logo
Brands
  1. Home
  2. •
  3. Brands
  4. •
  5. Buzzard Models
  6. •
  7. Toy
  8. •
  9. Buzzard Models AERONKISH User manual

Buzzard Models AERONKISH User manual

AERONKISH
Made in the USA by
Buzzard Models LLC
Please read and understand all ste s to these instructions before beginning assembly. This lane is not a toy and
is very dangerous to o erate. Children should not o erate this aircraft without adult su ervision.
Before you start, it may be a good idea to gather the required items to com lete this lane. You will need some
glue, elmers school glue and some 5 minute e oxy will work. You will also need a micro receiver minimum 3
channels, a 2s 7.4 volt 300mah 20c li o battey, a battery charger, and a 3 channel transmitter.
Fuselage parts Locate fuselage sides, cabin top and two
5-1/8” bamboo rods
With cabin top temporarily in place, glue
bamboo rod to fuselage side alining
bottom with bottom of doubler
Repeat on other side Glue front and rear fuselage bottom Find
F1, F2, and F3 glue into place Make
sure slot in F1 faces forward
Locate cabin floor and cabin top, glue
into place
Locate landing gear leg and press into
slot
With one fus Side temporarily in place,
glue gear plate on with foam safe CA ,
epoxy, or white glue
Using white school glue, glue both
fuselage sides, front fuselage top and
firewall into place Start at front
Use white glue and start from the front
and work backwards Tape or clamp both
sides simultaneously working your way
back
Using a low tack masking tape and some
clamps works well Watch that you are
keeping fuselage straight Set aside to dry
Find the two nose block pieces and fit
into place, mark and shape with
sandpaper
This is what the nose block should look
like Glue into place
Locate horizontal stabilizer and elevators,
bevel edges as shown at approx 45
degree bevel
Using horiz Stab As guide, glue 2 70”
bamboo to both elevators as shown
Using your favorite hinge tape, hinge
elevators to stab Invisible gift wrapping
tape on the top and bottom works
Bevel edges on vertical stabilizer and
rudder Make bevel on LH sides as
shown
Tape hinge both sides Make sure hinges
operate freely!
Find wing halves Find a piece of 2” pvc pipe or similar
shaped cylinder
Supporting the whole leading edge
against pipe, roll edge and pipe together
towards yourself carefully
Slowly roll the leading edge back a few
times, progressivly until you get a shape
that matches top of fuselage
Apply glue liberally to wing roots Tape roots together at leading and trailing
edge, should form a 4 75” dihedral
Now is a good time to paint your parts
Be carfull not to paint areas where you
will be gluing later
Mount motor mount to firewall with
supplied screws
Assemble motor to speed control and
install JST plug to connect to battery
Push wires and speed controller down
through top hole in firewall and install
motor onto mount
Using velcro attach speed controller to
left side of fuselage Attach receiver to
top of compartment
Install servos into holes as shown, secure
with a small amount of glue
Temporarily insert elevator and rudder
pushrods into slots and through holes in
F3 and F2 into cabin area Temporarily
place control surfaces onto fuselage
Mark elevator and rudder for the control
horns Rudder on the right, elvator on the
left Cut slots for control horns Elevator
horn has notch, glue horns into place
Insert pushrod into middle hole of control
horn, slide pushrod back into fuselage,
glue horizontal stabilizer into place
Insert pushrod wire into middle hole of
rudder control horn, slide pushrod back
into place and glue vertical stabilizer to
fuselage
Finish tail installation by applying hinge
tape to both sides of the rudder bottom
Connect servos to receiver, center trims
on transm and center control surfaces,
install pushrod ends with heat shrink
tubing and a drop of CA
Battery attaches to RH side of fuselage
with velcro
Glue wing into place, make sure it is
straight! Use epoxy
To install wheels, drill 1/8” hole in block of
wood, place push nut over hole as shown
Place wheel on axle, and push down through
push nut, may need to wiggle push nut for fit
Adjust control throws to around 20 degrees
for both elevator and rudder for new pilots
and up to 45 degrees for experienced pilots If
your transmitter has exponential, use it, I
would recommend at least 50% A good
starting point for the center of gravity is
around 2 5” behind the leading edge of the
wing It is vital that the center of gravity is
checked before any flying is attempted When
flying the aeronkish, be aware that you can
overload the wings Sustained vertical dives
can cause wing flutter, and high G maneuvers
at high speed can break the wings If you are
interested in such maneuvers, you will want to
reinforce the wing
Any 2s 7 4v 300 to 500mah 25c lipo is
recommended, you can use larger capacity
batteries but weight will suffer You can also
use a 3s battery, but be aware that this setup
exceeds the manufacturers recommended
amperage for the motor, so do not use full
throttle for extended periods of time The
included propeller is a GWS style 5X3
standard rotation, 6X3 props will also work
The aeronkish loves to be flown low and
slow! I have the most fun with mine below 5
feet! HAVE FUN
Ryan Underwood
Other Buzzard Models Toy manuals

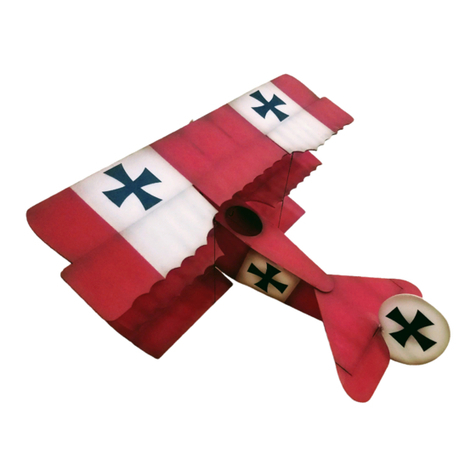
Buzzard Models FOKKERish User manual

Buzzard Models

Buzzard Models FOKKERish User manual

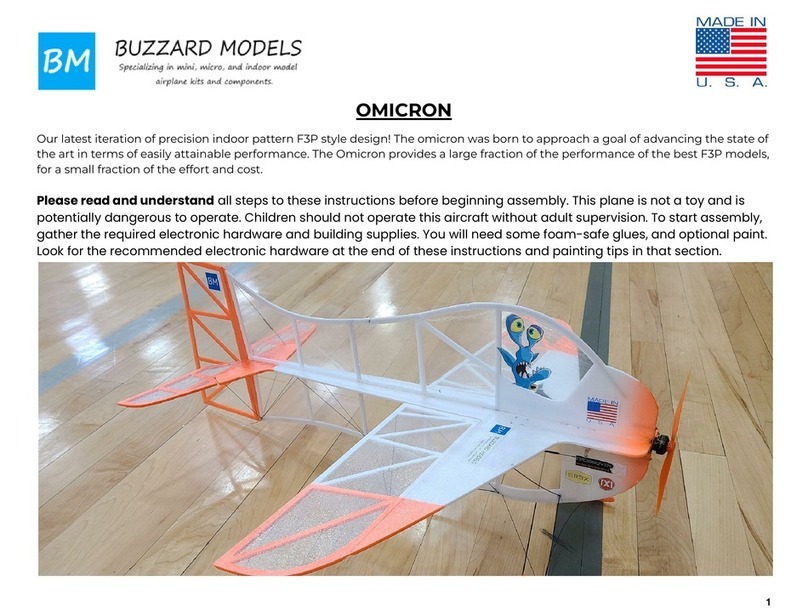
Buzzard Models OMICRON User manual

Buzzard Models

Buzzard Models OMICRON User manual

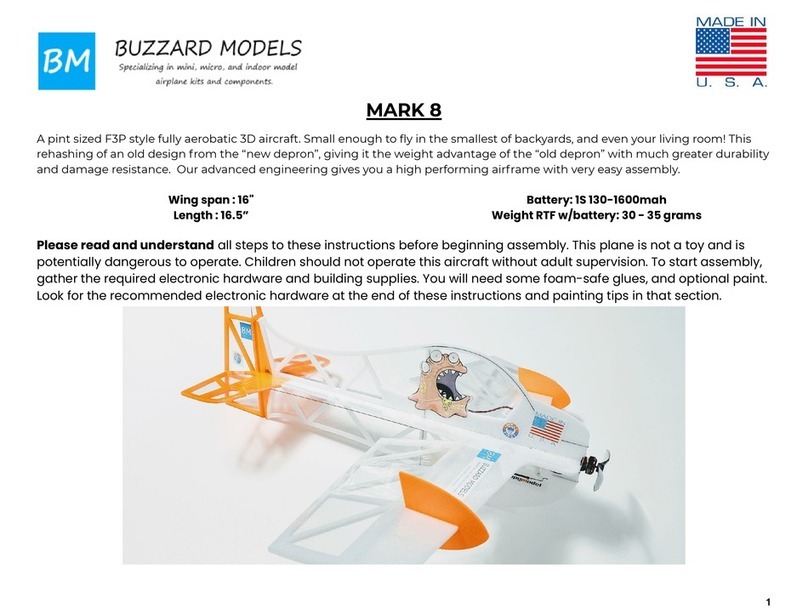
Buzzard Models Mark 8 User manual

Buzzard Models

Buzzard Models Mark 8 User manual

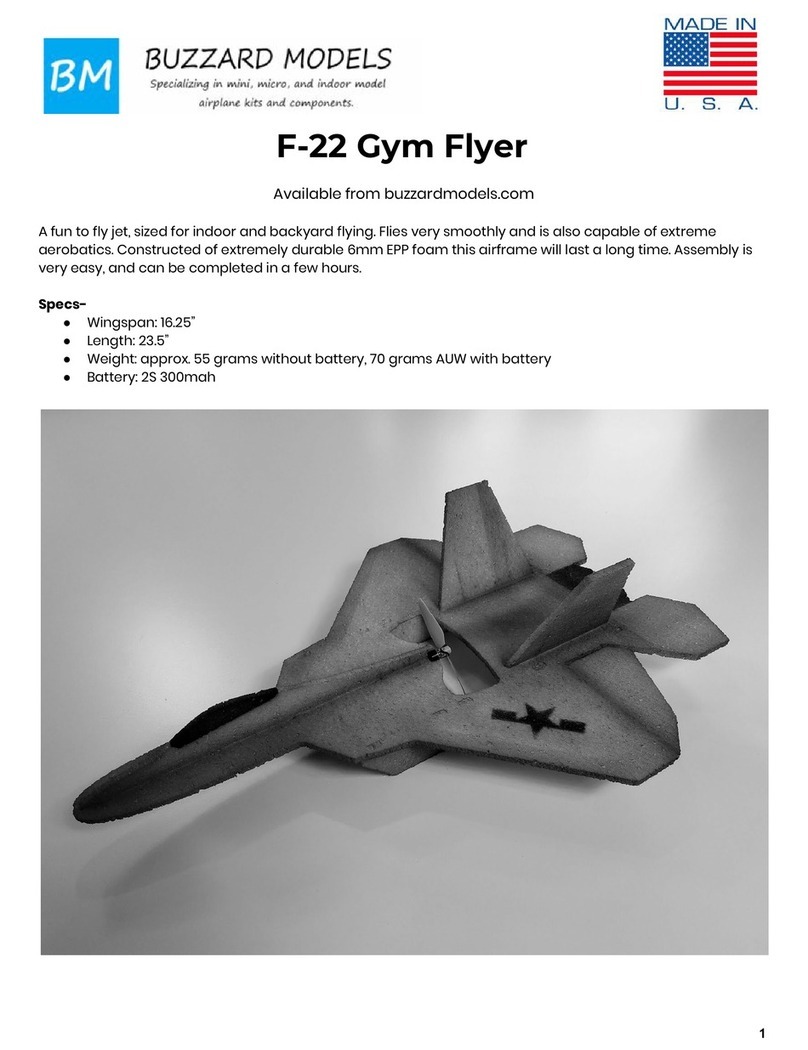
Buzzard Models F-22 Gym Flyer User manual

Buzzard Models

Buzzard Models F-22 Gym Flyer User manual

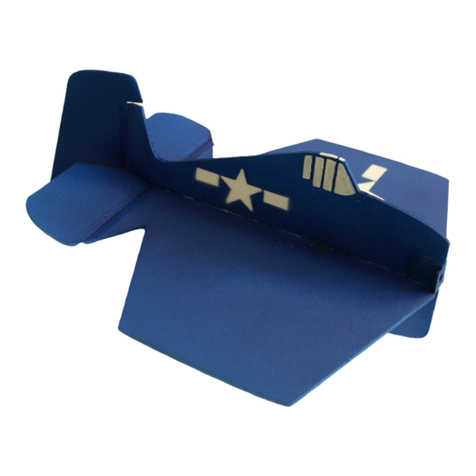
Buzzard Models MINI-HELLCAT User manual

Buzzard Models

Buzzard Models MINI-HELLCAT User manual

Buzzard Models OMICRON User manual

Buzzard Models

Buzzard Models OMICRON User manual

Popular Toy manuals by other brands

Airigami Papier Avion NEW YORK AIR BOEING 737-300 manual

Airigami

Airigami Papier Avion NEW YORK AIR BOEING 737-300 manual

Venom Air Corps Night Ranger 3dxl Pilot's handbook

Venom Air Corps

Venom Air Corps Night Ranger 3dxl Pilot's handbook

The Wings Maker SZD-45 OGAR instruction manual

The Wings Maker

The Wings Maker SZD-45 OGAR instruction manual

Lionel Flatcar owner's manual

Lionel

Lionel Flatcar owner's manual

Rokka Play Cornish Fishing Boat Instruction booklet

Rokka Play

Rokka Play Cornish Fishing Boat Instruction booklet

Fisher-Price W9832 instructions

Fisher-Price

Fisher-Price W9832 instructions

Sam Labs Sam's curious Cars Getting started

Sam Labs

Sam Labs Sam's curious Cars Getting started

Xtrem Bots SPACE ADVENTURE instruction manual

Xtrem Bots

Xtrem Bots SPACE ADVENTURE instruction manual

Fisher-Price Lil' Ford F-150 P5064 Owner's manual & assembly instructions

Fisher-Price

Fisher-Price Lil' Ford F-150 P5064 Owner's manual & assembly instructions

Fisher-Price L5066 instruction sheet

Fisher-Price

Fisher-Price L5066 instruction sheet

marklin 39982 user manual

marklin

marklin 39982 user manual

Playskool Romper Stompers Beast Feet 34889 instruction manual

Playskool

Playskool Romper Stompers Beast Feet 34889 instruction manual

Tekno Playful Pup owner's manual

Tekno

Tekno Playful Pup owner's manual

Reely Rex-X Promo II RTR operating instructions

Reely

Reely Rex-X Promo II RTR operating instructions

marklin 43857 user manual

marklin

marklin 43857 user manual

Fisher-Price Learning Piggy Bank J2462 quick start guide

Fisher-Price

Fisher-Price Learning Piggy Bank J2462 quick start guide

Canon CREATIVE PARK Five-storied pagoda of Horvuji Temple,... Assembly instructions

Canon

Canon CREATIVE PARK Five-storied pagoda of Horvuji Temple,... Assembly instructions

Eduard 48 528 instruction sheet

Eduard

Eduard 48 528 instruction sheet

manuals.online logo
manuals.online logoBrands
  • About & Mission
  • Contact us
  • Privacy Policy
  • Terms and Conditions

Copyright 2025 Manuals.Online. All Rights Reserved.