manuals.online logo
Brands
  1. Home
  2. •
  3. Brands
  4. •
  5. Buzzard Models
  6. •
  7. Toy
  8. •
  9. Buzzard Models OMICRON User manual

Buzzard Models OMICRON User manual

OMICRON
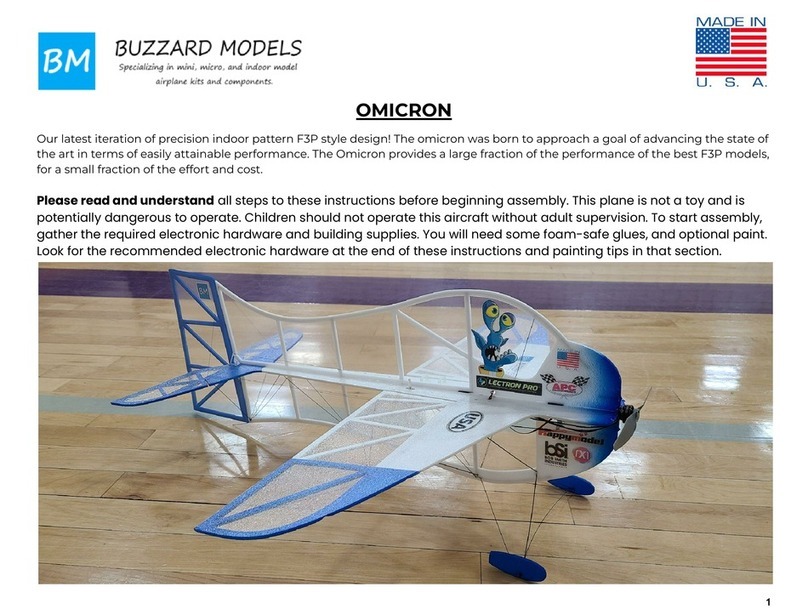
Our latest iteration of precision indoor pattern F3P style design! The omicron was born to approach a goal of advancing the state of
the art in terms of easily attainable performance. The Omicron provides a large fraction of the performance of the best F3P models,
for a small fraction of the effort and cost.
Please read and understand all steps to these instructions before beginning assembly. This plane is not a toy and is
potentially dangerous to operate. Children should not operate this aircraft without adult supervision. To start assembly,
gather the required electronic hardware and building supplies. You will need some foam-safe glues, and optional paint.
Look for the recommended electronic hardware at the end of these instructions and painting tips in that section.
1
Supplies and tools - We like to use the BSI Super Gold Plus to basically glue everything with. It is a medium viscosity foam safe CA
(cyanoacrylate) glue which works well on foam to foam and foam to carbon joints. On these types of materials it really needs to be
accelerated with the BSI Insta-set, or curing can take some time. To install the covering you will need to buy a small can of 3M
super 77 spray adhesive, don’t try other brands, I have not found anything else that is suitable. Other than basic tools, you will want
a good pair of tweezers, and a hobby knife with brand new blades.
2
Kit contents-
3
Trim Parts - With a sharp hobby knife, remove the extra foam and tabs from all of the parts. Smooth any tabs that are visible when
done.
4
Hinge beveling - Start by beveling the bottom edges of all of the hinges. Use a sharp edge of a table or board to support the foam
while doing this. Fold the hinges open, and place over the corner of the table with the hinge side down. Using 120grit paper, bevel
the corners of the foam just enough to allow the hinges to flex closed at least 45 degrees. Be careful that you do not sand though
the hinge.
5
Picture of hinge flexed closed to 45 degrees - Flex the control surfaces up and down and verify free movement. Sand more if
necessary to allow easy and free movement. Do the rudder, elevator, and aileron hinges the same way.
6
Empennage assembly - With the elevator and rudder hinges beveled and freely flexing, dry fit the carbon fiber reinforcements in
it’s slots,, and liberally apply a foam safe CA glue with an extender tip. Foam Cure or white craft glue may also be used. Dabb the
excess glue off with a paper towel before it dries. Working on wax paper prevents the parts from sticking to the table.
7
Painting- You can optionally paint now, or after the covering is in place. It is easier to do it now. Basic craft acrylic paint works well if
thinned and brushed on conservatively. Makeup brushes work for bigger areas. Alternatively, airbrushing is the best way to paint,
alcohol or india inks are ideal, the same basic acrylic paint thinned one-to-one with windshield washer fluid works great through
an airbrush. Paint can add a lot of weight, so be careful. Good markers also work well. Make sure to test any paint for compatibility.
8
Assembly - Working on wax paper, glue the right and left wing halves together. Add the 1.2mm carbon mainspar, and the 0.8mm
aileron trailing edge and horn reinforcement. The curved forward aileron reinforcements are 0.5mm carbon. Dry fit the parts and
then glue. Make sure everything is flat as it dries. CA accelerant can be used. Do not apply glue where the aileron horns will go yet.
9
Aileron Horn Installation - Dry fit the aileron horns before gluing with CA
10
Wrinkle your mylar - This film is normally "wrinkled", unpackage your film, form into a ball with your fingers, repeatedly
compressing and releasing many times until a uniform "wrinkle" pattern is formed in the film. This provides a uniform surface finish
free of small wrinkles or other defects, helps prevent the film from resonating with airframe vibrations, and provides additional
visibility by reducing the transparency of this very clear film.
11
Covering - Layout the mylar covering on a flat work surface, tape the edges down pulling it just taught enough to remove any
wrinkles. Layout where your parts will fit before applying glue, make sure the hinge sides are down. One part at a time, remove each
from the covering film, and very lightly mist one side with 3M 77 spray adhesive. Stick the part back down on the covering where it
came from. Repeat that process until all of the parts are glued down. I highly recommend finding a large cardboard box to place
each part in while spraying the 3M 77 adhesive, and I can’t emphasize enough to very lightly mist with the glue.
12
Trim the covering - With the parts still upside down, trim around their perimeters with a new sharp hobby knife blade over a
cutting mat.
13
Painting - Here is an example of a similar plane that was painted after covering.
14
Assembly - Glue the middle fuselage in place. Install the two 0.8mm carbon longerons, they just float over the main wing spar.
15
Lower fuselage install - dry fit, and then glue with your glue of choice.
16
Bracing - Install the angled 0.8mm fuselage bracing, and 1.0mm main spar brace.
17
Aileron Bracing - Install 0.5mm aileron bracing. Tie ends together and put a drop of CA on it, trim ends.
18
Main gear legs -Glue 12.5” main gear legs into place, install 0.8mm spreader with two pieces of .045” x .5” heatshrink.
19
Rear gear braces - Install rear gear braces and wheel pants.
20

Other manuals for OMICRON

1

Other Buzzard Models Toy manuals

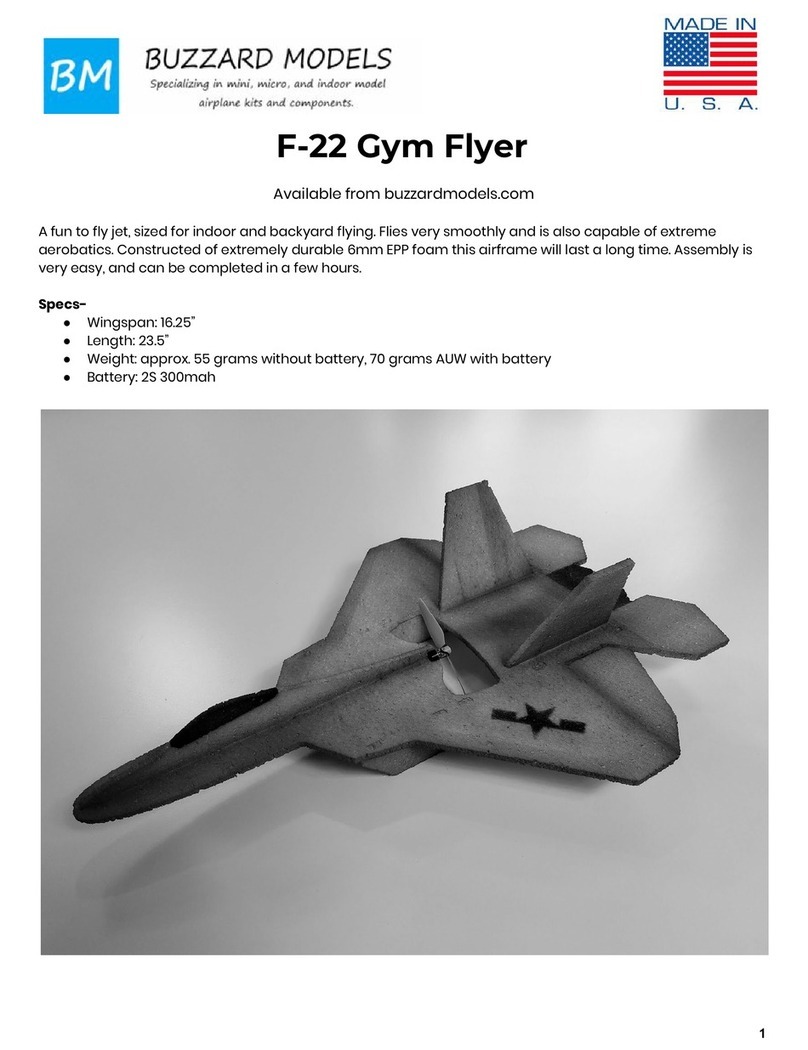
Buzzard Models F-22 Gym Flyer User manual

Buzzard Models

Buzzard Models F-22 Gym Flyer User manual

Buzzard Models OMICRON User manual

Buzzard Models

Buzzard Models OMICRON User manual

Buzzard Models MINI-HELLCAT User manual

Buzzard Models

Buzzard Models MINI-HELLCAT User manual

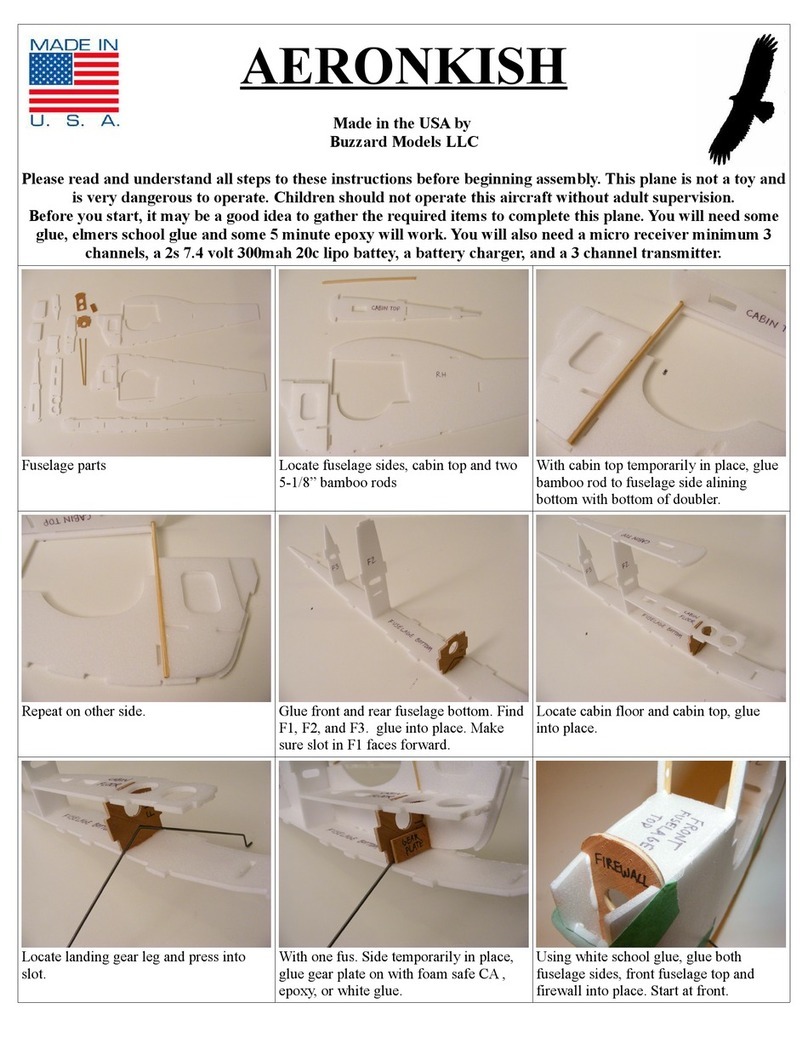
Buzzard Models AERONKISH User manual

Buzzard Models

Buzzard Models AERONKISH User manual

Buzzard Models Mark 8 User manual

Buzzard Models

Buzzard Models Mark 8 User manual

Buzzard Models FOKKERish User manual

Buzzard Models

Buzzard Models FOKKERish User manual

Popular Toy manuals by other brands

Mega Construx SABAN'S POWER RANGERS DPK77 manual

Mega Construx

Mega Construx SABAN'S POWER RANGERS DPK77 manual

Fisher-Price 77473 instructions

Fisher-Price

Fisher-Price 77473 instructions

Lionel American Flyer owner's manual

Lionel

Lionel American Flyer owner's manual

Compass Knight 3D instruction manual

Compass

Compass Knight 3D instruction manual

Zapf Creation Baby born Bathtub Surprise quick start guide

Zapf Creation

Zapf Creation Baby born Bathtub Surprise quick start guide

Rapido Trains british rail APT-E user manual

Rapido Trains

Rapido Trains british rail APT-E user manual

REVELL F430 Spider instructions

REVELL

REVELL F430 Spider instructions

Tekno NT-48.3 Building instructions

Tekno

Tekno NT-48.3 Building instructions

Kyosho Spitfire 50 GP/EP instruction manual

Kyosho

Kyosho Spitfire 50 GP/EP instruction manual

GREAT PLANES Matt Chapman Cap 580 instruction manual

GREAT PLANES

GREAT PLANES Matt Chapman Cap 580 instruction manual

Fisher-Price T6340 user manual

Fisher-Price

Fisher-Price T6340 user manual

Hasbro G.I. Joe Triple Battle Blade instructions

Hasbro

Hasbro G.I. Joe Triple Battle Blade instructions

Mega Bloks Collector Series instructions

Mega Bloks

Mega Bloks Collector Series instructions

Eduard Zoom Ju 87A interior S.A. quick start guide

Eduard

Eduard Zoom Ju 87A interior S.A. quick start guide

LEGO Harry Potter 4709 Building instructions

LEGO

LEGO Harry Potter 4709 Building instructions

Horizon Hobby ParkZone F-27Q Stryker 180 BNF user guide

Horizon Hobby

Horizon Hobby ParkZone F-27Q Stryker 180 BNF user guide

Mega Construx POKEMON WONDER BUILDERS GCN12 manual

Mega Construx

Mega Construx POKEMON WONDER BUILDERS GCN12 manual

Modellbau Lindinger Decathlon 30cc Assembly manual

Modellbau Lindinger

Modellbau Lindinger Decathlon 30cc Assembly manual

manuals.online logo
manuals.online logoBrands
  • About & Mission
  • Contact us
  • Privacy Policy
  • Terms and Conditions

Copyright 2025 Manuals.Online. All Rights Reserved.