CABAC HNS442FF User manual
A: 8 Distribution Pl, Seven Hills NSW 2147
1
CP14316 Rev 1, 23nd SEPT, 2015
HNS442FF FOLLOW-ON FAN KIT MANUAL
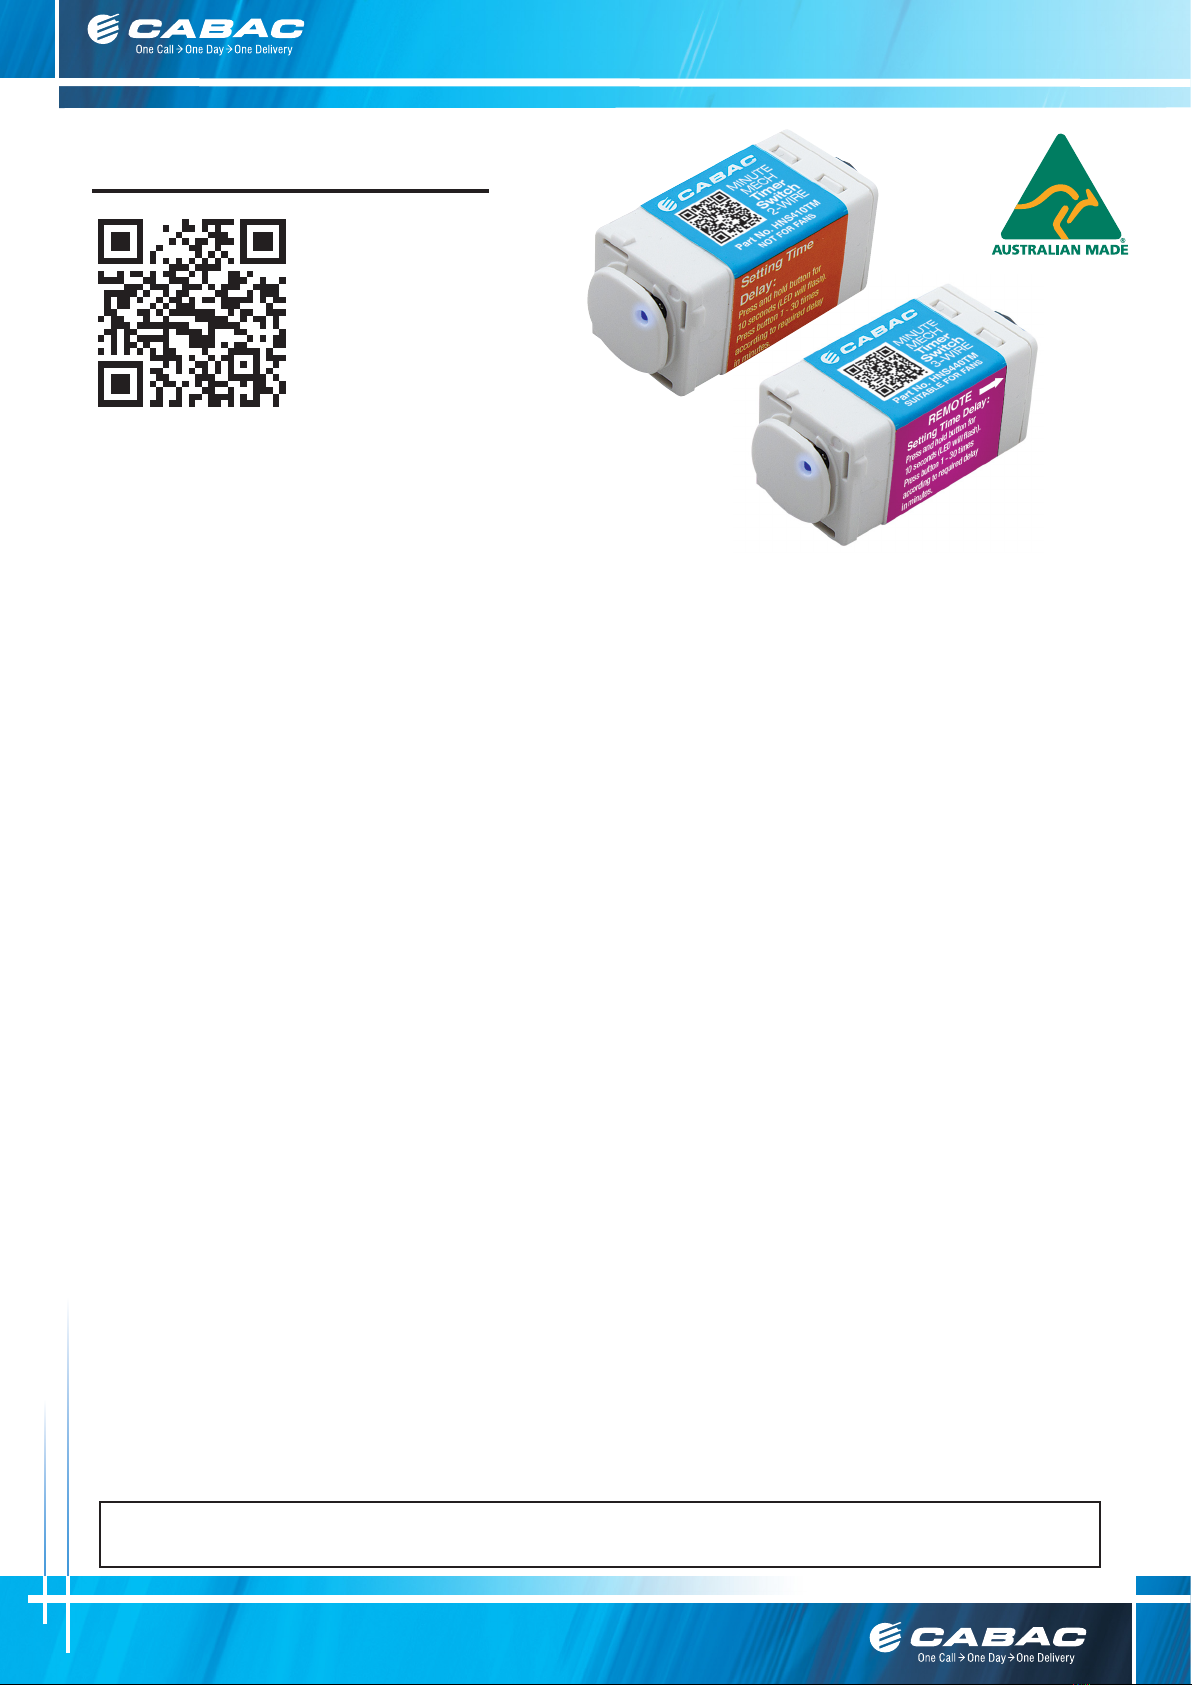
Note: This manual was correct at the time of manufacture. For the latest version of the manual and any technical or
safety updates refer to the website:- cabac.com.au, cabac.co.nz or scan the QR code with a mobile phone.
Scan our QR code
with your phone to go
directly to our website
for technical information
1. FEATURES
• Helpsextracthumidairandodoursfrombathroomandlaundries.
• Canreducethegrowthofmouldandmildew.
• Helpsimproveairquality.
• EliminatesaccidentallyleavingthepowerON.
• IndividualtimerunitstocontrolallelementsofacombinationofLAMPandFAN.
• BoththeHNS410TM,CABACMinuteTimer2-Wire(forLAMP)andtheHNS440TM,CABACMinuteMech
Timer3-Wire(forFAN)canbemountedinthewallplatewhichallowsthefantobeoperatedindependently,
neutralmustbeprovided.
• Alternatively,theHNS410TM(forLAMP)canbemountedinthewallplateandtheHNS440TM(forFAN)can
bemountedseparatelyintheceilingcavitynearthefan;neutralrequiredonlyintheceilingcavityfor3-wire
timer.
2. CONTENTS
• 1xCABACHNS410TM2-WireMinuteTimer(forLAMP)
• 1xCABACHNS440TM3-WireMinuteTimer(forFAN)
• HNS442FFFollow-OnFanKitInstructionManual
3. OPERATION
• UseoftheHNS442FFCABACFollow-OnFanKitimprovesairqualitybyhelpingtoremovehumidairand
odourswhichcanreducethebuildupofmouldandmildew.
• WhenpowerisOFF–aquicktapoffrontbuttononHNS410TMturnsthelightONfortheprogrammedtime
period,andalsoturnsthefanONbystartingtheHNS440TM.
• WhenthelightcontrolledbyHNS410TMturnsOFFafteritsprogrammedtimeperiod,thefanstaysONforits
programmedtimeperiod.
• IfthelampandfanarerequiredtobeONforanextendedperiodthenthetimercanbesettoindenitelyON
byholdingtheHNS410TMbuttondownfor2seconds.
• WhenpowerisON–aquicktapoffrontbuttononHNS410TMturnsthelightOFF,andtheFanstaysONfor
itsprogrammedtimeperiod.
4. INSTALLATION AND WIRING
TheHNS442FFFollow-OnFanKitistobeinstalledaspartofafixedwireelectricalinstallation.Bylawsuch
installationsmustbemadebyanelectricalcontractororsimilarlyqualifiedperson.
Avoidexcessiveforceonremoteinputwireorterminalblockduringinstallation.
Furtherinstructionsonhowtosetthetimerperiodforboththelightsandthefanareavailableinthe
HNS410TMandHNS440TMUserManualsrespectively.
HNS442FF
OWNER’S MANUAL

A: 8 Distribution Pl, Seven Hills NSW 2147
2
CP14316 Rev 1, 23nd SEPT, 2015
HNS442FF FOLLOW-ON FAN KIT MANUAL
3.1 INSTALLATION OF BOTH HNS410TM AND HNS440TM IN THE WALL PLATE
Installingbothunitsinthewallplateallowsforindependentcontrolofthefan,i.ethefancanbeswitchedon
andoffbyitself,andcanevenbeturnedonindefinitely.
• TurnOFFpowerattheswitchboard.
• Removeexistinggangofwallswitchesanddisconnectfromthelampandfan,ifretrofitting.
• ClipthebuttonontotheHNS410TMunit.EnsurethatthebuttonisorientedsothattheLEDlightpipeis
alignedwiththeholeinthebuttonandattachtowallplate,refertoFigure1and2.
• RepeatthesameprocedurefortheHNS440TMunit.
• ConnectthewiringfortheHNS410TM,HNS440TMandrespectivelightandfanloadsasperthefollowing
wiringdiagraminFigure3.
3.2 INSTALLATION OF HNS410TM IN WALL PLATE AND HNS440TM IN THE CEILING
• AttachtheHNS410TMtothewallplateasdescribedinthesectionabove.
• InstalltheHNS440TMintheceiling,closetotheFan.
• ConnectthewiringfortheHNS410TM,HNS440TMandrespectivelightandfanloadsasperthefollowing
wiringdiagraminFigure3.
HNS442FF FOLLOW-ON FAN
WIRING DIAGRAM
HNS440TM
Load Neutral
HNS410TM
Load
Loop
Active
Remote
Active
Neutral
Neutral
Light Fan
CONNECT LOAD OUTPUT OF HNS410TM TO REMOTE INPUT OF HNS440TM
4. WARRANTY AND DISCLAIMER
CABACwarranttheproductagainstmanufacturingandmaterialdefectfromthedateofinvoicetotheinitial
purchaserforaperiodof12months.DuringthewarrantyperiodCABACwillreplaceproductsthatprovetobe
defectivewheretheproducthasbeencorrectlyinstalledandmaintainedandoperatedwithinthespecications
denedintheproductdatasheetandwheretheproductisnotsubjecttomechanicaldamageorchemicalattack.
Thewarrantyisalsoconditionalontheunitbeinginstalledbyalicensedelectricalcontractor.Nootherwarranty
isexpressedorimplied.
CABACshallnotbeliableforanydirect,indirect,incidentalorconsequentialdamages.
Note: This manual was correct at the time of manufacture. For the latest version of the manual and any technical or
safety updates refer to the website:- cabac.com.au, cabac.co.nz or scan the QR code with a mobile phone.
Figure1:Installingbuttontounit Figure2:Attachingunittowallplate
Figure3:WiringConnection
Table of contents


