Cambium C3VoIP-150 User manual

C3VoIP-150 Installation Manual
May 2014 C3VoIP-150 Installation Manual
Contents
Contents ............................................................................................................................................3
1. Introduction...............................................................................................................................1
1.1 Package Contents......................................................................................................1
2. Product Overview .....................................................................................................................2
2.1 Hardware Specification.............................................................................................2
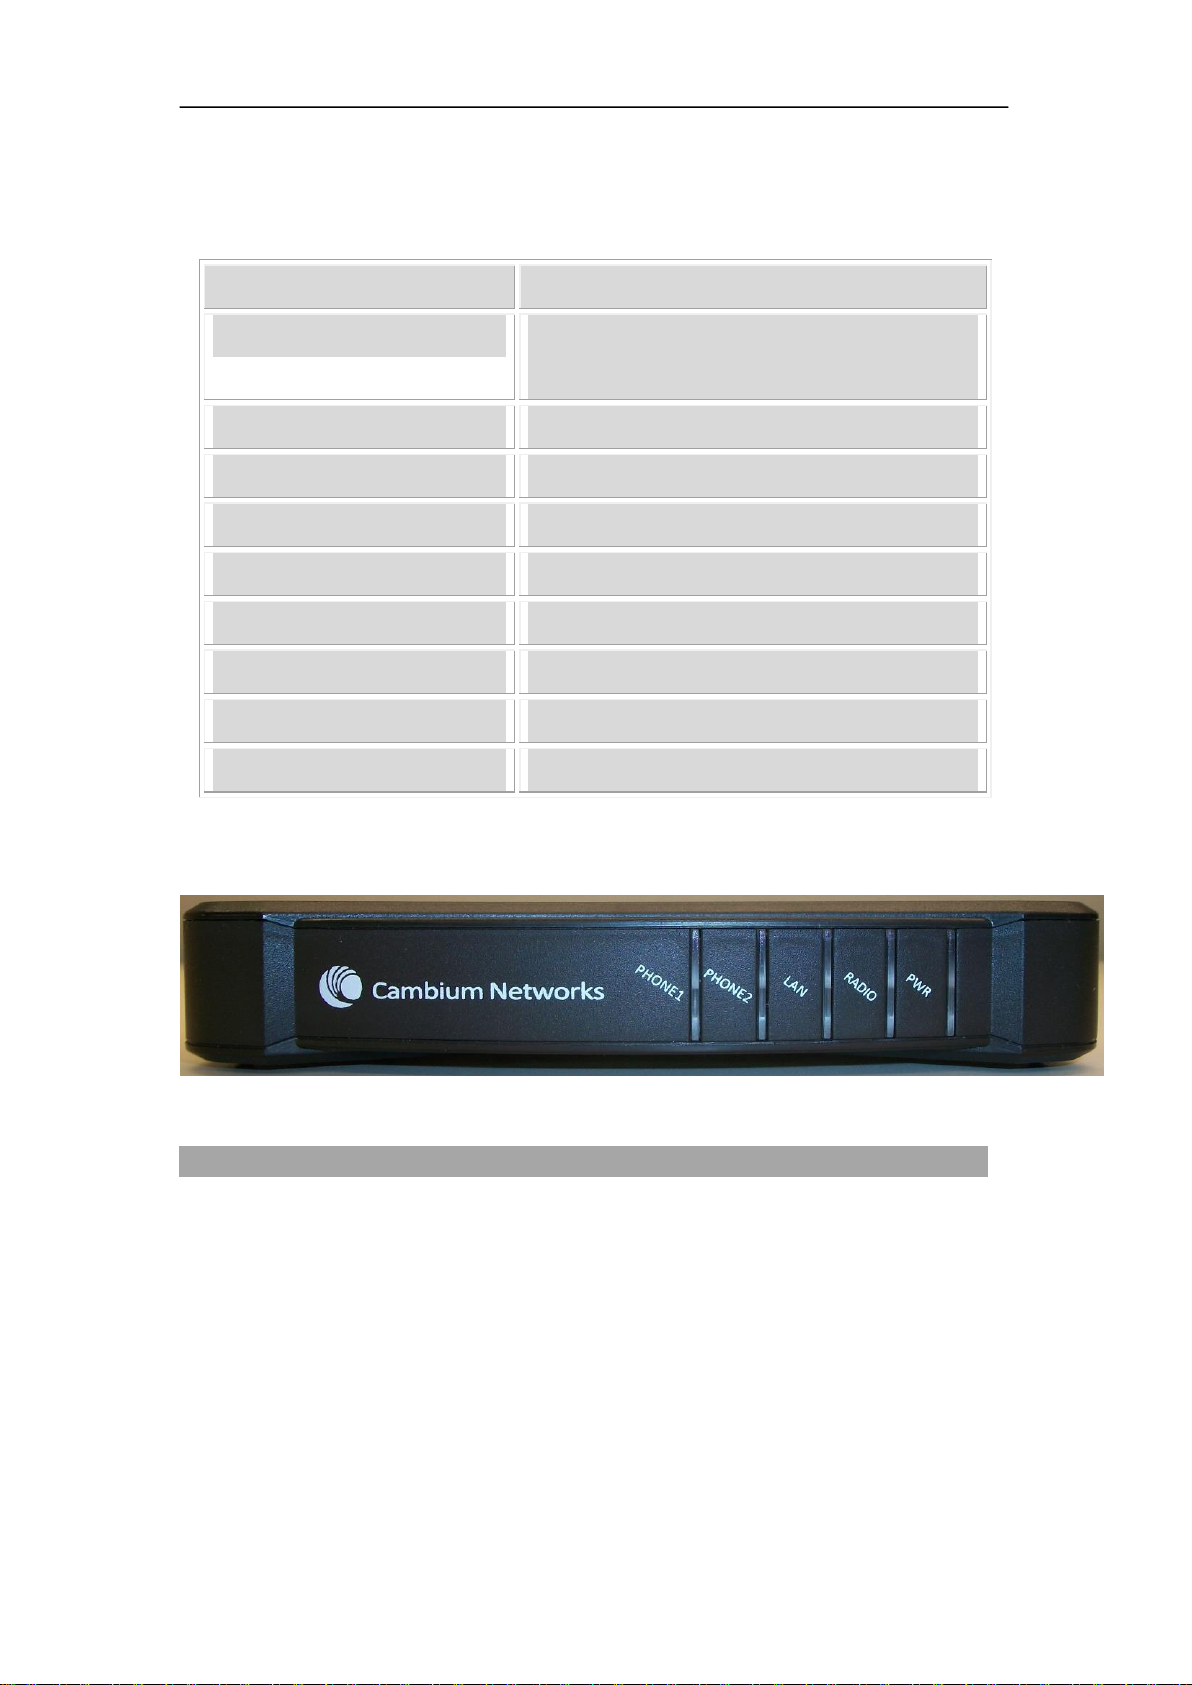
2.2 Front View and LEDs Introduction...........................................................................2
2.3 Back View and Interface Introduction.......................................................................3
3. Installation.................................................................................................................................4
3.1 Connection topography.............................................................................................4
3.2 Installation Steps.......................................................................................................4
4. IVR............................................................................................................................................5
4.1 Ways to Configure.....................................................................................................5
4.2 Start IVR ...................................................................................................................5
4.3 IVR Description........................................................................................................5
4.4 Notice........................................................................................................................8
5. Parameter Introduction..............................................................................................................9
5.1 Password ...................................................................................................................9
5.2 URL format...............................................................................................................9
6. Login to the WEB Server........................................................................................................10
6.1 Login WEB via the LAN port.................................................................................10
6.2 Login WEB via the WAN port ................................................................................10
6.3 WEB Interface Introduction....................................................................................11
7. Configuration from the WEB page .........................................................................................12
7.1 Status.......................................................................................................................12
7.1.1 Basic................................................................................................................12
7.1.2 Syslog..............................................................................................................13
7.2 Network...................................................................................................................14
7.2.1 RADIO............................................................................................................14
7.2.2 LAN ................................................................................................................16
7.2.3 MAC Address Clone .......................................................................................17
7.2.4 VPN Settings...................................................................................................17
7.2.5 DMZ................................................................................................................18
7.2.6 DDNS..............................................................................................................18
7.2.7 Port Setting......................................................................................................19
7.2.8 Multi WAN......................................................................................................19
7.3 SIP...........................................................................................................................20
7.3.1 SIP Settings.....................................................................................................20
7.3.2 VoIP QoS.........................................................................................................20
7.4 FXS1 .......................................................................................................................21
7.4.1 SIPAccount.....................................................................................................21

C3VoIP-150 Installation Manual
May 2014 C3VoIP-150 Installation Manual
7.4.2 Preferences......................................................................................................24
7.4.3 Dial Plan..........................................................................................................26
7.4.4 Black List........................................................................................................27
7.4.5 Call Log...........................................................................................................28
7.5 FXS2 .......................................................................................................................29
7.6 Administration ........................................................................................................30
7.6.1 Management....................................................................................................30
7.6.2 Security ...........................................................................................................32
7.6.3 Firmware Upgrade ..........................................................................................32
7.6.4 Provisioning ....................................................................................................33
7.6.5 SNMP..............................................................................................................35
7.6.6 TR069..............................................................................................................35
8. Functions.................................................................................................................................37
8.1 Making Calls...........................................................................................................37
8.2 Call Waiting.............................................................................................................37
8.3 Call Hold.................................................................................................................37
8.4 Call Transferring .....................................................................................................37
8.4.1 Blind Transfer..................................................................................................37
8.4.2 Attended Transfer............................................................................................37
8.5 3-way conference call .............................................................................................38
8.6 Call Forwarding ......................................................................................................38
8.7 Direct IP calls..........................................................................................................38
8.8 Speed dialing...........................................................................................................38
8.9 Hotline.....................................................................................................................38
8.10 Daylight Saving Time .............................................................................................39
8.11 Upgrade Firmware ..................................................................................................39
8.12 Password Control....................................................................................................40
8.13 Web Access .............................................................................................................40
8.14 System log...............................................................................................................40
9. Software Features....................................................................................................................41
10. Third Party Software.......................................................................................................42
10.1 OpenSSL.................................................................................................................42

C3VoIP-150 Installation Manual
May 2014 C3VoIP-150 Installation Manual
1. Introduction
Thank you for choosing the C3VOIP-150 VoIP Gateway. The C3VoIP-150 adapter allows you to
make IP Phone calls using your broadband connection.
This manual provides basic information on how to install and connect C3VOIP-150 VoIP Gateway
to the Internet. It also includes features and functions of C3VOIP-150 VoIP Gateway components
and how to use it correctly.
Before you can connect the C3VoIP-150 to the internet and use it, you must first have a
high-speed broadband connection with a Cambium PMP product, such as PMP450 or ePMP AP
that is always connected to Cambium PMP SM.
The C3VOIP-150 VoIP Gateway is a stand-alone device, which requires no PC to make Internet
calls. This C3VoIP-150 guarantees clear and reliable voice quality on the internet, which is fully
compatible with the SIP industry standard and is able to interoperate with many other SIP devices
and software on the market.
1.1 Package Contents
User package includes:
One C3VOIP-150 VoIPATA Gateway
One power adapter
One Ethernet cable
If any of the above items are damaged or missing, please contact your reseller for replacement.

C3VoIP-150 Installation Manual
May 2014 C3VoIP-150 Installation Manual
2. Product Overview
2.1 Hardware Specification
Item
Specification
Power Adapter
Input: 100~240VAC, 50~60 Hz
Output: DC 12V, 2A
CPU
RTL8972@240 MHZ
Ports
Radio port (WAN Port) and LAN port
Operating Temperature
5~45℃(41~113℉)
Storage Temperature
-25~85℃(-13~185℉)
Relative Humidity
10~90% (No condensing)
Dimension (L×W×H)
152×119×28mm
Weight (packaging included)
366g
Certification
CE / FCC / RoHS
2.2 Front View and LEDs Introduction
Figure 1 Front View
Table 1 LED description
LED indicator
Colour
Status
Description
Phone 1/2
Green
Solid
Registered and no call
Blinking at 1 Hz
In hook-off or ringing status
LAN
Green
Solid
Linked
Blinking at 10 Hz
Data transmission
Light Off
Unlinked
Radio (WAN)
Green
Solid
Linked
Blinking at 10 Hz
Data transmission
Light Off
Unlinked
Power
Green
Blinking at 1 Hz
The last provision has failed, re-trying
Blinking at 10 Hz
The device is upgrading

C3VoIP-150 Installation Manual
May 2014 C3VoIP-150 Installation Manual
2.3 Back View and Interface Introduction
Figure 2 Back View
Table 2 Port description
Port
Name
Description
PHONE1 (RJ11)
Connect to traditional phone or FAX Machine
PHONE2 (RJ11)
Connect to traditional phone or FAX Machine
RST
Press 10s to set C3VOIP-150 factory settings.
LAN (RJ-45)
Connect to PC or build a small LAN or Wi-Fi
network
Radio (WAN) (RJ-45)
Connect to Cambium PMP or ePMP Remote module
and provide Cambium proprietary PoE to the radio
The Radio port provides WAN connection. The
WAN port and Radio port in this document mean the
same port of C3VoIP-150.
Power Port
DC(12V/2A)

C3VoIP-150 Installation Manual
May 2014 C3VoIP-150 Installation Manual
3. Installation
This chapter explains the installation procedure of C3VOIP-150.
3.1 Connection topography
3.2 Installation Steps
1. Insert one end of the Ethernet cable into the Radio port at the back of the C3VOIP-150
and the other end into the cable that leads to the PMP remote radio module
Note:
Please refer to one of the SM installation guide(s) for information on how to install your SM.
2. Connect the LAN port at the back of C3VOIP-150 to your conventional telephone, using
a standard phone cable
3. If there is a need to setup a small LAN network at home, the C3VOIP-150 must work in
router or bridge mode so that users can access to the Internet through C3VOIP-150. Then
you must connect your PC or LAN connection equipment (e.g. Ethernet switch or Wi-Fi
router) to the LAN port at the back of the C3VOIP-150 using an Ethernet cable. (Step 3 is
optional and depends on your needs)
4. Connect the power adapter to the power port at the back of C3VOIP-150 and then plug
the power adapter into a wall outlet or power strip. The Power LED of C3VOIP-150
glows to indicate the correct operation. Once the SM is powered on, it may take some
time for it to register onto the AP and provide the INTERNET service.
Warning:
Do not attempt to use different power adapters or cut off power supplies during configuration or updating
C3VOIP-150 VoIP ATA Gateway. Using other different adapter can damage C3VOIP-150 VoIP Gateway and
void the manufacturer warranty.
Warning:
If there is a power outage, E-911 WILL NOT Work.

C3VoIP-150 Installation Manual
May 2014 C3VoIP-150 Installation Manual
4. IVR
4.1 Ways to Configure
C3VOIP-150 supports three modes of configuration that can be used:
Use the IVR method
Use the web browser method(recommended)
Use the provisioning method
4.2 Start IVR
Customer can use the IVR function by referring to the following steps:
1. Connect an analog phone to the C3VOIP-150’s phone port
2. On the phone dial in **** to start IVR, then the C3VOIP-150 prompts :
“Please enter your option, one WAN Port ……”.
3. Choose the operation code from 0 to 9, then C3VOIP-150 reports the contents. For details,
see Table 3.
4. After every successfully operation, C3VOIP-150 displays the message “Please enter your
option, one WAN Port ……”.
4.3 IVR Description
Below is the command description list:

C3VoIP-150 Installation Manual
May 2014 C3VoIP-150 Installation Manual
Table 3 Code description:
Operation
code
Contents
1
1. On the phone, dial in **** to start IVR
2. Choose “1”. C3VOIP-150 reports the current WAN port connection type
3. When prompted "Please enter password”, user must input the password with end
char # if user wants the configuration to be a WAN port connection type.
The password in IVR is same as the one of WEB logins. User can use phone
keypad to enter password directly, and the matching table is in Note 4.
For example: WEB login password is “admin”, so password in IVR is “admin” too.
So the user dials “23646” to access and then configure RADIO connection port. If
the password is correct, “Operation Successful” is displayed.
4. Choose the new WAN port connection type from 1.DHCP and 2.Static
5. If changes are successful, “Operation Successful” message is displayed. The
C3VOIP-150 pops the message “Please enter your option, one WAN
Port ……”
Note: Add “#” to assume after input password and selected new WAN port
connection type
To quit at any point, press “*”
2
1. On the phone, dial in **** to start IVR
2. Choose “2”, and C3VOIP-150 report current WAN Port IPAddress
3. Input the new WAN port IP address and with the end char #,
using “*” to replace “.”, user can input 192*168*20*168 to set the new IP address
192.168.20.168
press # key to indicate that you have finished
4. Report “operation successful” if user operation properly.
Note: If you want to quit by the wayside, press “**”.
3
Step 1. On the phone, dial in **** to start IVR
Step 2.Choose “3”, and C3VOIP-150 report current WAN port subnet mask
Step 3.Input a new WAN port subnet mask and with the end char #
using “*” to replace “.”, user can input 255*255*255*0 to set the new WAN port
subnet mask 255.255.255.0
press # key to indicate that you have finished
3) Report “operation successful” if user operation properly.
Note: If you want to quit by the wayside, press “**”.
4
Step 1. On the phone, dial in **** to start IVR
Step 2.Choose “4”, and C3VOIP-150 report current gateway
Step 3.Input the new gateway and with the end char #
using “*” to replace “.”, user can input 192*168*20*1 to set the new gateway
192.168.20.1
press # (pound) key to indicate that you have finished
3) Report “operation successful” if user operation properly.
Note: If you want to quit by the wayside, press “**”.

C3VoIP-150 Installation Manual
May 2014 C3VoIP-150 Installation Manual
5
Step 1. On the phone, dial in **** to start IVR
Step 2.Choose “5”, and C3VOIP-150 report current DNS
Step 3.Input the new DNS and with the end char #
using “*” to replace “.”, user can input 192*168*20*1 to set the new gateway
192.168.20.1
press # (pound) key to indicate that you have finished
3) Report “operation successful” if user operation properly.
If you want to quit by the wayside, press “**”.
6
Step 1. On the phone, dial in **** to start IVR
Step 2.Choose “6”, and C3VOIP-150 report “Factory Reset”
Step 3.Prompt "Please enter password", the method of inputting password is the same as
operation 1.
If you want to quit by the wayside, press “*”.
Step 4.Prompt “Operation successful” if password is right and then C3VOIP-150 is set
to factory setting.
Step 5.Press “7” reboot to make changes effective.
7
Step 1. On the phone, dial in **** to start IVR
Step 2.Choose “7”, and C3VOIP-150 report “Reboot”
Step 3.Prompt "Please enter password", the method of inputting password is same as
operation 1.
Step 4.C3VOIP-150 reboots if password is right and operation is properly.
8
Step 1. On the phone, dial in **** to start IVR
Step 2.Choose “8”, and C3VOIP-150 report “WAN Port Login”
Step 3.Prompt "Please enter password", the method of inputting password is same as
operation 1.
If you want to quit by the wayside, press “*”.
Step 4.Report “operation successful” if user operation properly.
Step 5.Prompt “1enable 2disable”,choose 1 or 2, and with confirm char #.
Step 6.Report “operation successful” if user operation properly.
9
Step 1. On the phone, dial in **** to start IVR
Step 2.Choose “9”, and C3VOIP-150 report “ WEB Access Port”
Step 3.Prompt “Please enter password”, the method of inputting password is same as
operation 1.
Step 4.Report “operation successful” if user operation properly.
Step 5.Report the current WEB Access Port
Step 6.Set the new WEB access port and with end char #
Step 7. Report “operation successful” if user operation properly.
0
Step 1. On the phone, dial in **** to start IVR
Step 2.Choose “0”, and C3VOIP-150 report current Firmware version

C3VoIP-150 Installation Manual
May 2014 C3VoIP-150 Installation Manual
4.4 Notice
Under Voice menu, press *(star) to return to the top of the menu.
If any changes made in the IP assignment mode, please reboot the C3VOIP-150 for the
settings to take effect.
When entering an IP address or subnet mask, input “*” after an address field and add “#” to
complete the input
For example, to enter the IP address 192.168.1.11 by keypad, press these keys:
192*168*1*11#.
You can enter the password via phone keypad. The matching table between number and
letters as follows:
To input: A, B, C, a, b, c -- press ‘2’
To input: D, E, F, d, e, f -- press ‘3’
To input: G, H, I, g, h, i -- press ‘4’
To input: J, K, L, j, k, l -- press ‘5’
To input: M, N, O, m, n, o -- press ‘6’
To input: P, Q, R, S, p, q, r, s -- press ‘7’
To input: T, U, V, t, u, v -- press ‘8’
To input: W, X, Y, Z, w, x, y, z -- press ‘9’
To input all other characters in the administrator password-----press ‘0’,
E.g. password is ‘admin-admin’, press ‘23646023646’.
Press # (pound) key to indicate that you have finished entering the IP address or subnet mask
or other settings.
When assigning IP address in Static IP mode, customer must set IP address, subnet mask and
default gateway. If in DHCP mode, please make sure that DHCP Server is available in your
existing broadband connection to which WAN port of C3VOIP-150 is connected.

C3VoIP-150 Installation Manual
May 2014 C3VoIP-150 Installation Manual
5. Parameter Introduction
5.1 Password
There are 2 levels to access C3VOIP-150: Administrator level and User level. Passwords
for these 2 levels are different.
User at Administrator level can browse and set all configuration parameters, while user at
User level can set all configuration parameters except SIP1/2 and some parameters that
cannot be changed, such as server address and port. User has different access level with
different password.
Default user with Administrator level:
Username:admin, Password:admin
Default user with User level
Username:admin, Password: user
5.2 URL format
The WEB login URL format is http://xxx.xxx.xxx.xxx., where “xxx.xxx.xxx.xxx”stands for the
IP address of LAN or WAN port.
Below are two examples about the URL of LAN port and WAN port.
LAN port:
Default URL of LAN port is: http://192.168.1.1
Note: 192.168.1.1 is C3VOIP-150 default LAN port’s IP address
WAN port:
Get WAN port address from IVR function or in Status/Basic webpage
(Assuming the IP is: 192.168.100.18)
The URL: HTTP://192.168.100.18

C3VoIP-150 Installation Manual
May 2014 C3VoIP-150 Installation Manual
6. Login to the WEB Server
C3VOIP-150 has an embedded Web server that responds to HTTP get/post requests.User can use
a Web browser like Internet Explorer to login and then configure C3VOIP-150.
6.1 Login WEB via the LAN port
Step 1: Open WEB browser;
Step 2: Input the LAN port URL. Default is HTTP://192.168.1.1;
Note:
User PC has the IP Address which is in the same segment of LAN port IP address,
otherwise you cannot open the login page successfully.
Step 3: Once the right HTTP request is entered and sent by the Web browse,the ATA responds
with the following login page.
Step 4: Input the password
Note: The password is case sensitive.
Step 5: First page user sees is the Status page.
6.2 Login WEB via the WAN port
Step 1: Open WEB browser;
Step 2: Lookup WAN port IP Address from IVR function or from WEB;
Step 3: Input the WAN port URL
User’s PC must have the IP Address which is in the same segment of WAN port IP
address. Else you cannot open the login page.
Step 4: Once the right HTTP request is sent by the Web browser,the ATA responds with the login
page.
Step 5: Key in the password
Note:
The password is case sensitive.

C3VoIP-150 Installation Manual
May 2014 C3VoIP-150 Installation Manual
6.3 WEB Interface Introduction
Name
Description
1
navigation bar
Click navigation bar. Few sub-navigation bars appear in the
place 2
2
sub-navigation bar
Click sub-navigation bar to enter the configuration page
3
configuration title
The configuration title
4
configuration bars
The configuration bars
5
main information
Display the firmware version, DSP version, Current Time,
and user can change login level (mode) to return to login
page by press blue Switch button.
6
Help
Display the main information for configuration; user can get
help from it directly.
Every time user makes any changes, the button must be pressed to confirm the
changes.
After pressing the button, the red notice appears and prompts the user to
‘Reboot’, as shown below:
To cancel the changes.
Press it to reboot C3VOIP-150.

C3VoIP-150 Installation Manual
May 2014 C3VoIP-150 Installation Manual
7. Configuration from the WEB page
7.1 Status
User can view C3VOIP-150 Basic and Syslog. It is the first page which user sees after a Web
login.
7.1.1Basic
User can see the Product Information, SIPAccount Status, Net Status, VPN Status, LAN Status,
and System Status.

C3VoIP-150 Installation Manual
May 2014 C3VoIP-150 Installation Manual
7.1.2 Syslog
In this configuration Interface user can view Syslog, which records the C3VOIP-150’s important
configuration information.
By default, syslog is enabled and the level is INFO, there are two system log level, INFO and
Debug, in Debug level, there is more information. If you want to change, please go to
Administration/Management page, System Log Setting column to change.
Click Refresh to reload the system log and click Clear to empty the current system log. To save
the system log to your local PC, click Save.

C3VoIP-150 Installation Manual
May 2014 C3VoIP-150 Installation Manual
7.2 Network
7.2.1 RADIO
Introduction
The Internet Setup is to set WAN port mode, IP address and so on.
User can choose one WAN mode from Static, DHCP and PPPoE
Static: Users need to set IPAddress, Subnet Mask, Gateway IP and DNS.
DHCP: C3VOIP-150 auto-configures the WAN parameter with immediate
effect.
PPPoE: Users can enable C3VOIP-150 to connect to Internet by ADSL.
1.Static
WEB
Interface
Settings
Introduction
1) Set “Static” in the “INTERNET” text.
2) Set IP address, the IP address is the one of the local area
network.
3) Set Subnet Mask, it is usually “255.255.255.0” for the local
area network.
4) Set Gateway, you can get it from your Administrator.
5) Set DNS, you can get it from your Administrator.
2.DHCP
WEB
Interface
Settings
Introduction
1) Set “DHCP” in the “INTERNET” text.
2) DNS type: Manual and Auto
In Manual: user must set the Primary DNS and Second DNS

C3VoIP-150 Installation Manual
May 2014 C3VoIP-150 Installation Manual
manually.
In Auto: C3VOIP-150 gets the Primary DNS and Second
DNS from DHCP Server automatically.
3.PPPoE
WEB
Interface
Settings
Introduction
1) Set “PPPoE” in the “INTERNET” text
2) Fill the PPPoE account and password in the texts.
3) You must set “manual” in the “DNS Mode” if you set “DNS”
by yourself. And then fill the DNS in the two following texts.
Generally speaking, you can set “Auto” in the “DNS Mode” and
C3VOIP-150 gets “DNS” from DHCP Server automatically.
4) You must click the “Reboot” in the left of the page to reboot the
C3VOIP-150 if you see the words “Please REBOOT to make the
changes effective!” After Reboot, you can see PPPoE Status and
the network parameters in the System Status page, if C3VOIP-150
has connected successfully.
You can select the “PPPoE” IP Mode if you are family users or
your PC connects to Internet by ADSL. You must connect your
PC with C3VOIP-150’s LAN. In detail, you can see the following
LAN settings.
Port Bind
WAN connection cannot be shared between the binding port and
finally bound port WAN connections bind operation washes away
before the other WAN connection to the port binding operation!
When you set several different VLANs for WAN port, user can
use this option to define the LAN port’s service, usually please
bind Internet VLAN to LAN port.

C3VoIP-150 Installation Manual
May 2014 C3VoIP-150 Installation Manual
7.2.2 LAN
In this page, user can set the IP address of the device and set DHCP server. DHCP server is a kind
of network function, C3VOIP-150 can supply DHCP service for the network which is linked with
C3VOIP-150’s LAN if you enable the DHCP server for C3VOIP-150’s LAN (this is enabled by
default).
WEB Interface
Settings Introduction
1) Local IP Address and Local Subnet Mask
Set the LAN port IP address and subnet
mask. By default the address is 192.168.1.1
and subnet mask is 255.255.255.0.
2) Local DHCP Server and DHCP Start/End
Address
If or not enable the DHCP service, and set
the start and end address of the DHCP server.
By default DHCP server is enabled.
3) DNS Mode and Primary/Secondary DNS
Set the DNS mode and address for the DHCP
server. If set to Auto, the device gets the
address from the upstream route, if set
Manual, user need enter the primary and
secondary DNS.
4) Client Lease Time
Set client lease time.
5) DNS Proxy
If or not enable DNS proxy.
User can use the default settings.
By default, the LAN port works in NAT mode, if user wants to make it work in Bridge mode,
please go to Network-->Multi WAN page to set.
Table of contents
Other Cambium Gateway manuals