Camco T10208 User manual

First READ THIS MANUAL.
If you still need help, call us
from 8 am - 5 pm (EST) Monday – Friday.
800-334-2004
Note: At this time, we provide Phone Support in English only.
If you have any questions or diculty
installing this product, we are here to help!
INSTALLATION AND OPERATING INSTRUCTIONS
T10208 Electric Anchor Winch
TRAC Anchor Winch Limited Warranty
LIMITED WARRANTY: Camco warrants this product to be free from defects in material and workmanship under normal use and service conditions for 12 months from the date of rst purchase.
Camco’s liability is limited solely to the replacement of any defective product returned to us. To the extent allowable by law, Camco makes no other warranty, either expressed or implied, nor assumes
any liability for incidental or consequential damages resulting from the use of this product or for breach of warranty of merchantability or tness for a particular purpose. Submit warranty claims to
Camco Manufacturing, 121 Landmark Drive, Greensboro, NC 27409.
GENERAL SAFETY INFORMATION - Throughout this manual potential safety hazards will be noted with the following terms. Please read and understand these terms
before operating the product.
DANGER WARNING CAUTION
Danger means a hazard that WILL cause death or
serious injury if the warning is ignored.
Warning means a hazard that COULD cause death or
serious injury if the warning is ignored.
Caution means a hazard that MAY cause minor or moderate
injury if warning is ignored. It may also mean hazard that will
only cause property damage.
Please read and save these instructions. Read carefully before attempting to assemble, install, operate or maintain
this anchor winch. Protect yourself and others by observing all safety information. Failure to comply with instructions
could result in personal injury and/or property damage! Retain instructions for future reference.
CAUTION Always raise the anchor before moving the boat. Do NOT drag the anchor with the boat’s power. This will cause product damage or injury. Do
NOT use the anchor winch to pull the boat to the anchor position. Motor the boat toward the anchor while retrieving the anchor rope.
DANGER SAFETY CABLE USE - When the boat is being trailered, the anchor must be placed in the boat and secured. If the anchor breaks free during
trailering, it could cause serious damage and/or injury. Attach Safety Cable Snap-Hook around anchor shackle to secure the anchor when boat is underway.
Item Name: TRAC Pontoon 35-G3 AnchorWinch Instructions
New RM#: 895237
Old RM#: n/a
Colors: 1/1 black
Coating: none
Size: 8 pg booklet. 8.5 x 11 folded size - saddle stitch
Stock: 60 lb bond
Notes:
Date Released: #820
Perforated Line
Glue Area
895237 #820
This anchor winch, intended for Fresh Water use, retrieves and deploys river and mushroom anchors using anchor
rope. It features power-up, power-down, and AutoDeploy operation from a switch that is located on the winch cover
and from a wireless remote controller, which can be installed near the boat’s helm.
895237 69004 Angler 30 G3 instructions.indd 1895237 69004 Angler 30 G3 instructions.indd 1 8/24/20 11:00 AM8/24/20 11:00 AM

DANGER Rope breakage.
1. Never allow anyone to be positioned between anchor and winch. If rope breaks it could snap back and cause injury.
2. If the included anchor roller is ever replaced it must be replaced by a closed loop anchor roller to prevent the anchor line from snapping onto the boat deck in the
event the rope breaks.
3. Always use an anchor rope with minimum 500 pound break strength for this product. Never substitute cable for rope.
4. This product is intended to lift short shanked river & mushroom anchors. Do not attempt to lift objects overhead.
5. Inspect entire rope for weak or worn condition. Replace worn rope with anchor rope with a min. 500 lb break strength.
DANGER Electrical shock and fire hazards.
1. Do not use electrical wire sizes smaller than 12 AWG (gauge) with a 105-C temperature rating. Using wire that is too small could result in overloading and a re.
Larger gauge wire is permitted.
2. Use the supplied circuit breaker or a 20 amp in-line fuse when installing this winch.
3. Always disconnect the battery lead wires from the battery before attempting to install, relocate, or service the winch.
DANGER Cruising and boat trailering hazards.
As a precaution, when the boat is cruising the anchor must be secured with the safety cable provided.When the boat is being trailered, the anchor must be placed inside the
boat or tow vehicle. If the anchor breaks free during cruising or trailering, it could cause serious damage and/or injury.
WARNING Entanglement hazards.
1. Never place any object or tool in the rope spool while retrieving or deploying the anchor.The tool or object could become tangled in the rope resulting in serious
injury and/or damage to the winch.
2. Do not wear loose tting clothing, scarves, or neck ties during the operation of the winch. Loose clothing may become caught in moving parts resulting in injury or
death.
3. Do not operate the winch under the inuence of drugs and/or alcohol.
CAUTION Storage and maintenance. For storage, it is best to disconnect positive wire from battery.
DANGER Connecting the winch to battery power.
Do not use wire sizes smaller than 12 AWG with 105-degree C rated insulation. Using wire that is insucient could result in overloading and a re.The use of larger diameter
wire is encouraged and can improve the ow of electrical current. If longer wire is required, use the next larger wire size (10 AWG) for your installation. Use the supplied circuit
breaker or an in-line 20-amp fuse. Using incorrect circuit breakers may result in re. Always disconnect battery wires from the battery before attempting to install, relocate, or
service the winch.
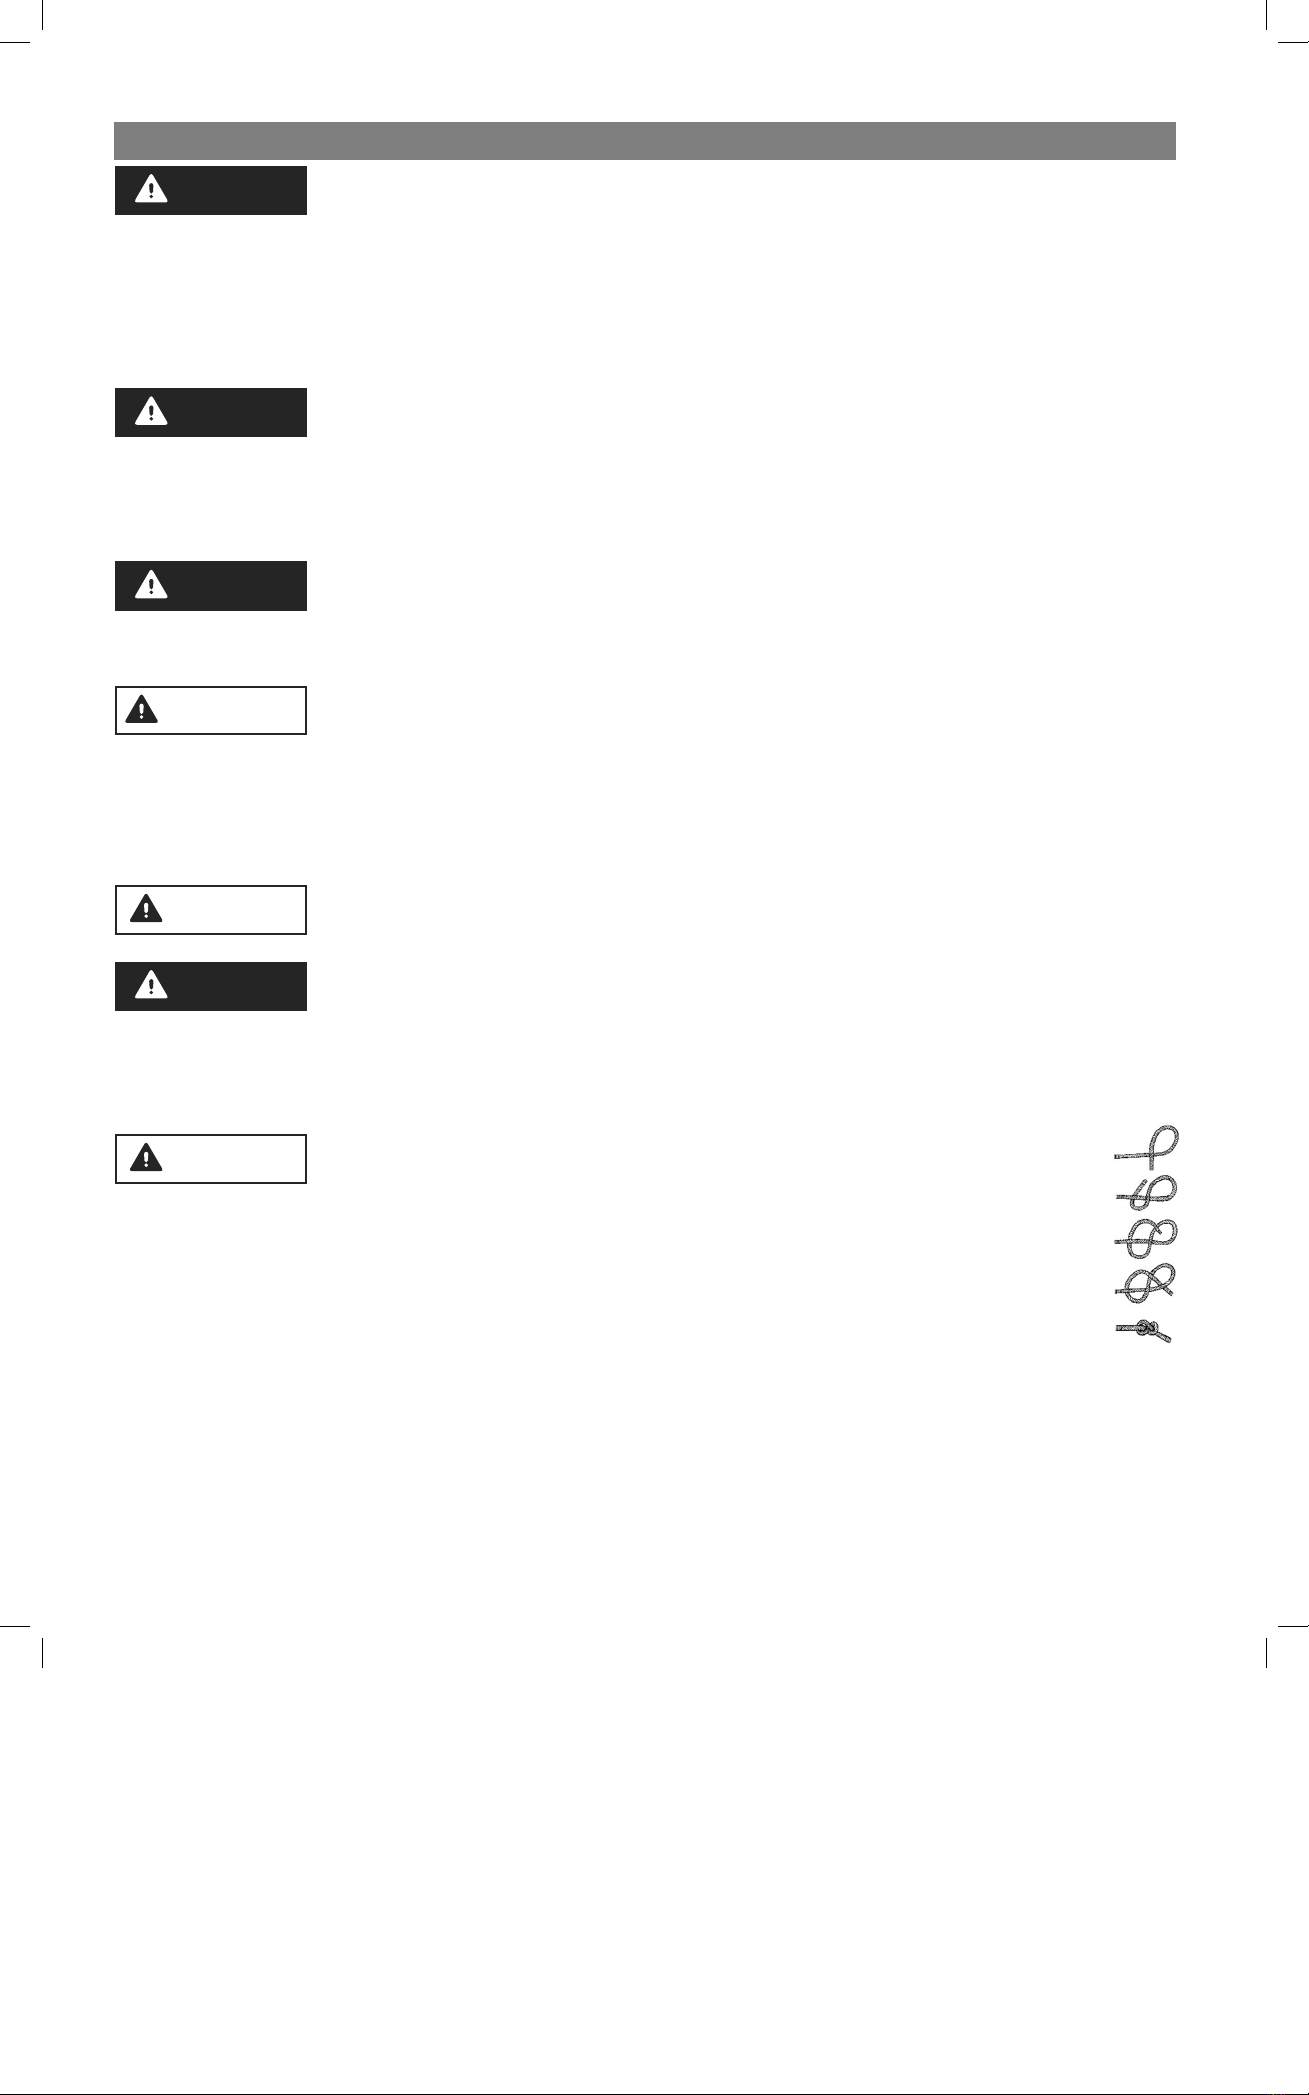
CAUTION ROPE INSTALLATION
Anchor rope is pre-installed, but when you need to install new rope, insert the rope through the hole located on the inside of the spool/drum and tie an overhand
knot on the outside of the spool so the knot can be pulled into the countersunk hole on the outside end of the spool. Pull the rope so the knot is tight against the
counter sunk hole. Make sure the rope is not tangled and not looped around anything and is free to wrap on the spool. Hold tension of the rope while wearing a
glove. Press the“UP”direction on the switch and hold until the rope is neatly wrapped on the spool. Release the switch button at anytime during the wrapping of
the rope on the spool if an unsatisfactory wrap is occurring.The spool will hold as much as 100 ft of 3/16”(5mm) anchor rope. Use anchor rope with a minimum
of 500 pounds of break strength.
WIRELESS REMOTE IS PRE-PROGRAMMED AT THE FACTORY It consists of a compact, sealed hand-held controller (sending unit) that allows push-button anchor operation
from any location within about 50 feet, and a receiving unit that is already installed in the winch. Also included is a remote bracket to store the remote and to allow the
remote to act as a panel switch if placed near the helm, or removed for portable use anywhere near the boat. The remote is pre-programmed at the factory for your specic
winch. One remote cannot operate two winches. Every remote has a unique code so there is no concern about having two remotes control one winch.
If re-programming the remote becomes necessary, follow the instructions below:
1. Disconnect battery power.
2. Press and hold any button on remote (do not release button until step 3).
3. Re-connect battery power, continue to hold remote button for 2 seconds, then release.
4. Test winch operation. Reprogram is necessary
INSTALLATION AND OPERATING INSTRUCTIONS
T10208 Electric Anchor Winch
895237 69004 Angler 30 G3 instructions.indd 2895237 69004 Angler 30 G3 instructions.indd 2 8/24/20 11:00 AM8/24/20 11:00 AM

TOOLS REQUIRED:
• Electric Drill and 5/16”Drill Bit
• Phillips Screw Driver
• Adjustable (Crescent style) wrench
• Socket and Driver
MATERIALS REQUIRED
• Winch and Anchor Roller (davit included)
• Seven bolts, washers and nuts (included)
• Shackle for anchor attachment (included)
• River or Mushroom anchor (not included)
• Battery Wire and Circuit Breaker (included)
INSTALLING ANCHOR WINCH ON BOAT DECK
1. PositionWinch and Davit on boat deck in desired location. Anchor roller must extend over edge to allow anchor to clear the deck. Davit roller must be in alignment
with rope spool for proper operation.
2. Look below the deck and conrm there are no obstructions. Surface mount“Isolator Bolts”may
be used (sold separately) where no access is available under deck.
3. Remove plastic housing from winch and disconnect switch connector.
4. On davit housing, remove rear two screws (black arrow in FIG 1). Loosen, but do not remove pivot
screws (white arrow in FIG 1). Rotate plastic cover, FIG 2.
5. If Davit andWinch can be bolted together (FIG 3), then only ve bolts are required for installation
(Black arrows in FIG 4).
6. Mark the holes to be drilled on boat deck.
7. If battery wire is routed thru boat deck, mark hole for drilling.
8. Remove Davit and Winch. Drill holes.
9. Place the Davit andWinch in position, bolt to deck. Consider underdeck reinforcement such as marine plywood for greater strength.
CAUTION Keep wires away from intense heat and never attach circuit breaker to negative terminal of the battery.
10. Route battery wires. Connect RED positive (+) wire to silver terminal on the circuit breaker and tighten nut. On the copper colored circuit breaker terminal, attach
the buss bar (brass stamped part) using the small hole and tighten nut. Attach the buss bar (larger hole) to the (+) Positive battery positive terminal. Attach BLACK
negative (-) wire to battery negative terminal.
11. Install Davit andWinch Covers.
12. Attach river or mushroom type anchor, up to 25 lb anchor is recommended. Do not exceed 30 lb weight or winch damage may occur over time. Use a lighter anchor
when possible. Attach rope to anchor shackle and shackle to anchor shank eye.
ANCHOR WINCH OPERATION
To lower the anchor press/hold button with arrow which points down. Release button when you wish to stop letting rope out. To raise anchor, press/hold button with arrow
that points UP. Release button when anchor is docked or when you wish to stop retrieval of the anchor.
To use the AutoDeploy feature, press and release the AutoDeploy button. The winch will deploy the anchor, letting rope out until the rope becomes slack. As the boat drifts
and pulls on the anchor rope, more rope will be let out a little at a time. To stop letting rope out, simply press the Lock or AutoDeploy button again. Pressing any button will
also stop the AutoDeploy feature from letting rope out.
Helpful hints:
1. When the anchor seems to reach the lake or river bottom, allow the winch to slowly release additional rope until the boat begins to hold its position. If too much
rope is let out too quickly, the rope could tangle in the winch housing.
2. If you are in 20 feet of water, you may need 60 feet of rope to hold in wind or current.The ratio of rope length to depth is called scope and a scope of 5 to 1 is common
in wind or current. The more scope, or anchor line out, the better the anchor will hold.
3. Using more scope (more line out) is better than using a heavier anchor.
4. This winch includes an automatic resetting circuit breaker. In the case of a short circuit, or if the winch motor is stalled, the circuit breaker will cut power to the winch,
and it will automatically reset after about one minute. The circuit breaker is a required component with this winch. Failure to use the Circuit Breaker will void the
warranty and may result in winch failure and possible risk of re if inadequate wire and circuit protection is used.
INSTALLATION AND OPERATING INSTRUCTIONS
T10208 Electric Anchor Winch
895237 69004 Angler 30 G3 instructions.indd 3895237 69004 Angler 30 G3 instructions.indd 3 8/24/20 11:00 AM8/24/20 11:00 AM

PART # DESCRIPTION CAMCO # TRAC# QTY
1 Switch Assembly (AutoDeploy – TAWS-3) 69929 PG10208-2 1
2 Wireless Remote 69880 PG10208-3 1
3 Control Unit with Screws 69928 PG10208-5 1
4 Rope Spool 69841 PG10208-6 1
5 Actuator Block 69893 PG10208-11 1
6 Actuator Block Spring 69893 PG10208-12 1
7 Rope, 5mm dia. X 100 ft., 700 lb 69080 PG10208-13 1
8 Waterproof Micro-switch 69931 PG10208-17 1
9 Davit Cover 69888 PG10208-18 1
10 Davit Assembly 69925 PG10208-19 1
11 Anchor Shackle 69835 PG10208-22 1
- Circuit Breaker (not shown) 69836 PG10208-23 1
- Hardware Pack (not shown) 69923 PG10208-26 1
- Battery Wire (not shown) 69926 PG10208-27 1
Replacement parts can be obtained from your local or onlineTRAC dealer.
AVAILABLE REPLACEMENT PARTS
T10208 Electric Anchor Winch
895237 69004 Angler 30 G3 instructions.indd 4895237 69004 Angler 30 G3 instructions.indd 4 8/24/20 11:00 AM8/24/20 11:00 AM

This device complies with Part 15 of the FCC Rules. Operation is
subject to the following two conditions: (1) this device may not cause
harmful interference, and (2) this device must accept any interference
received, including interference that may cause undesired operation
NOTE: This equipment has been tested and found to comply with the limits for a
Class B digital device, pursuant to Part 15 of the FCC Rules. These limits are
designed to provide reasonable protection against harmful interference in a
residential installation. This equipment generates, uses and can radiate radio
frequency energy and, if not installed and used in accordance with the
instructions, may cause harmful interference to radio communications. However,
there is no guarantee that interference will not occur in a particular installation.
If this equipment does cause harmful interference to radio or television reception,
which can be determined by turning the equipment off and on, the user is
encouraged to try to correct the interference by one or more of the following
measures:
-- Reorient or relocate the receiving antenna.
-- Increase the separation between the equipment and receiver.
-- Connect the equipment into an outlet on a circuit different
from that to which the receiver is connected.
-- Consult the dealer or an experienced radio/TV technician for help.
Warning: changes or modifications not expressly approved by the party responsible for
compliance could void the user's authority to operate the equipment
Table of contents