manuals.online logo
Brands
  1. Home
  2. •
  3. Brands
  4. •
  5. Can-Am
  6. •
  7. Air Cleaner
  8. •
  9. Can-Am 300 User manual

Can-Am 300 User manual

Model 300
Portable Air Filtration
System
Instruction Manual
Read and keep this manual for reference purposes
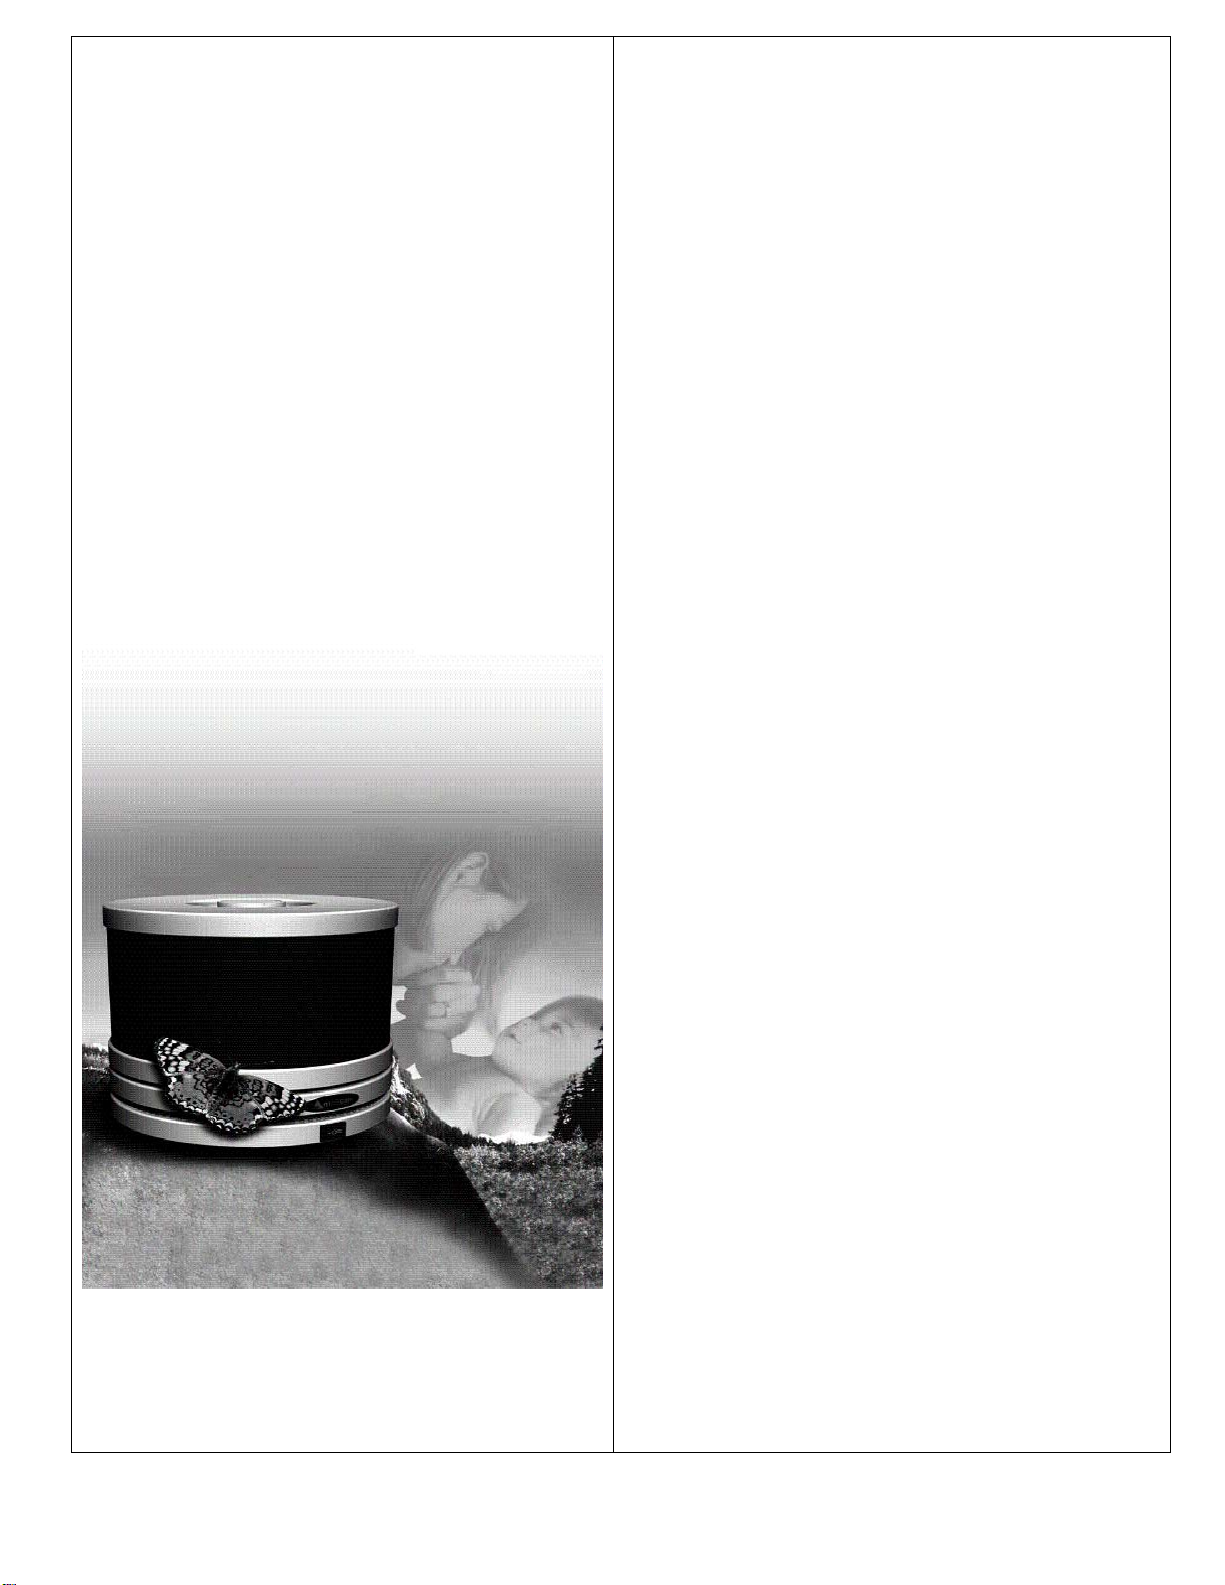
Congratulations on your purchase of a Model 300
portable air filtration system! With proper care and
maintenance your Model 300 will provide years of
reliable service and improve the quality of your air.
Operating Instructions
Set the unit down on a dresser, desk or other piece of sturdy
furniture.
Using the adapter cord, insert the small plug into the receptacle at
the back of the unit. Plug the other end into a wall receptacle.
Choose a speed setting and let the unit run continuously.
PLEASE NOTE:
THE FIRST TIME YOU USE YOUR Model 300 let the unit run on
the high-speed setting for several hours before using the room.
This gives the unit time to stir up and filter out excess dust. It is
also a good idea to vacuum and dust the room before using the
unit for the first time. After the initial cleaning period, let the unit run
continuously. Use the high-speed setting for maximum
performance.
The AC ADAPTOR may feel fairly warm to the touch when it is
plugged into a wall receptacle. This is normal.
DO NOT SIT ON THE UNIT OR PLACE ANYTHING HEAVY ON
TOP OF IT.
Cleaning your Model 300
Use a soft, damp cloth to clean the unit. You can also use a non-
abrasive cleaner. Do not let water get into the filters or the
motor/fan housing.
About Model 300 three-stage filtration and
changing filters
Stage 1: Washable Prefilter
The prefilter prolongs the life of the HEPA filter by removing large
particulates before they can reach the HEPA filter. Clean the
prefilter when it starts becoming visibly covered with dust. Wash it
in your washing machine or hand-wash it with warm water and
detergent. Let it dry thoroughly before replacing it.
Two prefilters are provided. Use the second prefilter while the other
is drying.
Change the prefilter if it no longer fits snugly, or it gets
damaged.
Stage 2: HEPA Cartridge
HEPA media with 99.97% efficiency @ 0.3 microns.
Replace every 2-5 years depending on usage and your
environment - e.g. smoking vs. nonsmoking
Stage 3: V.O.C. Filter
The V.O.C. (Volatile Organic Compound) filter removes household
chemicals that may off-gas from household cleaners, paints,
solvents, carpets, furniture and other materials containing chemical
substances.
Replace every 6-12 months depending on usage.
Filter Replacement Instructions
Prefilter Replacement
1. Turn the unit off and unplug it.
2. Remove the used prefilter and carefully discard
it in a plastic bag.
3. Line up the seam in the prefilter with the
receptacle at the back of the unit. Pull the new
prefilter over the unit so it snugly covers the
screen.
4. Plug the unit in and turn it on.
V.O.C. Filter Replacement
1. Turn the unit off and unplug it.
2. Turn the unit up-side down. With one hand
holding the HEPA cartridge, pull the motor/fan
housing off.
3. Remove the used V.O.C. filter and carefully
discard it in a plastic bag.
4. Roll the new V.O.C. filter into a cylinder smaller
than the size of the opening in the HEPA
cartridge. Insert the V.O.C. filter all the way into
the well and spread it open against the HEPA
filter.
5. Sit the motor/fan housing right side up and seat
the gasket in the groove.
6. Place the HEPA cartridge on the motor/fan
housing and align the plugs in the cartridge with
the holes in the housing.
7. Once the holes are aligned press firmly on the
top of the cartridge to secure it to the housing.
8. Plug the unit in and turn it on.
HEPA Cartridge Replacement
1. Turn the unit off and unplug it.
2. Turn the unit up-side down. With one hand holding
the HEPA cartridge, pull the motor/fan housing away.
Discard the cartridge in a plastic bag.
3. Sit the motor/fan housing right side up and seat the
gasket in the groove.
4. Place the HEPA cartridge on the motor/fan housing
and align the plugs in the cartridge with the holes in the
housing.
Once the holes are aligned press firmly on the top of the
cartridge to secure it to the housing.
5. Plug the unit in and turn it on.
Specifications
DIMENSIONS: 8.5" D 7.5”H
WEIGHT: 5 lbs.
AIR FLOW (C.F.M.): 20 and
40
SERVICE AREA: 75-150
sq.ft. Based on 2 to 4 air
change-overs per hour,
recommended for people
with sensitivities
LOWER CONSUMPTION:
4.5 Watts
HEPA SURFACE AREA: 19
sq.ft.
CLASSIFICATION
• Portable HEPA (High
Efficiency Particulate Air)
100% Sealed Air Cleaning
Device
• U.L. and C.S.A. approved
INTEGRATED AIR SEAL (TOP &
BOTTOM)
STAGE 1: WASHABLE PREFILTER
STAGE 2: HEPA FILTER REMOVES
99.97% OF PARTICULATES FROM
0.3 MICRONS IN SIZE
19 SQ. FT SURFACE AREA
LASTS UP TO 5 YEARS
STAGE 3: V.O.C. FILTER
POWERFUL, EFFICIENT
MOTOR/FAN
USES ONLY 4.5 WATTS
C.S.A. AND
N.T.R.L.(U.L.)APPROVED
CLEAN AIR OUTFLOW
TWO SPEED OPERATION
MATERIALS: 24 gauge cold rolled
steel
FINISH: Powder coated baked
enamel
COLOR: Black or White
INTAKE (Upper Section)
Three-stage filter cartridge:
Integrated HEPA filter cartridge
with washable prefilter and V.O.C.
Filter
OUTFLOW (Lower Section)
330 degree perimeter outflow
MOTOR/FAN
• Designed for continuous
operation
• Run tested for 35,000 hours
CONTROL: 3-position, 2-speed
switch
Limited Warranty
The motor/fan in this CanAm Wellness product is warranted by
CanAm Wellness Corporation to the original retail purchaser for FIVE
(5) YEARS from the date of purchase. All other components (except
filters) are warranted for ONE (1) YEAR. CanAm Wellness will repair
or replace at its option the component(s) which upon inspection by an
authorized CanAm Wellness dealer proves to have failed in normal
use, due to defects in material or workmanship, or, at its option, to
replace the unit. Operations other than those recommended in this
manual or at voltages other than that specified on the unit, or any
attempts by unauthorized personnel to service or modify the unit will
void the warranty.
1-877-523-7800
WARRANTY SERVICE IS AVAILABLE BY BRINGING YOUR UNIT, OR
SENDING IT POSTAGE PREPAID, WITH PROOF OF PURCHASE TO THE
VENDOR WHO SOLD YOU THE UNIT

Popular Air Cleaner manuals by other brands

Digimax IonChest Edition quick start guide

Digimax

Digimax IonChest Edition quick start guide

WELLISAIR WADU-02 user manual

WELLISAIR

WELLISAIR WADU-02 user manual

MCi SynAIRgPure 16K owner's manual

MCi

MCi SynAIRgPure 16K owner's manual

Energy Star HRV 5.1 Installation instructions and user guide

Energy Star

Energy Star HRV 5.1 Installation instructions and user guide

Philips AC2882/10 user manual

Philips

Philips AC2882/10 user manual

Hitachi EP-A3000 instruction manual

Hitachi

Hitachi EP-A3000 instruction manual

PureAiro GUARDIAN 30 Installation & operation manual

PureAiro

PureAiro GUARDIAN 30 Installation & operation manual

Sygonix 2267649 operating instructions

Sygonix

Sygonix 2267649 operating instructions

Danby DAP110BAWDB owner's manual

Danby

Danby DAP110BAWDB owner's manual

PremierOne P6100 Installation and maintenance instructions

PremierOne

PremierOne P6100 Installation and maintenance instructions

Trion Air Boss T1001 Module features and benefits

Trion

Trion Air Boss T1001 Module features and benefits

Hamilton Beach TrueAir 04384 Use & care guide

Hamilton Beach

Hamilton Beach TrueAir 04384 Use & care guide

Riccar ECOPURE ECOP2 owner's manual

Riccar

Riccar ECOPURE ECOP2 owner's manual

IQAir HealthPro Compact user manual

IQAir

IQAir HealthPro Compact user manual

Rowenta Eclipse QU503 Series manual

Rowenta

Rowenta Eclipse QU503 Series manual

Hunter 37711 owner's manual

Hunter

Hunter 37711 owner's manual

Goodman GSASD-10 Installation, operation and service instructions

Goodman

Goodman GSASD-10 Installation, operation and service instructions

Beurer LR 300 Instructions for use

Beurer

Beurer LR 300 Instructions for use

manuals.online logo
manuals.online logoBrands
  • About & Mission
  • Contact us
  • Privacy Policy
  • Terms and Conditions

Copyright 2025 Manuals.Online. All Rights Reserved.