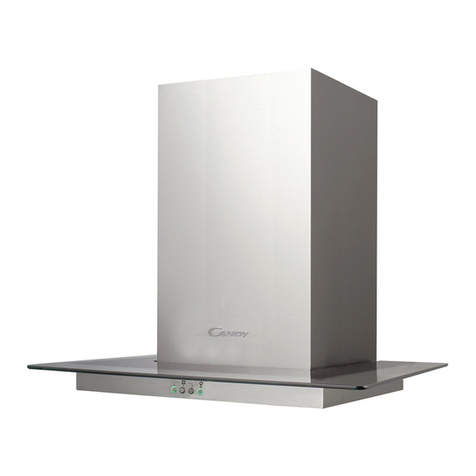
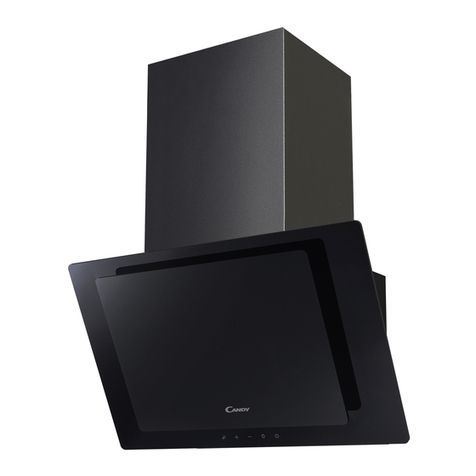
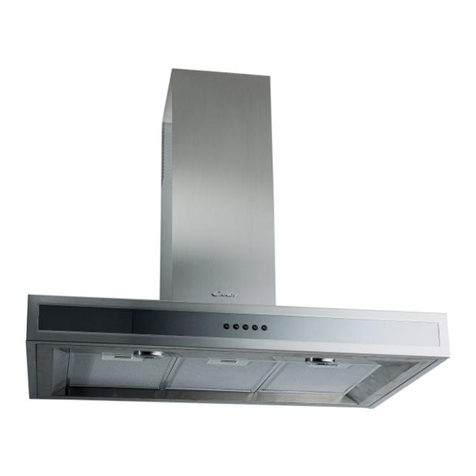
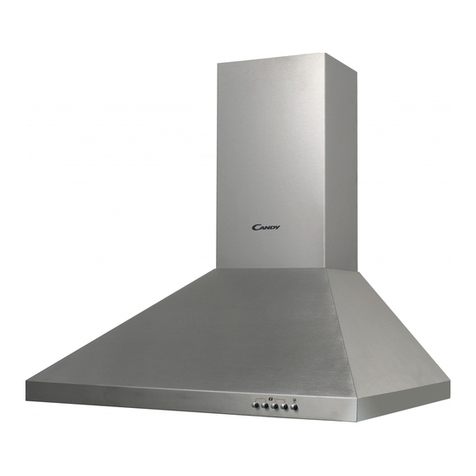
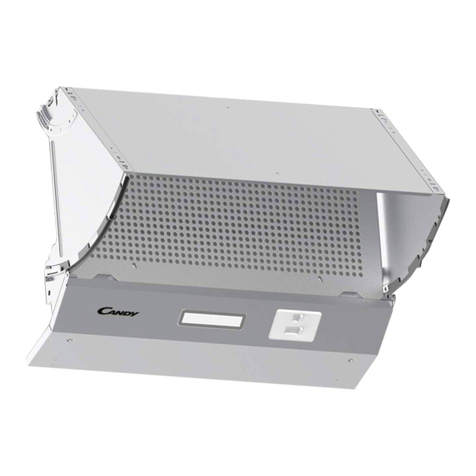
Candy CCC 60BA/1 User manual

ENGLISH -------------------------------------------------------------------- page 001
POLISH ----------------------------------------------------------------------- page 015
CZECK (CS) ---------------------------------------------------------------- page 029
SLOVENIAN ---------------------------------------------------------------- page 043
SLOVAK (SK) -------------------------------------------------------------- page 057
HUNGARIAN ---------------------------------------------------------------- page 071
ROMANIAN ----------------------------------------------------------------- page 085
BULGARIAN(BG) ---------------------------------------------------------- page 099
CCC 60BA/1 & CCC 60GH/1
&
CCC 60X/1 & CCC 60N/1

1
INSTALLATION AND USER’S MANUAL
CCC 60BA/1 & CCC 60GH/1
&
CCC 60X/1 & CCC 60N/1

2
INTRODUCTION
Thank you for choosing this cooker hood.
This instruction manual is designed to provide you with all required instructions
related to the installation, use and maintenance of the appliance. In order to operate
the unit correctly and safety, please read this instruction manual carefully before
installation and usage.
SAFETY PRECAUTION
• Important! Always switch off the electricity
supply at the mains during installation and
maintenance such as light bulb replacement.
• The cooker hood must be installed in
accordance with the installation instructions and
all measurements followed.
• All installation work must be carried out by a
competent person or qualified electrician.
• Please dispose of the packing material carefully.
Children are vulnerable to it.
• Pay attention to the sharp edges inside the
cooker hood especially during installation and
cleaning.
• When the range hood is located above a gas
appliance, the minimum distance between the
supporting surface for the cooking vessels on
the hob and the lowest part of the range hood
that distance must be:
Gas cookers: 70 cm
Electric cookers: 70 cm
Coal or oil cookers: 80 cm

3
• Make sure the ducting has no bends sharper
than 90 degrees as this will reduce the
efficiency of the cooker hood.
• Cooker hood is for domestic use only.
• Always put lids on pots and pans when cooking
on a gas cooker.
• Do not try to use the cooker hood without the
grease filters or if the filters are excessively
greasy.
• When in extraction mode, air in the room is
being removed by the cooker hood. Please
make sure that proper ventilation measures are
being observed. The cooker hood removes
odours from room but not steam.
• There shall be adequate ventilation of the room
when the range hood is used at the same time
as appliances burning gas or other fuels.
• Do not install above a cooker with a high level
grill.
• Do not leave frying pans unattended during use
because overheated fats or oils might catch fire.
• Never leave naked flames under the cooker
hood.
• If the cooker hood is damaged, do not attempt
to use.
• If the supply cord is damaged, it must be
replaced by the manufacturer, its service agent
or similarly qualified persons in order to avoid a
hazard.

4
• This appliance can be used by children aged
from 8 years and above and persons with
reduced physical, sensory or mental capabilities
or lack of experience and knowledge if they
have been given supervision or instruction
concerning use of the appliance in a safe way
and understand the hazards involved. Children
shall not play with the appliance. Cleaning and
user maintenance shall not be made by children
without supervision.
• Caution: The appliance and its accessible parts
can become hot during operation. Be careful to
avoid touching the heating elements. Children
younger than 8 years old should stay away
unless they are under permanent supervision.
− There shall be adequate ventilation of the
room when the range hood is used at the
same time as appliances burning gas or
other fuels.
− There is a fire risk if cleaning is not carried
out in accordance with the instructions.
− Do not flambé under the cooker hood.
− CAUTION: Accessible parts may become hot
when used with cooking appliances.
− The air must not be discharged into a flue that
is used for exhausting fumes from appliances
burning gas or other fuels.
− The minimum distance between the

5
supporting surface for the cooking vessels on
the hob and the lowest part of the range hood.
(When the range hood is located above a gas
appliance, this distance shall be at least
70 cm.
− Regulations concerning the discharge of air
have to be fulfilled.
• Clean your appliance periodically by following
the method given in the chapter
MAINTENANCE
• Warning: Failure to install the screws or fixing
device in accordance with these instructions
may result in electrical hazards.
• Regarding the instructions method of fixing for
the fixed appliance and how the appliance is to
be fixed to its support, thanks to refer to the
section “INSTALLATION AND FIXING”.
• Regarding the instructions for the bulb
changing, thanks to refer to the section “bulb
changing”.
• ILCOS D code for this lamp is: DBS-2/65-H-
120/33

6
PARTS SUPPLIED
Description
Illustration
Qty.
Cooker hood
1
Chimney
1
Plate I
1
Plate II
1
Screw
(4mm x 40mm)
4
Screw
(4mm x 30mm)
4
Wall plug
8
Screw
(4mm x 8mm)
6
Charcoal filter
(CCC 60N/1
CCC 60X/1
Optional)
2

7
INSTALLATION (VENT OUTSIDE)
If you have an outlet to the outside, your cooker hood can be connected as below
picture by means of an extraction duct (enamel, aluminum, flexible pipe or
inflammable material with an interior diameter of 150mm).
Before installation, turn the unit off and unplug it from the outlet.
The cooker hood should be placed at a distance of 70~80cm above the
cooking plane for best effect.
1. Remove the metal grease filters.
2. Position the hood against the wall that you are intending to install it on
and mark the position of the support holes that are to be drilled (as
shown in the figure below).
2a. The support screw holes are indicated by figure Ain this drawing and
the anchoring screw holes are indicated by figure B.
70cm
80cm

8
3. Using a drill bit with a 6 mm diameter, make
holes in the wall on the positions that you
have marked in step 2.
4. Insert rawl plugs into all of the holes that you have drilled.
5. Fasten the support screws halfway in, leaving them 10 mm out of the
wall.
6. Hang the hood onto the support screws.

9
7. Fully tighten the support screws (A) and then screw the anchoring
screws (B) through the relevant holes in the cooker hood. Fully tighten
the anchoring screws into the wall.
8. Plate I and II are used to fix the chimney on the wall. Put the inner chimney on the
outer chimney. Then pull the inner chimney upwards. Install plate I on the chimney
by two screws (4mm x 8mm).
Place the chimney on the cooker hood and determine the location of plate I and II.
Drill holes to accommodate plate I & II.
Screw
(4mm x 8mm)
Plate 1
Outer chimney
Inner chimney

10
Fix plate II on the wall by two screws (4mm x 40mm) and wall plugs.
9. Take out the chimney from the cooker hood Attach the exhaust pipe onto the
one-way-valve as shown below.
10. Put the chimney back to the cooker hood. Before lifting the chimney on the
desired height, fix plate I on the wall by two screws (4mm x 40mm) and wall
plugs. Lift up the chimney to the desired height and fix the chimney on the
plate II by 2 screws (4mm x 8mm)
Fix the lower chimney on the cooker hood by 2 screws (4x8mm)

11
11. Before usage, read all the instructions and make sure that the power rating of
the cooker hood matches the power rating of the supply.
INSTALLATION (OPTIONAL FOR VENT INSIDE)
If you do not have an outlet to the outside, the exhaust pipe is not required and the
installation is similar to the one shown in the “INSTALLATION (VENT OUTSIDE)”
section.
Carbon Filter
Activated carbon filter can be used to trap odors.
In order to install the activated carbon filter, the metallic anti-grease filter should be
detached first. Press the lock and pull it downward.
Put the activated carbon filter into the unit, fix it by turning it.
Repeat the same on the other side.

12
NOTE:
o
Make sure the filter is securely locked. Otherwise, it could loosen and
cause damage to unit.
o
When activated carbon filter attached, the suction power will be lowered.
OPERATION
Switch off button for motor
Press this button to stop the motor operation.
Low Speed button
Press this button to operate at low speed.
Medium Speed button
Press this button to operate at medium speed.
High Speed button
Press this button to operate at high speed.
Light button
Press once, the LED light will illuminate. Press again will turn light off.
MAINTENANCE
Before cleaning, switch the unit off and pull out the plug.
I. Regular Cleaning
Use a soft cloth moistened with hand-warm mildly soapy water or household
cleaning detergent. Never use metal pads, chemical, abrasive material or stiff
brush to clean the unit.
II. Monthly Cleaning for metallic anti-grease filter
ESSENTIAL: Clean the filter every month can prevent any risk of fire.
The filter collects grease, smoke and dust so the filter is directly affecting the
efficiency of the cooker hood. If not cleaned, the grease residue (potential
flammable) will saturate on the filter. Clean it with household cleaning detergent.
III. Annual Cleaning for Activated Carbon Filter
Apply SOLELY to unit that installed as a recirculation unit (not vented to the
outside). This filter traps odours and must be replaced at least once a year
depending on how frequent the cooker hood used.
Open
Close

13
TROUBLESHOOTING
Fault
Cause
Solution
Light on, but
fan does not
work.
The fan blade is
jammed.
Switch off the unit. Repair to carried out
by qualified service personnel only.
The motor is damaged.
Both light and
fan do not
work.
LED light burn.
Replace the light with correct rating.
BULB REPLACEMENT
Important :
The bulb must be replaced by the manufacturer, its
service agent or similarly qualified persons.
Always switch offthe electricity supplybefore
carrying out any operations on the appliance. When
handling bulb, make sure it is completely cool down
before any direct contact to hands.
When handling globes hold with a cl oth or gloves to
ensure perspiration does not come in contact with
the globe as this can reduce the life of the globe.
Changing the light:
*Before changing the lights, make sure that the appliance is plugged off.
*Use the screw driver loosen the ST4*8MM self tapping screw (2pcs) from the lighting
panel, take out the lighting fixture. Open the terminal box that connected with the wire,
disconnect the wire connector and replace the lamp.
• ILCOS D code for this lamp is: DBS-2/65-H-120/33
– LED modules –rectangle lamp
– Max wattage: 1*2 W
– Voltage range: AC 110-240V
– Dimensions:

14
ENVIRONMENTAL PROTECTION:
Note:
The following shows how to reduce total environmental impact (e.g. energy use) of
the cooking process).
(1)
Install the cooker hood in a proper place where there is efficient ventilation.
(2)
Clean the cooker hood regularly so as not to block the airway.
(3)
Remember to switch off the cooker hood light after cooking.
(4)
Remember to switch off the cooker hood after cooking.
Information for dismantling
Do not dismantle the appliance in a way which is not shown in the user manual.
The appliance could not be dismantled by user. At the end of life, the appliance
should not be disposed of with household waste. Check with you Local Authority or
retainer for recycling advice.
This appliance is labelled in accordance with European Directive 2012/19/EU on Waste Electrical
and Electronic Equipment Regulations 2013 regarding electric and electronic appliances (WEEE).
The WEEE contain both polluting substances (that can have a negative effect on the environment)
and base elements (that can be reused). It is important that the WEEE undergo specific treatments
to correctly remove and dispose of the pollutants and recover all the materials. Individuals can
play an important role in ensuring that the WEEE do not become an environmental problem; it is
essential to follow a few basic rules:
- the WEEE should not be treated as domestic waste;
- the WEEE should be taken to dedicated collection areas managed by the town council or a registered
company.
ln many countries, domestic collections may be available for large WEEEs. When you buy a new appliance, the
old one can be returned to the vendor who must accept it free of charge as a one-off, as long as the appliance
is of an equivalent type and has the same functions as the purchased appliance.

15
INSTRUKCJA INSTALACJI I OBSŁUGI
CCC 60BA/1 & CCC 60GH/1
&
CCC 60X/1 & CCC 60N/1

16
WSTĘP
Dziękujemy za wybranie niniejszego okapu kuchennego.
W niniejszym podręczniku znajdują się wszelkie wymagane instrukcje związane z
instalacją, użytkowaniem i konserwacją tego urządzenia. Aby prawidłowo i bezpiecznie
obsługiwać to urządzenie, należy zapoznać się dokładnie z niniejszą instrukcją przed
zainstalowaniem go i pierwszym użyciem.
ŚRODKI BEZPIECZEŃSTWA
• Ważne! Zawsze odłączać zasilanie od sieci
elektrycznej na czas instalacji i przeprowadzania
czynności konserwacyjnych, na przykład wymiany
żarówki.
• Okap kuchenny należy zainstalować zgodnie z
instrukcją instalacji i podanymi środkami
ostrożności.
• Wszelkie czynności instalacyjne powinna wykonać
kompetentna osoba lub wykwalifikowany elektryk.
• Usunąć materiał opakowania z należytą
starannością. Może on stanowić zagrożenie dla
dzieci.
• Uważać na ostre krawędzie wewnątrz okapu,
zwłaszcza podczas instalacji i czyszczenia.
• Gdy okap kuchenny jest umieszczany nad
kuchenką gazową, minimalna odległość między
powierzchnią płyty grzejnej, na której położone są
naczynia do gotowania, a najniższą częścią okapu
musi być następująca:
Kuchenki gazowe: 70 cm
Kuchenki elektryczne: 70 cm
Kuchenki węglowe lub olejowe: 80 cm

17
• Upewnić się, że kanał nie jest zagięty bardziej niż pod
kątem 90 stopni, ponieważ może to ograniczyć
skuteczność działania okapu.
• Okap kuchenny służy wyłącznie do użytku domowego.
• Zawsze umieszczać pokrywki na garnkach i
patelniach podczas gotowania na kuchence gazowej.
• Nie próbować używać okapu bez filtrów
przeciwtłuszczowych lub jeśli filtry są nadmiernie
zabrudzone tłuszczem!
• W trybie wyciągania powietrze jest przez okap
usuwane z pomieszczenia. Upewnić się, że
zapewniona jest prawidłowa wentylacja
pomieszczenia. Okap kuchenny usuwa z
pomieszczenia nieprzyjemny zapach, ale nie parę.
• Powinna być zapewniona odpowiednia wentylacja
pomieszczenia, kiedy okap kuchenny jest używany
wspólnie z urządzeniami spalającymi gaz lub inne
paliwa.
• Nie instalować nad kuchenką z wysoko położonym
grillem.
• Nie zostawiać bez nadzoru patelni, na której smaży
się potrawa, ponieważ przegrzane tłuszcze lub oleje
mogą się zapalić.
• Nigdy nie zostawiać otwartych płomieni pod okapem.
• W razie uszkodzenia okapu nie należy próbować z
niego korzystać.
• W razie uszkodzenia kabla zasilającego powinien go
wymienić producent, serwisant lub inna
wykwalifikowana osoba, aby uniknąć zagrożenia.

18
• Urządzenie to może być obsługiwane przez dzieci
powyżej 8 roku życia oraz osoby o ograniczonej
zdolności fizycznej, czuciowej lub psychicznej bądź
nieposiadające doświadczenia i wiedzy, jeśli są one
pod nadzorem lub poinstruowano je w zakresie
bezpiecznej obsługi urządzenia i zrozumiały one
ewentualne zagrożenia. Nie zezwalać dzieciom na
zabawę z urządzeniem. Czyszczenie i konserwacja
urządzenia nie powinny być przeprowadzane przez
dzieci bez nadzoru.
• Przestroga: Urządzenie i niektóre z jego elementów
mogą się nagrzać w trakcie pracy. Należy unikać
dotykania nagrzanych elementów. Dzieci w wieku
poniżej 8 lat należy trzymać z dala od urządzenia,
chyba że są one pod stałym nadzorem.
• Powinna być zapewniona odpowiednia wentylacja
pomieszczenia, kiedy okap kuchenny jest używany
wspólnie z urządzeniami spalającymi gaz lub inne
paliwa.
− Istnieje ryzyko pożaru, jeśli czyszczenie nie
będzie przeprowadzane zgodnie z instrukcjami.
− Nie doprowadzać do powstawania wysokiego
płomienia pod okapem.
− PRZESTROGA: Dostępne elementy mogą się
nagrzewać w przypadku korzystania z urządzeń
kuchennych.
− Powietrze nie może być odprowadzane do
przewodu kominowego, który jest wykorzystywany
do odprowadzania spalin z urządzeń spalających
gaz lub inne paliwa.

19
− Minimalna odległość między powierzchnią płyty
grzejnej, na której położone są naczynia do
gotowania, a najniższą częścią okapu.
(Gdy okap jest umieszczony nad kuchenką
gazową, odległość ta powinna wynosić co
najmniej 70 cm).
− Należy przestrzegać przepisów dotyczących
odprowadzania powietrza.
• Okresowo należy czyścić swoje urządzenie
zgodnie z metodą opisaną w rozdziale
„KONSERWACJA”.
• Ostrzeżenie: Niezainstalowanie śrub lub urządzenia
mocującego zgodnie z niniejszymi instrukcjami
może skutkować zagrożeniami elektrycznymi.
• Jeśli chodzi o instrukcję mocowania zmontowanego
urządzenia i sposób mocowania urządzenia do jego
wspornika, należy zapoznać się z rozdziałem
„INSTALACJA I MOCOWANIE”.
• Jeśli chodzi o instrukcję wymiany żarówki, należy
zapoznać się z rozdziałem „WYMIANA ŻARÓWKI”.
• Kod ILCOS D dla tej żarówki jest następujący: DBS-
2/65-H-120/33.
This manual suits for next models
3
Table of contents
Languages:
Other Candy Ventilation Hood manuals

Candy
Candy CMBS655X User manual

Candy
Candy CBT6240W User manual

Candy
Candy CBT 96 User manual

Candy
Candy CA32805 User manual

Candy
Candy CBT6130X User manual

Candy
Candy CBG620/1W User manual

Candy
Candy CSD6MXGG User manual

Candy
Candy CCLH 916 User manual

Candy
Candy CBG 640 User manual

Candy
Candy CBT625/2B User manual

Candy
Candy CGM 91 User manual

Candy
Candy CFT 610 3W Technical manual

Candy
Candy CCE16 User manual

Candy
Candy CBP613NGR/S User manual

Candy
Candy CBT625/1X User manual

Candy
Candy CFT 161 FX User manual

Candy
Candy CFT63/1W/1 User manual

Candy
Candy CBT6130/3X User manual

Candy
Candy CFT610/5X User manual

Candy
Candy CT6360IN User manual