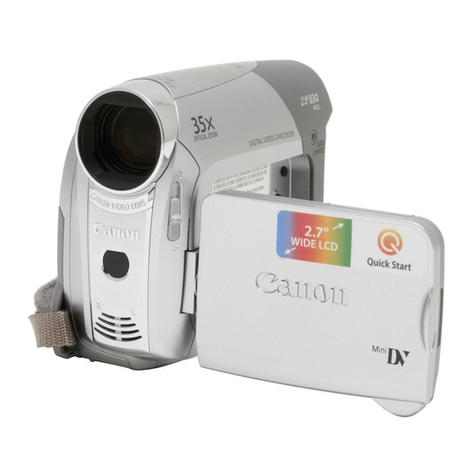
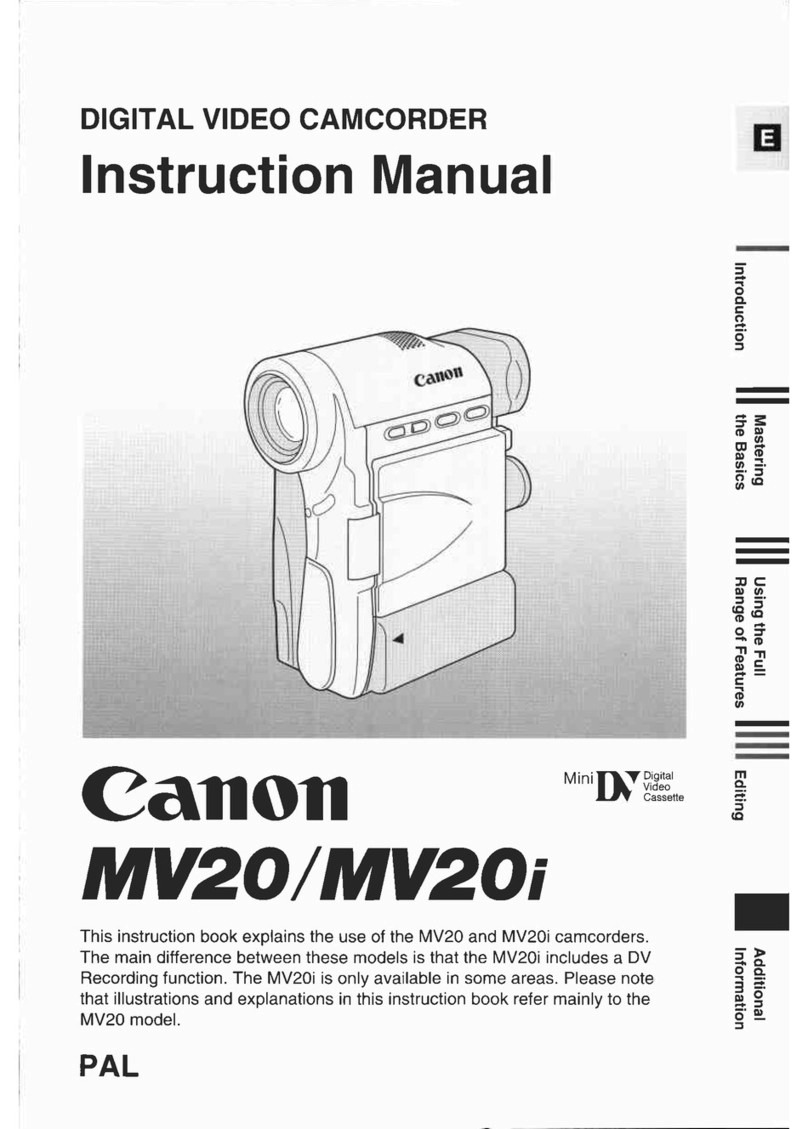
Canon MV690 User manual

Digital Video Camcorder
Instruction Manual English
PAL
CANON INC.
Canon Europa N.V.
P.O. Box 2262, 1180 EG Amstelveen, the Netherlands
Canon UK Ltd.
CCI Service Centre, Unit 130
Centennial Park, Borehamwood, Hertfordshire, WD6 3SE, England
Telephone 0870-241-2161
Canon Australia Pty. Ltd.
Info-Line: 131383
www.canon.com.au
Canon New Zealand Ltd.
Customer Care: (09) 489 0470
www.canon.co.nz
Canon Singapore Pte. Ltd
79 Anson Road #09-01/06, Singapore 079906
Telephone (65)-532-4400, Fax (65)-221-2939
Canon Hongkong Company Ltd
19/F., The Metropolis Tower, 10 Metropolis Drive, Hunghom, Kowloon, Hong Kong
Canon Latin America, Inc.
Sales & Enquiries: 703 Waterford Way Suite 400 Miami, FL 33126 USA
Printed on 100% reused paper.
PRINTED IN JAPAN
© CANON INC. 2004
DY8-9020-130-000
0039W767
PUB.DIE-199
0000Ni0.0
PUB.DIE-199
PUB.DIE-199
Introduction
Basic Functions
Advanced
Functions
Editing
Using a
Memory Card
Direct
Printing
Additional
Information
Mini Digital
Video
Cassette
Please read also the following instruction
manuals.
•Digital Video Software (MV750i/MV730i)
•DV Network Software
Digital Video Software Version 10
Instruction Manual
If you are using Windows operating system, use the supplied
DIGITAL VIDEO SOLUTION DISK For Windows.
If you are using Macintosh operating system, use the supplied
DIGITAL VIDEO SOLUTION DISK For Macintosh.
E
DV Network Software Version 2
Instruction Manual (Installation and Preparation)
This software is for use with Windows®XP only.
PUB. DIE-195
E
This manual covers the installation and the connection procedures only.For
more operating instructions, refer to the PDF format manual provided on the
DIGITAL VIDEO SOLUTION DISK For Windows.

2
Important Usage Instructions
WARNING:
TO REDUCE THE RISK OF ELECTRIC SHOCK, DO NOT REMOVE COVER (OR
BACK). NO USER SERVICEABLE PARTS INSIDE. REFER SERVICING TO
QUALIFIED SERVICE PERSONNEL.
WARNING:
TO REDUCE THE RISK OF FIRE OR ELECTRIC SHOCK, DO NOT EXPOSE THIS
PRODUCT TO RAIN OR MOISTURE.
CAUTION:
TO REDUCE THE RISK OF ELECTRIC SHOCK AND TO REDUCE ANNOYING
INTERFERENCE, USE THE RECOMMENDED ACCESSORIES ONLY.
CAUTION:
DISCONNECT THE MAINS PLUG FROM THE SUPPLY SOCKET WHEN NOT IN USE.
• Use of CV-150F/CV-250F DV cable is necessary to comply with the technical requirement
of EMC Directive.
CA-570 identification plate is located on the bottom.

3
Introduction
E
Using this Manual
Thank you for purchasing the Canon MV750i/MV730i/MV700i/MV700/MV690. Please
read this manual carefully before you use the camcorder and retain it for future
reference.
Change the display language before you begin ( 75).
Symbols and References Used in This Manual
❍:Precautions related to the camcorder operation.
❍:Additional topics that complement the basic operating procedures.
❍:Reference page number.
❍Capital letters are used to refer to buttons on the camcorder or the wireless controller
(MV750i/MV730i).
❍[ ] are used to refer to menu items displayed on the screen.
❍“Screen” refers to the LCD and the viewfinder screen.
❍Please note that the illustrations mainly refer to the MV750i.
: Function can be used in this mode.
: Function cannot be used in this mode.
Trademark Acknowledgements
•Canon and Bubble Jet are registered trademarks of Canon Inc.
•Dis a trademark.
•is a trademark.
•Windows®is either a registered trademark or trademark of Microsoft Corporation in the United States
and/or other countries.
•Macintosh and Mac OS are trademarks of Apple Computer, Inc., registered in the United States and
other countries.
•Other names and products not mentioned above may be registered trademarks or trademarks of their
respective companies.
CAMERA
CAMERA
Operating Mode POWER Switch TAPE/CARD Switch
CAMERA CAMERA b(TAPE)
PLAY (VCR) PLAY (VCR) b(TAPE)
CARD CAMERA CAMERA (CARD)
CARD PLAY PLAY (VCR) (CARD)
Shaded area : MV750i/MV730i only.
Basic Functions -
E
Setting the Time Zone, Date and Time
Set the time zone, date and time when you first start using your camcorder, or when
you have replaced the backup battery.
Setting the Time Zone/Daylight Saving Time
1. Press the MENU button to open the menu.
2. Turn the SET dial to select [SYSTEM] and press the
SET dial.
3. Turn the SET dial to select [T.ZONE/DST] and press
the SET dial.
The time zone setting appears (see table on the next page). The default setting is Paris.
CARD PLAY
CARD CAMERAPLAY (VCR)CAMERA
(38)
Button and switches to be operated
Menu item and its default setting.
Operating modes (see below)

4
Table of Contents
Introduction
Important Usage Instructions ........................................................................................2
Using this Manual ..........................................................................................................3
Checking Supplied Accessories ......................................................................................6
Components Guide ........................................................................................................7
Basic Functions
Preparations
Preparing the Power Supply........................................................................................11
Loading/Unloading a Cassette ....................................................................................14
Installing the Backup Battery ......................................................................................15
Preparing the Camcorder ............................................................................................16
Using the Wireless Controller ..........................................................18
Setting the Time Zone, Date and Time......................................................................19
Recording
Recording Movies on a Tape ......................................................................................22
Recording Still Images on a Tape................................................................................27
Zooming ........................................................................................................................28
Tips for Making Better Videos ....................................................................................30
Playback
Playing Back a Tape ......................................................................................................31
Adjusting the Volume ..................................................................................................33
Playing Back on a TV Screen........................................................................................34
Using the Full Range of Features
Menus and Settings ......................................................................................................38
Recording
Using the Recording Programs....................................................................................45
Using the Night Modes ................................................................................................48
Skin Detail Function......................................................................................................49
Adjusting the AE Shift ..................................................................................................50
Adjusting the Focus Manually ....................................................................................51
Setting the White Balance ..........................................................................................53
Setting the Shutter Speed............................................................................................55
Using the Self-Timer......................................................................................................57
Changing the Recording Mode (SP/LP) ......................................................................58
Audio Recording ..........................................................................................................59
Using Digital Effects......................................................................................................61
Playback
Magnifying the Image ................................................................................................68
Displaying the Data Code ..........................................................................................69
End Search......................................................................................................................71
Returning to a Pre-marked Position ................................................72
Photo Search/Date Search ................................................................73

5
Introduction
E
Other Functions
Customizing the Camcorder ........................................................................................74
Changing the Display Language ................................................................................75
Changing the Remote Sensor Mode ..............................................76
Other Camcorder Settings ..........................................................................................77
Editing
Recording to a VCR or Digital Video Device ............................................................79
Recording from Analog Video Devices (VCR, TV or
Camcorder) ................................................................................................................81
Recording from Digital Video Devices (DV Dubbing) ......82
Converting Analog Signals into Digital Signals
(Analog-Digital Converter) ......................................................................................84
Replacing Existing Scenes (AV Insert) ..............................................86
Audio Dubbing ..................................................................................88
Connecting to a Computer Using a DV (IEEE1394) Cable ......................................91
Using a Memory Card
Inserting and Removing a Memory Card ..................................................................92
Selecting the Image Quality/Size ................................................................................93
File Numbers ..................................................................................................................95
Recording Still Images on a Memory Card ................................................................96
Reviewing a Still Image Right after Recording ......................................................100
Recording Motion JPEG Movies on a Memory Card..............................................101
Selecting the Focusing Point ....................................................................................103
Recording Panoramic Images (Stitch Assist Mode) ................................................104
Playing Back a Memory Card ....................................................................................106
Protecting Images ......................................................................................................109
Erasing Images ............................................................................................................110
Combining Images (Card Mix) ..................................................................................111
Copying Still Images....................................................................................................115
Formatting a Memory Card ......................................................................................117
Connecting to a Computer Using a USB Cable ......................................................118
Creating a Start-up Image ........................................................................................119
Direct Printing
Printing Still Images ....................................................................................................120
Selecting the Print Settings (Paper/Style) ................................................................123
Printing with Print Order Settings ............................................................................126
Additional Information
Screen Displays ............................................................................................................128
List of Messages ..........................................................................................................131
Maintenance/Others ..................................................................................................134
Troubleshooting ..........................................................................................................140
System Diagram ..........................................................................................................143
Optional Accessories ..................................................................................................144
Specifications ..............................................................................................................147
Index ............................................................................................................................149
This manual suits for next models
6
Table of contents
Other Canon Camcorder manuals

Canon
Canon LEGRIA HF20 User manual

Canon
Canon DIGITAL IXUS 430 User manual

Canon
Canon XL 1 User manual

Canon
Canon Digital Camcorders User manual

Canon
Canon LEGRIA HF R16 User manual

Canon
Canon Legria HF R66 User manual

Canon
Canon XL 2 User manual

Canon
Canon FS200 - Camcorder - 680 KP Assembly instructions

Canon
Canon UC 100 User manual

Canon
Canon 4063B001 User manual

Canon
Canon LU A 8S User manual

Canon
Canon Vixia HF21 User manual

Canon
Canon DC330 User manual

Canon
Canon Vixia HV40 User manual

Canon
Canon ZR960 User manual

Canon
Canon MV 30 User manual

Canon
Canon Zoom DS-8 User manual

Canon
Canon MV500 User manual

Canon
Canon VIXIA HF S10 User manual

Canon
Canon ZR500 User manual