manuals.online logo
Brands
  1. Home
  2. •
  3. Brands
  4. •
  5. Canon
  6. •
  7. Camcorder
  8. •
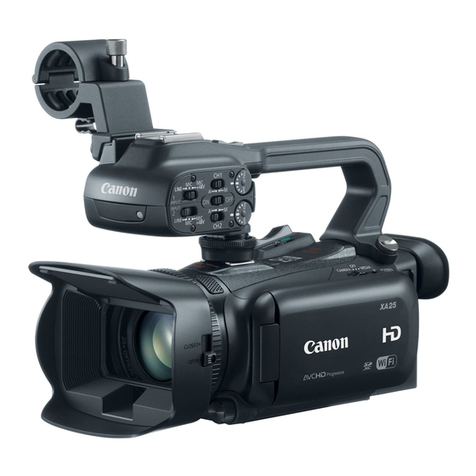
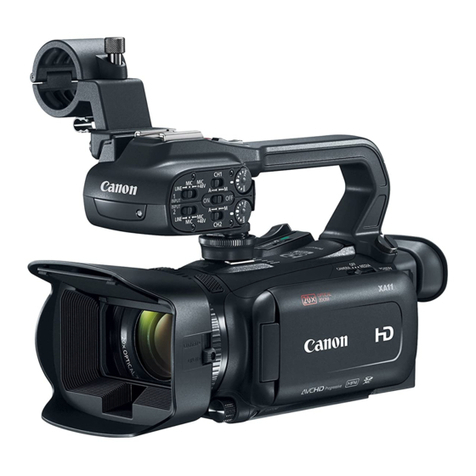
  9. Canon XF705 User manual

Canon XF705 User manual

GUIDE
IP Streaming With XF705
XF705 IP STREAMING GUIDE
(VLC VERSION)
For more info:
pro.usa.canon.com
© 2021 Canon U.S.A., Inc. All rights reserved.
These materials explain the procedure for receiving XF705’s IP streaming with the “VLC” application installed on a PC.
(Please refer to www.videolan.org for system requirements)
1. IP streaming (“VLC” application) set up
1-1 Things to prepare
1-2 Connection diagram
2. Set the PC’s IP address in advance
3. XF705 camcorder settings
3-1 Select Ethernet
3-2 Make preparations to receive streaming
3-2-1 Set the recording format and system frequency
3-2-2 Select bit rate and resolution
3-2-3 Select audio output channel
3-2-4 Input streaming destination IP address and port number
3-2-5 Select the transport protocol
4. Streaming transmission
4-1 Select XF705’s network connection settings
4-2 Perform VLC settings on the PC
1.IP streaming (“VLC” application) set up
1-1 Things to prepare
①XF705
②PC (with VLC application installed from www.videolan.org)
*Operation checks have been performed with Ver. 3.0.12.
③Ethernet cable ×1
1-2 Connection diagram
Assumed connection format: XF705 ⇔Ethernet cable ⇔PC
Connect (1) XF705 and (2) PC with an Ethernet cable.
2. Set the PC’s IP address in advance
PC settings:
①Start the PC connected to the network, and go to [Control Panel] ⇒[Network and Internet] ⇒[Network and
Sharing Center]. On the network settings screen, open Properties from the [Local area connection] state. Select
Internet protocol 4 (TCP/IPv4), and open Properties. Do not select [Obtain an IP address automatically]. Instead,
select [Use the following IP address] and set the settings shown below.
(1) XF705
③Ethernet cable
・We recommend using a category 5e (CAT5c) or higher Ethernet cable that supports gigabit.
*When using a category 5 (CAT5) cable, IP streaming was not possible in some cases.
(2) PC
・For the IP address, input [192.168.0.xxx]
For example: [192.168.000.002]
・For the subnet mask, input [255.255.255.0]
*Generally, the subnet mask values will be entered
automatically once you input the IP address.
3.Next, perform the XF705’s network settings
3-1 Select Ethernet
①From MENU, go to [Network settings menu] ⇒[Connection settings] ⇒Press SET.
②Select connection destination ⇒Press SET.
・Four connection settings can be registered. Push the joystick up and down to change screens.
③Select [Edit] ⇒Press SET.
④Select [Ethernet] ⇒Press SET.
⑤For the method to obtain IP address, select [Manual] ⇒Press SET.
⑥Input [192.168.0.xxx] as the IP address. Example: [192.168.0.3]
*These values are the address the XF705 itself has. Set the values at the end so that they are not the same as those
of the device you are connecting to (the values set on the PC).
⑦Input [255.255.255.0] for subnet mask ⇒Press SET.
⑧[Default Gateway], [Primary DNS Server], and [Secondary DNS Server] are not necessary for the assumed
connection format of these materials, so you can ⇒Press SET.
⑨Confirm the network settings ⇒Press OK.
3-2 Make preparations for streaming transmission
3-2-1 Set the recording format and system frequency
①From MENU, select [Recording/Media Setup] ⇒and for [Recording Format], select [XF-HEVC / XF-AVC].
②From MENU, select [Recording/Media Setup] ⇒and for [System Frequency], select [59.94 Hz / 50.00 Hz].
→With the two settings above, the details of the [Streaming Output Signal] list displayed will change.
3-2-2 Select bit rate and resolution.
①Select [Network Settings] ⇒[IP Streaming Settings] ⇒[Streaming Output Signal].
②Select any option ⇒Press SET.
(For recording format, we recommend XF-AVC rather than XF-HEVC for IP streaming with VLC)
3-2-3 Select the audio output channel
①Select [Network Settings] ⇒[IP Streaming Settings] ⇒[Audio Output Channel].
②Select any option ⇒Press SET.
(*For the audio to record, from MENU [ Audio settings] ⇒[Select CH1/CH2 Input] and [Select CH3/CH4
Input], you can select any of [INPUT terminal / MIC terminal / Internal mic.])
3-2-4 Input streaming destination IP address and port number
①Select [Network Settings] ⇒[IP Streaming Settings] ⇒[Dest. IP address].
②Input the IP address of the device you are connecting to (PC) ⇒Press SET.
Example: [192.168.0.2] (The PC’s IP address set in advance.)
③If necessary, input the [Dest. Port No.] in the same way ⇒Press SET.
●Normally, the port number initially set is used (it is normally 5000).
3-2-5 Select the transport protocol
①Select [Network Settings] ⇒[IP Streaming Settings] ⇒[Protocol].
②Select any one of UDP or RTP or RTP+FEC ⇒Press SET
(The [UDP] protocol will be selected for this example).
UDP: Prioritizes high-speed transmission; reliability/order not guaranteed. Ignores lost/delayed packets.
RTP: Standard format for video/audio distribution on Internet. Ignores lost/delayed packets.
RTP+FEC: Through transmission via RTP and forward error correction (FEC*) control, lost/delayed packets
are recovered on the receiver side.
*A decoder or PC software that supports FEC control is required.
4.Streaming transmission
XF705:
4-1 Select XF705’s network connection settings.
①Select [Network Settings] ⇒[Network Functions] ⇒[IP Streaming].
②⇒Press SET.
●Camcorder will connect to network and icon showing the connection method will be shown.
●On the screen [ ] (yellow) will be shown, and when transmission preparation are complete, the icon will
change to white, and video/audio streaming transmission will start.
●When [Off] is selected for [Network Functions], transmission will terminate, and the [ ] icon will disappear.
PC:
4-2 Perform VLC settings on the PC
・Open the VLC Media Player, and select [Media] ⇒[Open Network Stream] ⇒[Network (N) tab].
⇒In the [Please enter a network URL] cell, input the network URL that matches the protocol that
was selected under the IP Streaming Settings earlier (under 3-2-5 in the guide).
For this example, input 【udp://@:5000】and click [Play (P)▼].
⇒If successful, the images will appear on the screen.
*Notes:
・Recording to the SD card during IP streaming is not possible.
・The specification is for the IP streaming function to remain engaged, and not be turned off when a media mode is
switched or the camcorder power is turned off, and for IP streaming to start (restart) when the camcorder recovers,
or the camcorder’s power is turned back on.

Other manuals for XF705

3

Other Canon Camcorder manuals

Canon ivy REC User manual

Canon

Canon ivy REC User manual

Canon elura50 User manual

Canon

Canon elura50 User manual

Canon UC 3000 User manual

Canon

Canon UC 3000 User manual

Canon UC X 15 Hi User manual

Canon

Canon UC X 15 Hi User manual

Canon 2691B001 User manual

Canon

Canon 2691B001 User manual

Canon MVX 350 i User manual

Canon

Canon MVX 350 i User manual

Canon DC DC210 User manual

Canon

Canon DC DC210 User manual

Canon Optura 300 User manual

Canon

Canon Optura 300 User manual

Canon Canosound 514XL-S User manual

Canon

Canon Canosound 514XL-S User manual

Canon VIXIA HF11 User manual

Canon

Canon VIXIA HF11 User manual

Canon ZR 40 User manual

Canon

Canon ZR 40 User manual

Canon ZR 40 User manual

Canon

Canon ZR 40 User manual

Canon Legria HF G25 User manual

Canon

Canon Legria HF G25 User manual

Canon G 35 Hi User manual

Canon

Canon G 35 Hi User manual

Canon DC10 E User manual

Canon

Canon DC10 E User manual

Canon XL 1A User manual

Canon

Canon XL 1A User manual

Canon ES8400V User manual

Canon

Canon ES8400V User manual

Canon VIXIA HF R10 User manual

Canon

Canon VIXIA HF R10 User manual

Canon E 77 User manual

Canon

Canon E 77 User manual

Canon MV500 User manual

Canon

Canon MV500 User manual

Canon DC20 E User manual

Canon

Canon DC20 E User manual

Canon C-100 MK I User manual

Canon

Canon C-100 MK I User manual

Canon Legria HFM52 User manual

Canon

Canon Legria HFM52 User manual

Canon DVD CAMCORDER DC410 User manual

Canon

Canon DVD CAMCORDER DC410 User manual

Popular Camcorder manuals by other brands

Vivitar DVR 830XHD owner's manual

Vivitar

Vivitar DVR 830XHD owner's manual

Panasonic HX-WA20PP Service manual

Panasonic

Panasonic HX-WA20PP Service manual

Sony HDR-AS10 operating guide

Sony

Sony HDR-AS10 operating guide

Sharp VL-H400S Operation manual

Sharp

Sharp VL-H400S Operation manual

Panasonic AJ-D900WAP operating instructions

Panasonic

Panasonic AJ-D900WAP operating instructions

Samsung VP-D6550 Owner's instruction book

Samsung

Samsung VP-D6550 Owner's instruction book

Sony Handycam HDR-FX1E operating instructions

Sony

Sony Handycam HDR-FX1E operating instructions

Sony Handycam HDR-FX1000 Specifications

Sony

Sony Handycam HDR-FX1000 Specifications

Naxa NDC-402 instruction manual

Naxa

Naxa NDC-402 instruction manual

LG L320-BN owner's manual

LG

LG L320-BN owner's manual

Vivitar DVR 865HD user manual

Vivitar

Vivitar DVR 865HD user manual

Toshiba CAMILEO Z100 user guide

Toshiba

Toshiba CAMILEO Z100 user guide

Panasonic NV-VS40B operating instructions

Panasonic

Panasonic NV-VS40B operating instructions

Sony Handycam DCR-DVD7E operating guide

Sony

Sony Handycam DCR-DVD7E operating guide

Brinno TimeLapse TLC200 user manual

Brinno

Brinno TimeLapse TLC200 user manual

JVC GR-SXM68AC Schematic diagram

JVC

JVC GR-SXM68AC Schematic diagram

MYDLINK DCS-6100LH Quick installation guide

MYDLINK

MYDLINK DCS-6100LH Quick installation guide

Sony video Hi8 Handycam CCD-TR555 operating instructions

Sony

Sony video Hi8 Handycam CCD-TR555 operating instructions

manuals.online logo
manuals.online logoBrands
  • About & Mission
  • Contact us
  • Privacy Policy
  • Terms and Conditions

Copyright 2025 Manuals.Online. All Rights Reserved.