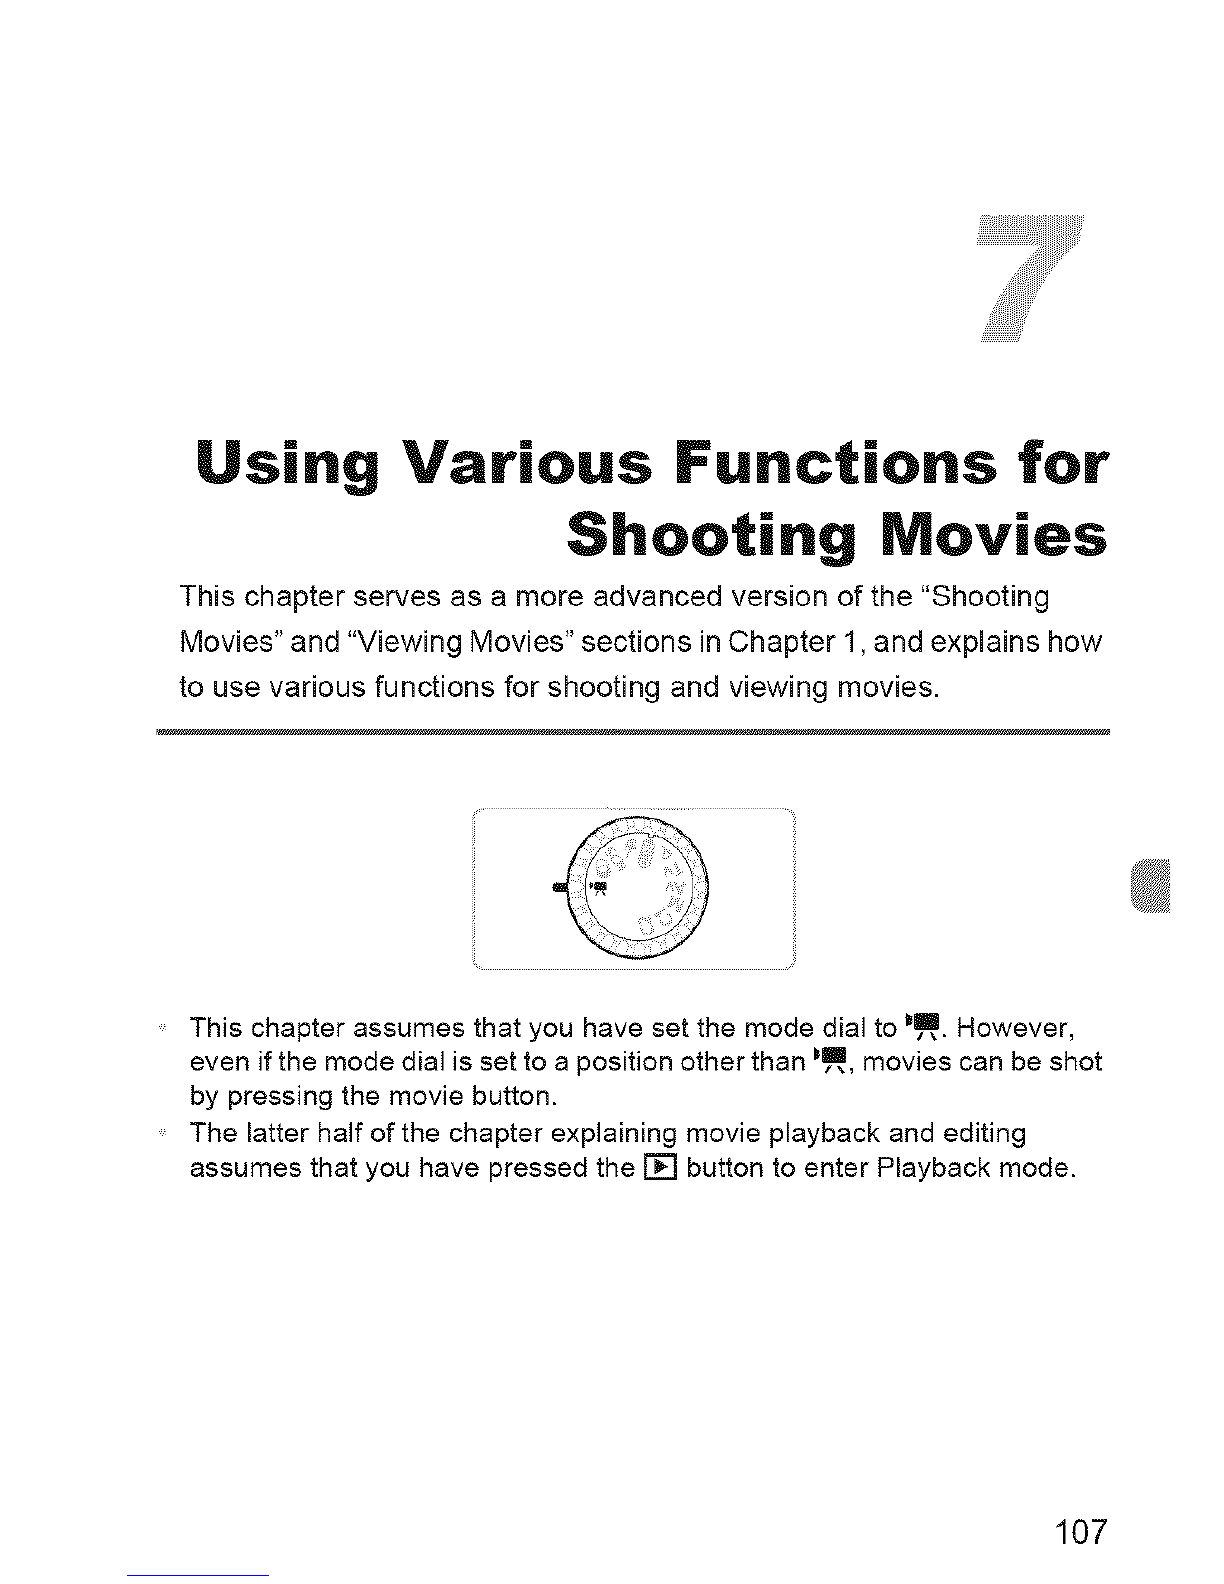
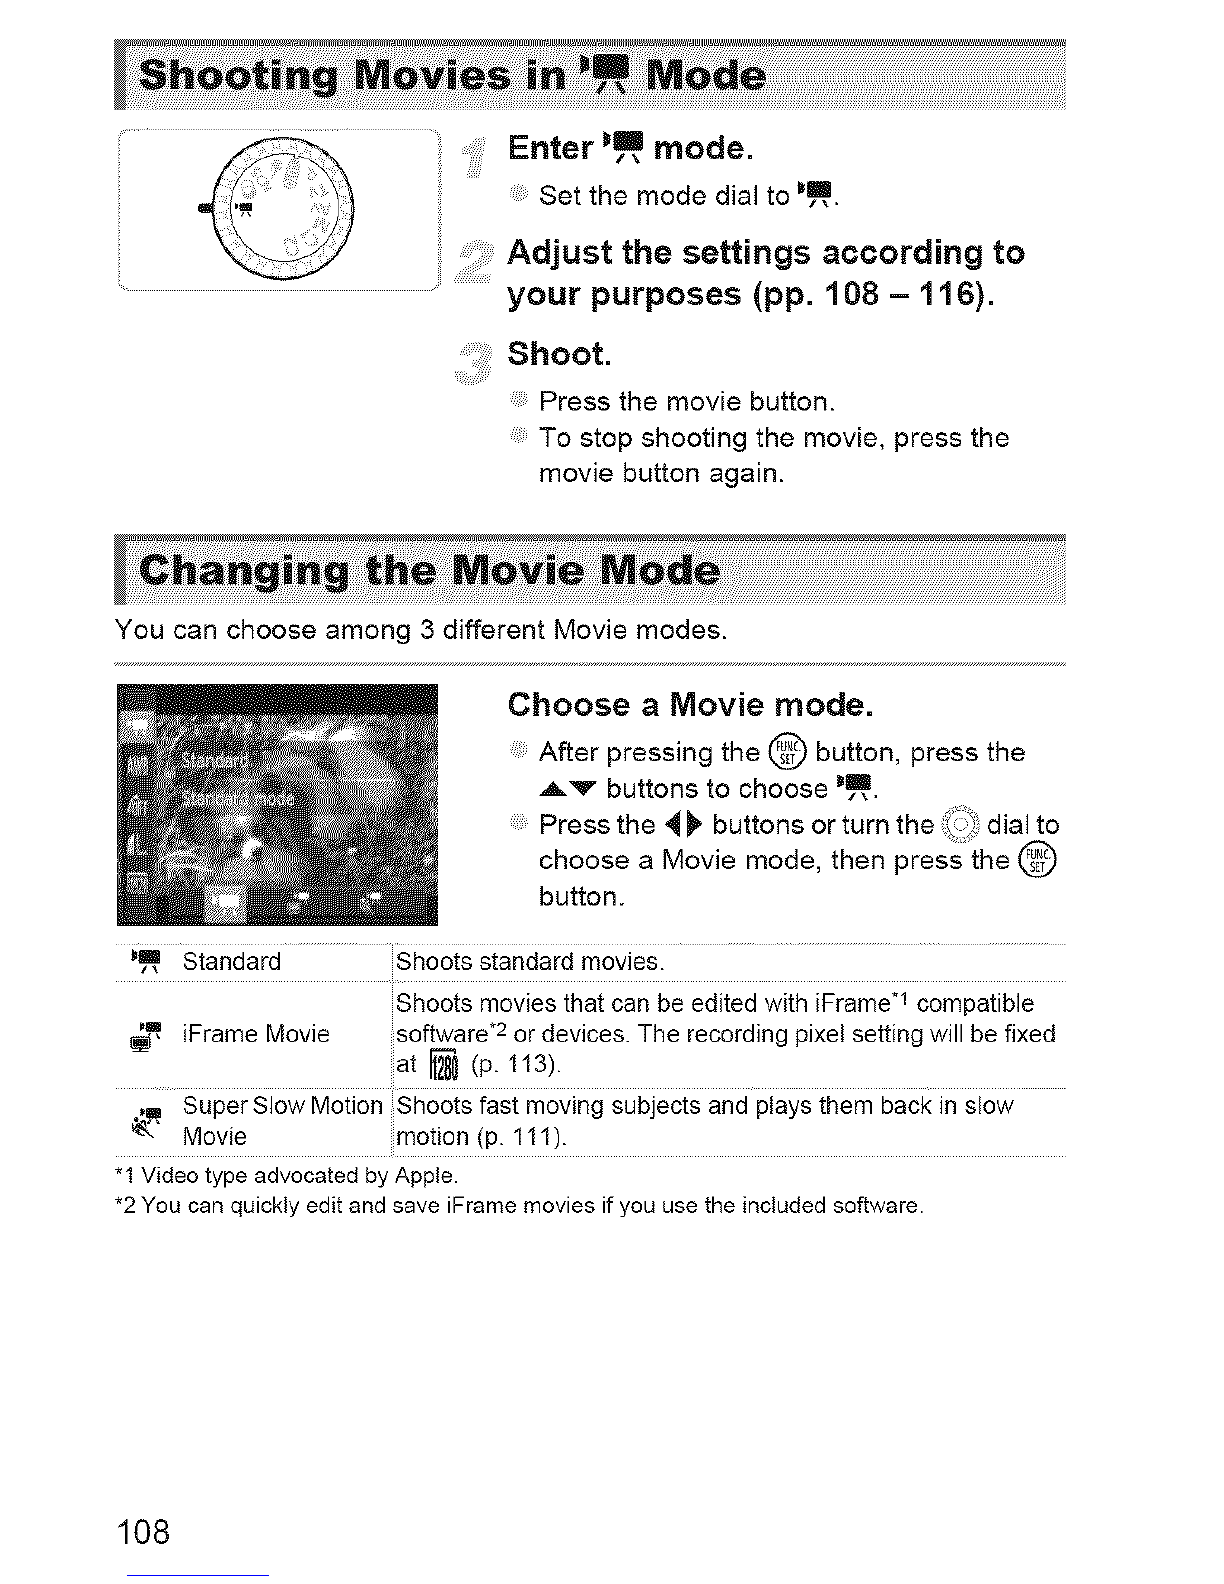
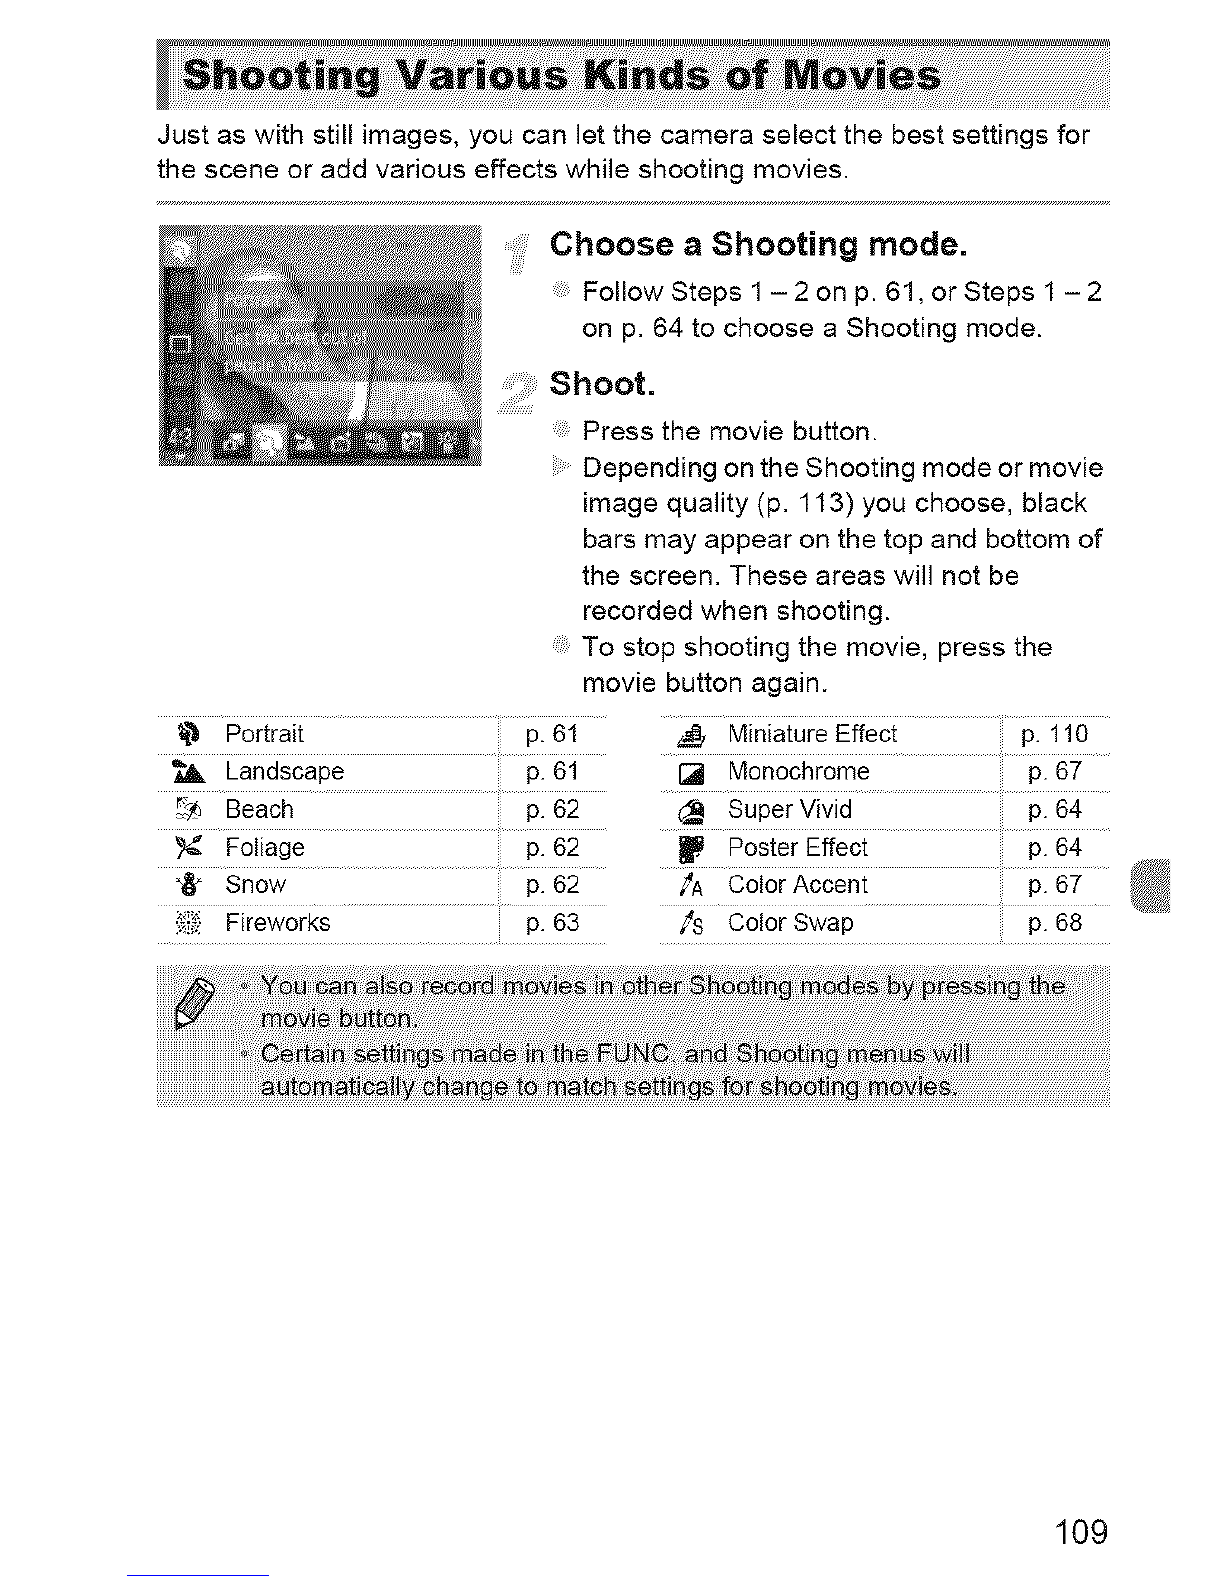
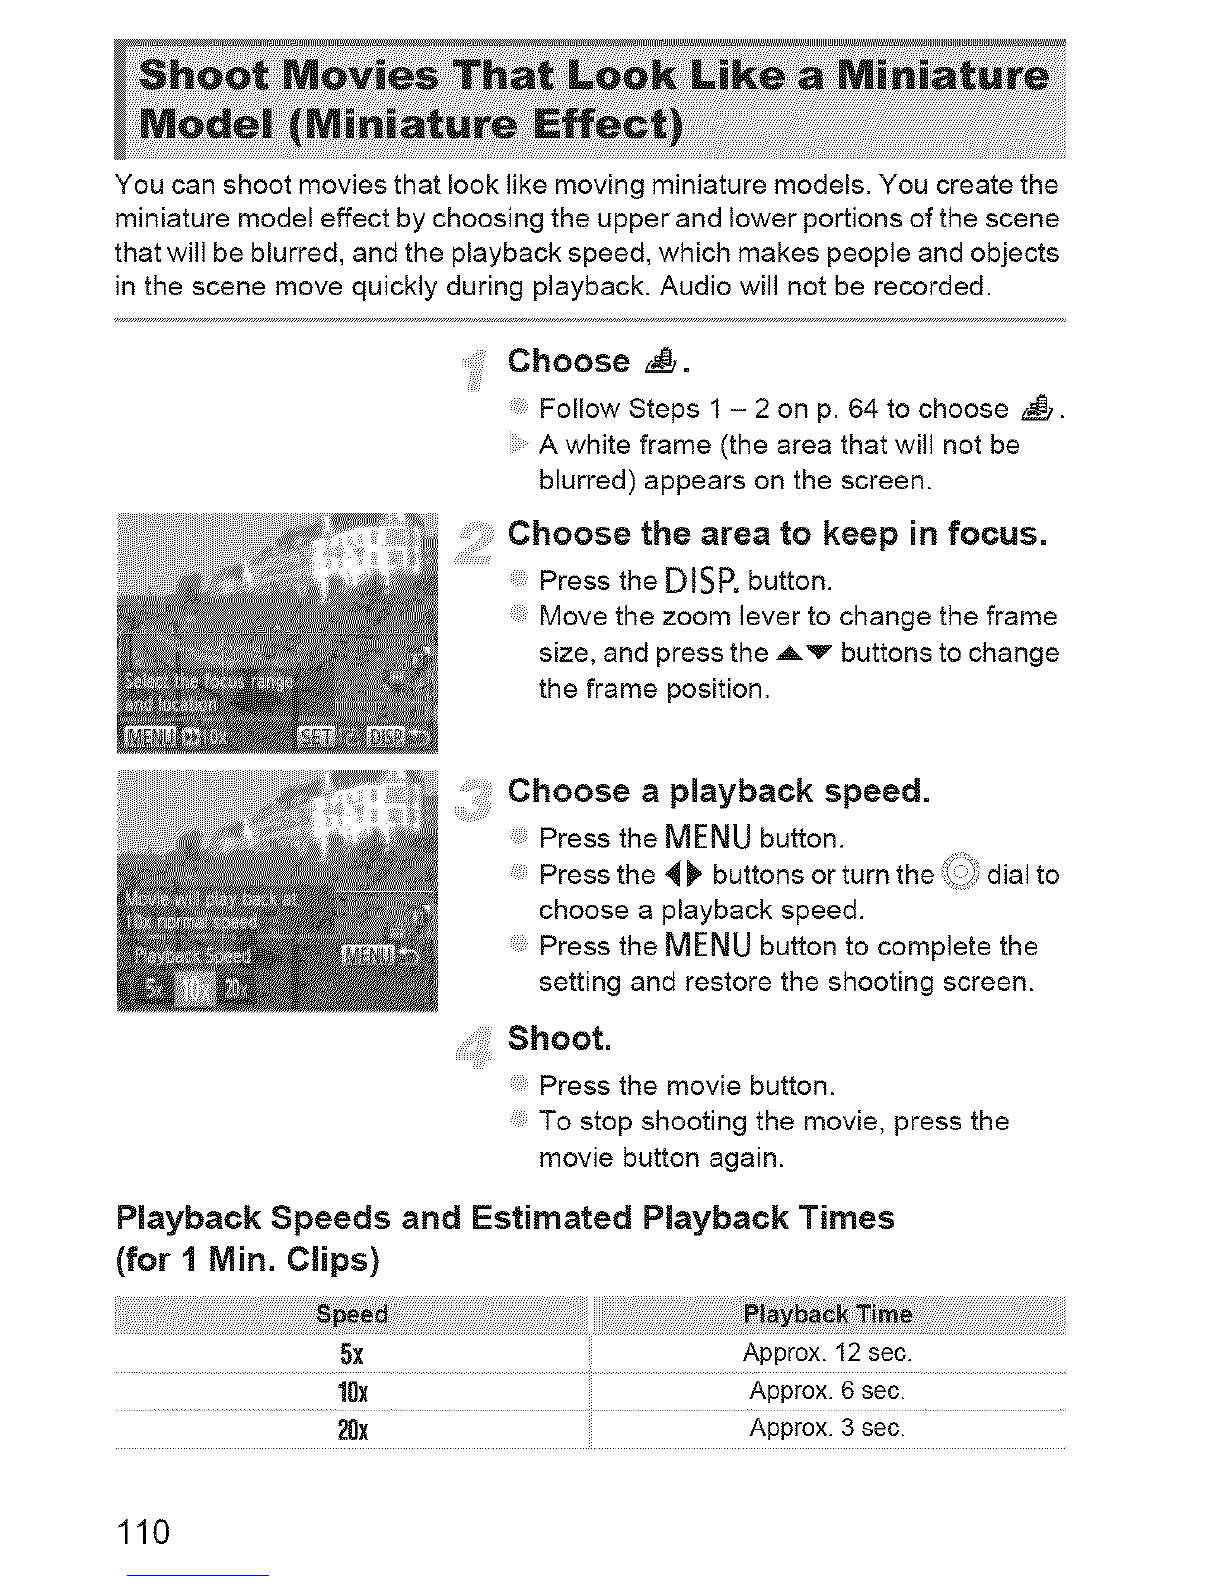
Canon POWERSHOT SX40HS User manual
Other Canon Digital Camera manuals

Canon
Canon EF User manual

Canon
Canon POWERSHOT SX160IS User manual

Canon
Canon PowerShot S30 User manual

Canon
Canon POWERSHOT A700 Instruction Manual

Canon
Canon PowerShot G9X User manual

Canon
Canon PowerShot G7 User manual

Canon
Canon POWERSHOT A75 User manual

Canon
Canon PowerShot A590 IS User manual

Canon
Canon PowerShot A5 User manual

Canon
Canon PowerShot S3 IS Digital Camera User manual

Canon
Canon DIGITAL IXUS 75 Assembly instructions

Canon
Canon PowerShot N100 User manual

Canon
Canon EOS REBEL XT Quick reference guide

Canon
Canon EOS 60D User manual

Canon
Canon PowerShot G1 X User manual

Canon
Canon IXUS i User manual

Canon
Canon Digital Camera Solution Disk Version 22 User manual

Canon
Canon REBEL T1I EOS 500D User manual

Canon
Canon EOS 100D User manual

Canon
Canon Digial IXUS 330 Mounting instructions