Canyon CNR-MPV4A User manual

1
CNR-MPV4A
Digital Multimedia Player
User Manual

2
Table of Contents
Introduction…………………………………………………………………………………3
Safety Precautions…………………………………………………………………..3
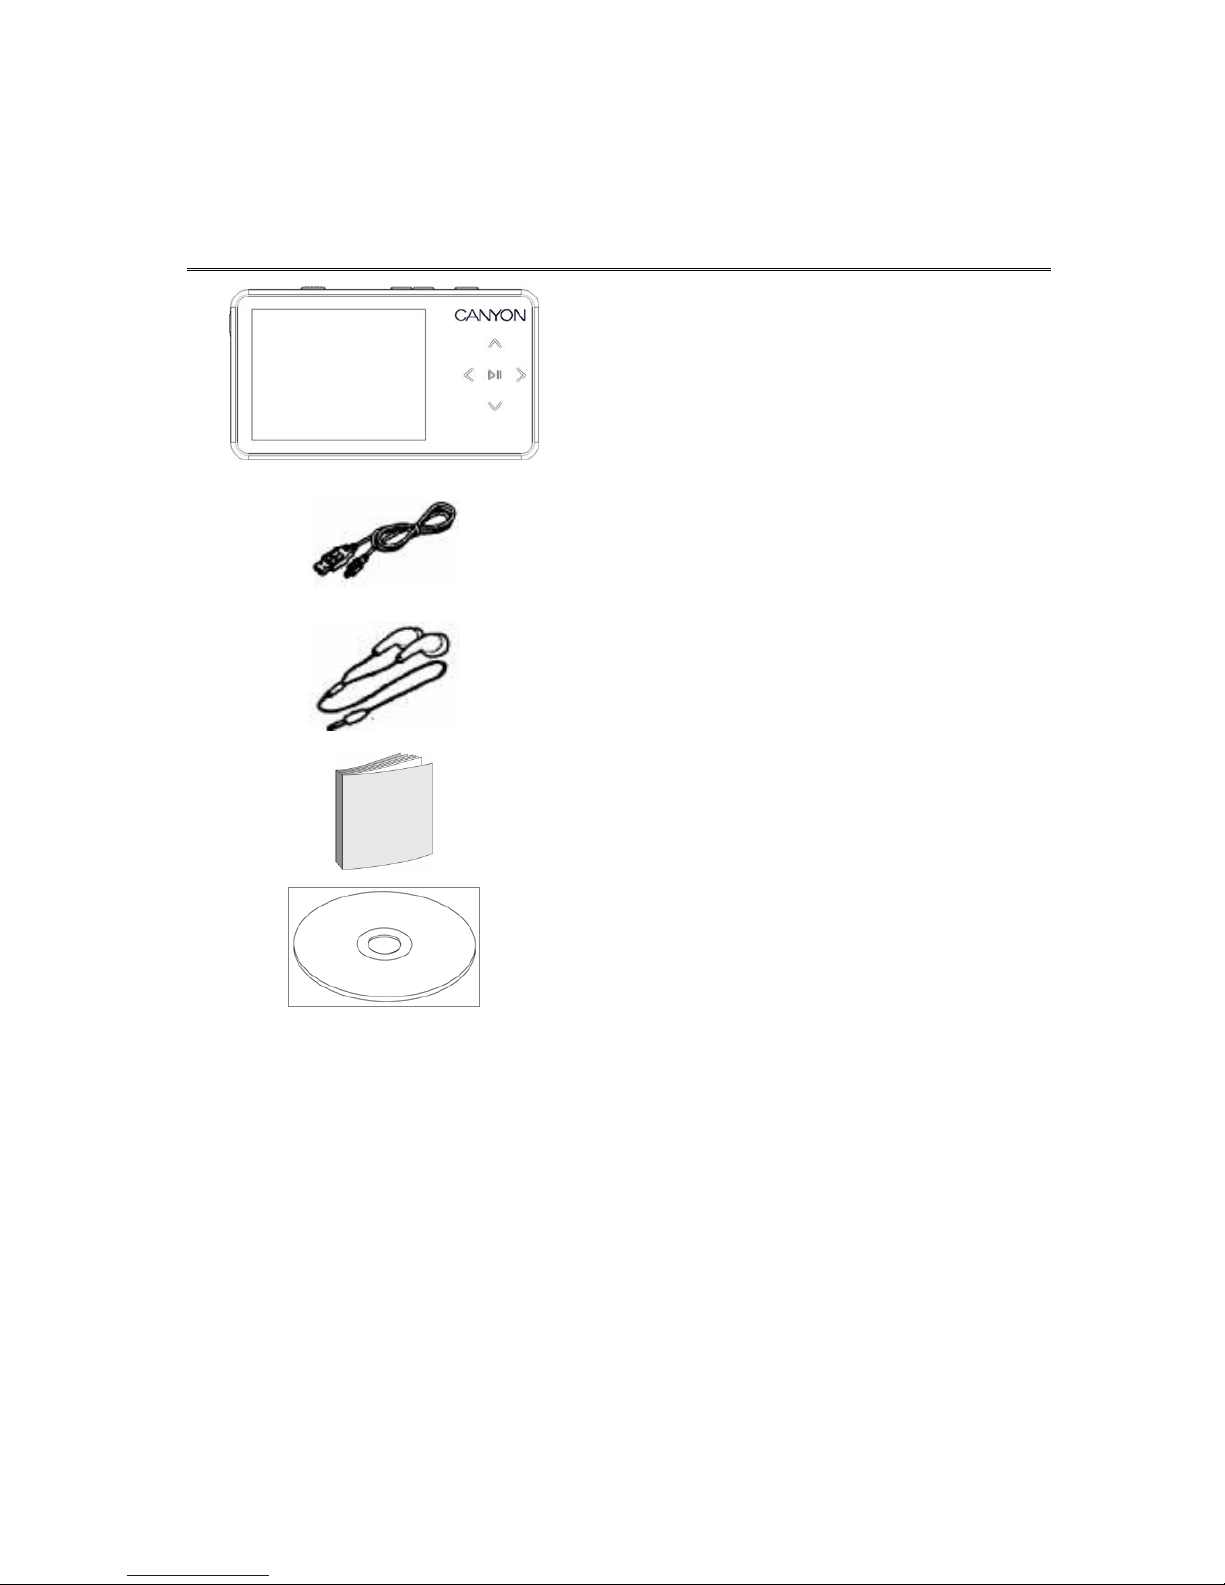
Package Contents……………………………………………………………………4
Hardware Overview…………………………………………………………………5
Charging Device Battery…………………………………………………………..5
Getting Started…………………………………………………………………………….6
Button Definition……………………………………………………………………..6
Basic Operations………………………………………………………………………6
Connectivity…………………………………………………………………………….7
MSC device………………………………………………………………………………7
MTP device………………………………………………………………………………8
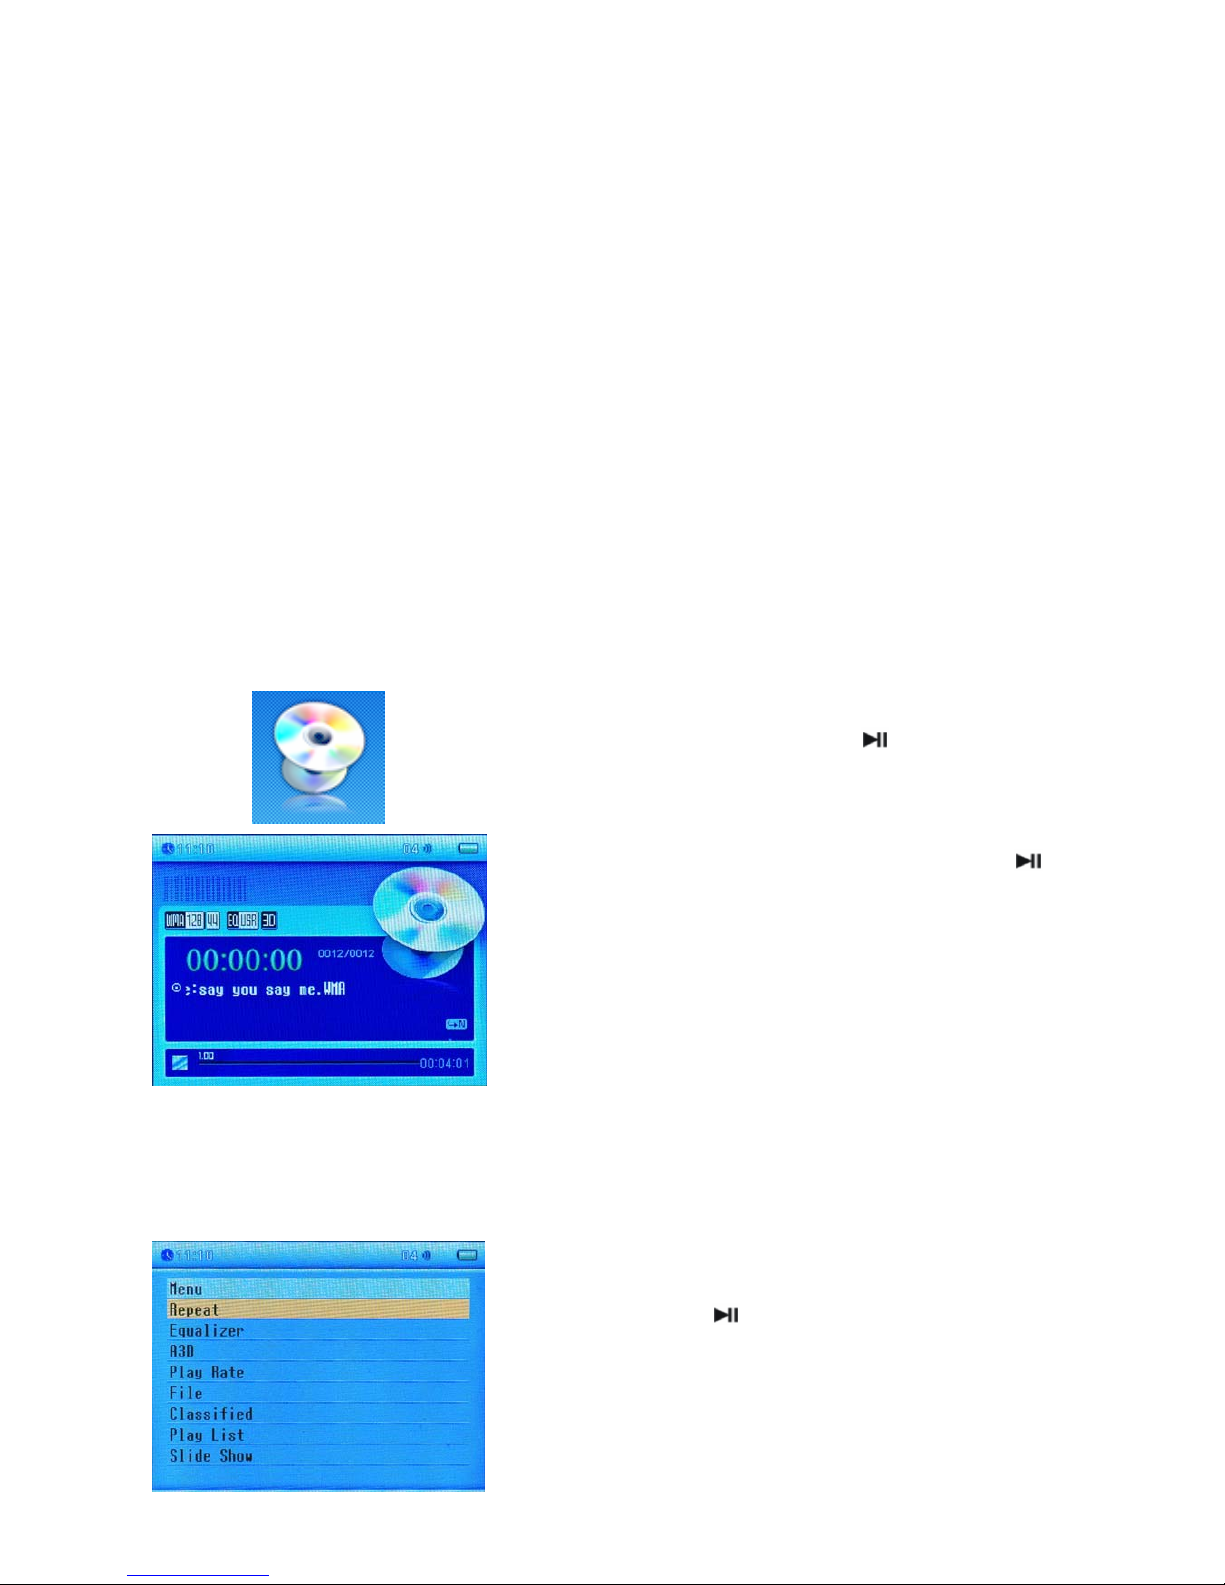
Music Mode……………………………………………………………………………………8
Basic Operations……………………………………………………………………….8
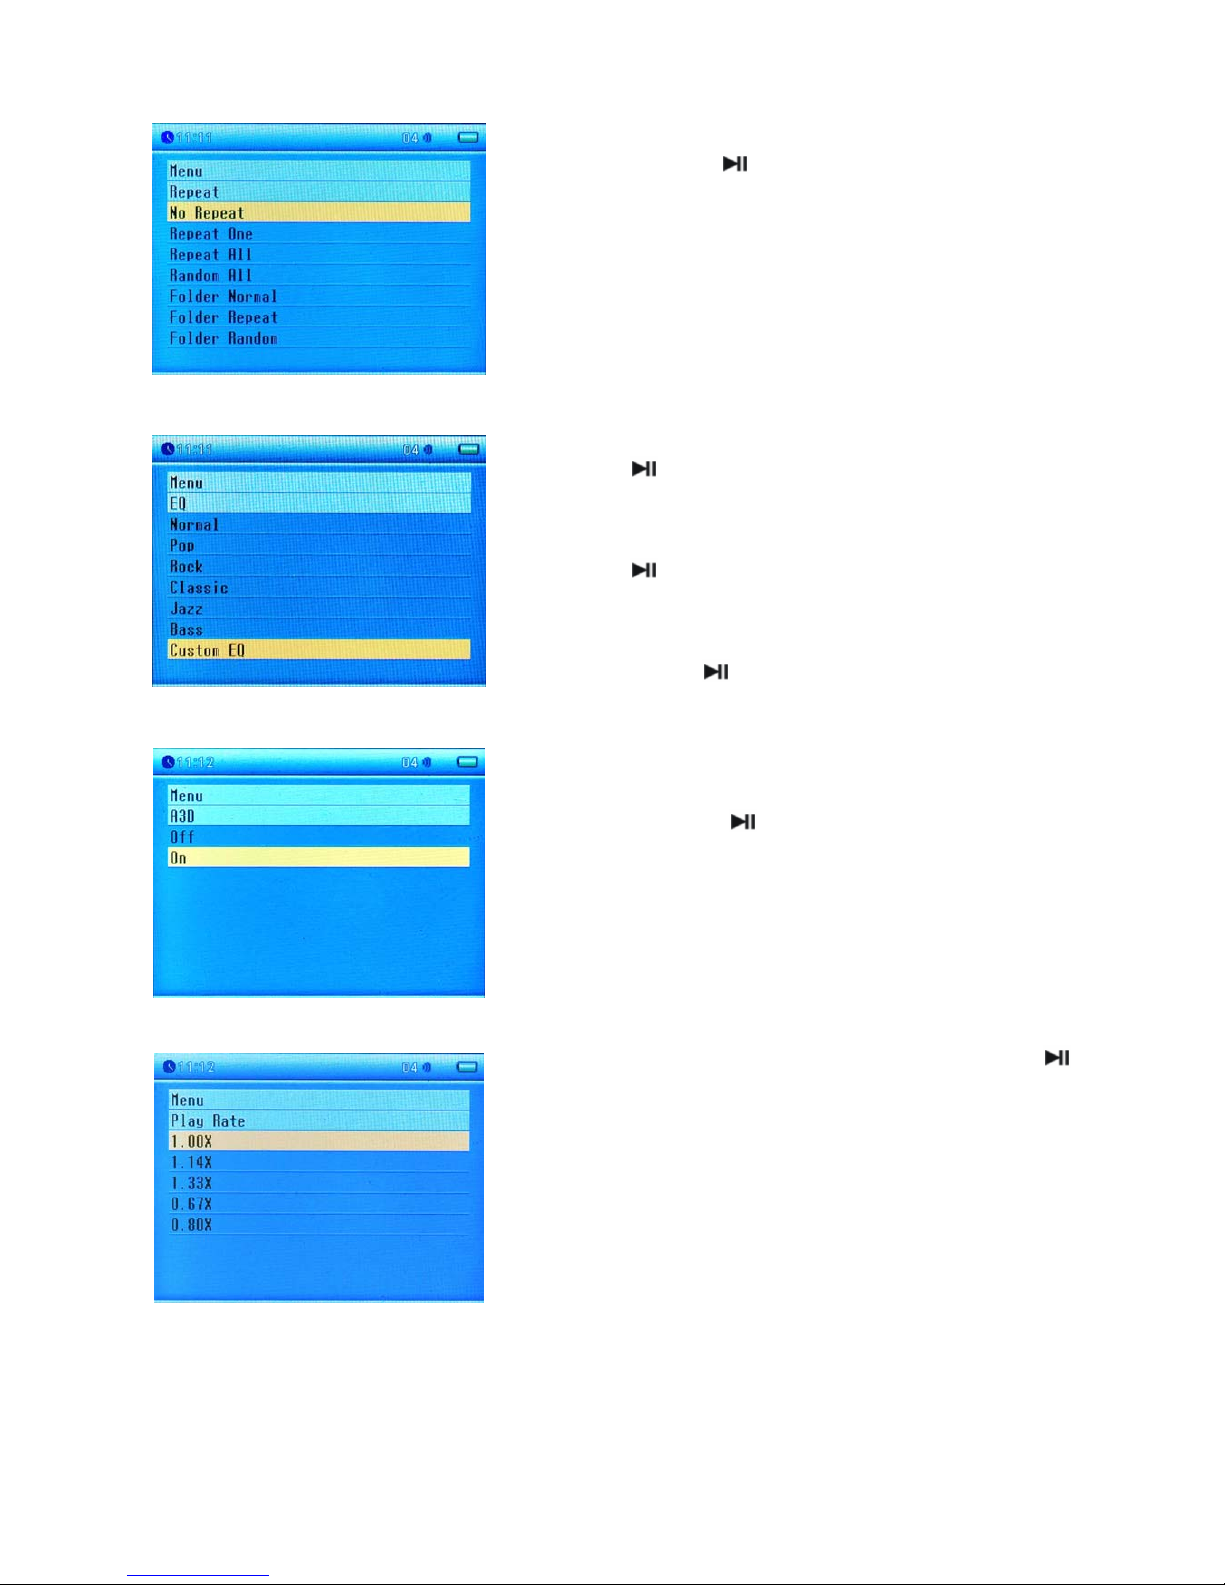
Music Mode Submenu…………………………………………………………………8
FM Mode………………………………………………………………………………………11
Basic Operations………………………………………………………………………11
FM Mode Submenu……………………………………………………………………12
Voice Mode…………………………………………………………………………………..12
Basic Operations……………………………………………………………………...12
Voice Mode Submenu………………………………………………………………..13
Photo Mode…………………………………………………………………………………..14
Basic Operations………………………………………………………………………14
Video Mode…………………………………………………………………………………..15
Basic Operations………………………………………………………………………15
Video Mode Submenu………………………………………………………………..15
EBook Mode………………………………………………………………………………….16
Basic Operations………………………………………………………………………16
File Mode……………………………………………………………………………………..17
Basic Operations………………………………………………………………………17
Setup Mode………………………………………………………………………………….18
Basic Operations……………………………………………………………………..18
Sys Info Mode………………………………………………………………………………24
Utility Applications……………………………………………………………………….24
Music Classifier……………………………………………………………………….24
Slide Show Maker…………………………………………………………………….26
Video Converter……………………………………………………………………….27
Appendix……………………………………………………………………………………29
Technical Specifications………………………………………………………….29

3
Thank you for purchasing CANYON CNR-MPV4A. We sincerely wish you to enjoy the state of art
digital multimedia player. To fully utilize the functions and features of CNR-MPV4A, please read
through the user manual before you get started.
Introduction
Safety Precautions
Please observe all safety precautions before using the device. Please follow all procedures
outlined in this manual to properly operate the device.
zDo NOT attempt to disassemble or alter any part of the device that is not described in this
guide.
zDo NOT place the device in contact with water or any other liquids. The device is NOT designed
to be liquid proof of any sort.
zIn the event of liquid entry into device interior, immediately disconnect the device from the
computer. Continuing use of the device may result in fire or electrical shock. Please consult your
product distributor or the closest support center.
zTo avoid risk of electrical shock, do not connect or disconnect the device with wet hands.
zDo NOT place the device near a heat source or directly expose it to flame.
zNever place the device in vicinity of equipments generating strong electromagnetic fields.
Exposure to strong magnetic fields may cause malfunctions or data corruption and loss.

4
Package Contents
Product Image Item Name
Main Unit
60cm USB Cable
Earphones
User Manual
Software and Driver CD

5
Hardware Overview
1. Play/Pause/Confirm
2. Backward/Previous
3. Forward/Next
4. Upward/Volume Up
5. Downward/Volume Down
6. LCD Display
7. LOCK Button
8. Record/A-B Repeat
9. MENU Button
10. Power ON/OFF
11. RESET/Microphone
12. Speaker
13. Micro SD/T-Flash Card Slot
14. Earphone Jack
15. USB Port
Charging Device Battery
CNR-MPV4A uses a Li-Polymer battery as a main power source. Please follow instructions below to
charge the battery.
1. Connect the host PC USB port and the device with the USB cable provided.
2. The power bar will be moving back and forth when charging. It will be filled up when the device
is fully charged.
3. It takes approximately 3 hours to fully charge the device., enough to playback audio files for
approximately 18 hours straight and to playback video files for 10 hour straight
4. To stop recharging, disconnect the USB cable.
Note:
zPlease fully charge the device before using it for the first time.
zThe host computer must be powered on while connected to the device for charging.
zDo not overcharge the device for it may shorten life of the battery.

6
Getting Started
Button Definition
Button Image Button Functions
Press and hold to turn power on/off
Press to play/pause/confirm
< > Press to move left/right
Press and hold to rewind/fast forward in playback mode
∧∨Press to move up/down at main menu
Press to increase/lower the volume during playback mode
R/A-B Press to repeat from point A to point B
Press and hold to start recording
MENU Press to enter submenu
Press and hold to return to main menu
HOLD Switch between button lock/unlock positions
RESET Reset system to default settings
Basic Operations
To Turn on the Device:
1. Connect earphone to earphone jack.
2. Move HOLD button from lock to unlock position.
3. Press and hold button to turn on the device.
Note:
Reset the device by pressing RESET button when
device fails to start up or function properly.
To adjust Volume:
zPress ∧∨to turn up/down volume under
Music, FM, Voice, and Video modes.
1
2
3

7
Connectivity
Besides working as a portable digital multimedia player, Canyon CNR-MPV4A also works as a
removable USB storage device (MSC mode), or MTP device (MTP mode with DRM function). Please
follow instructions below on how to store/extract data from the device.
To switch between MSC and MTP modes:
zConnect the device to host computer with USB cable
provided.
zAfter the device finished loading process, press and hold
button to switch between MSC and MTP modes.
Note:
The mode switch can also be done while the device is
disconnected from host computer. Please refer to Settings
section for more information.
MSC mode - Removable USB storage device:
1. Connect the host PC USB port and the device USB port with the USB cable provided.
2. A new system drive will be displayed under “My Computer” momentarily.
3. The drive works as any other USB storage device. Files and folders can be created/edited in
the drive.
4. To remove the device from host computer, simply right click on the safe removal icon from
system notification area and select “Safely remove hardware” option.
5. Highlight the device and click on “Stop” button. The device can be safely unplugged after
system notification.
Note:
zBefore removing the USB device, make sure to end all applications running on the device. Do
NOT remove the USB device at this moment. Violation may cause data loss or even damages
to the device
zIf you do not follow the safe removal procedures on Windows ME, Windows 2000 and
Windows XP operating systems, data loss and/or damage to the device may occur due to
“write cache” issue.
Note:
Windows 98 SE does not support default mass storage driver. Please follow the instructions below
to install the driver.
zTurn on the computer.
zConnect device to the USB port of the computer using USB cable provided in the package.
zPlace the driver CD enclosed in the package into the CD ROM drive of the computer.
zWindows 98 SE will automatically detect the newly connected device and a dialog box “Add
New Hardware” will pop up. Please follow the step-by-step instructions to properly install the
driver.

8
MTP mode – MTP device with DRM Function
Canyon CNR-MPV4A is capable of DRM (Digital rights management) function. The device receives
music file update from Window Media Player 10 or above. Please follow the instructions below to
synchronize the device with DRM songs.
zSwitch device to MTP mode.
zConnect the device to host PC with USB cable provided.
zStart up Window Media Player. Window Media Player will automatically detect the presence of
the device.
zRename the device to display it in Window Media Player.
zSimply follow the step by step instructions given by Window Media Player.
Note:
All songs previously existing in the device will be deleted permanently upon synchronization.
Music Mode
Basic Operations
1. At main menu screen, use directional button to
navigate to Music icon. Press to enter.
2. Press < > to select music file desired. Press to
start playback.
3. Press ∧∨to adjust volume level.
4. Press and hold MENU to return to main menu.
Music Mode Submenu
1. At Music mode, press MENU to enter submenu.
2. Press ∧∨to cycle through between 8 different
options. Press to enter. Press MENU to return to
Music mode.

9
Repeat
1. Press ∧∨to cycle through 7 different repeat
patterns. Press to enter. Press MENU to return to
music submenu.
2. The first 4 patterns refer to all songs and the second
3 patterns refer to songs in the folder only.
Equalizer
1. Press ∧∨to cycle through 7 different equalizers.
Press to enter. Press MENU to return to music
submenu.
2. To customize an equalizers, select Custom EQ and
press .
3. Press < > to switch between pitches and ∧∨to
adjust. Press to confirm or MENU to cancel.
A3D
1. Press < > to switch 3D surround sound mode
ON/OFF. Press to confirm or MENU to cancel.
Play Rate
1. Press ∧∨to select music playback speed. Press
to confirm or MENU to cancel.
Note:
This function does not support *.wma files.
2.

10
File
1. Press ∧∨to select music file. Press to
play/enter or MENU to exit. To edit a music file,
highlight a file and press R/A-B. Add to List adds
the file to My List and Delete erases the file from the
device. Press to confirm or MENU to cancel.
Classified
1. This option sorts all files with their attributes (Genre,
Artist,Album,Title). Select Yes and press to
confirm or No to cancel.
2. After sorting is completed, the device displays all
nested files with their attributes. Press ∧∨to
select, to confirm, and MENU to return.
Note:
Classifying process may require a longer time period to
complete. Press ∧to cancel process.
Refer to Music Classification Tool section for editing
music files. It is an application that assists user to
maintain music database.
Play List
1. Press ∧∨to select list, highlight desired file and
press to start playback or MENU to return.
2. Press R/A-B to removal functions. Select Del List to
delete current list and Delete to delete specific music
file. Press to confirm and to MENU cancel.
3. Both removal functions require further confirmation.
Press ∧∨to select, to confirm, and MENU to
return.
Note:
Refer to Windows Media Player’s help manual for more
information on how to create a play list.
Play lists must be stored at PLAYLIST folder. The device
will not recognize any play list located outside of the folder.
Slide Show

11
1. Press ∧∨to select required idle time. Slide show
will start after the user defined idle time. Press to
confirm or MENU to cancel.
Note:
Refer to Slide Show Maker section for creating slide
shows.
Slide show files must be stored at SLS.DIR folder. The
device will not recognize any slide show files located
outside of the folder.
FM Mode
Basic Operations
1. At main menu screen, use directional button to
navigate to FM icon. Press to enter.
2. Press to switch between manual mode and
preset mode.
3. Press ∧∨to adjust volume level.
4. Press and hold R/A-B to start recording current FM
transmission. Press MENU to stop recording and save
recorded FM file.
5. Under manual mode, press < > for FM frequency
tuning between 87.5 MHz and 108.0 MHz (at intervals
of 0.1 MHz)
6. Under preset mode, press < > to cycle through
preset FM stations (Maximum of 30 stations).
FM Mode Submenu

12
zAt FM mode, press MENU to enter submenu. There
are 2 different submenus for each mode.
zUnder manual mode submenu, press ∧∨to select,
to confirm and MENU to cancel.
1. Highlight Save Preset and press to save the
current FM station into preset station queue.
2. Highlight Auto Scan and press to scan through
FM stations and save them as preset stations.
zUnder preset mode submenu, press ∧∨to select,
to confirm and MENU to cancel.
1. Highlight Delete and press to delete the current
preset FM station.
2. Highlight Auto Scan and press to scan through
FM stations and save them as preset stations.
Voice Mode
Basic Operations
1. At main menu screen, use directional button to
navigate to Voice icon. Press to enter.
2. Press < > to select recorded file desired. Press
to start playback.
3. Press ∧∨to adjust volume level.
4. Press and hold R/A-B to start recording sound from
microphone. Press MENU to stop recording and save
recorded FM file.
5. Press and hold MENU to return to main menu.
Voice Mode Submenu

13
1. At Voice mode, press MENU to enter submenu.
2. Press ∧∨to cycle through between 5 different
options. Press to enter. Press MENU to return to
Voice mode.
Repeat
1. Press ∧∨to cycle through 7 different repeat
patterns. Press to enter. Press MENU to return to
music submenu.
2. The first 4 patterns refer to all songs and the second
3 patterns refer to songs in the folder only.
Equalizer
1. Press ∧∨to cycle through 7 different equalizers.
Press to enter. Press MENU to return to music
submenu.
2. To customize an equalizers, select Custom EQ and
press .
3. Press < > to switch between pitches and ∧∨to
adjust. Press to confirm or MENU to cancel.
A3D
1. Press < > to switch 3D surround sound mode
ON/OFF. Press to confirm or MENU to cancel.
Play Rate

14
1. Press ∧∨to select music playback speed. Press
to confirm or MENU to cancel.
File
1. Press ∧∨to select voice file. Press to
play/enter or MENU to exit. To delete a file, highlight
a file and press R/A-B. Select Yes Press to
confirm or MENU to cancel.
Photo Mode
Basic Operations
1. At main menu screen, use directional button to
navigate to Photo icon. Press to enter.
2. Press directional buttons to select photo file desired.
Press to view.
Note:
The device supports *.jpg and *.bmp files only. All other
file format will not be displayed on purpose.
3. Press < > to cycle through photo files.
4. Press again to browse all photo files at interval of
3 seconds. Press any button to resume. Press MENU
to return to Photo mode.

15
5. Press R/A-B to delete current photo file. Highlight
Yes and press to confirm or press MENU to
cancel.
6. Press and hold MENU to return to main menu.
Video Mode
Basic Operations
1. At main menu screen, use directional button to
navigate to Video icon. Press to enter.
Note:
The device supports *.mtv file format only. All other file
format will not be displayed on purpose.
2. Press ∧∨to select desired video file. Press to
start playback.
3. Press R/A-B to erase a video file. Highlight Yes and
press to confirm or MENU to cancel.
4. Press and hold MENU to return to main menu.
5. During playback, press to pause/resume, < >
to skip to previous/next file.
6. Press and hold < > to rewind/fast forward.
7. Press ∧∨to adjust volume level.
Video Mode Submenu
1. At Video mode, press MENU to enter submenu.
2. Press ∧∨to select options. Press to confirm.

16
Repeat
1. Press ∧∨to cycle through 7 different repeat
patterns. Press to enter. Press MENU to return to
music submenu.
2. The first 4 patterns refer to all songs and the second
3 patterns refer to songs in the folder only.
Video OSD Color
1. Press ∧∨to select OSD color. Press to confirm.
EBook Mode
Basic Operations
1. At main menu screen, use directional button to
navigate to EBook icon. Press to enter.
2. Press ∧∨to select desired text file. Press to
start browsing.
Note:
The device supports *.txt file format only. All other file
formats will not be displayed on purpose.
3. Press ∧∨to scroll up/down between pages.
4. Press MENU to return to EBook menu.

17
5. Highlight a text file and press R/A-B to delete it.
Press ∧∨to highlight Yes and press to
confirm. Press MENU to cancel.
6. Press and hold MENU to return to main menu.
File Mode
Basic Operations
1. At main menu screen, use directional button to
navigate to File icon. Press to enter.
2. Press ∧∨to select and view desired text file.
3. Press or R/A-B to delete current file. Highlight
Yes and press to confirm. Press MENU to cancel.
4. Press and hold MENU to return to main menu.

18
Setup Mode
Basic Operations
1. At main menu screen, use directional button to
navigate to Setup icon. Press to enter.
2. Press ∧∨to cycle through between 9 different
options. Press to enter. Press MENU to return to
main menu.
USB Mode
1. Press ∧∨to select between MSC mode and MTP
mode. Press to confirm or MENU to cancel.
Note:
Please refer to Connectivity section for detailed
instructions on MSC mode and MTP mode operations
Time
1. Press ∧∨to select between Adjust, Alarm, and
Time Zone options. Press to confirm or MENU to
cancel.
1. Press < > to switch between AM/PM, hour, minute,
year, month, and day. Press ∧∨to adjust the values
and press to confirm.

19
zPress ∧∨to select between Adjust and On/Off.
Press to confirm selection
1. At Adjust option screen, press < > to select
AM/PM, hour, and minute. Press ∧∨to adjust the
values and press to confirm.
2. At On/Off option screen, press ∧∨to select
On/Off and press to confirm.
Note:
The alarm time durations is 5 seconds when power is on
and 60 seconds when power is off respectively.
1. At Time Zone option screen, press ∧∨to select
GMT zone number and press to confirm.
Power
1. Press ∧∨to switch between Auto off and Always
on. Press to confirm or MENU to cancel.

20
2. At Auto off option screen, press ∧∨to select idle
time duration. Press to confirm.
3. At Always on option screen, select Yes and press
to prevent device from auto shut off. Press MENU
to cancel.
Language
1. Press ∧∨to select a language for screen display.
Press to confirm.
Display
1. Press ∧∨to switch between Brightness and
Backlight options.
2. Press < > to select background brightness. Press
to confirm or MENU to cancel.
Table of contents