Captiva Designs E02GR011 User manual

USE AND CARE GUIDE
Questions, problems, missing parts? Before returning to the store,
please contact our Customer Service
h
inually create
quality products designed to enhance your home. Visit us online to see our full line of products available for your home improvement needs.
Thank you for choosing Captiva Desings!
THANK YOU
This appliance is for Household use only.
This is not a commercial appliance.
Assembly, Care And Use Instructions
Read Carefully Important:Retain These
Instructions For Future Reference.
Enjoy Your
E02GR011

2
Safety Information
Warnings
Preparation
Assembly Instructions
Troubleshooting
First-time Operation
Care and Maintenance
212
13
14-15
7
3-5
6
7-8
Operation Instructions
9-11
Product Specications
Environmental Protection & Disposal
15
Warranty 16
15
ENJOY YOUR CAPTIVA DESIGNS
Package Contents
If you smell gas:
1. Shut off gas to the appliance.
2. Extinguish any open ame.
3. If odor continues, keep away from the
appliance and immediately call your gas
supplier or your re department.
4. Failure to follow these instructions could
result in explosion, or burn hazard which
could cause property damage, personal
injury or death.
Assembler/Installer
This instruction manual contains important information necessary for the proper assembly and safe
use of this appliance. Read and follow all warnings and instructions before assembling and using this
appliance.
Leave these instructions with the consumer.
Consumer/User
Follow all warnings and instructions when using this appliance. Keep these instructions for future
reference.
1. DO NOT store or use gasoline or other
ammable liquids or vapors in the vicinity of
this or any other appliance.
2. A LP cylinder not connected for use shall
not be stored in the vicinity of this or any other
appliance.
3. This grill is FOR OUTDOOR USE only and shall
not be used in a building, garage, under
overhangs or any other enclosed area.
4. DO NOT leave a lit grill unattended. Keep
children and pets away from the grill at all
times.
Table of Contents
Safety Information

3
Warnings
PROP 65 WARNING:
This product can expose you to chemicals including Chromium (hexavalent compounds), which are known
to the State of California to cause cancer and birth defects or other reproductive harm.For more
information visit www.P65Warnings.ca.gov.
IMPORTANT SAFETY
Please read this manual carefully and before installing or using your Captiva Designs gas grill to ensure
proper operation, installation, and servicing, and to reduce the risk of re, burn hazard, and/or other injury.
This manual should be retained for your information.
LOCATION OF GRILL
Remember that your Captiva Designs grill is an outdoor appliance. Ensure your grill is positioned safely away
from anything that can catch re. Under no circumstance is this grill to be used indoors, this includes
garages or any other enclosed area. This outdoor cooking gas appliance is not approved to be installed in or
on any recreational grills are intended for single-family/residential use only.
Minimum clearance from sides and back of unit to combustible construction, 36 inches from back and sides.
When determining a suitable location, take into account concerns such as exposure to wind, proximity to
trafc paths, and keeping any gas supply lines as short as possible.
Proper location and use is also essential to ensure safe and continued trouble-free operation. Any
non-approved alterations made to the grill will void its warranty.
INSTALLATION WARNINGS
Please read all installation, operating, and maintenance instructions thoroughly before installing or servicing
this equipment.
Safe operation of Captiva Designs gas grill depends upon proper installation. All gas installations and gas
conversions must be performed by a qualied technician or authorized service agent. Improper installation,
adjustment, alternation, service, or maintenance may cause property damage, injury or death.
Always check the Rating Plate on the grill to make sure the gas supply you are connecting to is
the gas type the appliance is manufactured for. Do not kink the gas line when installing.
ENJOY YOUR CAPTIVA DESIGNS

Warnings
4
This gas grill must be installed in accordance with all local codes. If installation is planned in an area with no
local codes, your gas grill must be installed in accord with the National Fuel Gas Code with the National Fuel
Gas Code ANSI Z223.1, and storage and handling of CSA B149. 2 propane installation code.
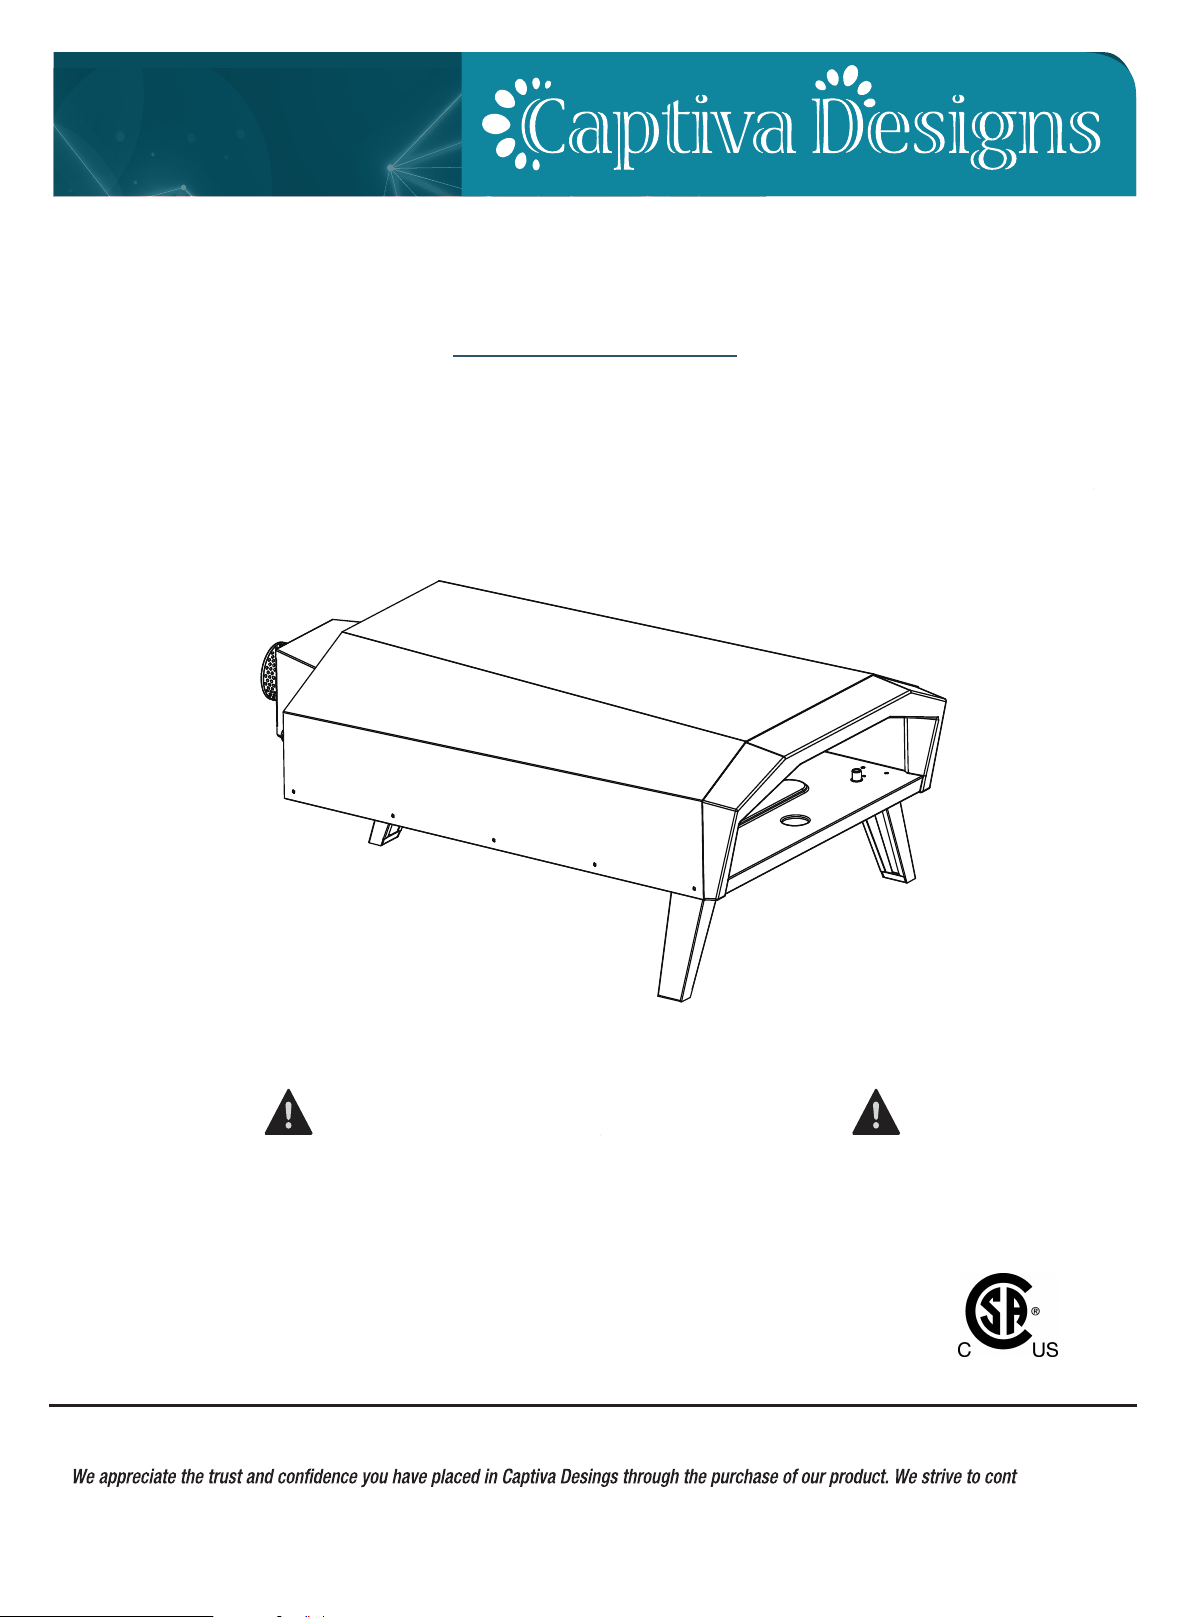
This grill is for outdoor use only. The manufacturer cannot be held responsible for damage or injury caused
by improper use of this appliance.
The installation must conform with local codes or in the absence of local codes, with CAN/ CGA-B149.2,
Propane Installation Code.This grill CANNOT be converted to natural gas. DO NOT attempt to convert this
grill with a different gas type.
FUEL CONCERNS & EXPLOSION HAZARDS
Do not store or use gasoline or other ammable vapors and liquids(that are not connected for use) in the
vicinity of this or any other appliance. Keep the area clear and free from combustible materials, gasoline,
and other ammable vapors and liquids, Failure to do so can result in death, explosion or re.
Keep an ABC re extinguisher accessible at all times, and never attempt to extinguish a grease re with
water or other liquids. Do not attempt to heat unopened containers on the grill. Pressure may build up and
cause the container to explode. Never use charcoal or any other solid fuel in the grill.
PROPER USE
This Captiva Designs grill in NOT intended for commercial use. Do not operate the grill in a building, garage,
or any other enclosed areas. This could result in carbon monoxide buildup, which may cause injury or death.
Grills are not designed or intended for installtion near a window or vent that feeds into the house.
Never test the grill for gas leaks using a lit match or any other open ame; see leak test procedures using
soap-and-water solutions in the “Checking for Gas Leaks” section on Page 11.
For proper operation, burner must be aligned with the valve orice and seated in the bracket slot. This is
accomplished by rst placing the burner tube’s shutter hole securely over the valve orice, and ensuring the
male post on the rear of the burner rests in the opening in the grill chassis. Failure to do so could result in a
re and/or injury.
Consult the AHJ (Authority Having Jurisdiction) or a contractor in your area if you have any uncertainty
regarding local codes.
LP CYLINDER CARE & STORAGE
Before each use, visually inspect the gas supply hose for cracks, cuts, or excessive wear. Replace the hose if
necessary. Check for gas leaks as outlined on Page 11 before each use.
Ensure the gas supply hose does not come in contact with hot surfaces or sharp or rough edges of the grill or
outdoor kitchen construction.
Do not twist the gas supply hose.
Never store an LP cylinder or tank indoors, or within the reach of children.
ENJOY YOUR CAPTIVA DESIGNS
Please always keep the gas bottle in upright position.

5
Warnings
The self-contained LP system appliance is design-certied to be used with a standard 20-lb., 12 1/4”-diameter,
18”-tall cylinder with right-handed connection threads. This is the maximum size LP tank to be used with this
grill. The cylinder must be marked in accordance with the latest U.S. Department of Transportation
specications for LP gas cylinders. (DOT. CFR49 or National Standards of Canada CAN/ CSA-B359 Cylinders,
Spheres and Tubes for the Transportation of Dangerous Goods).
Use only LP tanks with an OPD (Overll Prevention Device).
IF YOU SMELL GAS
1. Shut off gas to the grill.
2. Extinguish any open ames.
3. If the odor persists, immediately call your local gas supplier or re department.
BEWARE OF SPIDERS
BURNER TUBE MUST BE INSPECTED AND CLEANED BEFORE EACH USE.
GENERAL WARNINGS
• All gas grill get hot during use. Use extreme caution when operating.
• Do not touch hot surfaces.
• Use insulated oven mitts when operating the grill.
• Never lean over the cooking surface when lighting or operating the grill.
• Never light the appliance without being certain that the burner is positioned and seated over the gas valve
and on the burner support.
• Close supervision is necessary when this or any grill is used near children. Keep children away from the grill
during operation and until it has cooled off.
• Never operate this grill while under the inuence of alcohol or drugs.
• Do not store anything in the grill. Make sure food is not forgotten in the grill body; forgotten items could melt
or catch re when the grill is turned on.
Spiders and small insects occasionally spin webs or make nests in the burner tube of gas grill. These webs
can lead to a gas ow obstruction, which could result in a re in and around the burner tube. This type of re
is known as “ash-back” and can cause serious damage to your appliance and create an unsafe operating
condition for the user. Although an obstructed burner tube is not the only cause of “ash-back,” it is the most
common cause-making necessary frequent inspection and cleaning of the burner tube.
Never use the grill in windy conditions. If located in a consistently windy area (oceanfront, mountaintop, etc.),
a wind break will be required. Winds blowing into the back can result in poor performance
and/or cause the control panel and knobs to get dangerously hot.
To prevent injuries, do not use accessories that are not recommended by the manufacturer. The use of
accessories, regulators, or components not recommended by the appliance manufacturer may cause injuries
and will void warranty.
ENJOY YOUR CAPTIVA DESIGNS

6
ENJOY YOUR CAPTIVA DESIGNS
Package Contents
5
476
1
8
3
2
Grill Body
Pizza Stone
Handle of Pizza
Shovel
Pizza Shovel
Hose & Regulator
GlovePizza Cutter
M5*10MM 3PCS 9
M5 3PCS

7
Preparation
Before beginning assembly of product, make sure all parts are present. Compare parts with package contents
list on previous page and hardware contents below. If any part is missing or damaged, do not attempt to
assemble the product. Contact customer service for replacement parts.
Tools Required for Assembly and Leak Testing (not included): Phillips screwdriver, Spray bottle,
Adjustable Wrench
CAUTION:
Some parts may contain sharp edges.Wear protective gloves if necessary. Read and follow all safety
statements, warnings, assembly instructions and use and care instructions before attempting
to assemble and use.
Assembly Instructions
ENJOY YOUR CAPTIVA DESIGNS
1
Magnetic screwdriver
Unfold legs

Assembly Instructions
8
ENJOY YOUR CAPTIVA DESIGNS
2
4
3
Insert the pizza stone
Connecting gas hose
Install the pizza shovel
M5*10MM 3PCS
M5 3PCS

Operation Instructions
9
3
CONNECTING GAS CYLINDER
The propane gas supply cylinder to be used must be constructed and marked in accordance with the
specications for LP gas Cylinders of the U.S. Department of Transportation(D.O.T) or the National
Standard of Canada, CAN/CSA-B339, Cylinders, Spheres and Tubes for Transportation of Dangerous
Goods; and Commission, as applicable; and provided with a listed overlling prevention device.
Use only 20-pound cylinder (height: 18.11 inches, tank diameter: 9.84 inches, foot diameter: 8.03 inches)
equipped with a cylinder connection device compatible with the connection for outdoor cooking appliances.
The cylinder must include a collar to protect the cylinder valve. The gas cylinder should not be dropped or
handled roughly!
If the appliance is not in use, the gas cylinder must be turned off. Storage of an appliance indoors
is permissible ONLY if the cylinder is disconnected and removed from the appliance. Cylinders must be
stored outdoors out of the reach of children and can not be stored in a building, garage or any other
enclosed area. Your cylinder must never be stored where temperatures can reach over 125°F.
Place dust cap on cylinder valve outlet whenever the cylinder is not in use. Only install the type of dust cap
on the cylinder valve outlet that is provided with the cylinder valve. Other types of caps or plugs may result
in leakage of propane.
Before connection, be sure that there is no debris caught in the outlet of the gas cylinder, outlet of the
regulator valve or in the outlet of the burner and burner ports. Connect regulator valve and hand-tighten
rmly. Keep the propane cylinder valve closed and disconnect the propane cylinder from the regulator
valve when the grill is not in use.
DO NOT obstruct the follow of combustion air and ventilation air to the grill. The propane cylinder must be
arranged for vapor withdrawal and equipped with a listed overlling prevention device. Please use the
proper cylinder orientation to provide vapor withdrawal. NOTE: The cylinder must be fully upright for the
cylinder to have vapor withdrawal only.
CAUTION:
a.Do not store a spare LP-gas cylinder under or near this appliance.
b.Never ll the cylinder beyond 80 percent full.
c.If the information in (a) or (b) is not followed exactly, a re causing death or serious injury may occur.
ENJOY YOUR CAPTIVA DESIGNS

Operation Instructions
10
CONNECTING THE LP TANK
NOTE:
Other cylinders may be acceptable for use with this appliance if they are compatible
with the appliance nesting hole and retention means. Refer to Page 10-11 of the Assembly
Instructions for correct cylinder to cylinder holder connection.
WARNING:
ALL INSTRUCTIONS AND SAFEGUARDS ON THIS PAGE MUST BE FOLLOWED TO PREVENT
FIRE, DAMAGE AND/OR INJURY.
1. The knob on the LP tank must be closed. Make sure that the knob is
turned clockwise to a full stop. The cylinder supply system must
be arranged for vapor withdrawal.
2. Check that the control knob on the control unit is turned off.
3. Remove the protective cap from the LP tank valve and coupling nut.
4. Hold the regulator in one hand and insert the nipple into the valve
outlet. Be sure the nipple is centered in the valve outlet. The coupling
nut connects to the large outside threads on the valve outlet. Use care
do not cross thread the connection.
5. Hand-tighten the coupling nut clockwise until it comes to a full
stop. Firmly tighten by hand only. Do not use tools.
To Disconnect: Fully close the tank valve by turning clockwise.
Turn the coupling nut counterclockwise until the regulator assembly detaches.
WARNING:
In the connection process, make sure:
• The regulator inlet connector mates with the cylinder valve out let properly,safely and rmly.
• The LP gas hose does not come in contact or remain in contact with the grill main body.
ENJOY YOUR CAPTIVA DESIGNS

Operation Instructions
11
3
CHECKING FOR LEAKS
After all connection are made, check all connections and ttings on the LP gas tank valve, gas hose
and regulator for leaks with a water and soap solution.
To prevent re or explosion while testing for a leak:
• Always perform leak test prior to lighting the grill.
• Do not smoke while testing for a leak.
• Always perform leak tests outdoors in a well-ventilated area.
• Do not use the grill until any and all leaks are corrected.
• Do not use any source of ame while testing for leaks.
• If you are unable to correct a leak, disconnect the propane supply and call a gas appliance service dealer.
Leak detecting agent:
You can locate any leaks in the gas system using a leak detection agent. These are available at DIY shops or
from liquid gas suppliers. Please follow the operating instructions of the leak detection agent.
PERFORM LEAK TEST
• Prepare leak test solution by 50/50 ratio of liquid dish soap and water.
Total solution required is approximately 2 - 3 ounces (70 - 90 ml).
Put leak test solution in a spray bottle.
• Ensure control knob is in the OFF position.
• Connect the gas hose to the gas supply.
• Open the LP gas tank valve.
• Spray leak test solution on all gas carrying connections an of applied test solution indicates a gas leak. If
leaks are detected or you smell or hear gas, shut off the gas supply valve immediately and repair or replace
the defective part. Do not use the grill until all leaks are corrected.
CAUTION:
Only use the regulator and hose assembly provided! If a replacement is necessary, please call our
customer service center. Do not use replacement parts that are not intended for this grill.
WARNING:
ALL INSTRUCTIONS AND SAFEGUARDS ON THIS PAGE MUST BE FOLLOWED TO PREVENT
FIRE, DAMAGE AND/OR INJURY.
ENJOY YOUR CAPTIVA DESIGNS

Troubleshooting
12
ENJOY YOUR CAPTIVA DESIGNS
If the above solutions do not solve your problem, or you need to replace the accessories,please contact our
Customer Service.
Problem
Possible Cause
Prevention/Solution
Burner will not light
1.
No gas ow
2.
Coupling nutand regulator not fully
connected
3.
Obstruction of gas ow
4.
Disengagement of burner to valve
5.
Incorrect assembly
1.
Check to see if propane tank is
empty.
2.
Turn the coupling nut about one-
half to three quarters additional turn
until solid stop. Tighten by hand
only
-
do not use tools.
3.
Clearburner tube.
4.
Reengage burnerand valve.
5.
Check steps in assembly
instructions.
Sudden drop in gas ow or low ame
1. Out of gas
1.
2.
Check for gas in propanetank.
Turn off gas control knob, wait 30
seconds andlight oven. If ames
are still low, turn off gas control
knoband propane tank valve.
Disconnect regulator. Reconnect
regulator and leak test. Turn on
propane tank valve, wait 30 seconds
and thenlight oven.
Flames blow out
1.
High or gusting winds
2.
Low on propane gas
1.
Turn front of oven away from wind.
2.
Rell propane tank.
3.
Refer to Sudden drop in gas ow
above.
Flare-up
1.
Grease build up
2.
Excessive fat in meat
3.
Excessive cooking temperature
4.
Excess our on the cooking surface
1.
Clean oven.
2.
Trim fats from meat before cooking.
3.
Adjust (lower) temperature
accordingly.
4.
Brush remnant our from cooking
surface.
Flashback (re in burner tube, roaring
sound from burner)
1.
Burner and/or burner tubes are
blocked
2.
Pressure drop during ingition
1.
Turn gas control knob off. Clean
burnerand/or burner tubes.
2.
Turn off oven,ensure the tank valve
is fullyopen (if applicable) and
relight.

First-time Operation
13
Prior to using your Captiva Designs gas grill, verify that all of the following is true:
• The burner tube is free of any debris or obstruction.
• The proper gas type, gas connection, and regulator settings have been installed.
• You’ve checked for gas leaks.
• All packaging has been removed.
• All parts and components are properly in place.
• An installer-supplied manual gas shutoff valve is fully accessible.
Lighting the Appliance
USING THE OVEN
To begin:
1.
Make sure the oven hasbeen leak tested and properly placed.
2.
Remove any remaining packing material.
3.
Light the burner using the LIGHTING INSTRUCTIONS below
• Your pizza oven will take approximately 10minutes to reach optimum cooking temperatures. If using in
colder temperatures, preheat and cooking times could take longer.
• After 10 minutes , put your pizza into the oven . Wait for 2 minutes , use the pizza peel to rotate the pizza
let another side close to the re, then put the door on again.
• Wait for 1 minute, rotate the pizza. Repeat this step for 2-3 times, your pizza is almost done.
• Different thickness will take different cooking times.
Easy step to cook your pizza
ENJOY YOUR CAPTIVA DESIGNS
1.
Make sure the control knob is in OFF position,and then turn the liquid propanecylinder
valve ON by slowly turning counterclockwise.
2.
Push in and slowly turn the control knobanticlockwise until you hear a click and the
burner ignites.
3.
If burnerdoesn't light, turn the knob OFF, wait 5 minutes and repeat the lighting.
TO LIGHT WITH A MATCH
1.
If burner willnotlight after several attempts using the control knob, the burnermay be lit with a match.
2.
If you have already attempted to light the burner using the control knob, wait 5 minutes for anygas to
dissipate.
3
. Insert a match into the matchstick holder, ignite the match and insert through the oven opening to the
burner.
4.
Push and turn the control knob to Max slowly, the burner should ignite immediately.
5.
If the burnerdoesnot light within seconds, turn the control knob OFF and wait 5 minutes and try again.
6.
If the burner does not light after several attempts, immediately close all gas valves and consult an
authorized service technician.

Care and Maintenance
14
CAUTION:
Ensure the grill is cool before cleaning and conducting maintenance and with the gas supply turned off at
the LP-Gas Cylinder.
ENJOY YOUR CAPTIVA DESIGNS
Store out of direct sunlightand indoors where possible and when storing for extendedperiods of time.
should not be exposed to harsh weather conditions such as snow, heavy rain and strong winds.
Wait for to cool completely before moving.
The outer shell of may fade over time and through use. This willnot affect performance.
Cleaning
Cleaning is necessary to preserve the beautiful appearance of the barbecue. Do not use any scouring
agents.
• A rinsing cloth and some water with a commercial detergent is sufcient for the normal cleaning process.
• When you clean your pizza stone,soak it in hot water and scrub clean with a nylon brush.
• If the inside surface of the barbecue has the appearance of pealing paint, baked on grease build-up has
turned to carbon and is aking off. Clean thoroughly with strong hot soapy water solution. Rinse with water
and allow to completely dry. Avoid water splashing into vent tube of burner.
INTERIOR OF BARBECUE BOTTOM
Remove residue using brush, scraper and/or cleaning pad then wash with soapy water solution. Rinse with
water and allow to dry.
WARNING:
Do not apply water directly to your pizza oven to extinguish or cool it down as this may cause damage
and personal injury!
Care Instructions
• You should only cook pizza and dry, bread-based food directly on the stone baking board.
• The stone baking board is not dishwasher safe.
• Leave your pizza oven cool naturally for at least 60 minutes.
• We recommend that you store pizza oven indoors during extended periods of time and that you keep your
stone baking board in a warm,dry environment when your pizza oven is not in use. Ensure that your pizza
oven is cool and dry and use pizza oven cover( not included) for storage.
STONE BAKING BOARD
•
Do not use the stone over an open ame.
•
Avoid extreme temperature change to the stone.Do not place frozen foods onahot stone.
•
The stone is fragileand can break if bumped or dropped.
•
The stone is very hotduring use and stays hot for a long time after use.
•
Do not cool the stone with water when the stone is hot.
•
After cleaning the stone with water, please dry the stonebefore use. This can be done in a conventional
oven at 60°C (140°F) for 2hours.


Warranty
16
1-877-606-2818
Questions, problems, missing parts? Before returning to the store
please contact our Customer Service
The warranty is for original owners only at the original site of delivery, and cannot be transferred to new
owners. You must retain your sales slip or invoice. Captiva Designs grills are warrantied for
single-family/residential use only for one (1) years from the date of the original owner.
Installation, repair, and maintenance work should be performed by an authorized service technician. Work by
unqualied persons could be dangerous and will void the warranty. All Captiva Designs gas grills must have a
qualied installer complete the installation for the warranty to be in effect. Incorrect installation of the grill will
void the warranty. Please correct installation of the gas appliance for more information .
Captiva Designs shall not be liable under this or any implied warranty for incidental or consequential damages,
and Captiva Designs’ liability is limited to the purchase price of the appliance only. This warranty gives you
specic legal rights, and you may also have other rights, which may vary from state to state. This warranty is
applicable in the United States only. Improper maintenance, high cooking temperatures, excessive humidity,
chlorine, fertilizers, l awn pesticides, chemicals, and salt can affect the stainless steel components, and for
these reasons, the warranty DOES NOT COVER DISCOLORATION, SURFACE RUST, OR RUST, unless there is
a loss of structural integrity or rust-through of the grill’s components. This warranty covers defects in material
and workmanship.
Consumers are responsible for all labor and shipping cost associated with warranty parts. All warranty claims
are subject to manufacturer review. When making a warranty claim, please make sure to have on hand your
sales receipt information and product serial number, which is located on the outside left side panel of the grill.
In addition, purchased parts are not covered under this warranty.
We reserve the right to make substitutions with similar merchandise, if the model in question is no longer in
production.
ENJOY YOUR CAPTIVA DESIGNS
Table of contents