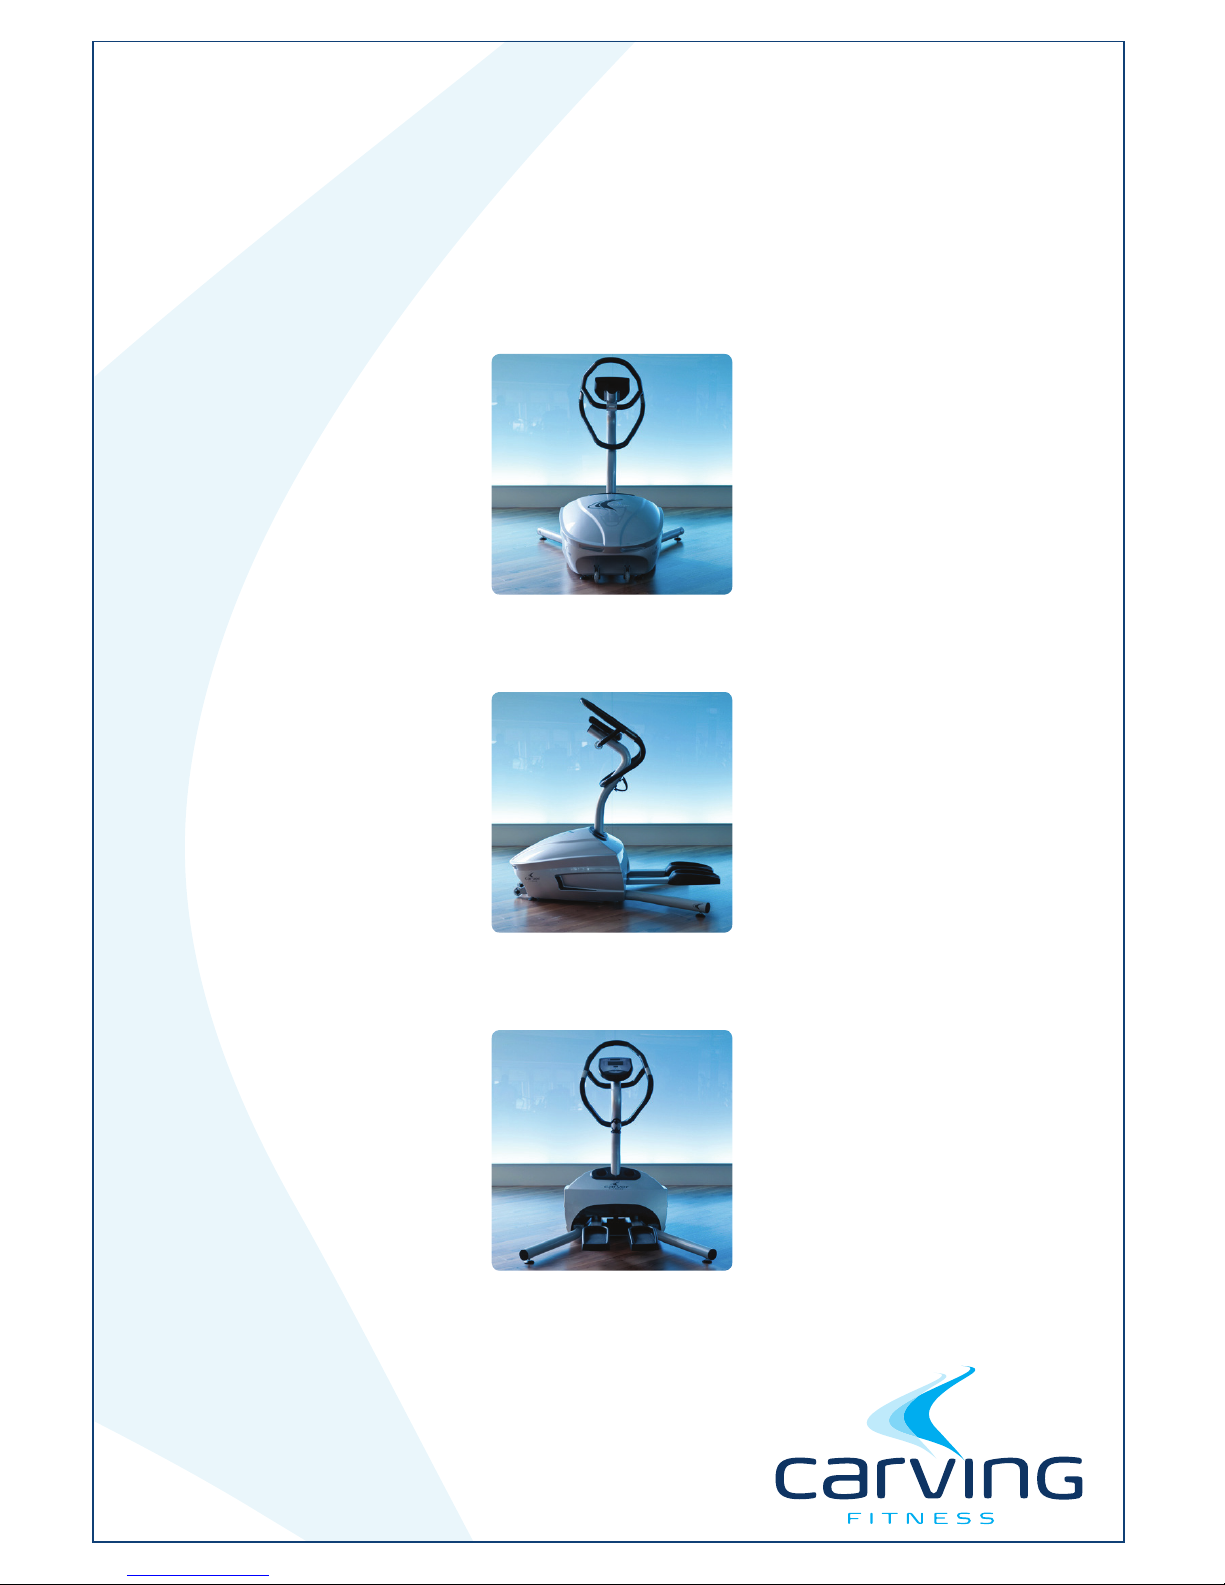
CARVING FITNESS™ | 9
will inuence the outcome of the training. In order to calculate the best heart rate for your-
self will depend on your age. Based on that, it is possible to then work out your maximum
heartbeat. Secondly, the optimum pulse depends on your training goal. When/if your train-
ing goal is fat loss, you should train at 60-65% of your heart maximum rate.
Example to calculate fat loss : maximum heart beat is 220 minus your age x 65%
Maximum heart beat for an optimum fat loss for a person of 40 years old :
220–40=180x65%=117Bpm
If your training goal is to improve your condition it is best to exercise at 80-85% of your
heart rate.
Maximum heart beat for an optimum condition for a person of 40 years old :
220–40=180x80%=144Bpm
The body stores energy in 2 forms, carbohydrates and fats. During exertion we use a com-
bination of these 2 energy supplies. When the exercise intensity is high the body will mainly
choose fast burning energy, namely carbohydrates. As the body only has a limited supply of
this, this can only be sustained for a short time. By training at a low intensity, the body will
chose a prolonged energy supply, namely fat. As this is stored in large quantities in the body
, it is possible to sustain this for a longer period.
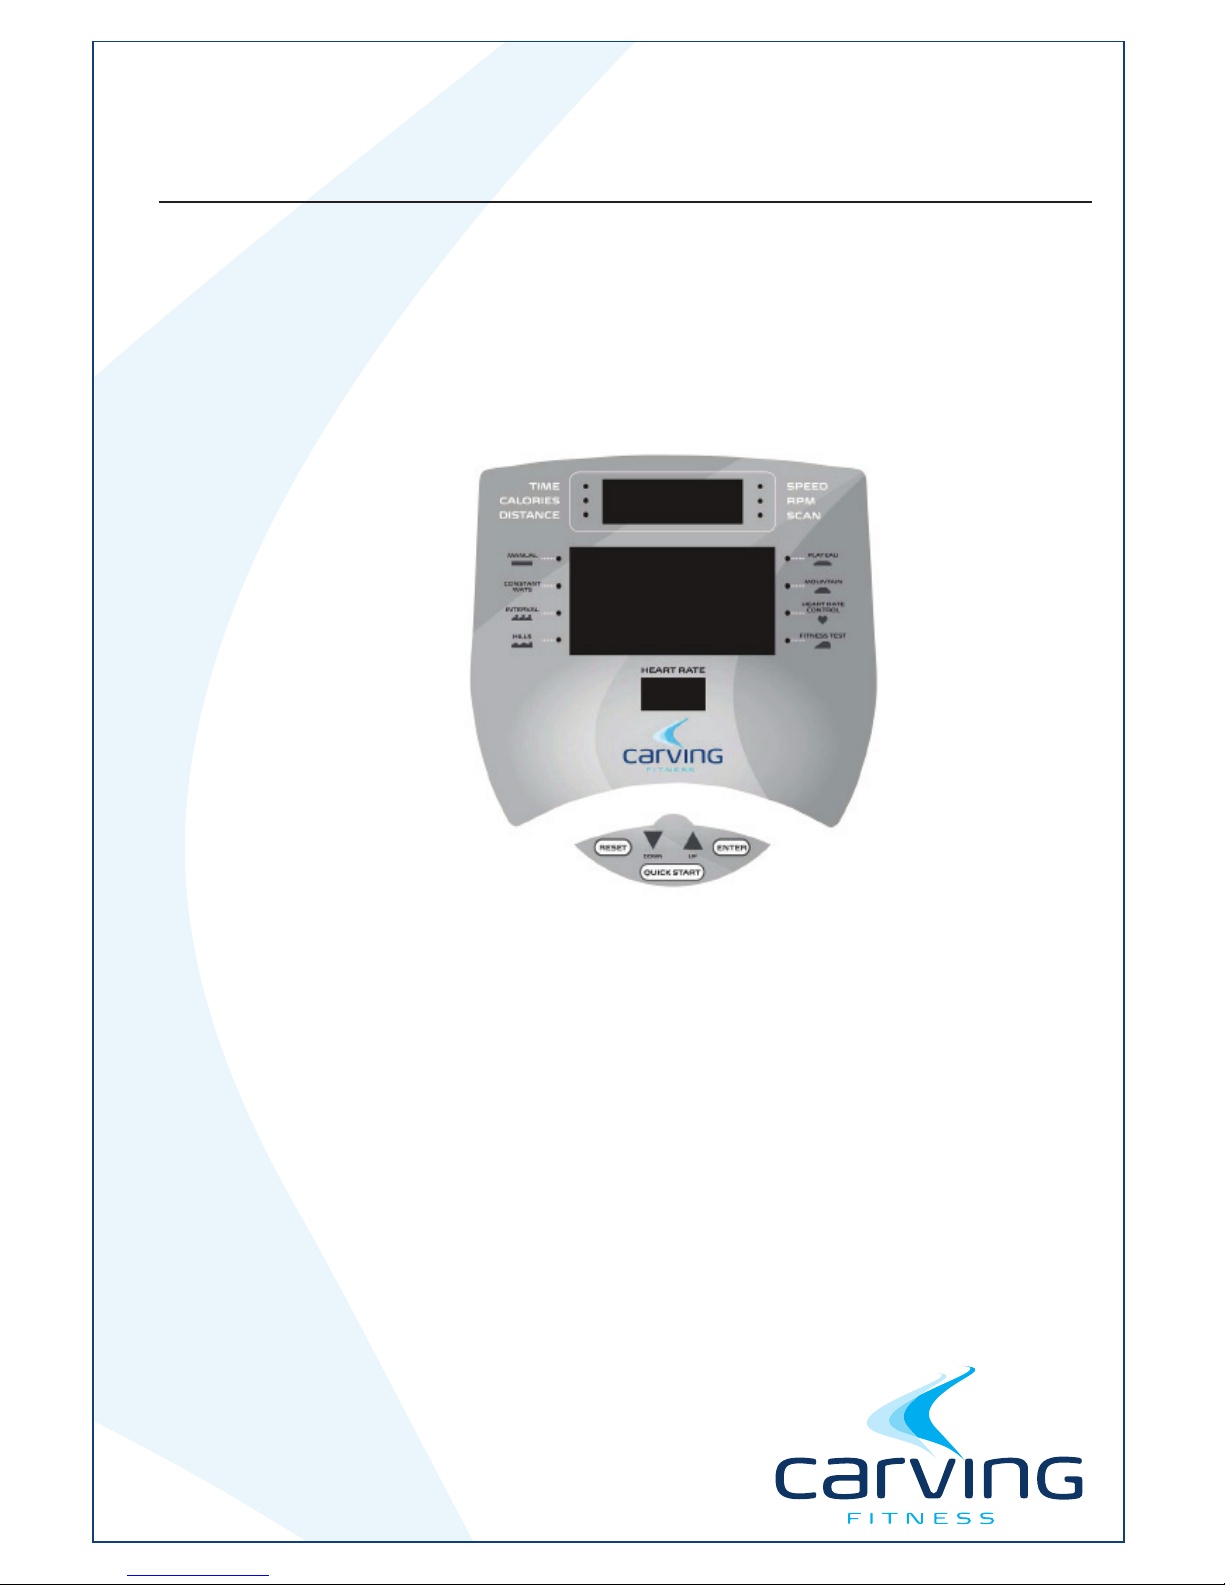
FITTEST PROGRAM:
Only with FITNESS TEST Program:
• Setting AGE:
“ENTER AGE”By pressing the or key to adjust the AGE value.
Press ENTER key to accept AGE.
• Setting SEX:
“ENTER TARGET SEX” By pressing the or key to adjust the SEX value.
MALE:“1”setting in the upper screen
FEMALE:“2”setting in the upper screen
Press ENTER key to accept the GENDER.
Start workout by pressing ENTER key
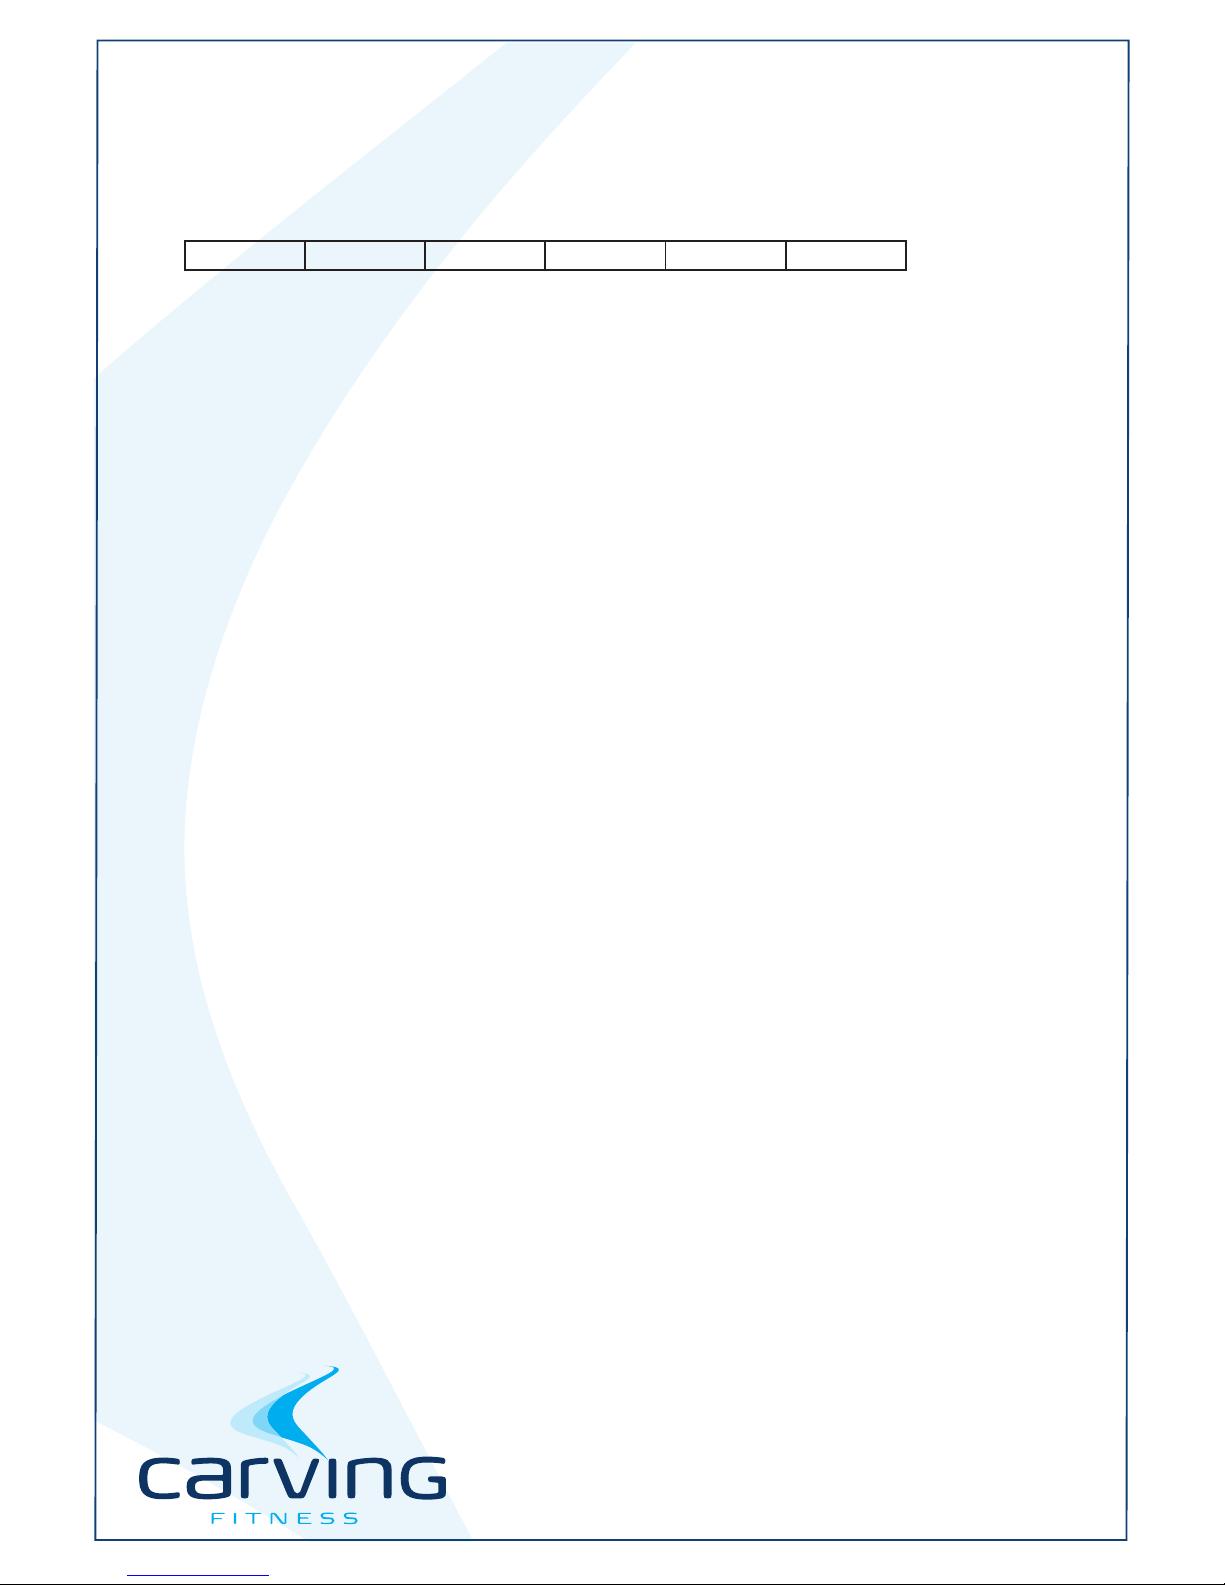
VO2 MAX SCORE:
SCORE /
AGE
0-29 30-39 40-49 50-59 60-99
Excellent >=51 >=47 >=43 >=40 >=38
Good 40-50 36-46 33-42 31-39 27-37
Average 32-39 29-35 25-32 23-30 20-26
Poor 24-31 21-28 18-24 16-22 14-19