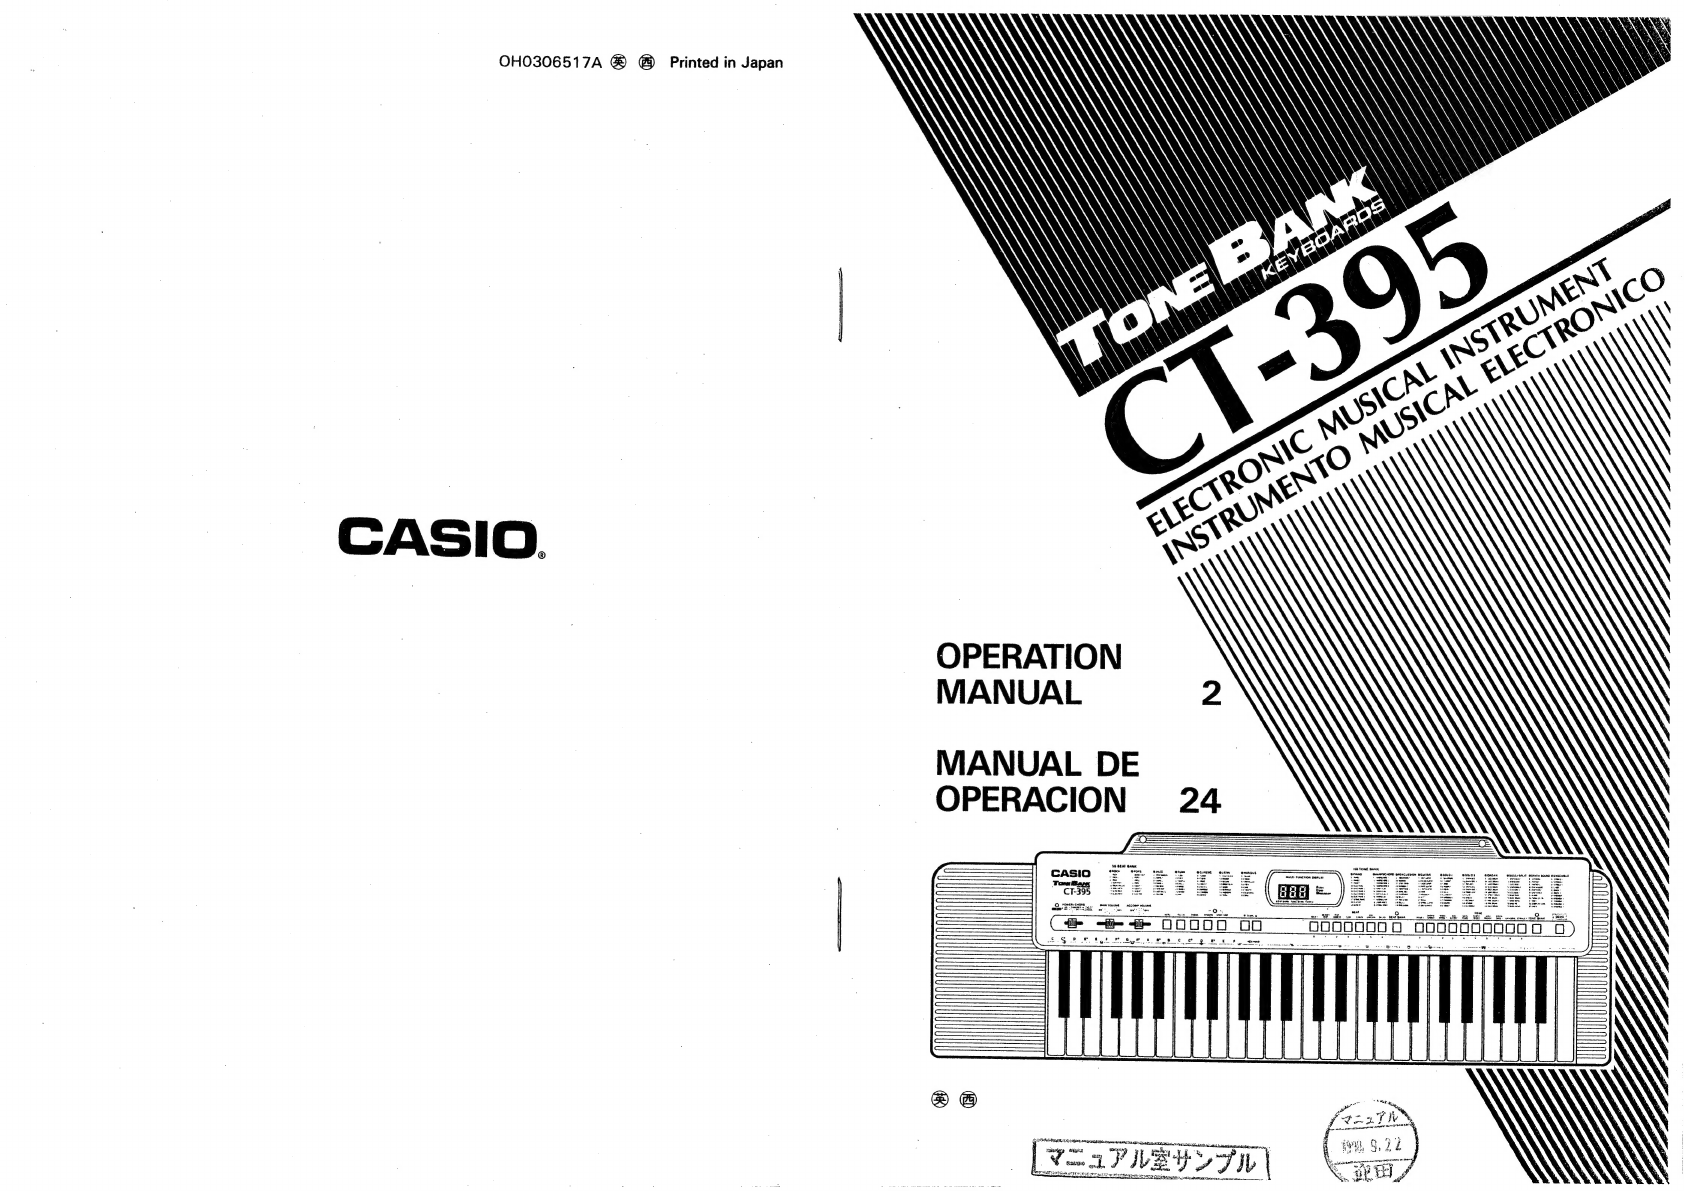
Tone
Bank
ams
CT:
3
95
ELECTRONIC
MUSICAL
INSTRUMENT
-
CT-395
Features
110-SOUND
TONE
BANK
A
high-fidelity
12-bit
PCM
sound
source
produces
an
outstanding
selection
of
110
TONE
BANK
Sounds.
Sounds
are
broken
down
into
10
categories
for
quick
and
easy
selection.
See
page
9,
‘/Preset
Tones”
for
details.
56-PATTERN
BEAT
BANK
Snappy
PCM
auto-rhythms
energize
any
keyboard
per-
formance.
This
amazing
selection
of
patterns
is
broken
down
into
7
categories
for
simple
selection.
See
page
12,
“Auto-Rhythms”
for
details.
.
One-Touch
CASIO
CHORD
Accompaniment
Now
even
beginners
can
enjoy
playing
full,
professional-
level
chords,
by
playing
with
one
finger.
More
advanced
players
can
switch
over
to
the
FINGERED
mode
for
normal
chord
play.
See
page
16
for
full
details.
MUSICAL
CONTROLLERS
MUSICAL
CONTROLLERS
give
you
full
control
over
the
introductions,
fill-ins,
and
endings
of
rhythm
and
accompaniment
patterns.
Arrange
your
own
patterns
for
a
professional-sounding
rhythm
and
accompaniment.
See
page
18,
‘Using
the
eee
CONTROLLER
buttons”
for
details.
MULTI
FUNCTION
DISPLAY
3-digit
LED
will
display
your
TONE
BANK
sound
dicing:
tion,
BEAT
BANK
rhythm
selection
or
TEMPO
setting
(beat
per
minute)
for
easy
selection
and
confirmation
during
performance.
2;
wen
-
Contents
1.
General
Guide
e073
caoawt
et
occ
sade
deud
daeadn
@
Demonstration
tune............
0...
eee
eee
POWGr
SUDDIY
j04y.0e
icv
si
ceaee
ti
cueeds
Ahan
BDC
POWCl
2
25
2cu
it
eadas
gee
een
Saniarn
bicepmnte
BAC
POWOCR
at4
ioe
tiwes
poke
hee
mantaes
m™
Auto
power
off
function
..................008.
.
General
Operations
................
00
c
cece
ees
B
Getting
Slanmed
.¢
i152
po
ca
eterw
is
aewwed
ses
@
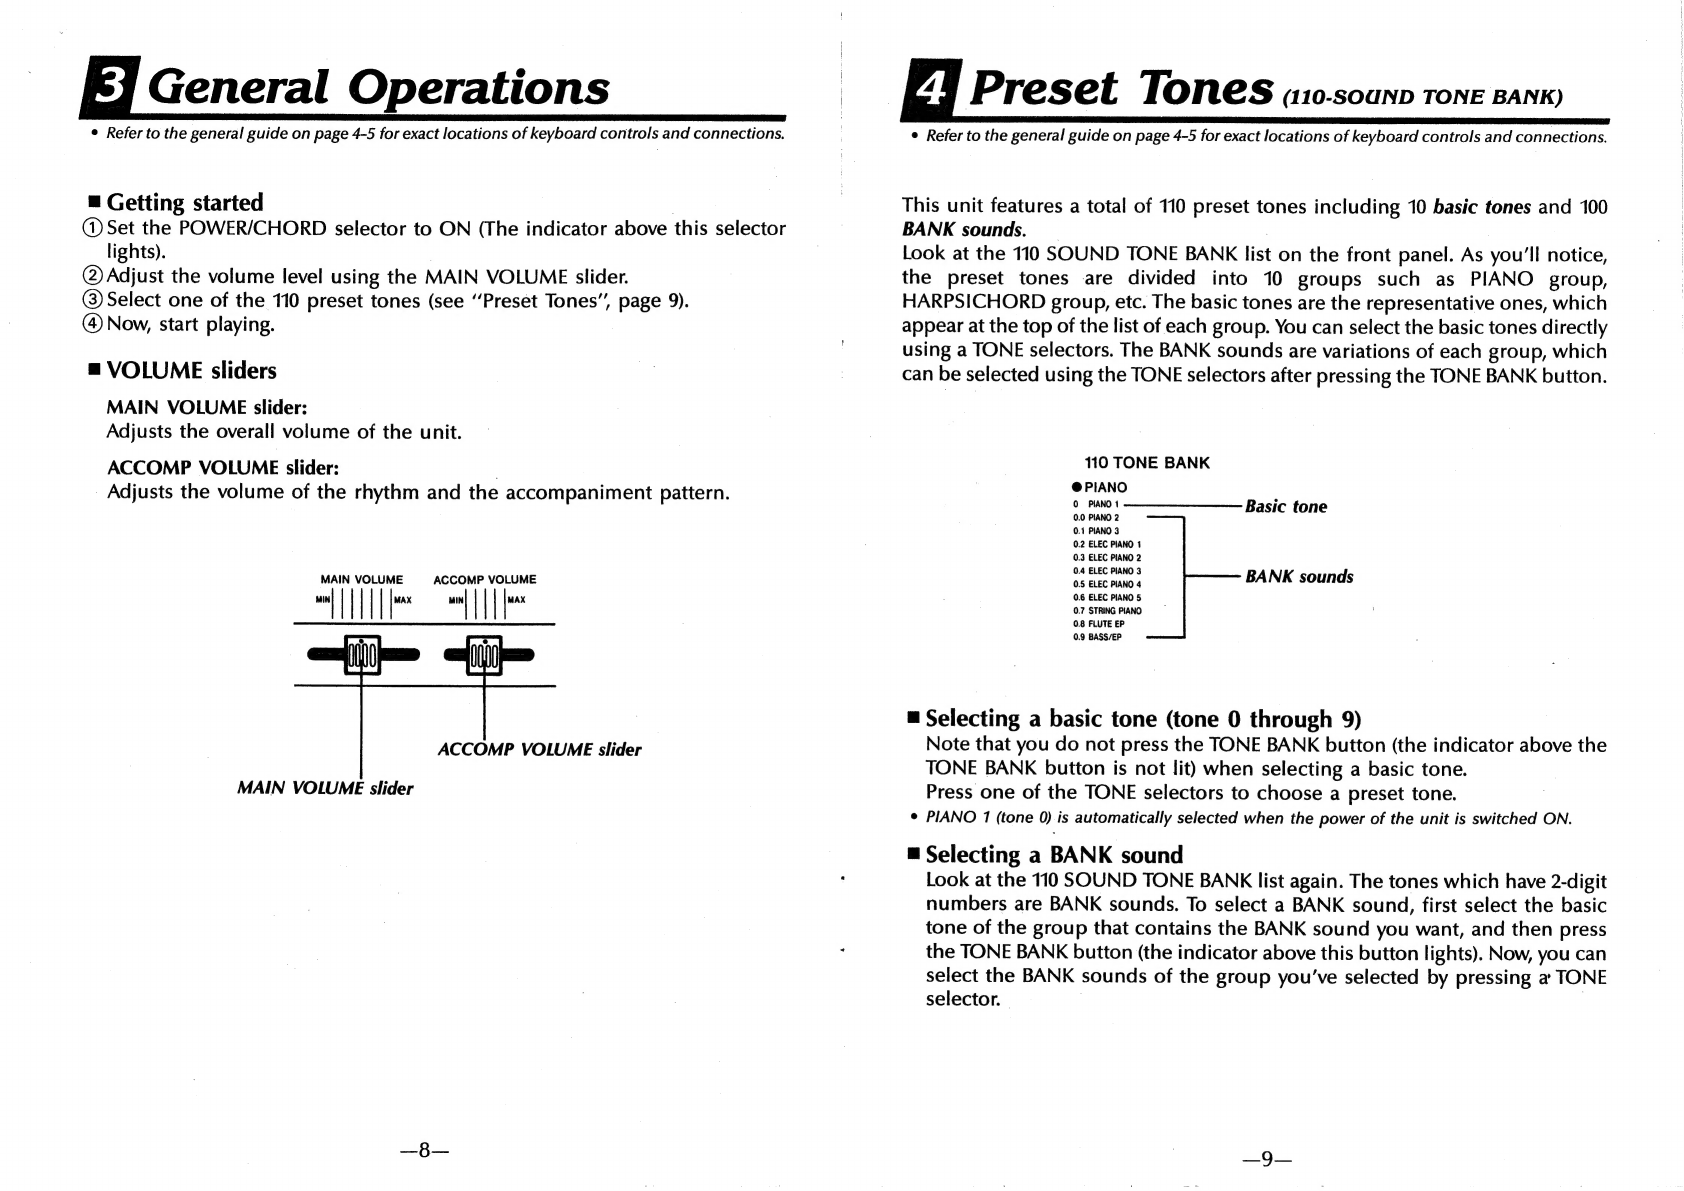
Volume
sliders..........
0.0...
cece
eee
eee
eee
.
Preset
Tones
(110-SOUND
TONE
BANK)
...........
m
Selecting
a
basic
tone
..............
cee
eee
eee
m
Selecting
a
BANK
sound..................005-
|
™
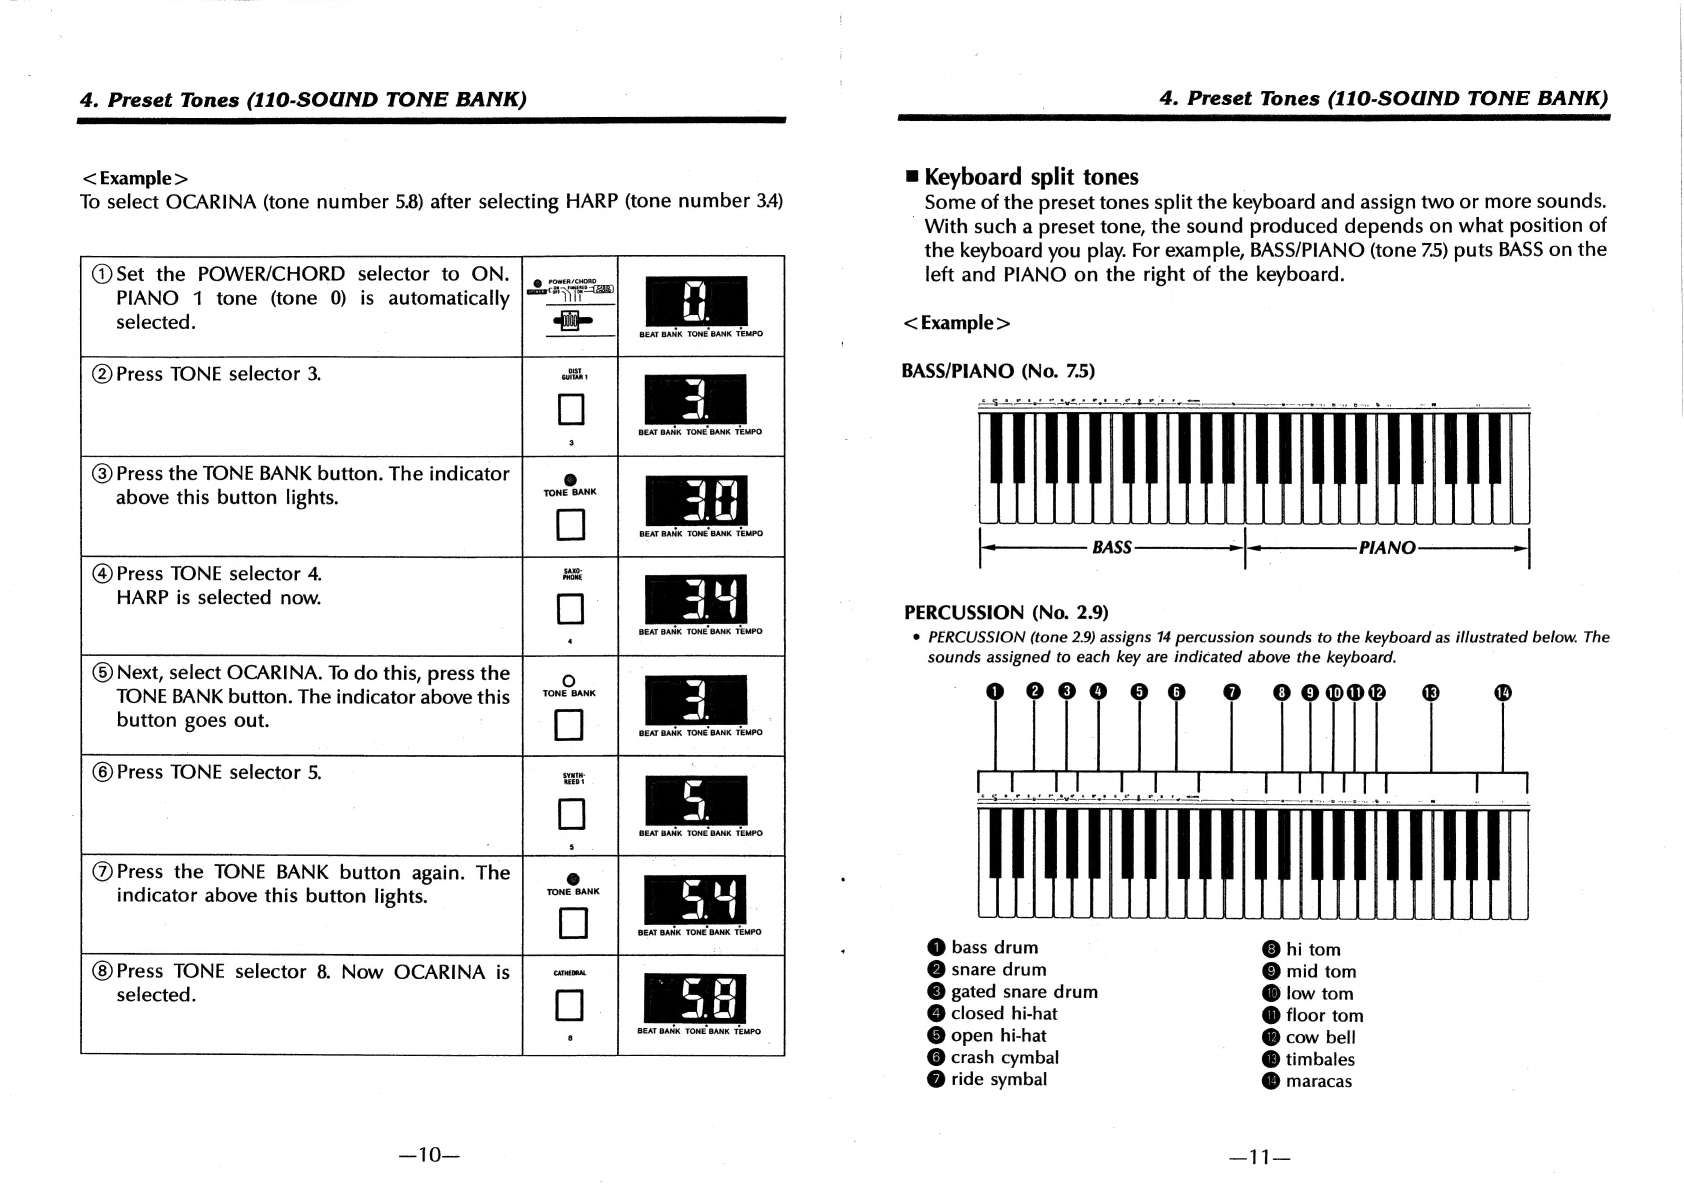
Keyboard
split
tones
................
00.
eee eee
11
.
Auto-Rhythms
(56
BEAT
BANK)
..................-
12
™
Selecting
a
basic
rhythm
.....................
12
™
Selecting
a
BANK
rhythm.....................
12
=
Playing
an
auto-rhythm
.......................
14
.
Auto-accompaniment
............0.
0.0.00.
c
ee
eee
15
=
Accompaniment
keyboard
....................
15
=
Playing
an
accompaniment
using
CASIO
CHORD
(One-finger
method)
.................
16
=
Playing
an
accompaniment
using
Standard
chord
fingering
(FINGERED)..........
17
=
Using
the
MUSICAL
CONTROLLER
buttons
(INTRO,
FILL-IN,
ENDING
button)
.............
18
=
Using
the
SYNCHRO
button
..................
18
.
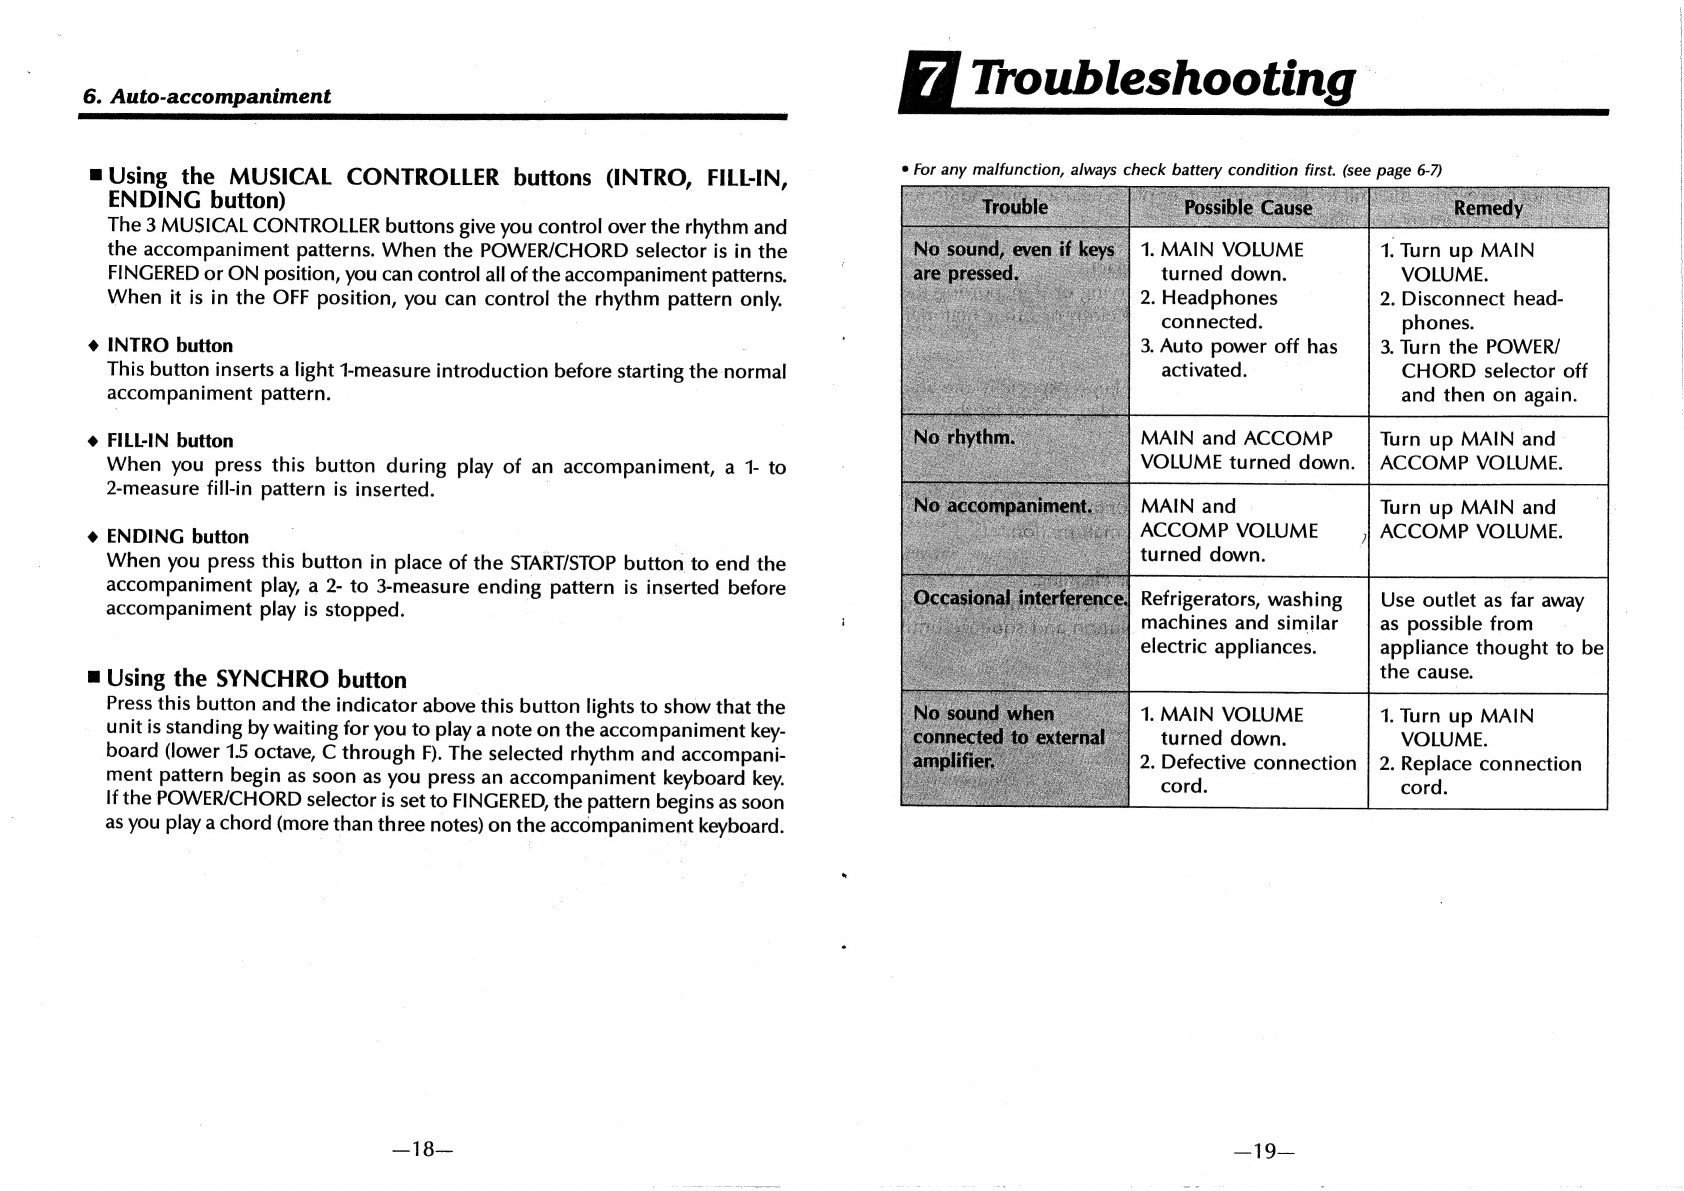
Troubleshooting
.................
ccc
ccc
cee
ence
19
.
Care
of
Your
Keyboard
....................00000-
20
.
Specifications
...............
RT
eo
eee
ee
21
Precaution
The
batteries
that
come
with
the
unit
are
test
batteries.
If
battery
power
drops
below
a
certain
level,
the
quality
of
the
tone
produced
deteriorates,
a
totally
different
tone
may
sound,
or
the
demo
tune
or
auto
rhythm
may
become
abnormal.
Should
any
of
these
symptoms
occur,
replace
batteries
as
soon
as
possible.