Note
●Even if you are within the normal
reception range of a time signal,
reception may be made impossible by
the following factors: geographic
contours, weather, the season, the
time of day, wireless noise.
Signals become weaker outside of the
smaller circles indicated by dashed
lines in the maps above, so the above
factors have greater effect on signal
reception.
Though the Honolulu and Anchorage
areas (time zones) are outside of the
time signal reception range of the
watch, reception may be possible
when reception conditions are good.
●With the AT (AUTO) summer time
setting, the watch may not indicate
correct time if you are using it in a
country or region that is different from
the country or region where the time
calibration signal transmitter is
located. This is due to differences in
adoption of summer time rules,
differences in summer time periods,
etc. If this happens, change the city
and/or summer time setting so the
correct time is displayed.
l Configuring City and Summer Time
Settings
Configuring City and Summer Time
Settings
Use the procedure in this section to select a
Home City and configure its summer time
setting.
●Summer Time
Summer time, which is also known as Daylight
Saving Time (DST), advances the time setting
one hour, 30 minutes, or some other amount
of time from standard time (STD) during the
summer months. Whether or not and how
summer time is used depends on your country
or local area. Summer time is not used in some
countries and local areas.
●World Time
Your watch lets you select from among city
codes for 24 cities around the globe. Selecting
a city code causes the watch’s time setting to
change automatically to indicate the current
time in that zone.
Note
●The initial factory default summer time
setting for all cities (time zones) is “AT
(AUTO)”.
●If you are using the watch in a location
that is not among the built-in cities, use
the built-in city that is in the same time
zone as your location. For available
city settings, see “City (Time Zone)
List”.
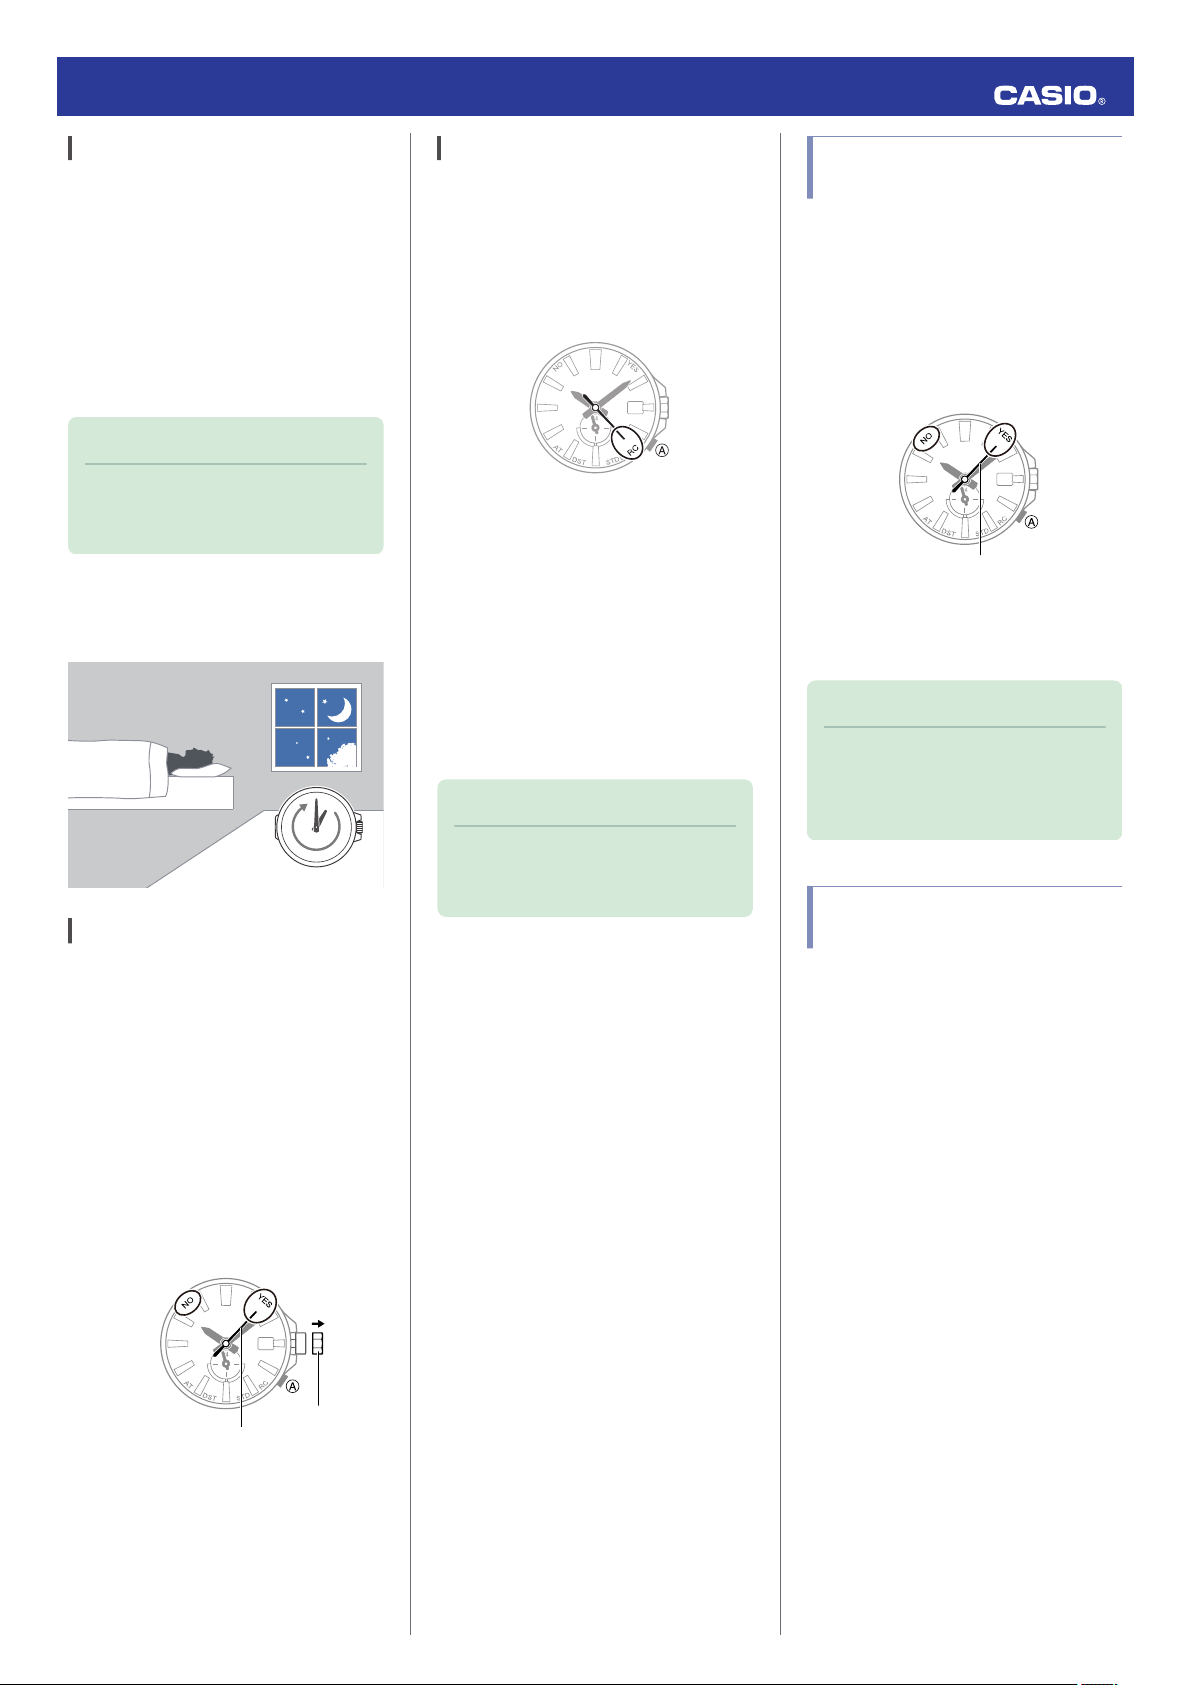
1. Pull out the crown to the first click.
The second hand will move to the
currently selected city code.
2. Rotate the crown to move the second
hand to the city you want to set.
●If you do not want to change the summer
time setting, advance to step 5.
3. To change the summer time setting, press
(A).
The second hand will move to the current
summer time setting.
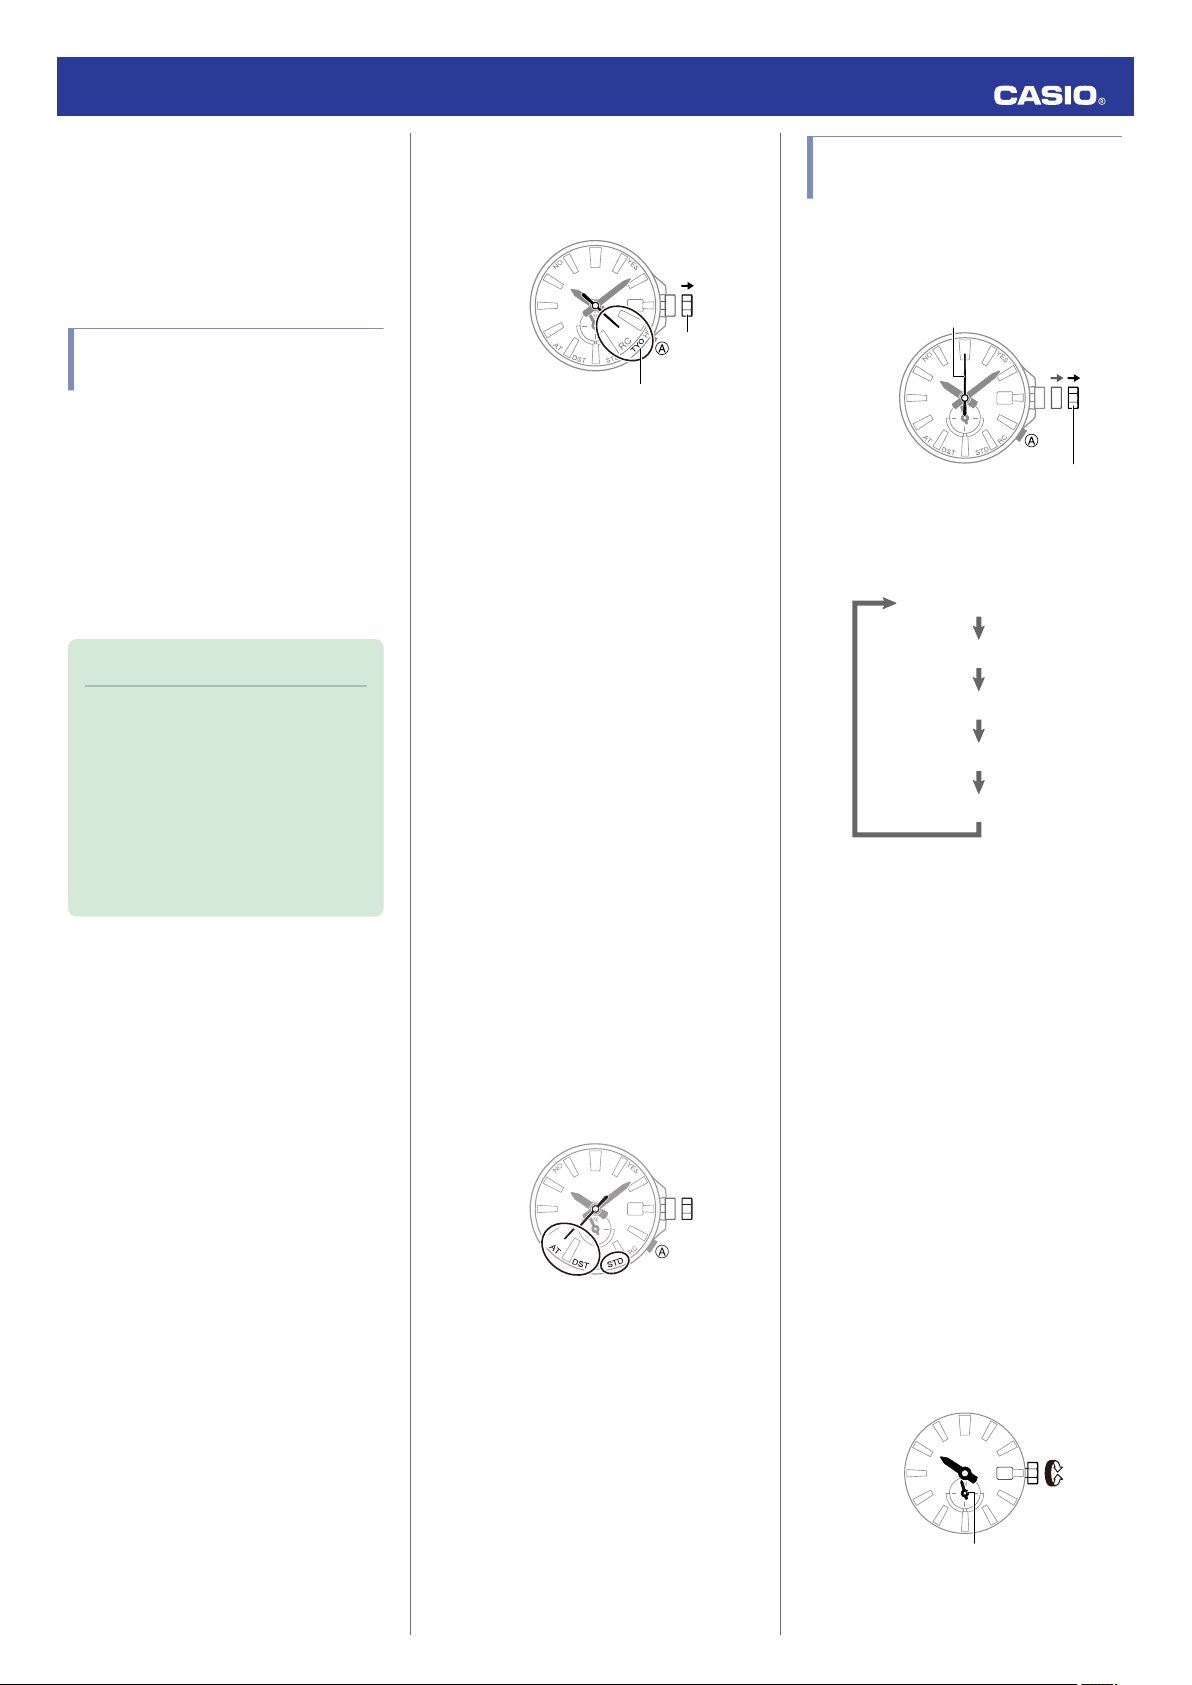
●“AT (AUTO)”
The watch switches between standard
time and summer time automatically.
l Summer Time Table
●“STD”
The watch always indicates standard
time.
●“DST”
The watch always indicates summer
time.
●After about three seconds, the second
hand will return to the currently selected
city code.
4. To change the summer time setting, hold
down the (A) button for about one second.
Each time you hold down the (A) button
for about one second, the setting will cycle
through options in the sequence shown
below.
“AT (AUTO)”n“STD”n“DST”
5. Push the crown back in to its normal
position.
Appropriate Signal Reception
Location
A time calibration signal can be received while
the watch is near a window.
●Keep metal objects away from the watch.
●Do not move the watch.
●Do not perform any operation on the watch.
Note
●You may experience time signal
reception problems in the areas
described below.
ーAmong or near buildings
ーWhile riding in a vehicle
ーNear household appliances, office
machines, mobile phones, etc.
ーOn a construction site, in an airport,
or any other location where radio
wave interference occurs
ーNear high-voltage lines
ーIn mountainous areas or behind a
mountain
Operation Guide 5600
5


 User manual")