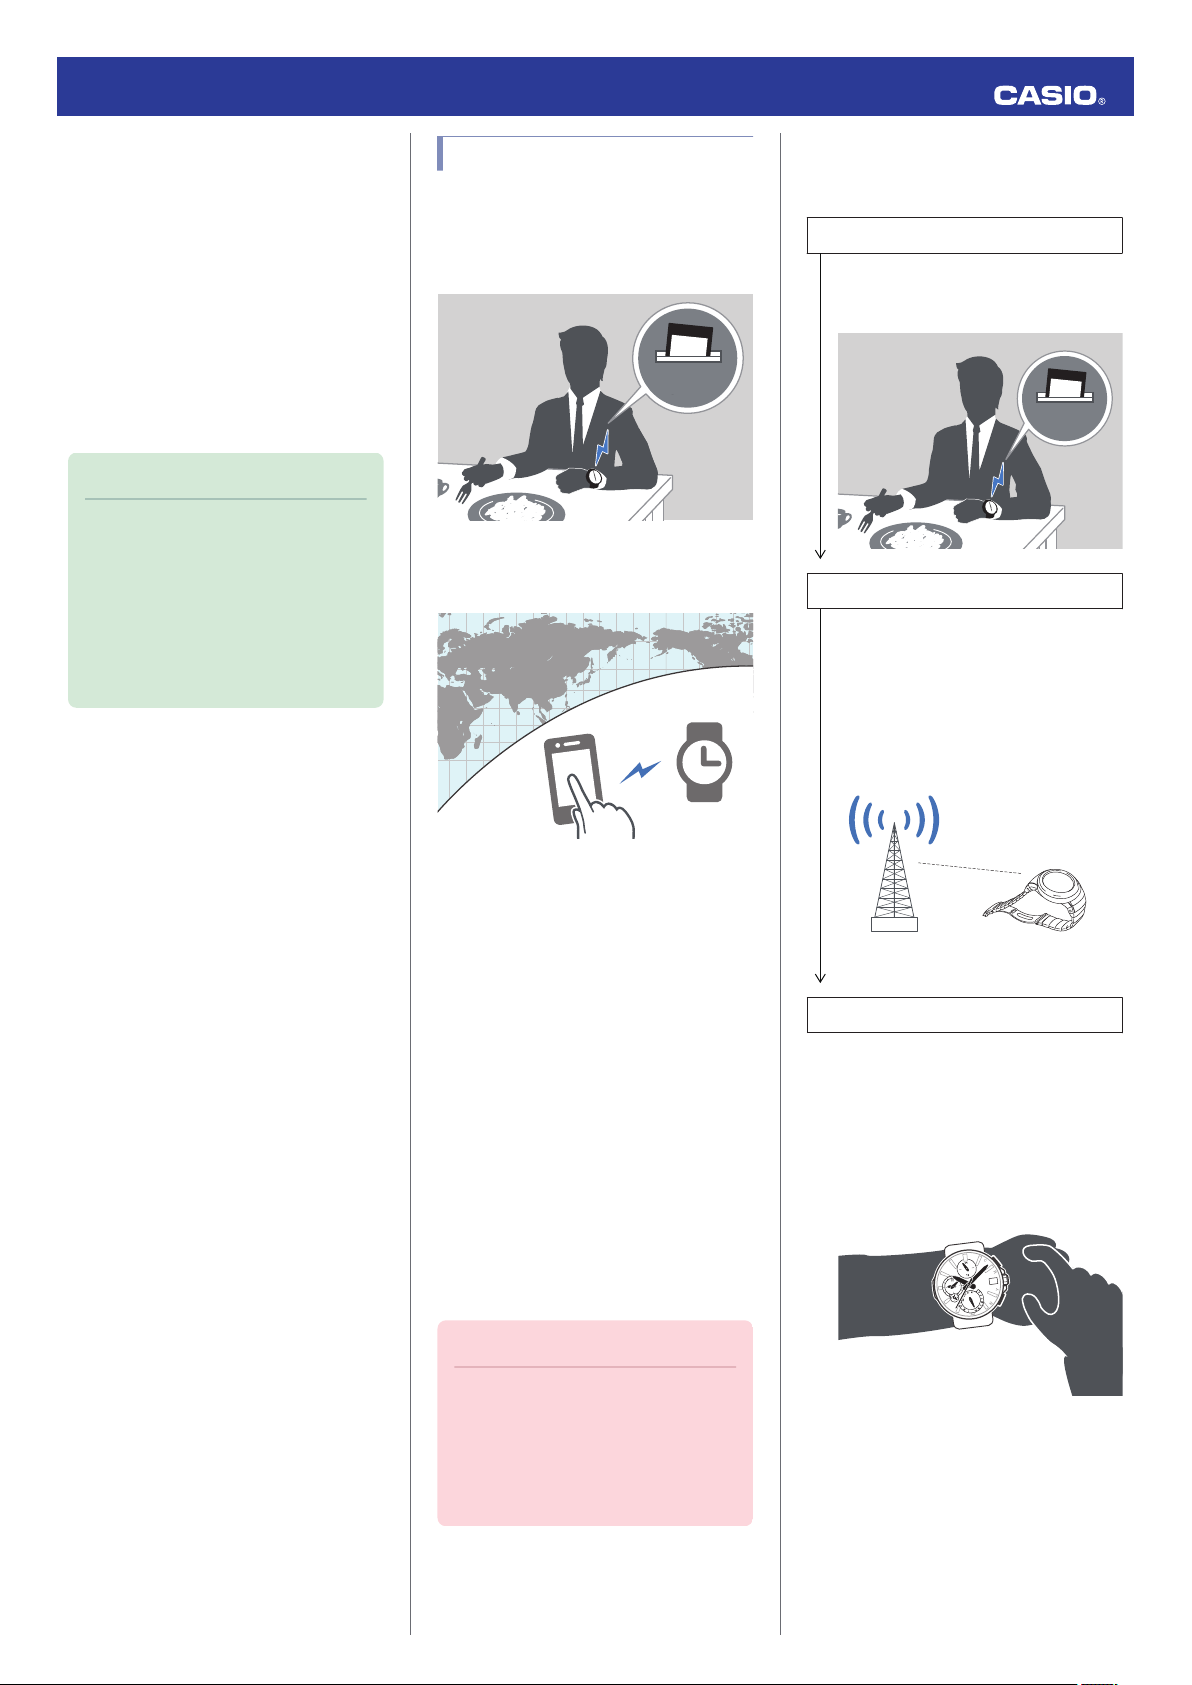
Auto Time Calibration Signal
Receive
An automatic time calibration signal receive
operation is performed and the time and day
settings are adjusted between midnight and
5:00 a.m. Once a signal receive operation is
successful, no more auto receive operations
are performed that day.
Getting Ready
Enter the World Time Mode or the Stopwatch
Mode with the stopwatch reset to all zeros.
lNavigating Between Modes
lMeasuring Elapsed Time
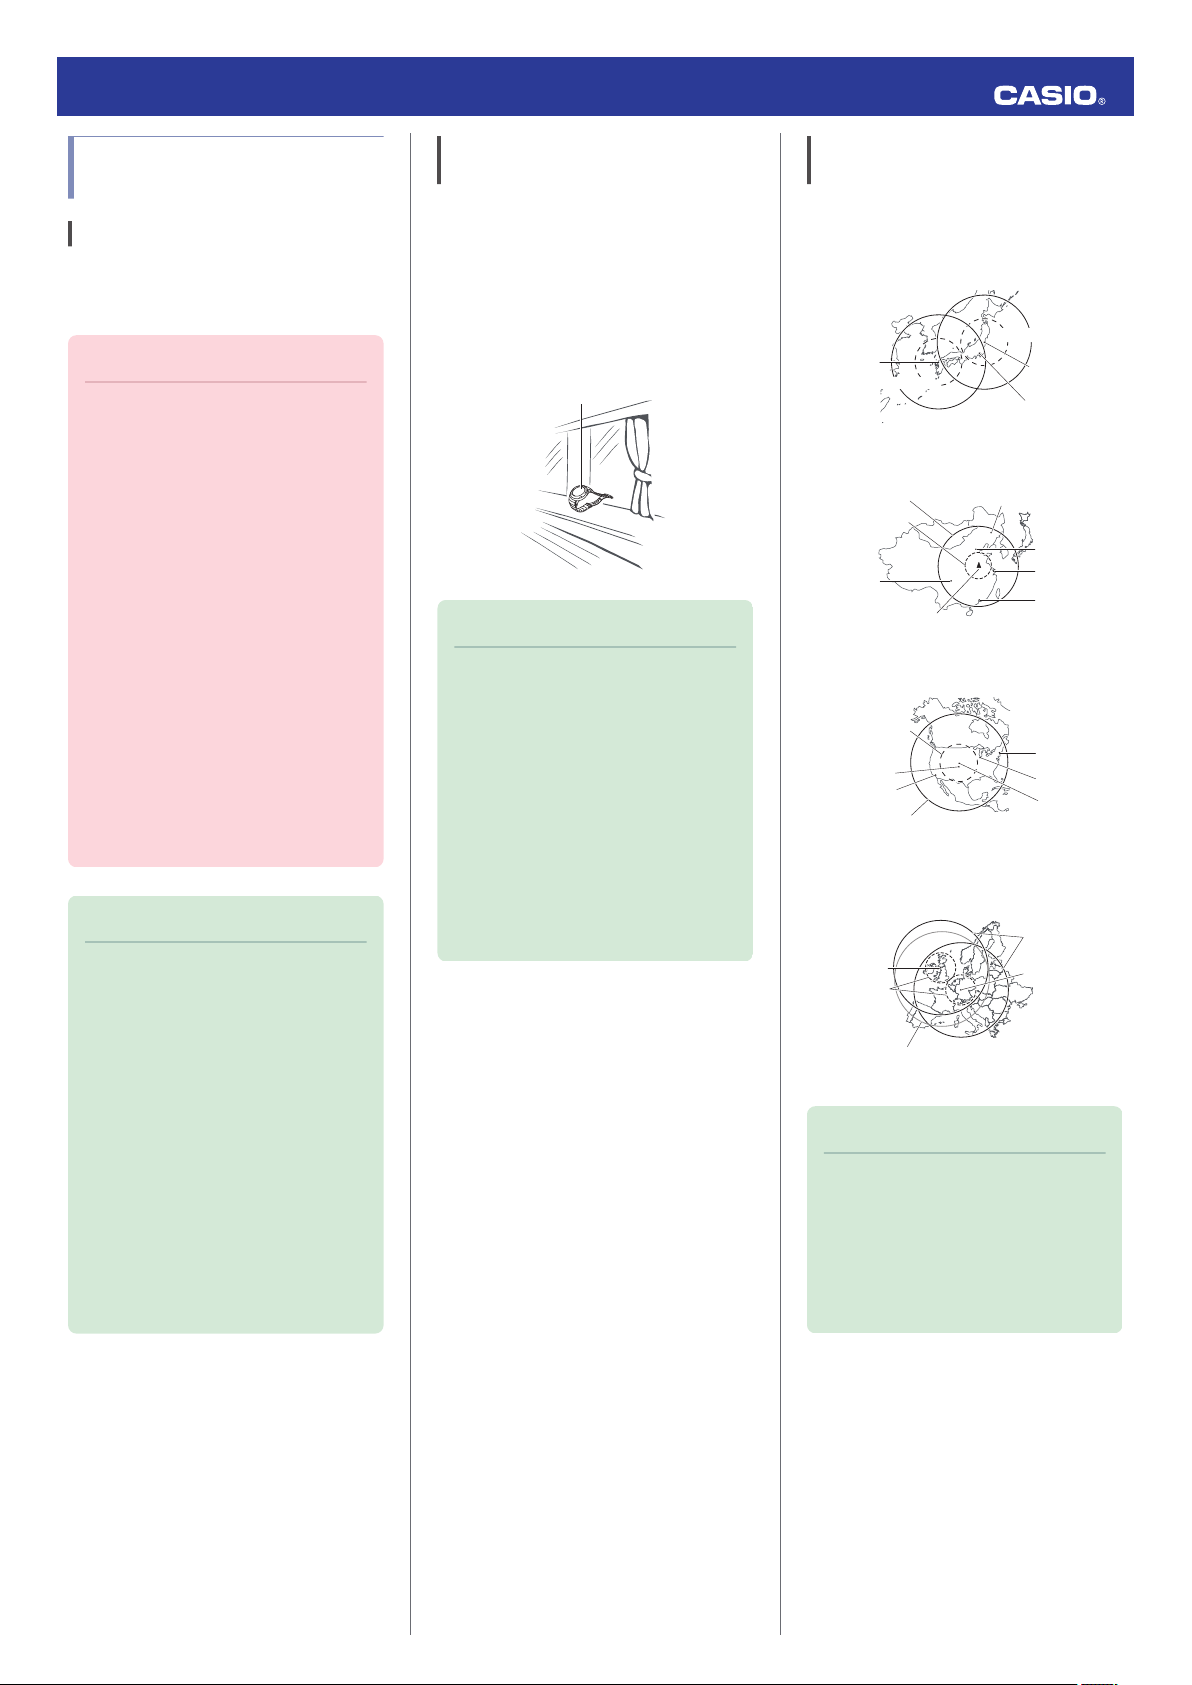
Place the watch near a window or some other
location appropriate for signal reception.
●The second hand points to [R] while the
receive operation in progress.
●When the receive operation is successful,
the time and day settings will be adjusted
automatically.
Note
●Reception takes anywhere from about
two minutes to about 10 minutes. It can
take as long as 20 minutes.
●If the watch connects with a phone and
adjusts its time setting, the watch will
not perform auto receive of a time
calibration signal for the rest of that day
or the next day.
Manual Time Signal Receive
1. Place the watch near a window or some
other location appropriate for time signal
reception.
2. Hold down (B) for at least 0.5 seconds until
the second hand points to [R].
This indicates that the receive operation
has started. After the receive operation is
complete, the watch’s time and day
settings will be adjusted accordingly.
Note
●The receive operation takes anywhere
from about two minutes to about 10
minutes. It can take as long as 20
minutes.
●Time calibration signal reception is
better at night than during the day.
●A time calibration signal operation
cannot be received while the watch is
paired with a phone.
Signal Reception Precautions
●When the watch is unable to adjust its time
in accordance with a calibration signal for
some reason, average timekeeping
accuracy is within ±15 seconds per month.
●Note that an internal decoding process the
watch performs after it receives a signal
may cause the time setting to be slightly off
(by less than one second).
●Time calibration signal reception is not
possible under the conditions described
below.
ーWhile battery power is low
ーWhile an elapsed time operation is in
progress (Auto Receive only disabled.)
ーAt Power Saving Level 2
ーWhile the crown is pulled out
ーWhile the Home City setting is a time zone
where time signal reception is not
possible
ーWhile the watch is outside the time signal
reception range
ーWhile the watch is paired with a phone
●To perform a manual time calibration signal
receive operation, make sure the watch is
not paired with a phone. If it is, delete the
watch’s pairing information before
performing the manual receive operation.
lUnpairing
●When the receive operation is successful,
the time and/or day settings will be adjusted
automatically. Summer time will not be
applied correctly in the case described
below.
ーWhen the summer time start date and
time, end date and time, or other rules are
changed by authorities
●If your watch is connected with a phone,
settings must be configured so OCEANUS
Connected can acquire location
information. Even if you are in an area that
is within the reception range of a time signal,
reception will not be performed if settings
are configured in a way that makes signal
reception impossible.
●As of January 2019, China does not
observe summer time. If China starts to
observe summer time in the future, the time
displayed by the watch for China may not be
correct.
Using Watch Operations to
Adjust the Time Setting
Setting a Home Time City
Use the procedure in this section to select a
city (time zone) to use as your Home City.
Important!
●If you do not specify the city (time zone)
where you are using the watch, the
current time setting will not be correct
after it is adjusted based on a time
calibration signal.
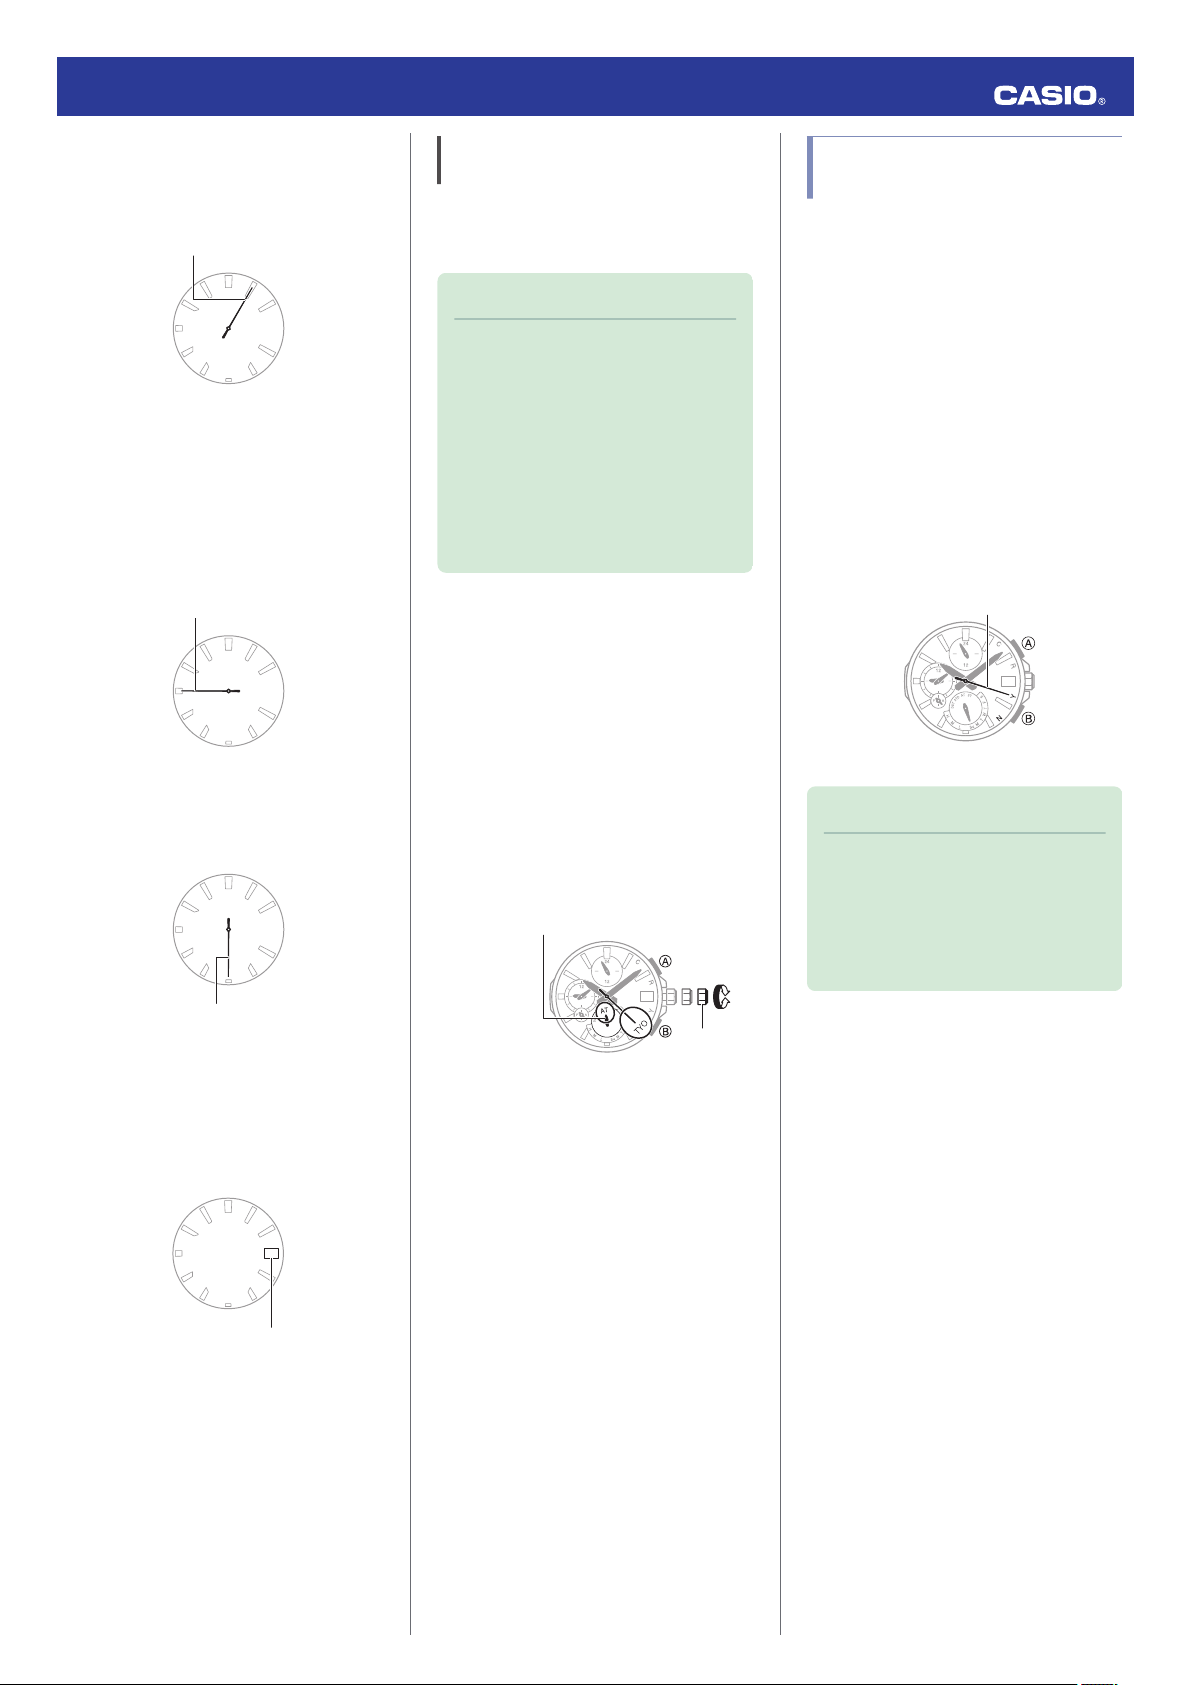
1. Pull out the crown to the second click.
The second hand will move to the city
code of the currently selected Home City.
2. Rotate the crown to change the Home
Time City.
●You can also select a time zone whose
name is not indicated on the face of the
watch.
●For details about time zones, refer to the
information below.
lCity (Time Zone) List
3. Push the crown back in to its normal
position.
Adjusting the Time and Day Setting
1. Pull out the crown to the second click.
The second hand will move to the city
code of the currently selected Home City.
30
Crown
Home City (time zone)
2. Hold down (B) for at least three seconds.
This causes the second hand to move to
12 o’clock, and enables the hour and
minute setting operation.
3. Rotate the crown to change the hour and
minute settings.
4. Press (B).
This enables the year ten’s digit setting
operation.
Operation Guide 5603
7