CaterKwik CK6043 User manual

APPLIES TO CK6043
Thank you for purchasing our Cater-Cool Dual Zone Wine Cooler. To
ensure proper operaon of this cooler, please read the instrucon
manual carefully before use and please keep near the product.
CATERKWIK, The Lakeland Catering Centre, Newlands, Ulverston, Cum-
bria, LA12 7 QQ. Tel: 01229 480001 | Email: [email protected]
CATER-COOL COMMERCIAL DUAL ZONE WINE COOLER INSTALLA-
TION USE & SERVICE MANUAL
Please read this manual carefully prior to use & keep it in a convenient
place for future reference.

CONTENTS:
Important Safety Instructions…………………………….3
Installation Instructions………………………………………4
Operating Your Wine Cooler………………………………..5
Control Panel..……………………………………………………..6
Troubleshooting….………………………………………….…...7

IMPORTANT SAFETY INSTRUCTIONS
To reduce the risk of re, electrical shock or injury when using your appli-
ance, follow these basic precautions:
READ ALL INSTRUCATIONS BEFORE USING THE APPLIANCE.
• If the supply cord is damaged, it must be replaced by the manufac-
turer, a service agent or similarly qualied persons.
• This appliance is not intended for use by persons (including children)
with reduced physical, sensory or mental capabilities, or lack of ex-
perience and knowledge, unless supervised or instruction concerning
use of the appliance by a person responsible for their safety.
• Children should be supervised to ensure that they do not play with
the appliance.
• To avoid hazards due to instability of the appliance, it must be xed
in accordance with the installation instructions.
• Do not store explosive substance such as aerosol cans with a am-
mable propellant inside the appliance.
• For appliance which use ammable insulation blowing gases, the
instructions shall include information regarding disposal of the appli-
ance.
• The lamp should be changed by professionals.
3

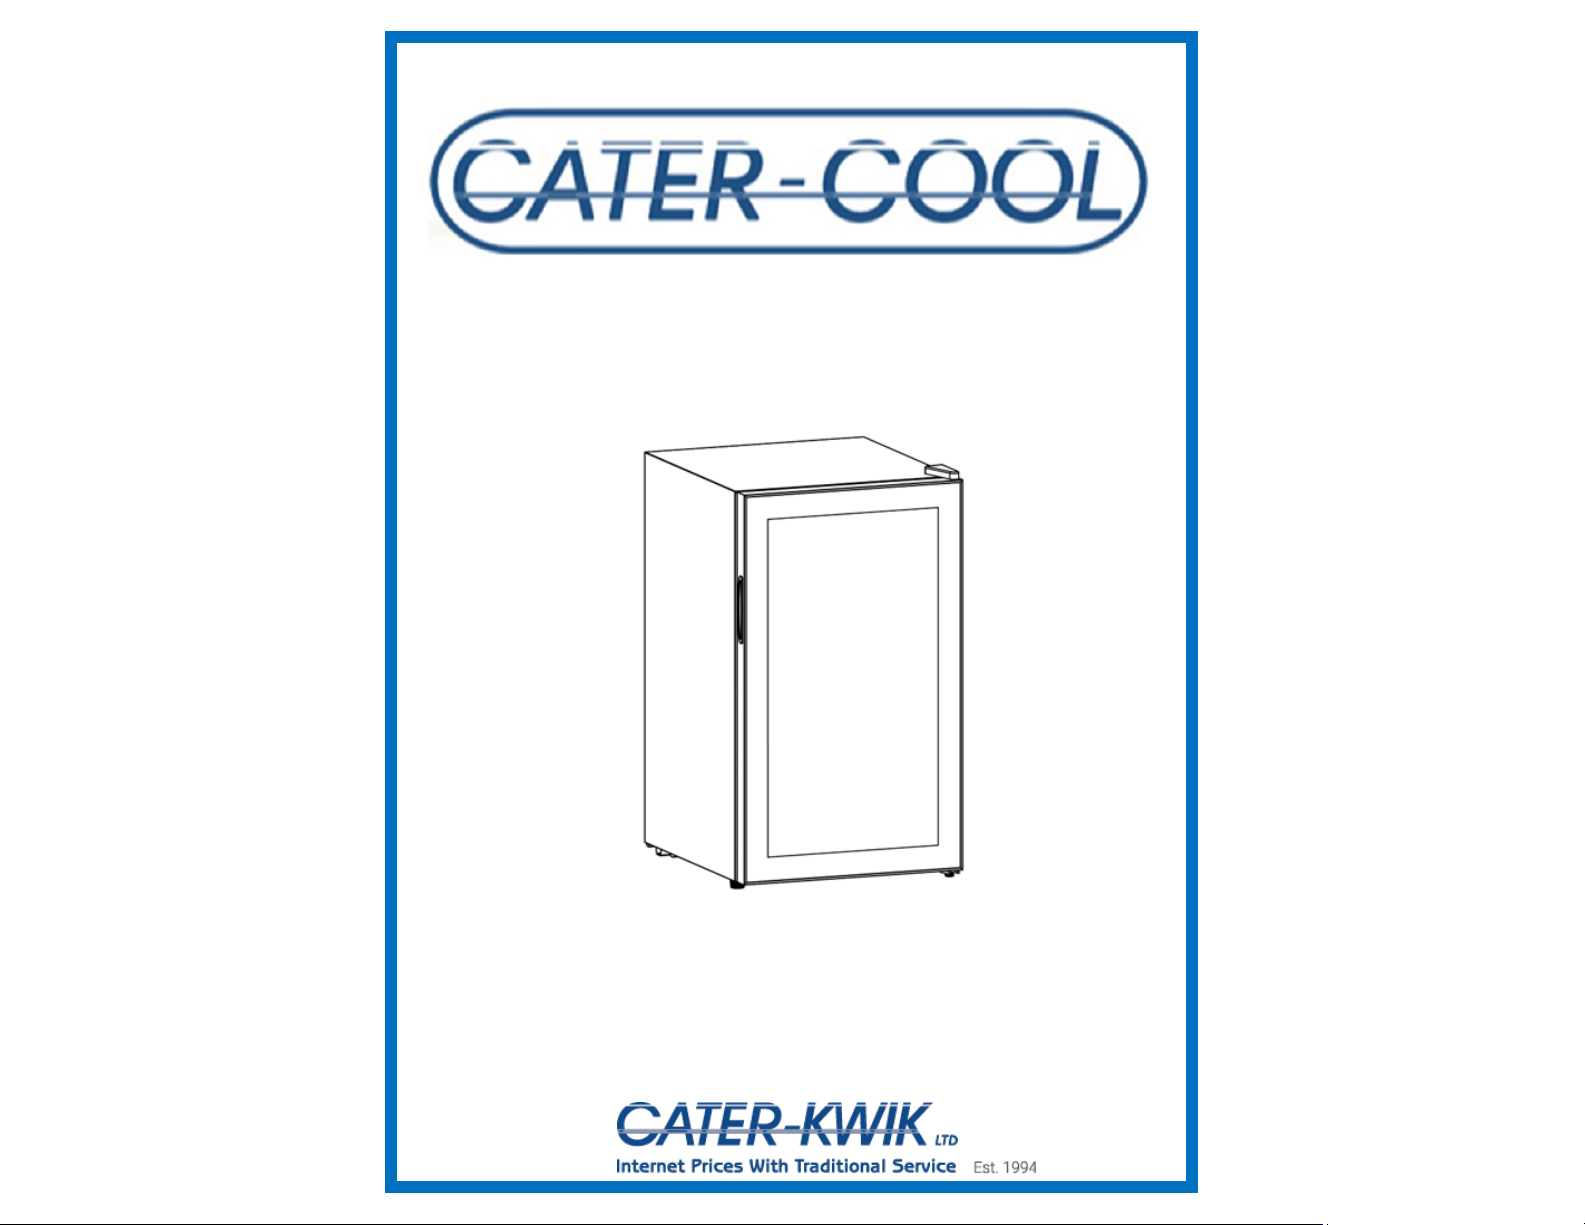
INSTALLATION INSTRUCTIONS
• This appliance is designed to be free standing only, and should not be
recessed or built-in.
• Place your unit on a oor that is strong enough to support the unit when
it is fully loaded. To level your unit, adjust the levelling legs at the bot-
tom of the unit.
• This appliance is NOT designed to be installed inside of a cabinet where
the front is covered by any type of door.
• Allow 10cm of space between the top, back and sides of the unit, which
allows the proper air circulation to cool the compressor and condenser
• Locate the unit away from direct sunlight and source of heat (stove,
heater, radiator etc.)
• Direct sunlight may affect the acrylic coating and heat sources may in-
crease electrical consumption. Extreme cold ambient temperatures may
also cause the unit not to perform properly.
• Avoid locating the unit in moist areas.
• Plug the unit into an exclusive, properly installed-grounded wall outlet.
Do not under any circumstances cut or remove the third (ground) prong
from the power cord. Any questions concerning power and/or grounding
should be directed toward a certied electrician or an authorised Avanti
Products service centre.
• After plugging the appliance into a wall outlet, allow the unit to cool
down for 2-3 hours before placing food in the appliance compartment.
Please remember to keep some water in the cabinet to keep the humidity.
Disposal:
To prevent possible harm to the environment or human health from uncon-
trolled waste disposal, recycle it responsibly to promote the sustainable re-
use of material resources. Disposal should only be done through public col-
lection points.
4

OPERATING YOUR WINE COOLER
It is recommended you install the wine cooler in a place where the ambient
temperature is between 23°C / 26°C. If the ambient temperature is above or
below recommended temperatures. The performance of the unit may be
affected. For example placing your unit in extreme cold of hot conditons may
cause interior temperatures to uctuate. The range may not be reached.
TEMPERATURE RANGES FOR YOUR WINE COOLER:
• Upper Zone — 5°C / 13°C.
• Lower Zone — 13°C / 18°C.
Please remember to keep some water in the cabinet to keep the humidity.
Disposal:
To prevent possible harm to the environment or human health from uncon-
trolled waste disposal, recycle it responsibly to promote the sustainable re-
use of material resources. Disposal should only be done through public col-
lection points.
Installation:
Appliance should be placed on a horizontal oor and with clearance for ven-
tilation. Don’t try to replace or repair any components by yourself, ask the
service agency for help if necessary. Always handle the appliance with care
to avoid damaging the unit.
5

CONTROL PANEL
Temperature Control:
• You can turn the interior light ON of OFF by pushing the but-
ton once. The light will be turned off automatically if it remains
ON for 10 minutes. To turn back on, press the button again.
• You can select the temperature display from Celsius to Fahrenheit by
pushing the button for 2 seconds.
• Your wine cooler has been equipped with an “automatic con-
trol panel lock that will activate 20 seconds after the last time
a button has been pressed.
• Push the button for 2 seconds to unlock thew control panel. You will
hear a BEEP to alert you the control panel is now active.
• Push the button once to set the upper zone temperaute & twice
to set the lower zone temperature.
• You can set the temperature by pushing on the ^ or v buttons on
the con- trol panel. ^ will increase by 1°C, v will decrease temper-
ature by 1°C.
When you use the wine cooler for the rst time or restart the wine cooler
after having been shut off for a long time, the could be a few degrees vari-
ance between the temperature you select and the one that is indicated on
the display. This is normal and it is due to the length of activation time.
Once the wine cooler is running for a few hours, everything will revert back
to normal and the reading will be accurate again.
6

PROBLEM POSSIBLE CAUSE
Unit does not operate. Not plugged in.
The circuit breaker tripped or a blown fuse.
The unit temperature control is set at “0”
Turns on and o frequently. The room temperature is hoer than normal.
A large amount of food has been added to the unit.
The door is opened too oen.
The door is not closed completely.
The temperature control is not set correctly.
The door gasket does not seal properly.
The unit does not have the correct clearances.
Vibraons. Check to assure that the unit it level.
The unit seems to make too
much noise.
The raling noise may come from the ow of the refrigerant
which is normal.
As each cycle ends, you may hear gurgling sounds caused by the
ow of refrigerant in your unit.
Contracon and expansion of the inside walls may cause popping
and crackling noises.
The unit is not level.
The door will not close properly. The unit is not level.
The door was reversed and not properly installed.
The gasket is dirty or bent.
The shelves, bins or baskets are out of posion.
TROUBLESHOOTING GUIDE
You can solve many common unit problems easily, saving you the cost of a
possible service call. Try the suggestions below to see if you can solve the
problem before calling the servicer.
7

CATERKWIK, The Lakeland Catering Centre,
Newlands, Ulverston, Cumbria, LA12 7 QQ.
Tel: 01229 480001 | Email: INFO@CATERKWIK.CO.UK
Table of contents
Other CaterKwik Kitchen Appliance manuals
Popular Kitchen Appliance manuals by other brands

Bartscher
Bartscher A150.117G instruction manual

U-Line
U-Line UHBV024-SG02A User guide & service manual

Miele
Miele ProLine Tepan Yaki Operating and installation instructions

Draper
Draper 08090 Original instructions

Max Burton
Max Burton Pot Popper 06920 Operating instructions manual

Adventuresome Kitchen
Adventuresome Kitchen Knife Sharpener user manual