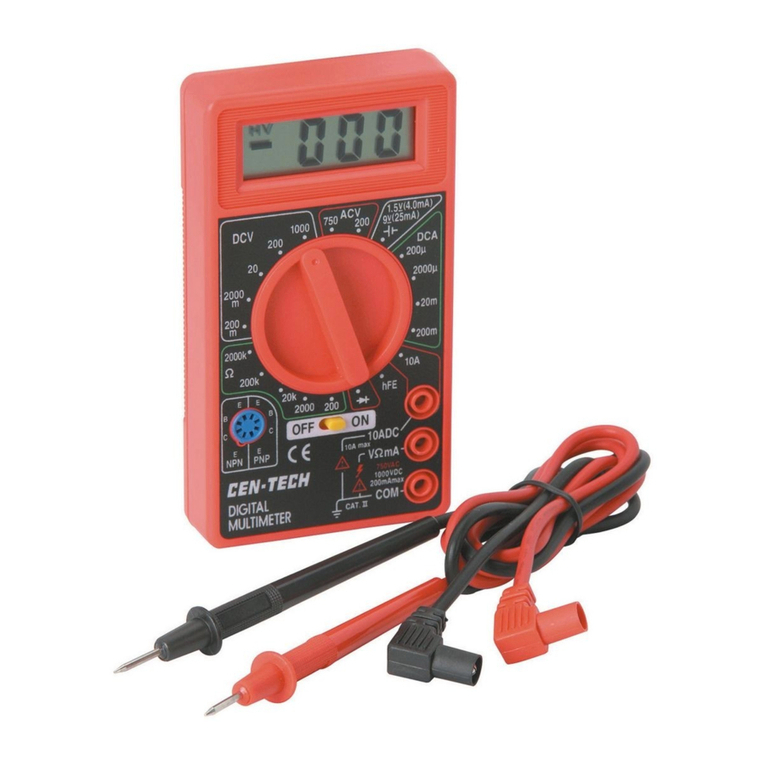
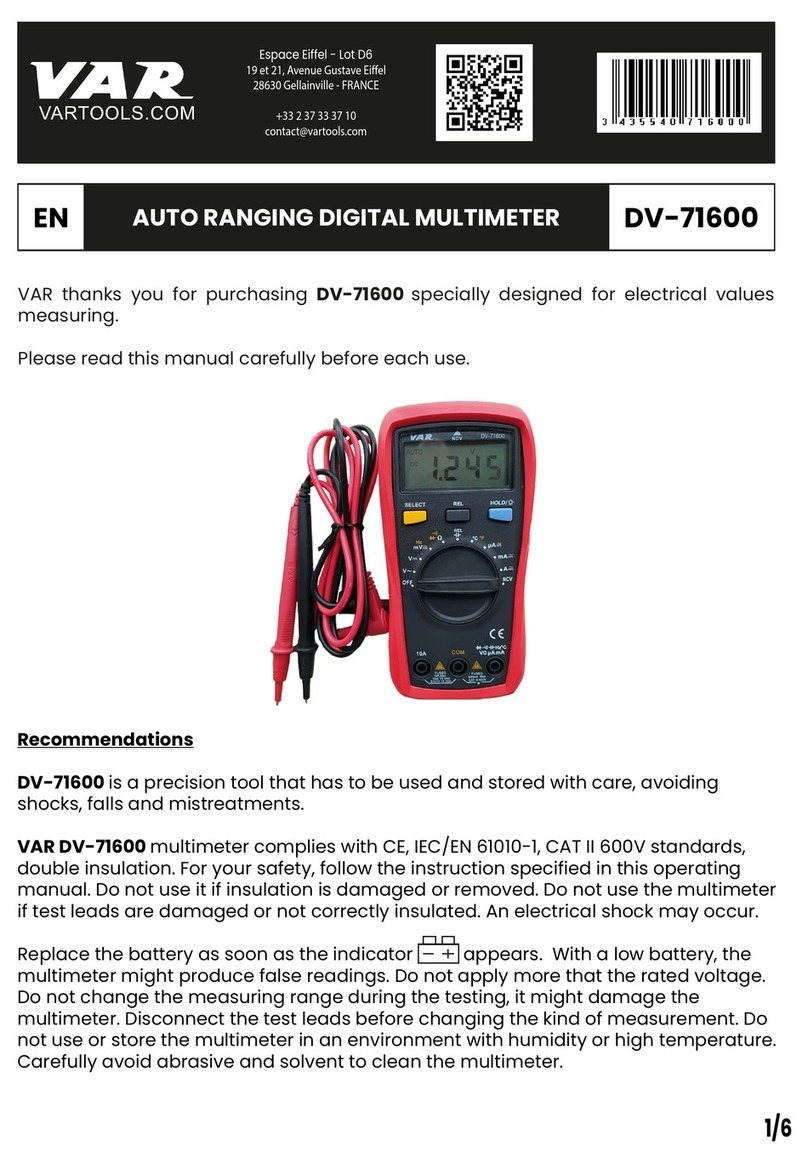
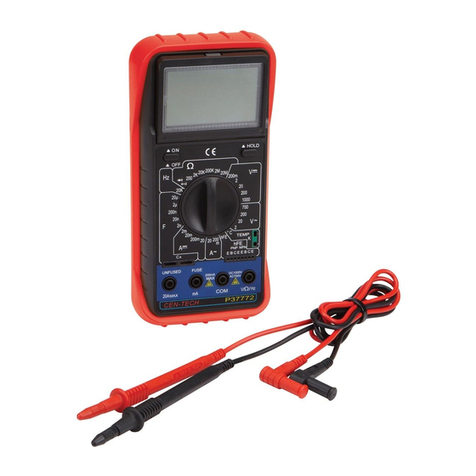
Centech 90926 User manual

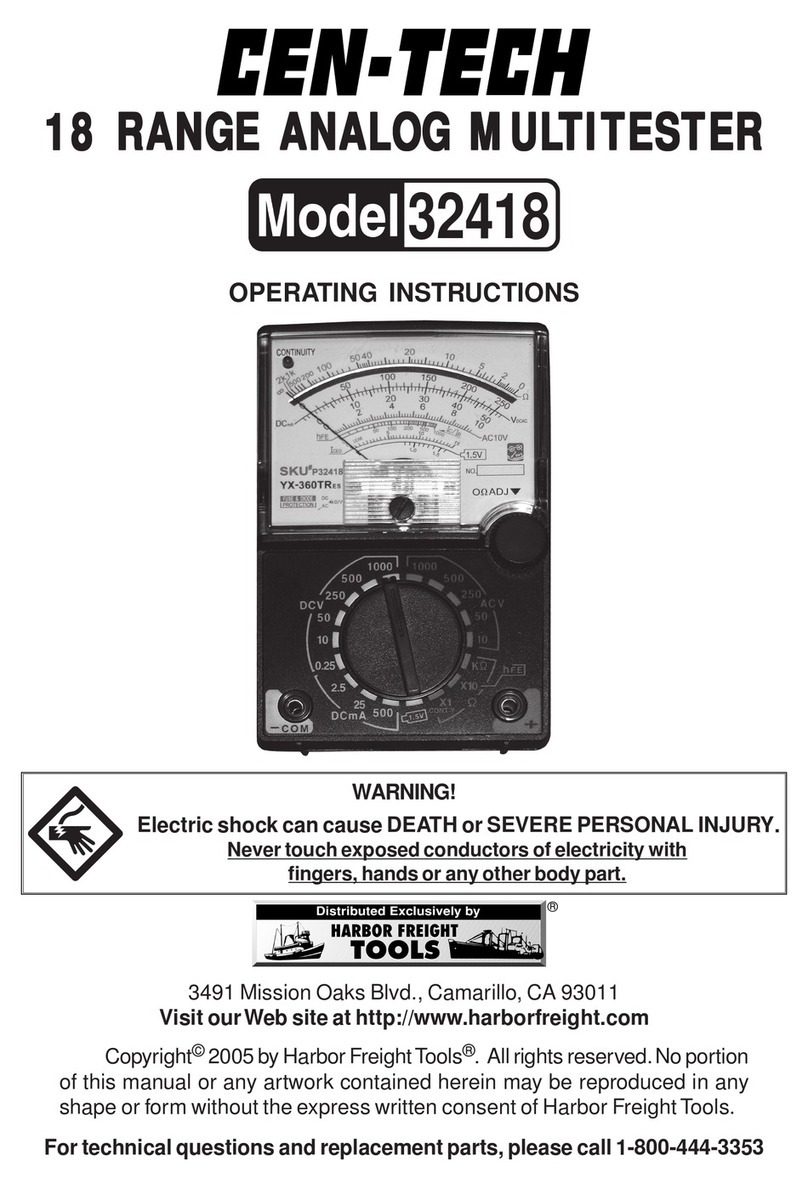
20 RANGE ANALOG MUL20 RANGE ANALOG MUL
20 RANGE ANALOG MULTIMETERTIMETER
TIMETERTIMETER
TIMETER
OPERATING INSTRUCTIONS
3491 Mission Oaks Blvd., Camarillo, CA 93011
Visit ourWeb site at http://www.harborfreight.com
Copyright©2004byHarborFreightTools®. Allrightsreserved.Noportion
of this manual or any artwork contained herein may be reproduced in any
shape or form without the express written consent of Harbor FreightTools.
For technical questions and replacement parts, please call 1-800-444-3353
®
90926

SKU90926 Page2
For technical questions, please call 1-800-444-3353.
Specifications
SaveThis Manual
Youwillneedthemanualforthesafetywarningsandprecautions,andoperating
and maintenance procedures.Keep your invoice with this manual. Write the invoice
numberontheinside ofthefront cover.Keepthe manualand invoiceinasafeand dry
placefor futurereference.
SafetyWarnings and Precautions
WARNING:When using tool, basic safety precautions should always be followed to
reducetherisk of personalinjury and damage toequipment.
Read all instructions before using this tester!
1. Avoid working alone. If an accident happens, an assistant can bring help.
2. Keep work area clean. Clutteredareas inviteinjuries.
3. Avoid electrical shock.Use extremecaution whenworkingaround uninsu-
latedconductors orbus bars. Prevent bodycontact withgrounded surfaces
noitcnuFycaruccA/egnaR
segnaRegatloVCA *DSF%4±V052/05/01 DSF%5±V0001
segnaRegatloVCD DSF%3±V052/05/01/5.2/5.0/1.0 DSF%4±V0001
segnaRegarepmACD 05 µ)Vm052:egatloVporD(DSF%3±Am052/Am52/Am5.2/A DSF%4±A01
segnaRecnatsiseR K01x/K1x/01x/1x Ω%5±
serutaeFrehtO rotsisnarT,tseTytiunitnoC,tseTyrettaBV9dna)"AA"(V5.1 oreZdna,tsujdAoreZ,tseTDELdna ΩtsujdA
noitcelfeDelacS-lluF="DSF"*
METINOITPIRCSED
noitcetorPdaolrevOedoiddnaesufV052,A5.0
ycneuqerFzH06
yalpsiDtnemevomlacinahcemortcele,golanA
yrettaByrettaBV9enOdnaseirettaB"AA"owT
erutarepmeTgnitarepOF°401ot°23
erutarepmeTegarotSF°221ot°41
thgieWsbl7.0
seirosseccA(deR +(kcalBdna) -sdaeLtseT"42)

SKU90926 Page3
For technical questions, please call 1-800-444-3353.
such as pipes, radiators, ranges, and cabinet enclosures when testing volt-
ages.
4. Avoid damaging meter.Use only as specified in this manual.
5. Observe work area conditions. Do not test circuits in damp or wet loca-
tions.Don’t expose to rain.Keep work area well lit.
6. Keep children away. Children must never be allowed in the work area. Do
not let them handle machines, tools, or extensions cords.
7. Store idle equipment. When not in use, tools must be stored in a dry
location to inhibit rust. Always lock up tools and keep out of reach of chil-
dren.
8. Dress properly. Do not wear jewelry as an accidental brush may cause a
short circuit causing electric shock or severe burns. Protective, electrically
nonconductiveclothesandnonskidrubber-soledfootweararerecommended
whenworking.Wearrestrictivehaircovering tocontain long hair.
9. Use eye protection. Alwayswear ANSIapprovedimpact safetygoggles.
10. Do not overreach. Keep proper footing and balance at all times. Do not
reach over or across electrical cables or frames.
11. Maintain tools with care. Ensure multimeter has a fresh battery. Inspect
toolcordsperiodically and,ifdamaged, havethemrepaired byanauthorized
technician.
12. Stay alert. Watch what you are doing, use common sense.Do not operate
any tool when you are tired.
13. Check for damaged parts. Before using any tool, any part that appears
damaged should be carefully checked to determine that it will operate prop-
erly and perform its intended function. Check for alignment and binding of
movingparts;anybrokenpartsor mountingfixtures;andanyother condition
that may affect proper operation.Any part that is damaged should be prop-
erly repaired or replaced by a qualified technician. Do not use the tool if any
switchdoes notoperate properly.
14. Accessories.Onlyuseaccessories intendedforusewith thistool.Approved
accessories areavailablefrom HarborFreightTools.
15. Do not operate tool if under the influence of alcohol or drugs. Read
warninglabels onprescriptions todetermine ifyour judgmentor reflexesare
impaired while taking drugs. If there is any doubt, do not operate the tool.
16. Peoplewith pacemakers should consulttheir physician(s) before using
this product. Electromagnetic fields in close proximity to a heart pace-
maker could cause interference to or failure of the pacemaker.
In addition, caution is necessary when near the coil, spark plug cables,
or distributor of a running engine. The engine should always be off if
adjustments are to be made to the distributor.

SKU90926 Page4
For technical questions, please call 1-800-444-3353.
Unpacking
Whenunpacking,makesurethattheAnalog Multimeter,andbothTestLeads
are included.If any parts are missing or broken, please call Harbor Freight Tools at
the number on the cover of this manual.
Multimeter Additional SafetyWarnings
1. Do not test voltage on circuits higher than 1,000 volts.
2. Do not test current on AC circuits or on DC circuits higher than 10 amps.
3. Be careful not to apply voltage to the Test Leads when the meter is in an
ohms testing position. Damage can occur to the multimeter.
Control Layout
Refer to this diagram while following the directions in the
Operation
section.
DC 10A Jack
-COM Jack
+ Jack
LED/Transistor
Selection and
Jack
DC current
Selection Area
(mA)
Ohm Selection
Area
AC Volt
Selection Area
Ohm Zero
Adjust
OFF Selection
DC Volt
Selection Area Continuity Test
Battery Selection Area
Warning:Thewarnings,cautions,andinstructionsdiscussedinthisinstructionmanual
cannot cover all possible conditions and situations that may occur. It must
be understood by the operator that common sense and caution are factors
whichcannot bebuiltinto thisproduct, but mustbesupplied bytheoperator.

SKU90926 Page5
For technical questions, please call 1-800-444-3353.
Reading the Scale
Refer to this diagram while following the directions in the
Operation
section.
The Accuracy Mirror
The Accuracy Mirror is used to insure that the meter’s pointer is being read
straight,ensuringaccuracy. Simply makesurethatthe meteris angledso that,when
readingit, thereflectionof thepointer ishidden under thepointer. Thepointer above
is being viewed at an angle, so the reflection is visible.
Note: Althoughon somemetersa decibel(db) scaleis shown,thismeterdoes not
have available the equipment to test sound decibel levels.
Ohm Scale Amperage/
Voltage Scales
Transistor
Leakage
Current (lceo)
Current Gain
Scale (hFE)
Forward
Voltage Drop Battery
Test Area
Accuracy
Mirror
Warning:Electric shock can cause DEATH or SEVERE PERSONAL INJURY.
Nevertouchexposed conductors ofelectricity with
fingers,hands or anyotherbody part.
Operation
DC Voltage Measurements
Measure DC voltages up to 1,000 DCV.
1. TurntheRange SelectorSwitch to1000 DCV.
Always start with the highest range if the voltage is unknown.
2. Plug the red lead into the +Jack. Plug the black lead into the -Com Jack.
3. Carefullytouchtheappropriateexposedconductorswiththetipsoftheprobes
tomeasure thevoltage(not amperes).
4. Read measurement. If the needle moves in the opposite direction, then the
probes are connected incorrectly. Reverse the probes’locations.
If the voltage is less than 250 volts, set the Range Selector Switch to the
next lower range until the meter pointer is mid-range on the scale.
5. Whentesting iscomplete, removeTest Leads andstore themand themeter
in a safe, dry location.

SKU90926 Page6
For technical questions, please call 1-800-444-3353.
AC Voltage Measurements
Measure AC voltages up to 1000V.
1. Turn theRangeSelectorSwitchto 1000 ACV.
Always start with the highest range if the voltage is unknown.
2. Followthe directionson thepreviouspage under
DCVoltageMeasurements
(except for the polarity directions, they are unnecessary with AC).
DC Current Measurements
Measure DC conductors carrying up to 10 A.
1. Turn the Range Selector Switch to the 250 DCmA & 10A position. Plug the
red lead into the +Jack. Plug the black lead into the DC10A Jack.
Note: Testing current should ONLY be done in series, with the circuit con-
nected and current flowing.
Note: TheDC10Ajackis NOTfuse protected. Onlytestcircuitsknownto be 10
amps or less.
3. Carefully connect the test leads to the circuit or the load being tested.
4. Read measurement. IftheAmperage islessthan.25A(250mA), disconnect
theleads from thecircuit first,then unplugtheblack leadand plugit into the
-COM Jack. If the Amperage is less than 25mA, set the Range Selector
Switch to the next lower range until the meter pointer is mid-range on the
scale.
5. Whentesting iscomplete,removeTestLeadsand storethem andthe meter
in a safe, dry location.
Resistance (Ohm) Measurements
Circuit resistance can be measured on ranges from meter reading times 1 to meter
readingtimes 10,000.
Note: Testing resistance should ONLY be done with the power to the circuit
disconnected. Test to make sure no voltage is present first.If voltage is
applied while testing,disconnect the tester immediately,otherwise the
fuse may blow and the tester may be damaged-see
Fuse Replacement
under
Maintenance
.
1. Turn the Range Selector Switch to the Ohm testing position (between x1ΩΩ
ΩΩ
Ω
and x10KΩΩ
ΩΩ
Ω) you will be measuring at.
2. Plug the red lead into the +Jack. Plug the black lead into the -Com Jack.
3. Short theTest Leads together. The meter should read“0”Ohms.
4. Ifthe meterdoes notread “0”Ohms,theohmmeterneeds tobe calibratedto
enableaccuratemeasurements.
a. Withthe testleads heldtogether,adjust theOhm ZeroAdjust Knobuntil
the meter’s pointer aligns on“0”.

SKU90926 Page7
For technical questions, please call 1-800-444-3353.
b. Ifthepointer cannotbeadjusted farenough toalignwithzero, thebattery
needsto bereplaced-see
BatteryReplacement
under
Maintenance
.
5. Touch the exposed conductors with the tips of theTest Leads.
If, by chance, a voltage is present, the fuse may blow-see
Fuse Replace-
ment
under
Maintenance
. Immediately remove the Test Leads from the
conductors.
6. Readmeasurement.
Ifthe resistancemeasuredis offthe scale,move theRange Selector Switch
to a higher Ohms position.
7. ContinuityTesting:Turn theRangeSelectorSwitchto ContinuityTest. This
test is a type of Ohms test. When the wiring between the 2 test leads has
low resistance (less than 50ΩΩ
ΩΩ
Ω) then the buzzer will sound. This is useful for
detectingbreaks inwiring.
8. Whentesting iscomplete,removeTestLeadsand storethem andthe meter
in a safe, dry location.
Transistor/LED Measurements
1. Turn the Range Selector Switch to the x10 Ωposition.
ForTransistors:
a. Insert the transistor pins into the appropriate hFE jack (either NPN or PNP)
according to the EBC (Emitter, Base, Collector) sequence.
b. The meter will show the approximate hFE value.
c. With the Base terminal disconnected, the meter will show the lceo (leak)
value.
For LEDs:
a. Insert the LED’s pins into the + and - signs into the hFE jack (the two termi-
nals farthest right on the top (NPN) row).
b. A working LED should shine brightly. The meter reading is unimportant.
c. This function is only used to test an LED rated at 1.5~3V in regards to
brightness.
2. RemoveTest Leads and store them and the meter in a safe, dry location.
BatteryTesting
1. Turn the Range Selector Switch to either the BATT 9V or 1.5V (“AA” Size
Battery) setting.
2. Plug the red lead into the +Jack. Plug the black lead into the -Com Jack.
3. Connect the red test lead to the positive end of the battery and the black
leadto thenegative.
4. Read measurement. Whentestingiscomplete,removeTestLeadsandstore
them and the meter in a safe, dry location.

SKU90926 Page8
For technical questions, please call 1-800-444-3353.
6. Meter Pointer Calibration
Over time, it may become necessary to adjust the meter pointer to align on “0.”
a. Remove theTest Leads from the multimeter.
b. Using a small standard screwdriver, place it on the small Meter Zero
Adjustment screw right below the center of the dial. See
Figure A
.
c. Turn screw slightly until the meter pointer aligns on“0.”
Figure C
Tab Spare
Fuse
Figure B
Screw
Meter Zero
Adjustment Screw
Figure A
Maintenance
1. Wipe unit with a damp cloth using a light detergent. Do not use solvents or
abrasives. Allow the unit to dry completely before use or storage.
2. Remove batteries if not in use for long periods.
4. Store unit in a dry location out of children’s reach.
5. Asidefromthefuseand batteries,thereare nouserreplaceablepartsonthis
unit.REPAIRS SHOULD BE DONE ONLY BY A QUALIFIEDTECHNICIAN.

SKU90926 Page9
For technical questions, please call 1-800-444-3353.
Figure D
Fuse
Spare
Fuse
Figure E
Fuse
7. Battery Replacement
If the Ohms cannot be adjusted to indicate zero, one or more of the batteries need
replacement.
a. Remove theTest Leads from the multimeter.
b. Turn the unit over to show its back.
c. Remove thescrew indicated in
FigureB
(page 8) usingaPhilips screw-
driver.
d. Slide the battery cover up and off of the back.
e. Using a regular screwdriver, gently hold the tab between the batteries
back while opening the back cover. See
Figure C
, previous page.
f. Removethe batteriesand replace,beingsure toalign thenew batteries
properly.
g. Snap the back cover on, slide on the battery cover, and retighten the
screw.
8. Fuse Replacement
If the multimeter is exposed to excessive current, misused, or dropped, the fuse
may become blown. Check the fuse if the meter does not work for no apparent
reason.
a. Followdirections
a
through
e
under
BatteryReplacement
to removethe
back cover.
b. Note the location of the spare fuse in
Figure C
, page 8 and
Figure D
,
below.
c. Carefully examine the fuse in the meter. If the thin wire in the tube is
broken,the fuse isblown andneeds to bereplaced. See
FiguresD
and
E
.
Warning: ONLY replace the fuse in this meter with another 0.5A,250V
fuse. Using the wrong fuse or using another material or object
instead of a fuse is very dangerous and may cause a fire.
d. After replacing the fuse, close the meter.

SKU90926 Page10
For technical questions, please call 1-800-444-3353.
PLEASE READ THE FOLLOWING CAREFULLY
THE MANUFACTURER AND/OR DISTRIBUTOR HAS PROVIDEDTHE
WIRINGDIAGRAM INTHIS MANUALASAREFERENCETOOLONLY. NEITHER
THEMANUFACTURERORDISTRIBUTORMAKESANYREPRESENTATIONOR
WARRANTYOFANY KINDTOTHE BUYERTHAT HE ORSHEIS QUALIFIEDTO
MAKE ANY REPAIRSTOTHE PRODUCT,ORTHAT HE OR SHE IS QUALIFIED
TO REPLACEANY PARTSOFTHEPRODUCT. IN FACT,THE MANUFACTURER
AND/ORDISTRIBUTOREXPRESSLY STATESTHAT ALL REPAIRSANDPARTS
REPLACEMENTS SHOULD BE UNDERTAKEN BY CERTIFIEDAND LICENSED
TECHNICIANS,AND NOT BYTHE BUYER. THE BUYER ASSUMES ALL RISK
AND LIABILITY ARISING OUT OF HIS OR HER REPAIRSTOTHE ORIGINAL
PRODUCT OR REPLACEMENT PARTSTHERETO, OR ARISING OUT OF HIS
OR HER INSTALLATION OF REPLACEMENT PARTSTHERETO.
Wiring Diagram
Aside from the fuse and batteries, there are no
user replaceable parts on this unit.
Table of contents
Other Centech Multimeter manuals

Centech
Centech 95342 Parts list manual

Centech
Centech 37772 Original instruction manual

Centech
Centech 60906 User manual

Centech
Centech 98025 Installation manual

Centech
Centech 90939 User manual

Centech
Centech 32418 User manual

Centech
Centech 37772 User manual

Centech
Centech 69096 User manual

Centech
Centech ITEM 98674 User manual

Centech
Centech 37772 User manual