Chainavasion CVSH-I259 User manual
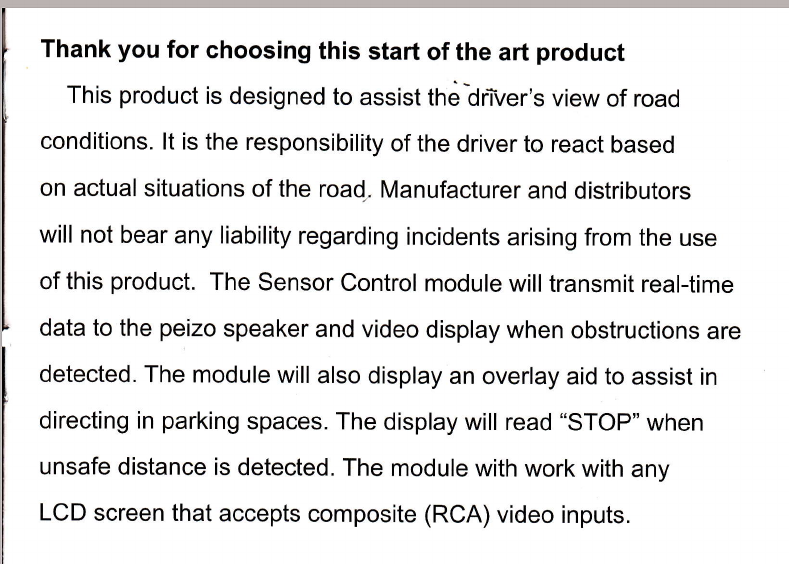
Thank you for choosing this start of the art product
This product is designed to assist tfi6 driverls view of road
conditions. lt is the responsibility of the driver to react based
on actual situations of the road, Manufacturer and distributors
will not bear any liability regarding incidents arising from the use
of this product. The Sensor Control module will transmit real-time
data to the peizo speaker and video display when obstructions are
detected. The module will also display an overlay aid to assist in
directing in parking spaces. The display will read "STOP" when
unsafe distance is detected. The module with work with any
LCD screen that accepts composite (RCA) video inputs.

License Plate Frame W Rear View Color
Camera, Object Sensors, & lR LEDs
2 Object Sensors w/ ProximityAlert
114" CCD Color Camera
0.5 LUX Low Light Lens
Waterproof Camera Housing
Vertically Pivoting Camera Housi ng
7' Effective Viewing Distance
I nconspicuous Speaker Housing for Alerts
1300 Capture Angle
8 lR LEDs for Night Viewing
On-Screen Distance Gauge
RCA Video Output
Cast SteelAlloy
Reversed lmage
640 x 480 Capture Resolutions
U.S. Patent#7, 1 06, 183 82
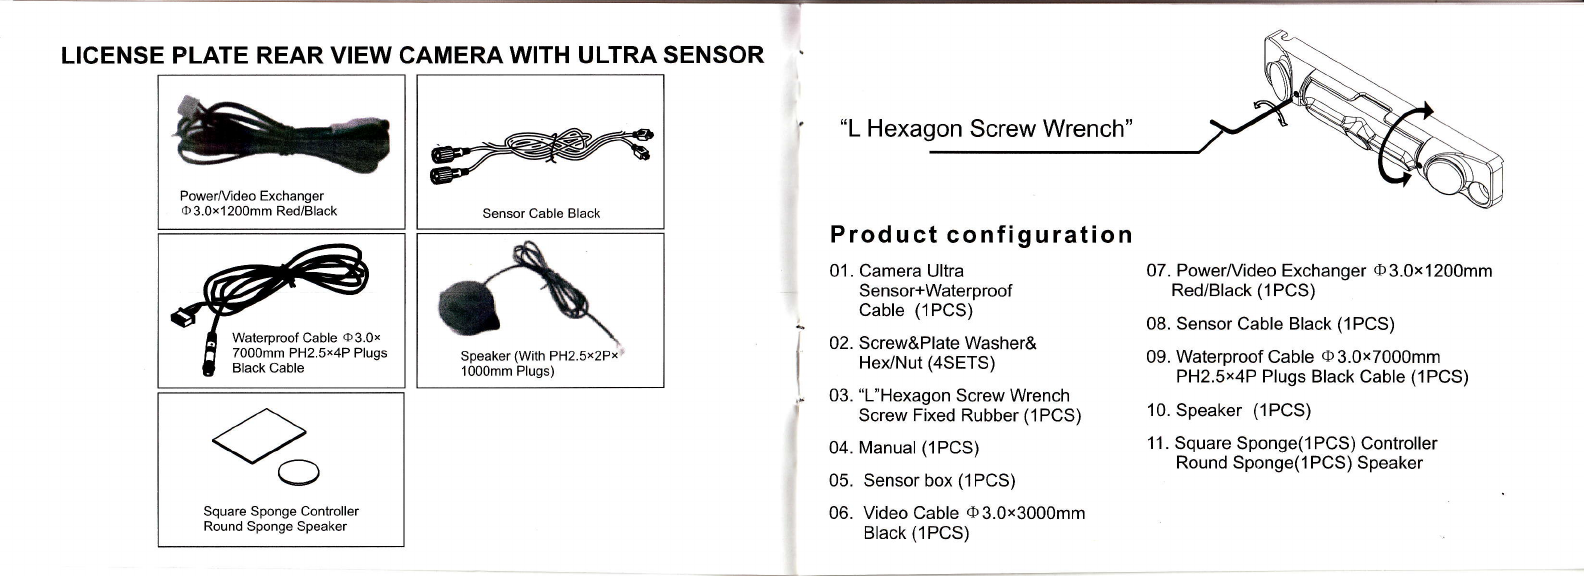
LICENSE PLATE REAR VIEW CAMERA WITH ULTRA SENSOR
Vs
Screw&Plate Washer&
Hex/Nut
Manual
tI
fl
I
{
.j
Og
"L"Hexagon Screw Wrench
Screw Fixed Rubber
Video Cable @3.0x3000mm
Black
Camera Ultra
Sensor+Waterproof
Cable
LICENSE PLATE REAR VIEW CAMERI\ WITH ULTRA SENSOR
PowerA/ideo Exchanger
@ 3.0x'l 200mm Red/Black
Waterproof Cable @3.0x
7000mm PH2.5x4P Plugs
Black Cable
Sensor Cable Black Product configuration
01. Camera Ultra
Sensor+Waterproof
Cable (1PCS)
02. Screw&Plate Washer&
Hex/Nut (4SETS)
03. "L"Hexagon Screw Wrench
Screw Fixed Rubber (1PCS)
04. Manual (1PCS)
05. Sensor box (1PCS)
06. Video Cable o3.0x3000mm
Black (1PCS)
07. PowerA/ideo Exchanger o3.0x1200mm
Red/Black (1PCS)
08. Sensor Cable Black (1PCS)
09. Waterproof Cable o3.0x7000mm
PH2.5x4P Plugs Black Cable (1PCS)
10. Speaker (1PCS)
'11. Square Sponge(1 PCS) Controller
Round Sponge(1 PCS) Speaker
"L Hexagon Screw Wrench"
2
Square Sponge Controller
Round Sponge Speaker
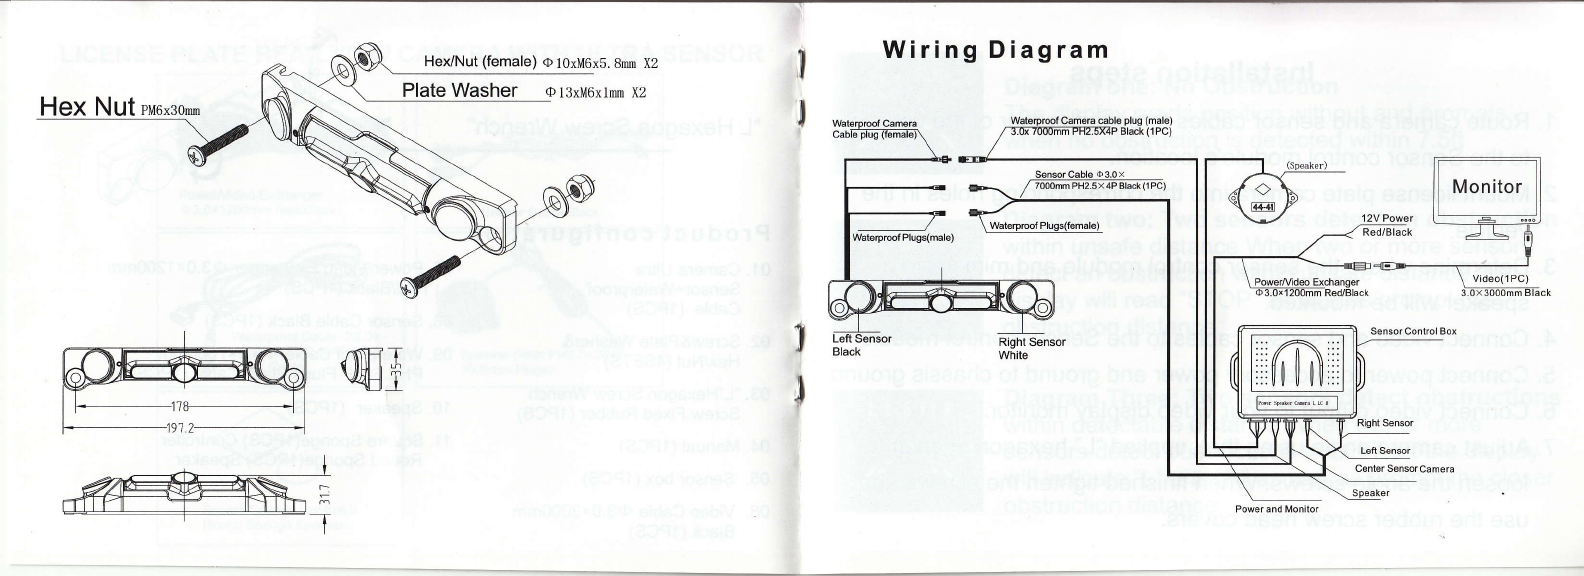
He/Nut (female) @ 10xM6xb. 8m X2
Plate Washer o 13xM6x1mm X2
Wiring Diagram
W1 I#
T

lnstallation steps
1. Route camera and sensor cables through the rear of the vehicle
to the Sensor control module's location.
2. Mount license plate camera into the corresponding holes in the
vehicle.
3. Determine where the sensor control module and mini peizo
speaker will be mounted.
4. Connect video and sensor cables to the Sensor control module.
5. Connect power to accessory power and ground to chassis ground.
6. Connect video output to your video display monitor.
7. Adjust camera angle using the supplied "L" hexagon wrench to
loosen the angle screws. When finished tighten the screws and
use the rubber screw head covers.
Diagram one: No Obstruction
The display reads position without and prompts
when'no obstruction is detected within 7.5ft
Diagram two: Two sensors detect an obstruction
within unsafe distance When two or more sensors
detect an obstruction within unsafe distance the
display will read "STOP" as well as prompt the
obstruction distance.
Diagram Three: Two sensors detect obstructions
within detectable distance When two or more
sensors detect obstructions within 7.5ft the display
will indicate "L" and "R" as well as prompt the closer
obstruction distance.
Popular Automobile Accessories manuals by other brands


ULTIMATE SPEED
ULTIMATE SPEED 279746 Assembly and Safety Advice

SSV Works
SSV Works DF-F65 manual

ULTIMATE SPEED
ULTIMATE SPEED CARBON Assembly and Safety Advice

Witter
Witter F174 Fitting instructions

WeatherTech
WeatherTech No-Drill installation instructions

TAUBENREUTHER
TAUBENREUTHER 1-336050 Installation instruction