manuals.online logo
Brands
  1. Home
  2. •
  3. Brands
  4. •
  5. Channel Vision
  6. •
  7. Controllers
  8. •
  9. Channel Vision TE-111 User manual

Channel Vision TE-111 User manual

500-026 Rev D
Channel Vision Technology will repair or replace any defect in material
or workmanship which occurs during normal use of this product with
new or rebuilt parts, free of charge in the USA, for one year from the
date of original purchase. This is a no hassle warranty with no mail in
warranty card needed. This warranty does not cover damages in
shipment, failures caused by other products not supplied by Channel
Vision Technology, or failures due to accident, misuse, abuse, or
alteration of the equipment. This warranty is extended only to the
original purchaser when purchased through an authorized reseller. A
purchase receipt, invoice, or other proof of original purchase date will
be required before warranty repairs are provided.
Mail in service can be obtained during the warranty period by calling
(714) 424-6500 or e-mailing [email protected]
A Return Authorization number must be obtained in advance and can
be marked on the outside of the shipping carton.
This warranty gives you specific legal rights and you may have other
rights (which vary from state to state). If a problem with this product
develops during or after the warranty period, please contact Channel
Vision Technology, your dealer or any factory-authorized service
center.
Channel Vision products are not intended for use in medical,
lifesaving, life sustaining or critical environment applications. Channel
Vision customers using or selling Channel Vision products for use in
such applications do so at their own risk and agree to fully indemnify
Channel Vision for any damages resulting from such improper use or
sale.
www.chann e l v i s i o n . c o m
234 Fischer Avenue, Costa Mesa, California 92626 USA
(714)424-6500 (800)840-0288 (714)424-6510 fax
email: [email protected]
1
TE-111
Telephone Entry Controller
1
S4 S5 S6
On 5 Yes #
3 off off off Off 3 No *
5 off off on
8 off on off
15 off on on
20 on off off
40 on off on
100 on on off
240 on on on
2x3 ring
patern
Key on
phone
Strike duration
Seconds S1 S2 S3
# of rings
2
Basic Connection
Door Plate Connection
(IU-xxxx or DP-xxxx)
Front Side view
Back Side view
Telephone Service Provider
House
Telephones
12VAC
500mA
On
S4 S5 S6
Off
Power Line Tel Intercom
Connect 2 Wires Between
Your Door Plate And The TE-111
Strike duration
Seconds S1 S2 S3
3
5
8
15
20
40
120
240
off
on
off off
on
off
on
off
on
off
off
on
on
off
off
on
on
off
off
off
on
on
on
on
On
Off
# of rings
2x3 ring
patern
Key on
phone
Yes
No
#
*
S4 S5 S6
3
5
On
Off
# of rings
2x3 ring
patern
Key on
phone
Yes
No
#
*
S4 S5 S6
3
5
The provides communication between the front door and
any phone in the house. When a visitor presses the doorbell button
the phones in the house will respond with a distinctive ring. The
home owner can then speak to the visitor by answering any of the
ringing phones in the house.
TE-111
Two Door Application:
Two Door Operation:
1. Complete the basic installation, setting the TE-111 to
respond to the # key on your telephone.
2. Connect the house phones output from the first TE-111 to
the line in on the second TE-111.
3. Configure the second TE-111 to respond to the * key on
your telephone.
4. Set both units for different distinctive ring patterns.
When you hear the distinctive ring pattern selected above:
simply pick up the telephone to be
connected to the door speaker.
- pick up the telephone and press ## to be
connected to the front door speaker, or ** to be
connected to the back door speaker.
within 20 seconds -
after 20 seconds
Specifications:
REN:
Power Supply:
Dimensions:
TE-111:
>5
12VAC 500mA
6.5” x 5.0” x 2.4”
Specifications subject to change without notice. 7
Front Door - Back Door Application
House
Telephones
12VAC
500mA
Set dip switches to activate the
doorplate whenever ## is pressed.
Telephone
Service
Provider
12VAC
500mA
Front Door
Back Door
Set dip switches to activate the
doorplate whenever ** is pressed.
6
Strike duration
Seconds S1 S2 S3
3
5
8
15
20
40
120
240
off
on
off off
on
off
on
off
on
off
off
on
on
off
off
on
on
off
off
off
on
on
on
on
Strike duration
Seconds S1 S2 S3
3
5
8
15
20
40
120
240
off
on
off off
on
off
on
off
on
off
off
on
on
off
off
on
on
off
off
off
on
on
on
on
On
Off
# of rings
2x3 ring
patern
Key on
phone
Yes
No
#
*
S4 S5 S6
3
5
On
Off
# of rings
2x3 ring
patern
Key on
phone
Yes
No
#
*
S4 S5 S6
3
5
Power Line
Tel Intercom
Power Line
Tel Intercom
3
Basic Installation Steps:
Basic Configuration:
Basic Operation:
1. Mount the TE-111 near the main telephone distribution
center of the house and attach the telephone line from the
service provider to the connection labeled “Line”
.
2. Connect the main house phone distribution system to the
wire terminals labeled “Tel”.
3. Connect the TE-111 to the Chanel Vision DP or IU series
door plate. Note: The correct companion board to use is
300-001 (300001)
4. Connect power supply.
Configure switches S4 and S5 to select the desired ring
pattern.
Set switch S6 to either # or * to determine which key will
activate the system.
When you hear the distinctive ring pattern selected above:
simply pick up the telephone to be
connected to the door speaker.
- pick up the telephone and press ## (or **)
to be connected to the door speaker.
If you are already on the phone when the doorbell button is
pressed you will hear a call waiting tone. Simply press ##
(or **) to put your call on hold while you are connected to
the door speaker. Press ## (or **) to return to your call.
within 20 seconds -
after 20 seconds
Door Plate Connection
(IU-xxxx or DP-xxxx)
12VAC
500mA
TE110DS
(Sold Separately)
Strike
power
supply
To Strike
Mechanism
Telephone ServiceProvider
On
S1 S2 S3
Off
House
Telephones
4
TE110DS Connection Diagram
Strike duration
Seconds S1 S2 S3
3
5
8
15
20
40
120
240
off
on
off off
on
off
on
off
on
off
off
on
on
off
off
on
on
off
off
off
on
on
on
on
Strike duration
Seconds S1 S2 S3
3
5
8
15
20
40
120
240
off
on
off off
on
off
on
off
on
off
off
on
on
off
off
on
on
off
off
off
on
on
on
on
On
Off
# of rings
2x3 ring
patern
Key on
phone
Yes
No
#
*
S4 S5 S6
3
5
Power Line
Tel Intercom
The is an optional relay that works with the TE-111 to control
an electronic opener.
TE110DS
TE110DS Installation Steps:
Basic Configuration:
Basic Operation:
1. Complete Basic installation.
2. Connect the TE110DS (sold separately) in-line between
the main board and small board.
Configure switches S1, S2 and S3 to select the duration of
the TE110DS relay closure.
To close the door strike relay while you are already
communicating with the door speaker, press #7 (or *7).
To close the door strike relay when you are not
communicating with the door speaker, press ## (or **)
and then press #7 (or *7).
Strike
power
supply
(DC+)
(DC-)
To Strike
Mechanism
From TE-111
To Companion Board
(300-001)
5
TE110DS Connection Details

Other Channel Vision Controllers manuals

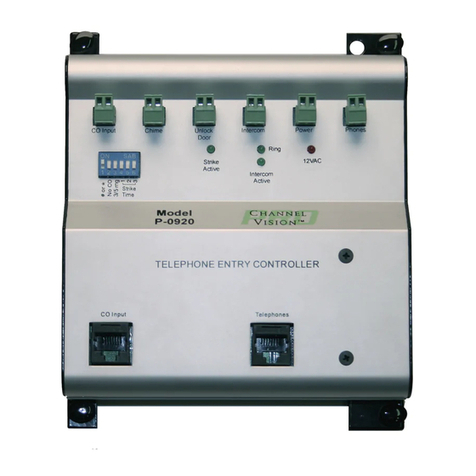
Channel Vision P-0920 User manual

Channel Vision

Channel Vision P-0920 User manual

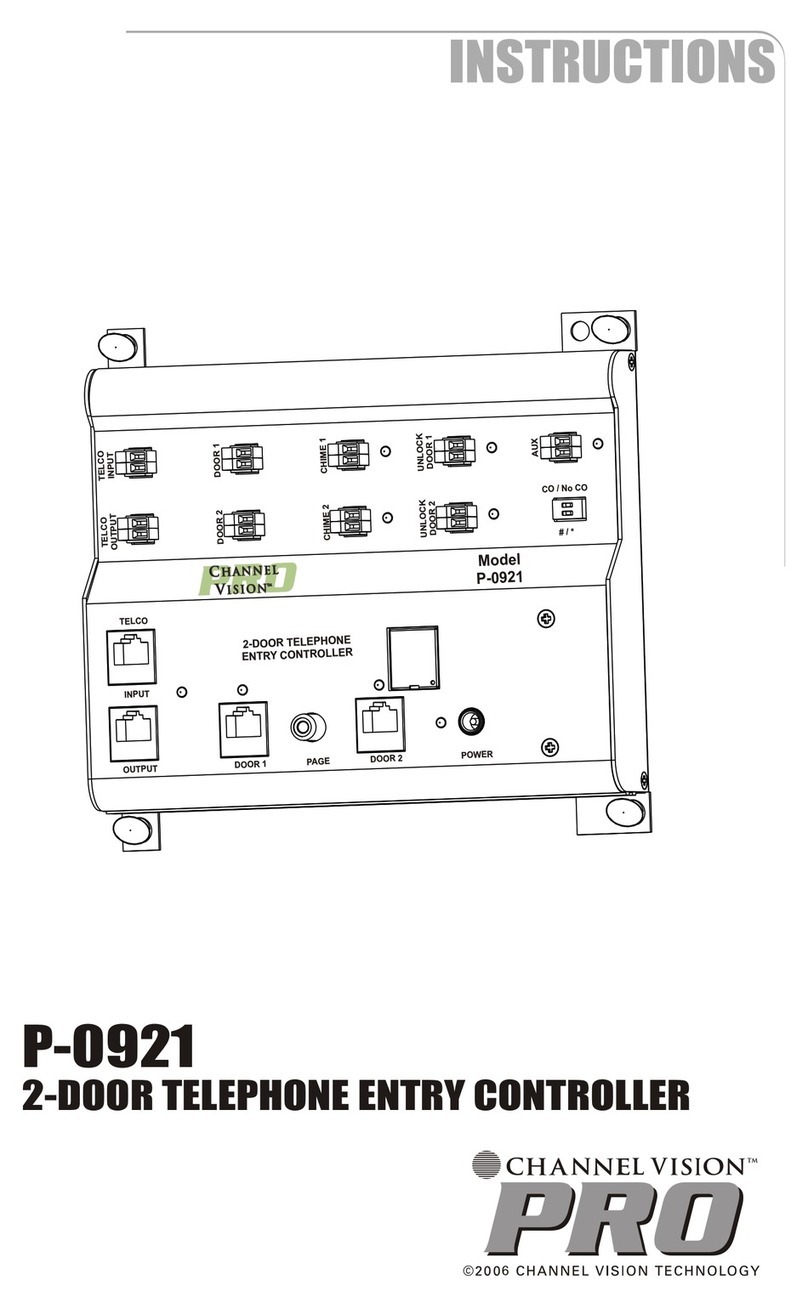
Channel Vision 2-Door Telephone Entry Controller P-0921 User manual

Channel Vision

Channel Vision 2-Door Telephone Entry Controller P-0921 User manual

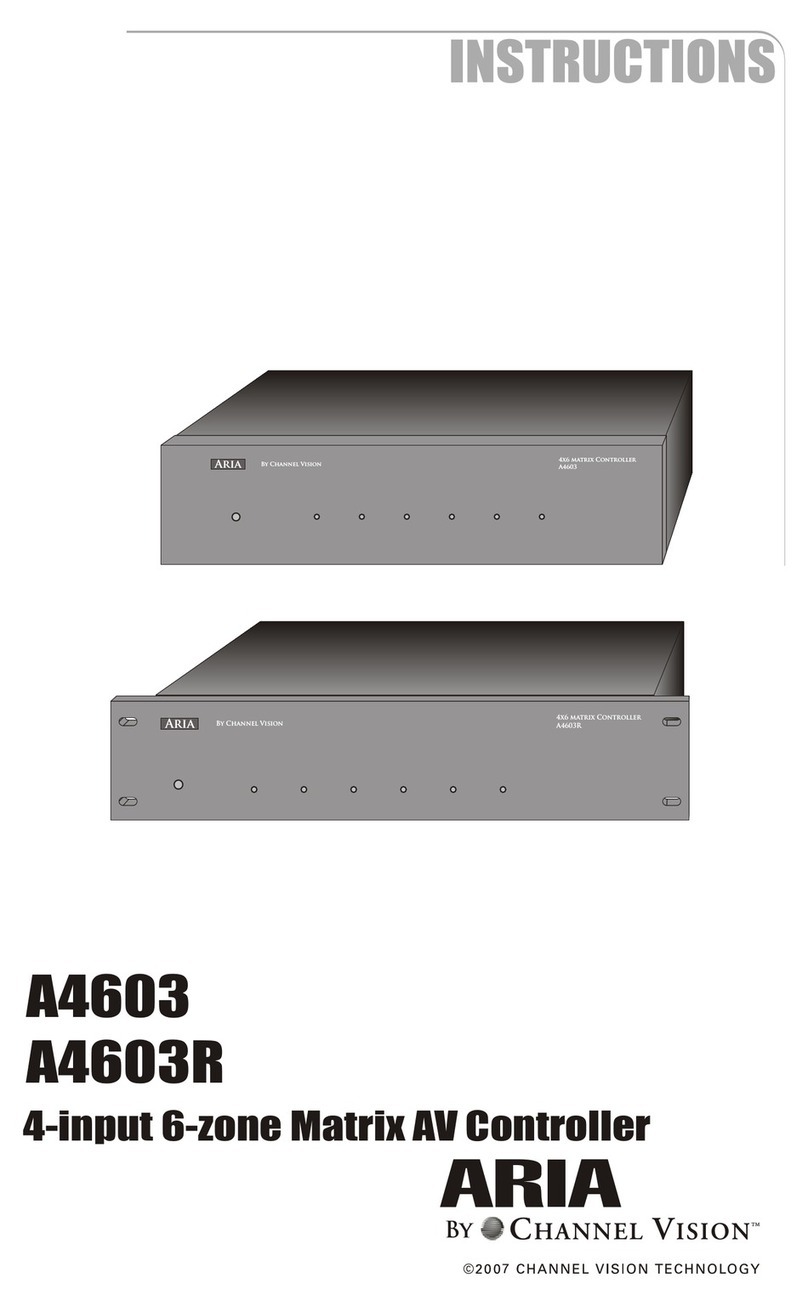
Channel Vision Aria A4603 User manual

Channel Vision

Channel Vision Aria A4603 User manual

Popular Controllers manuals by other brands

Curtis 1268 installation instructions

Curtis

Curtis 1268 installation instructions

MSA SENTRY io operating manual

MSA

MSA SENTRY io operating manual

Rosewill RC-219 user manual

Rosewill

Rosewill RC-219 user manual

ProMinent DULCOMETER Assembly and operating instructions

ProMinent

ProMinent DULCOMETER Assembly and operating instructions

NORME LDSCDIND PLUS operating instructions

NORME

NORME LDSCDIND PLUS operating instructions

SMC Networks JAS-S Series Mounting instructions

SMC Networks

SMC Networks JAS-S Series Mounting instructions

MAXIMATOR RM350 operating instructions

MAXIMATOR

MAXIMATOR RM350 operating instructions

Phocos CXup Series Faq

Phocos

Phocos CXup Series Faq

PS Automation PSR-E Series operating instructions

PS Automation

PS Automation PSR-E Series operating instructions

Mitsubishi Electric GB-24A Instruction book

Mitsubishi Electric

Mitsubishi Electric GB-24A Instruction book

Datalogic COBALT C0405-USB-01 installation guide

Datalogic

Datalogic COBALT C0405-USB-01 installation guide

Siemens POS8.4420/109 manual

Siemens

Siemens POS8.4420/109 manual

IFM ecomatController CR0708 operating instructions

IFM

IFM ecomatController CR0708 operating instructions

Heiland electronic SPLITGRADE user manual

Heiland electronic

Heiland electronic SPLITGRADE user manual

Dungs FRM 100025 ND instruction manual

Dungs

Dungs FRM 100025 ND instruction manual

AC Infinity CTR69X user manual

AC Infinity

AC Infinity CTR69X user manual

Müller MDR-057 Operating and assembly instructions

Müller

Müller MDR-057 Operating and assembly instructions

Deif AGC 200 Series General guidelines for commissioning

Deif

Deif AGC 200 Series General guidelines for commissioning

manuals.online logo
manuals.online logoBrands
  • About & Mission
  • Contact us
  • Privacy Policy
  • Terms and Conditions

Copyright 2025 Manuals.Online. All Rights Reserved.