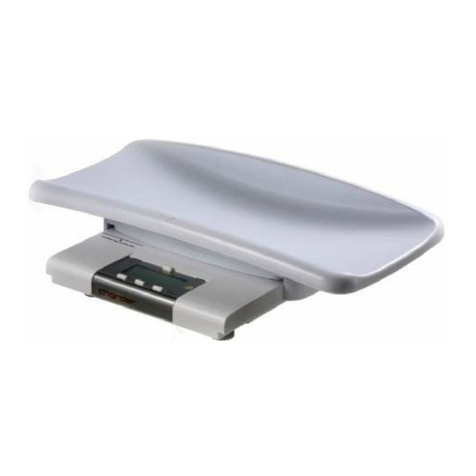
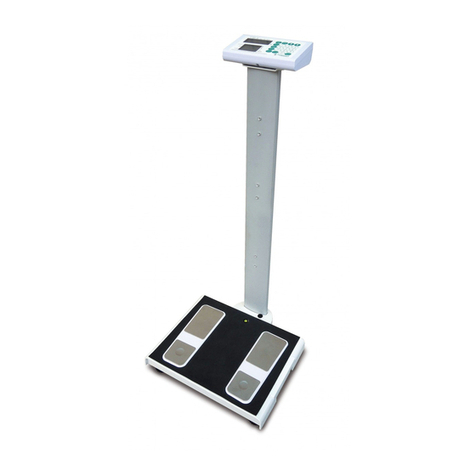
Charder MS4910 User manual

USER MANUAL
MS4910 (DP3710)
Medical Scale
Please keep the instruction manual at hand all the time for future reference.

Explanation of the Graphic Symbols
SN-T13000001
Designation of the serial number of every device,
applied at the device.(Number as an example)
“Please note the accompanying documents“
or “Observe operating instructions”
Identification of manufacturer of medical product
including address
“Electro-medical appliance“ with attachment for
type BF
Dispose of old appliances separately from your
household waste. Instead, take them to designated
collection points for electronics.
Carefully read this operation manual before setup
and
commissioning, even if you are already familiar with
Charder scales.
Manufacturing date
Lot number or batch number
Charder Electronic Co., Ltd.
No. 103, Guozhong Rd., Dali Dist.,
Taichung City, 412 Taiwan

Copyright Notice
Charder Electronic Co., Ltd.
No.103, Guozhong Rd., Dali Dist., Taichung City 41262 Taiwan
Tel: +886-4-2406 3766
Fax: +886-4-2406 5612
Website: www.chardermedical.com E-mail: info_cec@charder.com.tw
Copyright© Charder Electronic Co., Ltd. All rights reserved.
This user manual is protected by international copyright law. All content is
licensed, and usage is subject to written authorization from Charder
Electronic Co., Ltd. (hereinafter Charder) Charder is not liable for any
damage caused by a failure to adhere to requirements stated in this
manual. Charder reserves the right to correct misprints in the manual
without prior notice, and modify the exterior of the device for quality
purposes without customer consent.

CONTENTS
I. Safety Notes .......................................................................... 5
A. Precaution Symbols..............................................................5
B. General Information.............................................................5
C. EMC Guidance and Manufacturer's Declaration.........................9
II. Installation..........................................................................13
A. Assembly..........................................................................13
B. Inserting Batteries .............................................................16
C. Using Adaptor ...................................................................19
D. Attaching Height Rod to Column ..........................................20
E. Attaching Thermal Printer ...................................................24
III. Indicator............................................................................27
A. Indicator and Key Functions ................................................27
B. Display layout....................................................................28
IV. Getting Started ...................................................................29
A. Power and connections .......................................................29
B. Setting Time & Date...........................................................30
C. Device Setup.....................................................................31
V. Using Device ........................................................................35
A. Basic Operation .................................................................35
B. Hold.................................................................................35
C. BMI..................................................................................35
D. BMI (w/HM200D or HM201D)..............................................36
E. Tare .................................................................................36
F. Pre-Tare ............................................................................37
G. Print ................................................................................40
VI. Setup USB Connection to PC ...............................................41
VII. Wireless Connection..........................................................44
VIII. Troubleshooting...............................................................45
IX. Product Specifications ........................................................48
A. Device Information ............................................................48
B. Power Adapter Standards....................................................49
X. Declaration of Conformity ....................................................50
A. EU Declaration of Conformity...............................................50
B. Federal Communications Commission (FCC) Statement ..........51
C. Manufacturer’s Declaration of Conformity..............................52

I. Safety Notes
A. Precaution Symbols
Warning
Identifies the possibility of serious injury or death
for the user if the device is mishandled, or safety
instructions are not followed.
Caution
Identifies the possibility of physical injury or device
damage if the device is mishandled, or safety
instructions are not followed.
The caution symbol indicates general precautions
that should be taken when using the device.
NOTE
Additional information regarding the operating
environment, conditions for installation, or special
conditions in usage.
Indicates helpful hints and supplementary
information.
Indicates actions that should not be performed.
Bold
Bold text identifies buttons on the display panel.
Hazard icon warning against possible electric shock.
B. General Information
Thank you for choosing this Charder Medical device. It is designed to be
easy and straightforward to operate, but if you encounter any problems
not addressed in this manual, please contact your local Charder service
partner.
Before beginning operation of the device, please read this user manual
carefully, and keep it in a safe place for reference. It contains important
instructions regarding installation, proper usage, and maintenance.

Caution
General Handling
This device is intended for indoor use only.
Do not place the device on slippery surfaces.
Ensure all parts are properly locked and tightened before operating
the device.
Electric Shock
Do not touch the power supply with wet hands.
Do not crimp the power cable, and avoid sharp edges.
Do not overload extension cables connected to the device.
Route cables carefully, to avoid tripping.
Keep the device away from liquids.
Always disconnect the device from mains power before cleaning.
Caution
Injuries and Infections
For hygiene purposes, Charder recommends cleaning the measuring
platform after each measurement with a soft cloth and alcohol.
Ensure that the measuring platform is dry before usage.
Caution
Preventing Device Damage
Please contact your local Charder distributor for regular maintenance
and calibration.
This device does not contain any user-maintained parts. All
maintenance, technical inspections, and repairs should be conducted
by an authorized Charder service partner, using original Charder
accessories and spare parts. Charder is not liable for any damages
arising from improper maintenance or usage. Dismantlement of the
device will void the warranty.
Take care to make sure fluids do not enter the device, as they may
damage the internal electronics.
Switch off the device before disconnecting the power supply.
Do not place the device in direct sunlight, or in close proximity to an
intense heat source. Excessively high temperatures may damage the
internal electronics.
Strong cleaning agents can damage the measuring platform's
surface.

Caution
Disposal/Environmental
All batteries contain toxic compounds; batteries should be disposed
of via designated competent organizations. Batteries should not be
incinerated.
The optimum operating temperature for the scale is 0℃to +40℃;
although it will operate at higher and lower temperatures, battery
life will adversely be effected.
Warranty/Liability
If Charder is responsible for a fault or defect present upon receipt of
the unit, Charder shall either repair the fault, or supply a
replacement unit. Should the repairs or replacement delivery fail,
statutory provisions shall be valid. The period of warranty shall be
two years, beginning on the date of purchase. Please retain your
receipt as proof of purchase.
No responsibility shall be accepted for damage caused through any
of the following reasons: unsuitable or improper storage or use,
incorrect installation or commissioning by the owner or third parties,
natural wear and tear, changes or modifications, incorrect or
negligent handling, chemical, electrochemical, or electrical
interference, unless damage is attributable to negligence on the part
of Charder.
Disposal
This product is not to be treated as regular household waste, but
should be taken to a designated collection points for electronics.
Warning
Measurements for physically disabled persons.
Physically disabled persons should not attempt to take
measurements alone, but instead should have their caretakers assist
them in using the device.
Warning
Only the original AC adapter should be used with the device. Using an
AC adapter other than the one provided by Charder may cause
malfunction.

Do not remove the plug by yanking on the cable.
Use only a correctly wired (100-240VAC) outlet, and do not use a
multiple outlet extension cable.
Do not under any circumstances dismantle or alter the device, as this
could result in electric shock or injury as well as adversely affect the
precision of measurements.

9
C. EMC Guidance and Manufacturer's Declaration
Guidance and manufacturer’s declaration-electromagnetic
emissions
The MS4910 is intended for use in the electromagnetic environment specified
below. The customer or the user of the MS4910 should assure that it is used in
such an environment.
Emission test Compliance Electromagnetic
environment-guidance
RF emissions
CISPR 11 Group 1 The MS4910 uses RF
energy only for its internal
unction. Therefore, its RF
emissions are very low and are
not likely to cause any
interference in nearby
electronic equipment.
RF emissions
CISPR 11
Class B The MS4910 is suitable for use in
all establishments, including
domestic establishments and
those directly connected to the
public low-voltage power supply
network that supplies buildings
used for domestic purposes.
Harmonic
emissions
IEC 61000-3-2
Class A
Voltage
fluctuations
/flicker emissions
IEC 61000-3-3
Compliance

Guidance and manufacturer’s declaration-electromagnetic
immunity
The MS4910 is intended for use in the electromagnetic environment specified below. The
customer or the user of the MS4910 should assure that it is used in such an environment.
Immunity
test IEC 60601
test level Compliance
level Electromagnetic
environment-guidance
Electrostatic
discharge(ESD)
IEC
61000-4-2
± 8 kV contact
± 2 kV, ± 4 kV,
± 8 kV, ± 15 kV
air
+ 6 kV contact
+ 8 kV air
Floors should be wood, concrete
or ceramic tile. If floors are
covered with synthetic material,
the relative humidity should be
at least 30%
Electrical fast
transient/burst
IEC 61000-4-4
+ 2kV
for
power
supply
lines
+1kV for
input/output
lines
+ 2kV for
power
supply
lines Not
applicable
Mains power quality should be
that of a typical commercial or
hospital environment.
Surge IEC
61000-4-5
+ 1kV line(s)
to line(s)
+2kV line(s)
to earth
+ 1kV
differential
mode
Not applicable
Mains power quality should be
that of a typical commercial or
hospital environment.
Voltage Dips,
short
interruptions
and voltage
variations on
power supply
input lines IEC
61000-4-11
0% UT for
0,5 cycle
0% UT for 1
cycle
70%
UT(30%
dip in UT)
for 25
cycles
0% UT for 5
s
<5%
UT(>95% dip
in UT) for 0,5
cycle 40%
UT(60% dip in
UT) for 5
cycles 70%
UT(30% dip in
UT) for 25
cycles
<5%
UT(>95% dip
in UT) for 5 s
Mains power quality should be
that of a typical commercial or
hospital environment. If the
user of the MS4910 requires
continued operation during
power mains interruptions, it is
recommended that the MS4910
be powered from an
uninterruptible power supply or
a battery.
Power
frequency(50,
60 Hz)
magnetic field
IEC 61000-4-8
30 A/m
3 A/m
The MS4910 power frequency
magnetic fields should be at
levels characteristic of a typical
location in a typical commercial
or hospital
environment.
NOTE UT is the a.c. mains voltage prior to application of the test level.

Guidance and manufacturer’s declaration-electromagnetic
immunity
The MS4910 is intended for use in the electromagnetic environment specified below.
The customer or the user of the MS4910 should assure that is used in such and
environment.
Immunity test
IEC 60601 test
level
Compliance
level
Electromagnetic
environment-guidance
Conducted
RF IEC
61000-4-6
3 Vrms
150 KHz to 80 MHz
6 V in ISM bands
between 0,15 MHz
and
80 MHz
80 % AM at 1 kHz
3 Vrms
Portable and mobile RF
communications
equipment should be used
no closer to any part of the
MS4910
including cables, then the
recommended separation
distance calculated from
the equation applicable to
the frequency of the
transmitter.
Radiated RF
IEC
61000-4-3
3 V/m
80MHz to 2,7 GHz
3 V/m
Recommended
separation distance:
d = 1,2 √P
d = 1,2 √P 80MHz to 800
MHz d = 2,3 √P 800MHz to
2,7 GHz
Where P is the maximum
output power rating of the
transmitter in watts (W)
according to the
transmitter manufacturer
and d is the recommended
separation distance in
meters (m).
Field strengths from fixed
RF transmitters, as
determined by an
electromagnetic site
survey, ashould be less
than the compliance level
in each frequency range.
b
Interference may occur
in the vicinity of
equipment marked with
the following symbol:
NOTE1 At 80 MHz and 800 MHz, the higher frequency range applies.
NOTE2 These guidelines may not apply in all situations. Electromagnetic

propagation is affected by absorption and reflection from structures, objects and
people.
a Field strengths from fixed transmitters, such as base stations for radio
(cellular/cordless) telephones and land mobile radios, amateur radio, AM and FM
radio broadcast and TV broadcast cannot be predicted theoretically with accuracy.
To assess the electromagnetic environment due to fixed RF transmitters, an
electromagnetic site survey should be considered. If the measured field strength in
the location in which the MS4910 is used exceeds the applicable RF compliance
level above, the MS250 should be observed to verify normal operation. If abnormal
performance is observed, additional measures may be necessary, such as
re-orienting or relocating the MS4910
b Over the frequency range 150 kHz to 80 MHz, field strengths should be less than 3
V/m.
Recommended separation distance between
portable and mobile RF communications equipment and the MS4910
The MS4910 is intended for use in an electromagnetic environment in which radiated
RF disturbances are controlled. The customer or the user of the MS4910 can help
prevent electromagnetic interference by maintaining a minimum distance between
portable and mobile RF communications equipment (transmitters) and the MS4910 as
recommended below, according to the maximum output power of the communications
equipment.
Rated maximum
output power of
transmitter
W
Separation distance according to frequency of
transmitter m
150 kHz
to 80
MHz
d =1,2√P
80 MHz to
800 MHz
d =1,2√P
800 MHz to
2,7 GHz
d =2,3√P
0,01 0,12 0,12 0,23
0,1 0,38 0,38 0,73
1 1,2 1,2 2,3
10 3,8 3,8 7,3
100 12 12 23
For transmitters rated at a maximum output power not listed above, the recommended
separation distance d in metres (m) can be estimated using the equation applicable to
the frequency of the transmitter, where p is the maximum output power rating of the
transmitter in watts (W) according to the transmitter manufacturer.
NOTE1 At 80 MHz and 800 MHz, the separation distance for the higher frequency range
applies.
NOTE2 These guidelines may not apply in all situations. Electromagnetic propagation is
affected by absorption and reflection from structures, objects and people.

II. Installation
A. Assembly
Standard Column
1. Fasten and tighten four screws at the bottom of the base. Ensure four
adjustable feet and stability foot are at same level before using device.
Castor wheel column
1. Fasten and tighten four screws at the bottom of the base
Four screws

2. Ensure four adjustable feet and stability foot are at the same level
before using the device. Rotate counter-clockwise to extend, clockwise to
retract
Stability foot
Adjustable feet

3. Retract stability foot before moving device using castor wheels
Note: rotate counter-clockwise to extend, clockwise to retract
Ensure stability foot is retracted before using castor wheels

B. Inserting Batteries
Fig. 1 - Open the battery housing cover
Fig. 2 - Accessing batteries
Fig. 3 - Use either rechargeable battery pack, or AA-size batteries
Take out the battery
housing

Fig. 4 -Ensure batteries are installed into the housing correctly
Fig. 5 - Install the battery housing into the compartment, and make sure
the right side of housing pin is facing towards inside of the connecting
position
Rechargeable
Battery Housing
AA-size Battery Housing

18
Fig. 6 - Slide back the cover to close the battery housing compartment.
Turn on power to confirm that battery is correctly installed.
Regarding Rechargeable Battery (optional)
The rechargeable battery should be recharged at least once every 3
months, regardless of if the device has been used. Battery can be charged
by plugging the device's exclusive adaptor into AC Connector Port.
After a long period in storage (e.g. >3 months), the battery should run a
full cycle (charge/discharge) to allow it to restore full capacity.
Fig. 7 - Ensure rechargeable battery housing is installed and inserted
properly into the compartment
If prompt displays on the LCD, please charge battery
promptly to avoid battery damage.
AC Connector Port

C. Using Adaptor
1. Connect AC adaptor to indicator before connecting to mains power
supply
2. Disconnect AC adaptor from mains power supply before unplugging AC
adaptor pin from indicator.
AC Connector Port

D. Attaching Height Rod to Column
Standard (Narrow) Column
Step 1. Attach two fixing blocks to
column using four flat-head
screws
Step 2. Attach height rod to blocks
using two flat-head screws
Item
Name
Quantity
1
Fixing block screws
4
2
Fixing blocks
2
3
Height Rod to fixing block screws
2
* Photo of display for reference only. Please refer to the actual product.
Other manuals for MS4910
1
Table of contents
Other Charder Scale manuals
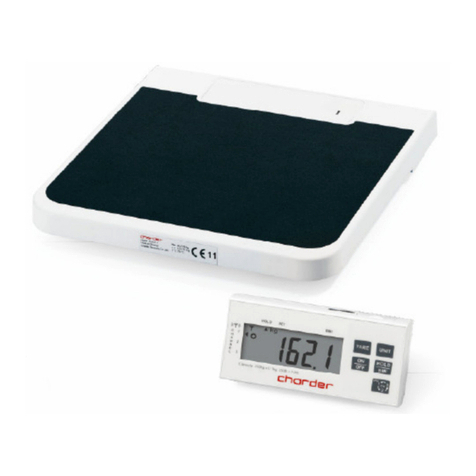
Charder
Charder MS-6121R User manual
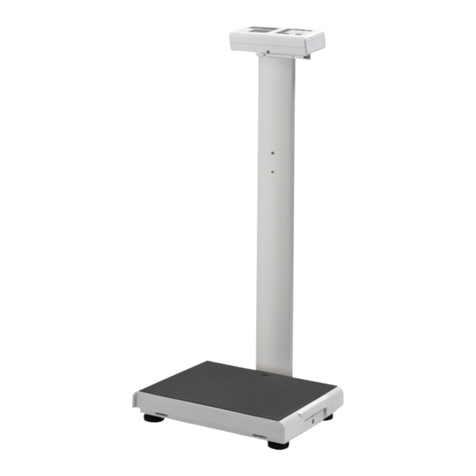
Charder
Charder MS3910 User manual
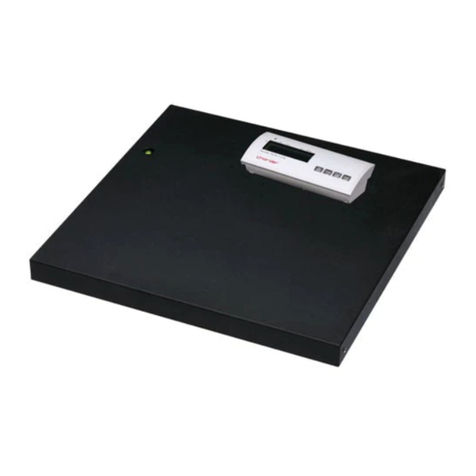
Charder
Charder MS2510 Manual
Charder
Charder P520 User manual
Charder
Charder MS 6000 User manual

Charder
Charder MS5461 User manual
Charder
Charder MS4200 User manual
Charder
Charder MS6110 User manual

Charder
Charder R240 User manual
Charder
Charder MS7321 User manual
Charder
Charder MS 4971 User manual
Charder
Charder MS3451 User manual
Charder
Charder MS 4971 User manual
Charder
Charder MHS2510/2610 User manual

Charder
Charder MS2504 User manual
Charder
Charder MHS2710 User manual

Charder
Charder MS 5900 User manual
Charder
Charder MS7301 User manual
Charder
Charder MS-3500 User manual

Charder
Charder R210 User manual

