Chattanooga OptiFlex T User manual

Knee CPM Trolley
Setup
1. Using the 3/16” hex wrench
(supplied), completely loosen
the clamp hex screw.
2. Measure 7” (17.8 cm) from
the motor housing of the
OptiFlex3 unit and place
unit into clamp with the 7”
(17.8 cm) mark in center of
clamp.
NOTE: It may be necessary to
obtain another person’s help in
mounting the OptiFlex3 unit to
the OptiFlex T.
3. Using the 3/16” hex
wrench, tighten the clamp
securely.
ISO 13485 Certified Company
DJO, LLC
1430 Decision St
Vista, CA 92081 USA
Phone: 1-800-592-7329 USA
Phone: 1-317-406-2209
Fax: 1-317-406-2014
chattgroup.com
© 2010 DJO, LLC 45255D
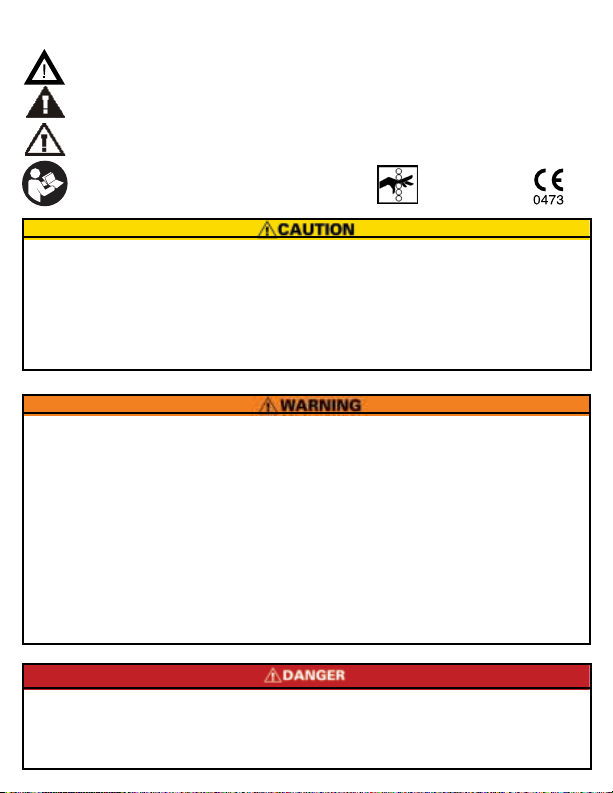
The precautionary instructions found in this guide are indicated by specific symbols. Understand these
symbols and their definitions before operating this equipment. The definition of these symbols are as follows:
=CAUTION- Text with a “CAUTION” indicator will explain possible safety infractions that could
have the potential to cause minor to moderate injury or damage to equipment.
=WARNING- Text with a “WARNING” indicator will explain possible safety infractions that will
potentially cause serious injury and equipment damage.
=DANGER- Text with a “DANGER” indicator will explain possible safety infractions that are
imminently hazardous situations that would result in death or serious injury.
=REFER TO INSTRUCTION MANUAL/BOOKLET =PINCH POINT
•Do not allow anything to be under the unit while the trolley is descending.
•The trolley must be resting on the patient bed to ensure the stability of the OptiFlex3 unit.
•Lock hospital bed while in use.
•When the OptiFlex3 unit is not attached to the trolley, use caution when stepping on the Height
Adjustment Pedal. The upward force could cause injury.
•Support the unit with both hands when making any adjustments.
•DO NOT exceed trolley weight capacity of 40 lbs (18.12 kg).
•Keep Quick Start instruction card with unit at all times.
•Read, understand, and practice the precautionary and operating instructions found in the manual
that was shipped with the OptiFlex3. Know the limitations and hazards associated with the OptiFlex3.
Observe any and all precautionary and operational decals placed on the unit.
•Regularly monitor the proper operation of the trolley, making sure to note any worn or wearing parts. If
the functional degradation of the trolley is apparent, contact your DJO, LLC dealer or Customer Service
Department for assistance.
•Never place your hands or feet near the working mechanism of the unit when making any and all
adjustments to unit.
•Do not sit or stand or allow patients to sit or stand on the trolley.
•Always place the OptiFlex Trolley in the storage position when not in use.
•The OptiFlex Trolley is for use only with the OptiFlex3 unit. Do not use accessories manufactured by
other companies on this trolley. DJO, LLC is not responsible for any consequence resulting from using
products manufactured by other companies. The use of other accessories or cables may result in
increased emissions or decreased immunity of this trolley and safety of the patient.
•Use of other parts or materials can degrade minimum safety.
•Keep hair, loose clothing, loose bedding, fingers and toes away from the hinge components and pinch
points of the unit.
•Do not use the trolley outdoors, on wet or gel filled surfaces. Use only on firm, flat, stable level surfaces
to ensure stability of the trolley while in operation.
•When pulling out the T handle, make certain you also have a grasp on the Swivel Release Knob. The
Swivel Release Knob can swing up and cause injury or damage other equipment.
•Make certain the Casters are locked before operating the Trolley.

Positioning for Storage and Transport
1. While holding onto the Swivel Release
Knob, pull out the T Handle.
NOTE: The OptiFlex3 unit must be
properly positioned in line with the
Clamp Support Assembly before
releasing the T Handle.
When pulling out the T Handle, make certain you also have a grasp on the Swivel Release
Knob. The Swivel Release Knob can swing up and cause injury or damage other equipment.
2. With T Handle pulled, carefully place
the OptiFlex3 unit in the vertical
position. Release T Handle.
3. While stepping on the height
adjustment pedal, press down on
the Clamp Support Assembly to
completely lower the unit.
NOTE: Always store and transport the
unit as shown.

1. To place unit in operational position,
simply tilt the unit to the horizontal
position until the T Handle engages the
Clamp Support Assembly.
2. Loosen the Swivel Release Knob by
turning counterclockwise.
3. Rotate the unit 90° as shown.
4. Tighten the Swivel Release Knob.
NOTE: The unit may be rotated in either
direction or up to approximately 300° as
desired.
5. Step on the Height Adjustment
Pedal and pull up on the Clamp
Support Assembly to raise the unit.
When necessary, step on the Height
Adjustment Pedal while pressing
down on the unit to lower the unit.
Positioning for Patient Use

6. Place the unit at the bedside
as shown. Make certain it is
comfortably positioned for patient
limb placement in the OptiFlex3
unit.
7. Step on the black plastic Caster Tab
to prevent the trolley from moving
while you are making adjustments
on the patient's bed.
8. Once desired position is obtained,
make sure the OptiFlex3 unit is
resting level on the bed.
Positioning for Patient Use (continued)

Warranty Information
DJO, LLC ("Company") warrants that the OptiFlex3 T Knee CPM Trolley ("Product") is free of defects
in material and workmanship. This warranty shall remain in effect for one year (12 months) from the
date of original consumer purchase. If this Product fails to function during the one year warranty
period due to a defect in material or workmanship, at the Company's option, the Company or the
selling dealer will repair or replace this Product without charge within a period of thirty (30) days
from the date on which the Product is returned to the Company or the dealer. All repairs to the
Product must be performed by a service center certified by the Company. Any modifications or
repairs performed by unauthorized centers or groups will void this warranty.
To participate in warranty coverage, this Product's warranty registration card (included with Product)
must be filled out and returned to the Company by the original owner within ten business days of
purchase.
This Warranty Does Not Cover:
•Replacement parts or labor furnished by anyone other than the Company, the selling dealer or a
certified Company service technician.
•Defects or damage caused by labor furnished by someone other than Company, the selling
dealer or a certified Company service technician.
•Any malfunction or failure in the Product caused by product misuse, including, but not limited
to, the failure to provide reasonable and required maintenance or any use that is inconsistent
with the Product User's Manual.
COMPANY SHALL NOT BE LIABLE IN ANY EVENT FOR INCIDENTAL
OR CONSEQUENTIAL DAMAGES.
Some locations do not allow the exclusion or limitation of incidental or consequential damages, so
the above limitation or exclusion may not apply to you.
To obtain service from company or the selling dealer under this warranty, a written claim must be
made within the warranty period to the Company or the selling dealer. Written claims made to the
Company should be sent to:
DJO, LLC
1430 Decision Street
Vista, CA 92081 USA
T: 1-800-592-7329 USA
T: 1-317-406-2209
F: 1-317-406-2014
and
This warranty gives you specific legal rights and you may also have other rights which vary from
location to location.
The Company does not authorize any person or representative to create for it any other obligation
or liability in connection with the sale of the Product.
Any representative or agreement not contained in the warranty shall be void and of no effect.
THE FOREGOING WARRANTY IS IN LIEU OF ALL OTHER WARRANTIES,
EXPRESSED OR IMPLIED, INCLUDING ANY WARRANTY OR
MERCHANTABILITY OR FITNESS FOR A PARTICULAR PURPOSE.
Table of contents


