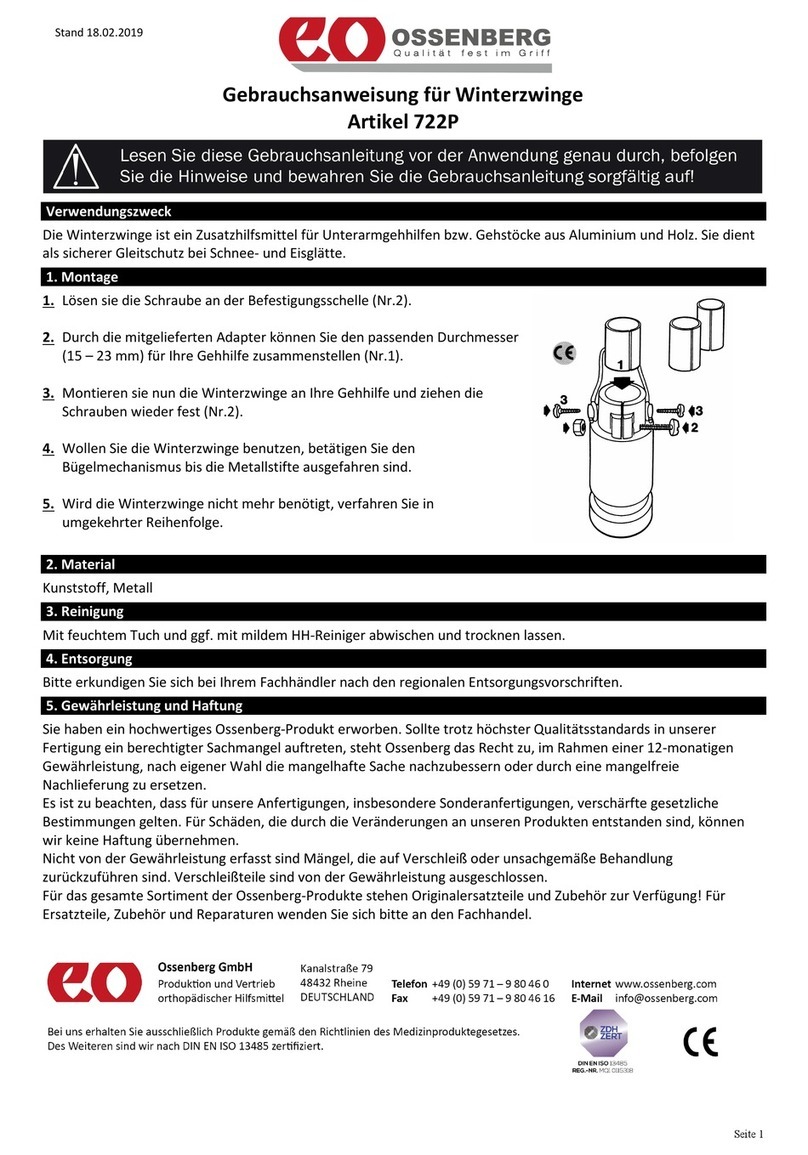
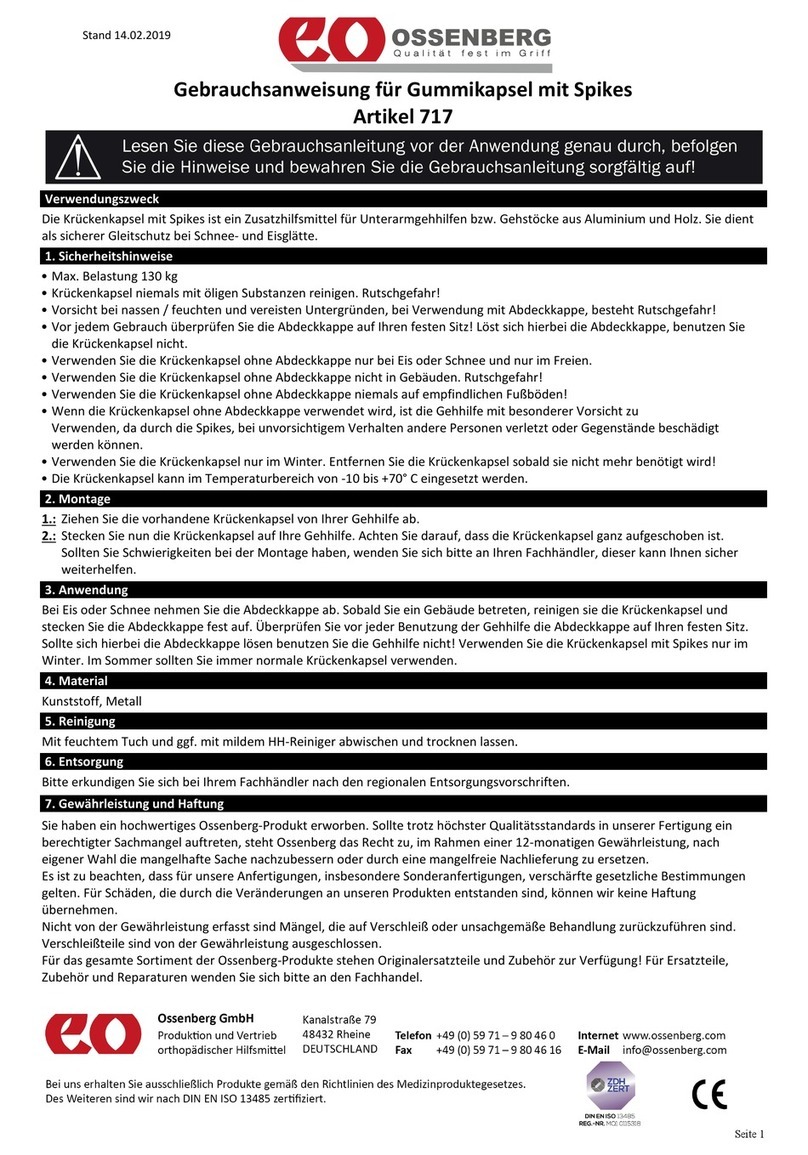
Ossenberg cibX SMARTSTICK User manual

Instructions Manual
SMARTSTICK- the linked up walking stick
...For safe mobility in an advanced age

The linked up walking stick is a joint venture between Ossenberg GmbH and cibX GmbH
and Deutsche Telekom AG. In addition to the brief instructions inside the packaging
you will find all the important information and tips for use below. Please read the instructions
manual carefully before using the product for the first time. Furthermore, follow the instructions
and safely store the instruction manual.
If you still have questions, please contact us on weekdays (Monday - Friday) on our service hotline:
+49 (0)2571-1395555.
We hope you enjoy your SMARTSTICK
2

3
Inhalt
4 15
1. Overview
2. Use 5-7
5 16
618
618-21
2.1 Height adjustment
2.2 Activation
2.3 Power on/off 2.4
Charging the battery 7 18
3. Features 8-9
8.1 Warranty & Liability
8.2 Data Collection
8.3 Privacy & Data Storage
8.4 Right to Information
8.5 Cellular Notices
19
8
820
3.1 Localization
3.2 Alert
3.3 Geofences 921
4. The user Portal 9-14
9
10
10
4.1 Login
4.2 Dashboard
4.3 Settings
4.4 Devices 11-13
11
12
12
13
4.4.1 About
4.4.2 Map
4.4.3 Notifications
4.4.4 Contact
4.4.5 Geofence 13
4.5 Log Out 14
5. Safety Instructions & Restrictions
on Use
6. Storage & Care
7. Duration of use & disposal
8. Legal Bases
19

4
galvanized chrome ring
Button
USB port
Carbon look
plastic tube
Rubber capv
Soft touch derby handle
Electronics module
Pushbutton
Technical details
Article no. 14604
Handle Soft touch derby handle
Tube Carbon look
plastic tube
Rubber capv Innen-Ø 16mm
workmanship 10-fold push button
Adjustable in height von 80cm - 102,5cm
Max. Body weight 120 kg
Integrated electronics
GSM-Modem
GPS antenna
SIM-Karte (Telekom)
Lithium-Akku
Protected by utility model:
20 2016 103 946 / IPC: A61H 3/00
1. Überblick

5
2. Use
The SMARTSTICK is used by people with walking disabilities to compensate for reduced mobility and
as a coordination aid when standing and walking. The integrated tracking and alarm module makes
the SMARTSTICK particularly attractive for disoriented people suffering from dementia. Thanks to its
simple functionality, the SMARTSTICK is also an ideal everyday aid for people with visual impairments.
The SMARTSTICK is primarily intended for outside use, but the SMARTSTICK can also be used indoors
as a walking aid and, if there is sufficient cellular, to alert in an emergency. When using it, there are a
few safety precautions to keep in mind. You can find these starting on page 14.
The SMARTSTICK concept consists of two aspects: the walking stick itself and the integrated
electronics with the user portal. To use the SMARTSTICK, please carry out the following steps!
Warning: Hand poles may only be adjusted by qualified personnel. Please contact your
nearest medical supply store. If you would like to adjust the setting yourself despite the
warning, please proceed as follows:
2.1 Height adjustment::
1) Before making the adjustment, loosen the union nut (Fig. K) by turning it
counterclockwise by about half.
2) Unlock the height adjustment by pressing the button (Fig. I).
3) Adjust the length of the stick to your height by pulling the support tubes
apart or pushing them together.
4) Lock the height adjuster again by aligning the tubes so that two locking
holes are on top of each other, and the push button snaps back into
place.
5) Tighten the union nut again!
Attention: Risk of falling due to SMARTSTICK buckling if the height
adjustment is not locked correctly.
Fig. I
Fig. K

6
2.2 Activation
Before use your SMARTSTICK must be activated. There are two ways you can do this: by phone or
online!
You can activate your SMARTSTICK by telephone on weekdays from Monday to Friday.
Please have your IMEI number, your activation code (see the last page of the brief
instructions) and your e-mail address ready and call our hotline
+49 (0)2571-1395555. After successful activation, you will receive your username
and password for the portal by e-mail within 24 hours. The term is 2 years.
Alternatively, you can also activate the SMARTSTICK online. To do this, please
go to www.cibx.de and then to “Activate”. As soon as the activation is completed,
you will receive an e-mail with your username and password within 24 hours on
weekdays. Incoming activations during the weekend are processed chronologically
at the beginning of the new week.

7
Fig. F
2.3 Power On/Off
To turn on, press the button (Fig. F) for one second. When the button lights up
blue it is active, and automatically connects to the user portal.
To turn off, briefly press the button twice. The red LED will flash twice, and the
blue light will turn off once the stick is powered down.
Sleep mode: If the SMARTSTICK is not moved for about 5 minutes, it switches to sleep mode to save
energy. In this state, no further locations are sent. The reactivation takes place automatically when
moving again.
2.4 Charging the battery
When delivered, the battery of your SMARTSTICK has a charge of 80%. If the battery power falls to
around 20%, the portal sends a warning message. At the same time, the LED starts to continuously
glow red. To charge, connect the included USB cable to your computer or to the included power
adapter.
Depending on the current charge status, the following LED patterns appear when charging:
Battery completely EMPTY -When charging, only the red LED flashes
Battery LOW (<20%) - When charging, the red and green LEDs flash simultaneously
Battery NEAR FULL - When charging, only the green LED flashes
Battery FULL - When charging, the green LED lights up continuously!

8
3. Features
Thanks to its integrated tracking and alarm module, the SMARTSTICK has three functions.
3.1 Localization
When active, the SMARTSTICK updates its location via GPS every 15
minutes to within a radius of 10 meters. The prerequisite for this is
an adequate mobile phone connection, a clear view of the sky and
being outside. In buildings, due to the limited GPS reception, the l
ocalization of the position may be imprecise or not possible at all.
When delivered, your location is Otto-Lilienthal-Str. in Greven.
For the first determination of your position, please stay outside
with the SMARTSTICK for at least 15 minutes.
3.2 Alert
In emergency situations such as a fall or disorientation, a call for help
can be sent directly via the SMARTSTICK. To do this, please press and
hold the button for at least 5 seconds until you hear a beep. At the
same time, the LED starts flashing red for 10 seconds. The call for help
is sent by e-mail to the contact persons stored in the portal.
Note: There are no additional costs for triggering the alarm! The
alarm cannot be canceled afterwards!

3.3 Geofence
With the geofence, an area is defined in which the SMARTSTICK
can move freely. If this "protection zone" is left, contacts are
automatically alerted by e-mail. The smallest radius for the
geofence is 100 meters. The upper limit is arbitrary.
Since spring 2018, it is also possible to notify contact persons via push notification. More information
about the SMARTSTICK app can be found at www.ossenberg-smartstick.de and www.cibx.de in due
course.
4. The user portal
A user portal is connected to each SMARTSTICK, which visualizes the data obtained and displays the
last localized location on a map of the area.
4.1 Login
To log into the portal, please proceed as follows:
Step 1: Open www.cibx.de and click on "Portal" at the top right
Step 2: Enter your username and password (case sensitive!)
Step 3: Click "Sign In"
Note: After the initial registration, you will be automatically prompted to change your onetime
password into a personal password! Please follow this instruction! After the change, you have to log in
to the portal again. 9

10
4.2 Dashboard
After successful registration, the Dashboard opens. On the Dashboard you can see the location of
the SMARTSTICK (drop-shaped symbol) and call up a brief overview by clicking on the symbol. The
short overview contains the name, the last location message with date and time as well as the
different modules for direct selection. To enlarge or reduce the map section, you can use the +/- at
the top right. With a click on "find" you can see all SMARTSTICKs at the same time. The “?” next to
“find” also helps!
4.3 Settings
Under the menu item "Settings" you can manage your account
settings and change your password. To change your password, click
on "Change password". Enter your desired password, confirm and
save it. Please note the information on the permitted characters
and length in the header.

11
4.4 Devices
Under "Devices" you will find all SMARTSTICKs that are registered to the user. If you select a
SMARTSTICK, the following modules and information will open:
•About
•Map
•Messages
•Contact
•Geofence
4.4.1 About
In the information area you can give the SMARTSTICK an individual name and
change the color of the card symbol. The display in different colors is
particularly useful when there are several SMARTSTICKs. You can also see the
current battery level and the last location message here. This data is
transmitted by the SMARTSTICK and cannot be influenced.

12
4.4.2 Map
The current status messages are displayed here as an overview. The
following messages are possible:
•Alarm was activated
•• Leaving geofence / re-entering geofence
•• Device was switched off / device was switched on
•• Battery is weak / battery is empty
•
The intensity of the message is marked by color.
Red = critical orange = advanced warning blue = uncritical
New messages replace old ones! This means that the message "Alarm was activated 3 minutes ago"
replaces the message "Alarm was activated 10 minutes ago". Alternatively, you can also remove
messages from the portal yourself. Simply click on the message and then on the "Delete" button.
Warning messages that are canceled by a new activity (e.g. "Geofence left" by "Geofence re-enter")
are automatically deleted.
4.4.3 Notifications
The Map module shows you the exact location of the selected SMARTSTICK.
In addition, a history of the movements can be called up under "Show
route". Select the desired period and the distance traveled will be displayed.

13
4.4.5 Geofence
Active: You alone decide whether your geofence should be active or inactive. In the inactive mode,
there is no automatic alarm when leaving the previously defined area.
Radius: Here you set the movement radius (e.g. 1,000m). Please note that the lower limit is 100
meters. The upper limit is arbitrary.
4.4.4 Contact
In "Contact" enter the e-mail addresses of your contact person(s) in the "E-
mail address" field and then select under "Message with" what kind of
message you would like to receive. The following messages are available:
Battery status, device powered off/on, geofence and alert!
The number of contacts is unlimited. An overview can be viewed at any time
under the "Contact" module.
If you would like to remove a contact person, click on the corresponding
email address and select "Delete".
With the geofence, you define an area in the form of a circle in which the
SMARTSTICK can move freely. If the circle is left, an alarm is automatically
triggered and forwarded to the stored contacts. To set up the geofence, the
following options are available above the map:

14
Move: When changing location, moving, vacation etc., it makes sense to adjust the radius of
movement. To do this, click on "Move" and then follow the instructions in the header. If the selected
area corresponds to your ideas, click once on the map to set the center of the circle. Then save your
change with "Save".
Tip: Since the geofence is an additional security measure, we recommend always placing the geofence
around the current location of the SMARTSTICK!
Address search:Enter your new desired address here and then press "Enter" on your keyboard /
smartphone. The map shows you the selected area.
Note: All modules can also be called up directly from the short overview!
4.5 Log out
To log out of the portal, click on your user account at the top right and select "Log out". After
successfully logging out, the registration mask appears for a possible new registration.

15
5. Safety Instructions & Restrictions on Use
When using the SMARTSTICK, there are some safety precautions and usage restrictions
•The grip of the SMARTSTICK on loose ground such as gravel, sand and leaves as well as on wet
ground and icy areas is severely limited.
•One must also be very cautious in the case of bumps or holes in the floor, loosely laid floor coverings
and poor visibility due to insufficient lighting conditions.
•For the functional and ergonomically correct use of the walking aid, please entrust your specialist
dealer. Please note the specified maximum permissible body weight.
•Proper handling of the SMARTSTICK requires some practice. We therefore recommend that you get
additional support from an assistant at the beginning. You can also use the knowledge of the
specialist staff to instruct you on how to climb stairs with the SMARTSTICK.
•For an optimal hold, please grasp the handle of the SMARTSTICK with your hand completely and
firmly and always place the walking aid straight/vertical on the floor (Fig. A).
•When climbing stairs and using a walking aid, please be sure to hold onto the railing with your free
hand (Fig. B).
•
•Always use the SMARTSTICK on the side opposite the leg to be protected
Fig. A Fig. B

16
•The SMARTSTICK must not be misused, such as levering
or moving furniture (Fig. E). Nor as a wardrobe or other items
(Fig. D).
• No mechanical changes may be made to the SMARTSTICK. Otherwise, the safety of the
SMARTSTICK can no longer be guaranteed for liability reasons. For the same reason, only original
spare parts and original accessories may be used.
• Before each use, check that all screw connections are tight. For a secure locking of the push button,
make sure that the holes do not deflect. In the event of externally visible damage to the SMARTSTICK,
please contact your specialist dealer. Independent straightening, e.g. of a bent SMARTSTICK, is
prohibited (danger of breakage!!!).
• Bent or damaged SMARTSTICKs must never be used again, as they no longer offer the necessary
stability!
• The SMARTSTICK is splash-proof. However, not suitable for use in water. The water penetrating the
pipe leads to rusting through or oxidation of the pipe, which can mean an increased risk of breakage.
In the event of moisture, we recommend drying the SMARTSTICK as quickly as possible.
• Using the SMARTSTICK causes unusually heavy strain on individual parts of the body! The following
side effects can occur as a result:
-Pressure or chafing can occur on hands, arms or clothing!
-Pain and overexertion may occur at the beginning or during prolonged exercise. Give yourself
enough breaks!
Fig. E Fig. D

17
6. Storage & Care
Never store the SMARTSTICK near heat sources such as ovens, heaters or in the car! Please do not
expose the SMARTSTICK to direct sunlight for a long period of time! Strong sun or heat will destroy
the plastic
•Protect your SMARTSTICK from falling over and damaging the paint (use a stick loop or stick
holder)
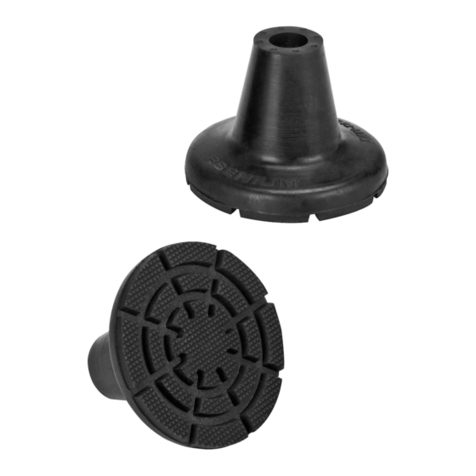
•The rubber buffer is a wearing part and must be replaced regularly!
•
•
Note: If disinfection is necessary, a suitable disinfectant must be used. Please note the manufacturer's
instructions for use!
If the SMARTSTICK has not been used for a long period of time, please only use it again after
it has been checked by the specialist staff!
Shelf life is limited to 2 years if stored properly. Warning! Never clean handles and rubber
capsules with oily substances! (Fig.J). If necessary, clean the walking aid with a mild cleaning
agent and a soft cloth

18
7. Duration of use & disposal
According to the Product Liability Act, we only assume liability for the first placing on the market of
our products. We only agree to reuse if the SMARTSTICK has been tested by us beforehand. The
lifespan of the SMARTSTICK is limited to 2 years. Beyond this period, further use of the SMARTSTICK is
the responsibility of the user.
Defect and old SMARTSTICK do not belong in the normal household waste! Please ask your regional
waste disposal company or specialist retailer where and how you can dispose of the SMARTSTICK.
8. Legal Bases
8.1 Warranty and Liability
You have purchased a high quality Ossenberg product. If, despite the highest quality standards in our
production, a justified material defect occurs, Ossenberg has the right, within the framework of a 12-
month warranty, to either repair the defective item or replace it with a defect-free subsequent delivery.
We are not liable for damage caused by changes to our products! Wear parts are excluded from the
warranty. Since the SMARTSTICK is a custom-made product, it cannot be exchanged after activation!

19
8.2 Data Collection
The SMARTSTICK collects its data using GPS. This procedure does not constitute a deprivation of liberty
but enables the nursing staff to determine whether the person concerned has left the home without
permission. The function of alerting as a technical measure does not have a direct deprivation of liberty
either. Rather, it is merely a warning device that triggers an electronic alarm if the patient leaves the
defined range of motion with the SMARTSTICK.
In principle, technical means for personal supervision can be used in care facilities. However, the
collection, processing and use of personal data is prohibited until the person concerned gives their
consent or the law or another legal regulation permits it (BDSG §4). Consent is only effective if it is
based on the free decision of the person concerned and is in writing. If the consent is to be given in
writing together with other declarations (e.g. living will), it must be particularly emphasized (BDSG
§4a). We advise nursing facilities and hospitals to integrate the consent to data collection, processing
and use into the living will. If the person concerned suffers from dementia syndrome and is no longer
able to conduct business independently, the consent of the supervisor is required! In the private
sphere, a verbal agreement between the person concerned and a person they trust is sufficient.
However, we advise you to record this in writing. The location function of the SMARTSTICK via GPS is
openly communicated through information on the sales box, the instructions for use and in the sales
pitch. By purchasing a SMARTSTICK, the buyer agrees to the collection of data. If the buyer is not the
user at the same time, the above conditions apply. Movement data, status reports (e.g. alarm reports)
and limited personal data are collected.

20
8.3 Privacy & Data Storage
The movement data collected is stored exclusively and pseudonymously in the data centers of
Deutsche Telekom AG in accordance with the highest German data protection standards. The data is
always stored in parallel so that if one data center fails, uninterrupted access can be granted by the
other data center. Limited personal data required to activate the SMARTSTICK is also stored at cibX
GmbH. Only the user of the connected portal has access to and insight into the data! To activate the
SIM card, the IMEI number and an activation code are required, which are only accessible after
purchasing a SMARTSTICK. After successful activation by telephone, the caller receives his access data
(user name and password) to the portal by e-mail. The connection to the portal is SSL protected.
When logging in for the first time, you will be prompted to change your password. Movement data
collected will be automatically and irrevocably deleted after 3 months!
8.4 Right to Information
The owner/buyer has the right to receive information about his stored data at any time (BDSG §34). In
addition, he can insist on the deletion of certain data (BDSG §35). As already mentioned above, the
movement data collected is automatically deleted after 3 months. The assigned access data is only
passed on by the owner himself. cibX GmbH, Ossenberg GmbH and Deutsche Telekom AG are not
permitted to pass on the data to third parties without the consent of the owner.
Table of contents
Other Ossenberg Mobility Aid manuals
Ossenberg
Ossenberg 172 User manual
Ossenberg
Ossenberg 716 User manual
Ossenberg
Ossenberg 940P User manual
Ossenberg
Ossenberg 3200 User manual
Ossenberg
Ossenberg KLASSIKER User manual
Ossenberg
Ossenberg 12G User manual
Ossenberg
Ossenberg 15K User manual
Ossenberg
Ossenberg Gnubbel User manual
Ossenberg
Ossenberg 500 User manual
Ossenberg
Ossenberg HOOKIT User manual
Popular Mobility Aid manuals by other brands
Arjo
Arjo Maxi Twin operating instructions
Medline
Medline 100RA User instruction manual & warranty
NRS Healthcare
NRS Healthcare Easylift Home Over-Bed Table User instructions

NRS Healthcare
NRS Healthcare F11572 User instructions

Shoprider
Shoprider 888SE Explorer owner's manual
Granberg
Granberg Verti 830 instruction manual
