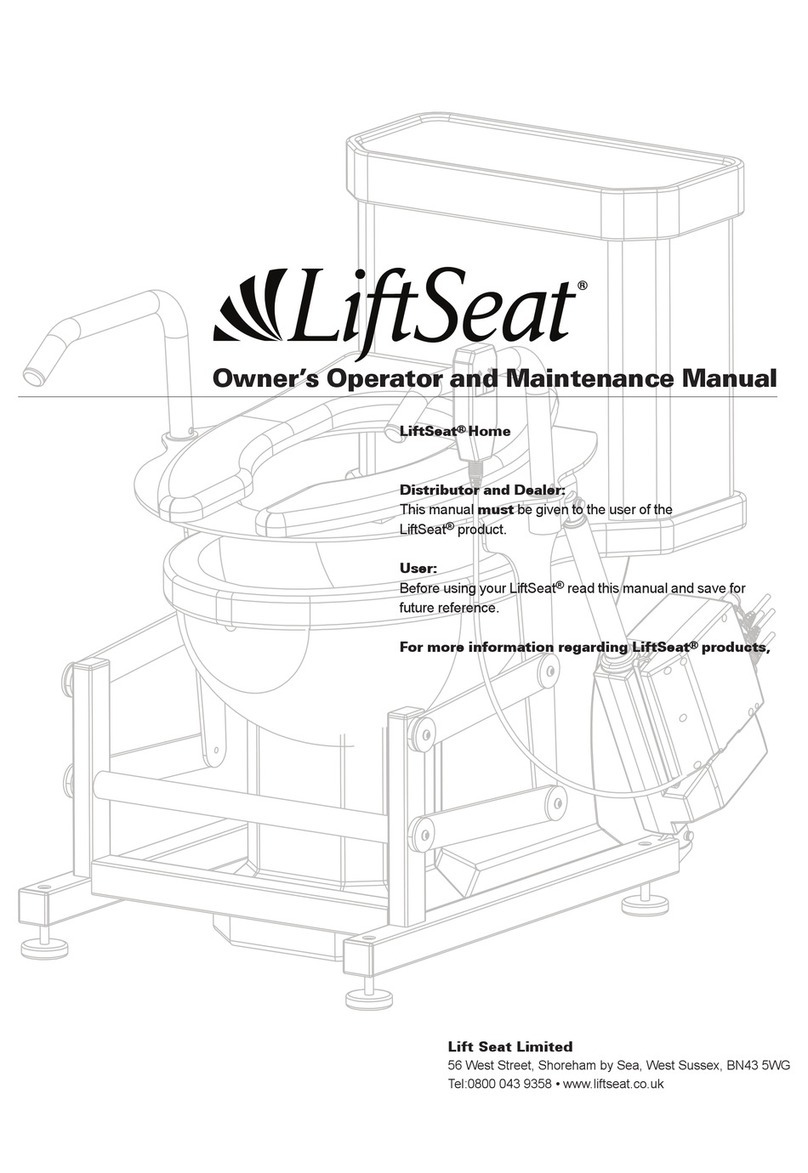
LiftSeat LS750 User manual

The LiftSeat®is designed to be used either over the toilet or by the bedside. If using by the bedside, make sure the drop-in com-
mode bucket is inserted underneath the toilet seat. Special care must be taken with people who cannot cooperate during the lift
process. Please refer to the Owner’s Manual for additional information.
Before use, check the following:
1.Make sure the LiftSeat®is properly cleaned and disinfected per your institution’s infection control procedures. (Refer to Lift-
Seat®Owner’s Manual for cleaning instructions.)
2. Check the Control Box LED display making sure 1 or more bars are illuminated. IF NOT,replace the battery before use and
test the unit by cycling it to the fully upright position. Refer to the Charging Instructions on the other side of the page for
more information.
3. Make sure the LiftSeat®brakes are in a locked position. Step on the 2 brake levers (RED for locking) to lock the wheels in
position. If they are not locked, serious injury can occur.
Important Reminders when Using your LiftSeat®
• Make sure the patient is holding the handle bars when the LiftSeat®is in motion.
• Allow the patient to gain equilibrium before ambulating away from the LiftSeat®.
For cleaning patients, consider raising the LiftSeat• ®to its upmost position, pivot the patient to face the LiftSeat®, and grab the
handle bars for stability.
During the lifting process, a patient’s feet can potentially lose contact with the oor. If this occurs, stop the raising motion allow-•
ing the patient to slide forward to adjust their feet.
• Consider using this product with other standing aids.
Cautions and Warnings are listed on the other side of this document.•
INSTRUCTIONS FOR USE
Figure 1 Start with LiftSeat®
in fully-raised position or in
the position most suitable to
the user depending on the
individual’s size. For lateral
transfers, instructions are on
the backside of this page.
Figure 2 Use the up and
down buttons on the hand
pendant to move the Lift-
Seat®to the desired position.
Figure 3 Have the patient
stand facing away from the
LiftSeat®, placing both hands
on the handle bars.
Figure 4 Now the patient
can sit back onto the seat,
using the handle bars for sup-
port.
Figure 5 Press the down
button on the hand pendant.
You must keep the button
depressed for continuous
movement. If at any time the
patient feels uncomfortable or
unstable, remove your thumb
from the button to stop the
movement.
Figure 6 Have the patient
toilet. Either have the patient
complete hygienic cleaning
of themselves in the down
position or move the seat to
a position that allows you to
comfortably and safely help
clean the patient.
Figure 7 Press the up button
to raise patient to a standing
position or most suitable po-
sition. Caregiver can stop the
raising action to allow patient
to slide slightly forward to ad-
just their feet.
Figure 8 When the patient
is ready, have them ambulate
away.
LS750 USER GUIDE

• Unlock the handle bar by depressing the push pin, then rotate the handle bar to the vertical position
as shown in the illustration.
BATTERY CHARGING AND MAINTENANCE
Lift up on the handle on the• back of the battery, upwards and away from the control box, to remove
from the LiftSeat®.
Place the battery onto the charging unit, make sure the battery is seated onto the charger. The LED•
will illuminate when charging.
When the battery is fully charged, the LED will stop illuminating.•
Place the battery back onto control box as shown. Make sure there is an audible click and the LCD•
display on the control box shows the battery is fully charged.
Refer to the owners manual for additional information.•
PERFORMING A LATERAL TRANSFER WITH THE LIFTSEAT®
The handle bars can be rotated out of the way for more clearance when laterally tranferring a patient
to or from the LiftSeat®.
• You are now ready to transfer a patient onto the LiftSeat®. Use the hand pendant to raise or lower the
lift as needed to aid in the transfer process.
• Rotate handle bar to the lowered position making sure the pin is in the locked position.
INSERTING THE COMMODE BUCKET OR SPLASH GUARD
Commode Bucket (PN: LS000-CB-100) – The commode bucket enables the LiftSeat®to be used
away from the toilet, bedside or in a specic room.
Lift the toilet seat up and place the commode bucket in the toileting hole, then lower the toilet seat.•
Dispose of matter per your hospital’s standard policy.•
Splash Guard (PN: LS000-SG-100) – The splash guard helps direct waste into the toilet.
Lift the toilet seat up and place the splash guard in the toileting hole, then lower the toilet seat.•
Cycle the LiftSeat• ®up and down making sure there are no interference issues with the existing toilet.
Battery charger
Handle
Battery
Control
box
CONTACT INFORMATION
LiftSeat®Customer Service 2001
Midwest Road Suite 204
Oakbrook, IL 60523
(630) 424-2840
email: info@liftseat.com
web: www.liftseat.com
DOC. NO. LS750UG082021
CAUTIONS AND WARNINGS
Caution: Do not operate the LiftSeat®with the toilet seat in the up position.
Caution: This product is not a patient transport device.
Caution: This product is not a shower chair.
Warning: Non-responsive or combative patients may not be suited for the LiftSeat®.
Warning: Maximum patient weight is 750 lbs.
LS750 USER GUIDE
Push Pin
ADJUSTINGTHE HEIGHT OFYOUR LIFTSEAT®
The LiftSeat®can be adjusted to 2different seating height positions. In order to change the seating
height, follow the instructions listed below.
• Manipulate the LiftSeat®by using the hand pendant to about 25 or 50% percent of the lift.
• Pull both pins outward (under top seating surface). The pins are located on either side of the unit
under the plastic top seat.
• The top seat assembly with handle bars should now be able to be pulled up or pushed down to the
next available position.
• Push or pull the top assembly a minimal amount, then release your outward pressure on the pins.
• Move the top seat assembly until it engages with the next set of positioning holes (there should be an
audible click when engaging the next set of positioning holes).
• Visually make sure the pins are properly seated (pushed in) into the holes.
• The LiftSeat® is now ready for patient use.
Pin
Table of contents
Other LiftSeat Mobility Aid manuals