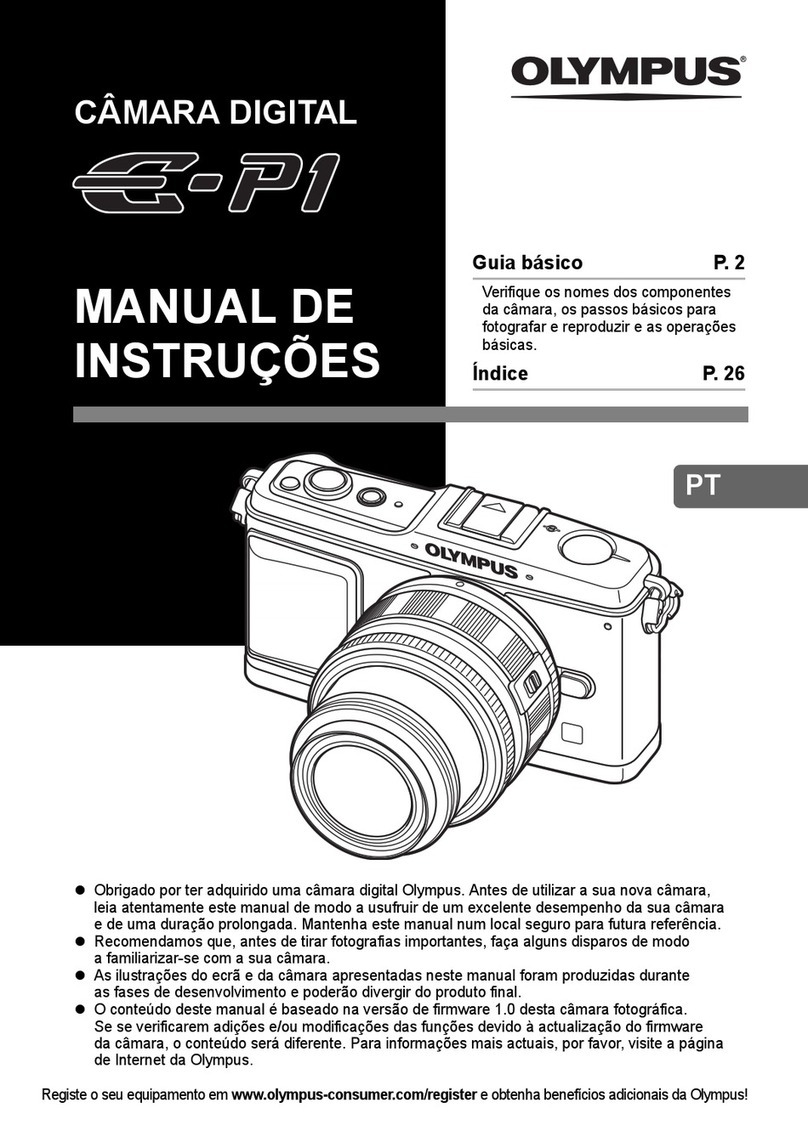
CHINON CX II User manual

This manual is for reference and historical purposes, all rights reserved.
This
page
iscopyright@
bV
M. BuI.kuS'NI.
This page may not be sold or distributed without the expressed permission of the producer
I fuaveno connection with any camera company
On-linecamera
manuallibrary
This isthe full
textand images
fromthe manual" This mayt€
the PDF
fileto download.
ff you find this manualuseful,
how abouta donationof $3to:
Ave.,High Bridge, NIJ08829-170l
andsend
your e-mailaddres
Most otherplaces
would charge
you $7.50
for a electroniccopy
to readXerox copy.
Thiswill allow meto continue
to buy newmanuals
and paytt
ft'U makeyou feel
better,won't it?
ff you use
PayPalor wish to use
your credit card,
click on the secure
siteon my main page.

www.orphancameras.com

NOMENCLATURE
O Shoulder
strap eyelet
@ Exposure
counterwindow
@ Multiple
exposurelever
@ Shutter
release/Exposure-
meter switch
@ Shutterrelease
locklever
@ filni advance
lever
0 ShutterspeeU/Film
speeddial (ASA/DIN)
@ Accessory
shoe(with direct
flashcontact)
€) Battery test button
@ Film
rewind
knob/Film
chambercover
opening
@ Filmtypeindicator
@ Self-timer
@ Aperturering
@ Depth
of field
scale
@ Focusingring
@ X synchro-flash
socket
@ M synchro-flash
socket
2
.\\

@
@
@
@
utt
@
@
@
@
@
@
@
h
Film
chamber
Battery
check
lamp
Viewfinder
eyepiece
Sprocket
teeth
Take-up
spool
Filmpressureplate
Film
chambercover
CdS
battery
compart-
ment cover
Film
guide
rail
Filmrail
Tripod
socket
Shutter
Rewindbutton
Fig. 2
www.orphancameras.com

4
(1)
Fig.3 (2)
(3)
(4)
Fig.4
(5)
(6)
i'*'
t (7)
IMPORTANT
!
OUTLINE
OF
PROCEDURE
lnsert
CdSbattery
with
plus
(*) side
up
(Fig.
3).
To test batterycond
ition, Fig.6
depressthe batterytest
buttonand
observe
test
light
(Fie.4).
Load
35
mmfilm
availablein
20
or36
exposurecartridges
(Fig.
5).
Set
ASA
(or
DIN)dialin ac-
cordancewiththe
film
speed Fig.7
specif
ied on the f
ilm box
(Fie.
6).
Seteithertheshutter
speed
or lens
opening
accordingto
yourphotographic
need
(Fig.
7).
Focus
thelens
(Fig.
a).
Release
the
shutter
(Fig.
B). Fig'
8

triq q
LOADING
THE
CAMERA
Use35 mm filmavailablein
20 or
36
exposure
cartridges.
lt isrecommendedto load
and
unload
the camera in subdued
light,
e.g.
the shadow
of your
own
bodyandnot indirect
sunlight.
(1) Pull
up film rewindknobuntilcamera-back
pops
open. Swing
open
camera-back
(Fig.
e).
(2) While rewind knob is still upraisedinsert
film cartridge
intochamber
with
protruding
end.toward
bottomofcamera. Press
infilm
rewind
knob. lf it'does
not go in all the
Fig.1O
w?y,turn it until it does.
(3) Insertend of film into
slot
in
take-up
spool
and engage
perforations
of the film with
the
sprockets.
Placethumb lightly
over
film
on bottom sprocket
wheel
and operate
film
advance
lever
until upper sprocket
wheel
engages
film perforations.
When
advance
leverstops, free it by depressing
shutter
release
on top ofcamera. Makesurethat
film lies
flat between
guiderails(Fig.
1O).
Close
cameraback firmly. .5
www.orphancameras.com

Fig.
11 Fie.
12
(4) Operate film advance lever, depressing
shutter release
until figure 't
! " appears
in the exposure
counter
window. ln this
position
the camera is ready
for the first
exposure
to be made (Fig.
11).
To be certain
that the film transports
cor-
rectly,
take
up
any
filmslack
in
the
cartridge
by turning
the rewind
crank
clockwise
till
resistance
is
felt. When
advancing
the
film
the rewind
knobshould
turn counterclock'
wise. This is evidence
that the film is
loaded
correctly. lf it does
not, reloadthe
the
film correctly.
SETTING
FILM
SPEED
(ASA.'DIN)
The ASA(or DIN speed
ofthe film is
specified
on the film box or in the instruction
sheet
packed
with the fiim.
Pull
up and rotate
the
outer
rim
ofthe
shutter
diai
until
desired
ASA DIN number
ofthe
film
appears
in
the
window
on
thetop of the
shutter
speed
dial (Fig,
12 .
Also
rotate
film
type
reminder
dial
so that the
film
type
inserted
isaligned
with
the
indexmark
Fie.
13). Thiswill remind
you of the type of

t
=.
Fig. i3
'i
film
you
areusing.
SomeASA (DlN) numbers are represented
by
dots only. The chart below specifies
the ASA
(DlN)
numbers.
ASA Speed
200..t00.64.
l,l,I i
Fig. 14
DETERMINING
CORRECT
EXPOSURE
r. SHUTTER
SPEEDPRIORITYMETHOD
This is the easiest
and generally
most useful
method. To determine
correctexposure,
merely
follow
the procedure
outlinedbelow.
1. Selecta suitableshutterspeed. A guide
for
your referencefollows.
a) Set 1/1000 or -11500
sec.to stop action
outdoors,in brightsunshine.
b) Set tl25O sec,
for generalpurpose
photo-
graphy
outdoors,in bright
sunshine.
c) I1725
sec.outdoorson a hazy or cloudy
day.
tSoo
. . 8oo
tt
tl
|
250
|
000
40a25a
tl
32 20
o .400 c o
||
640 500 320250
30.
o 270.
Ittl
2928 2625
t6
0 t0
t
I
t2
33o
a
rt
32
3l
DIN Speed
24..21
. lg. t7.
f l i | |
ttrtl
2322 20 t8 t6
t5. 13.
ll
fl
ll
i4 t2
www.orphancameras.com

d) 1/60
sec.
outdoors
in
deep
shade.
e) 1/30
sec.
for dimly lit scenes
such as at
dusk
or indoors.
NOTE
: A tripod
should
beused
for shutter
speeds
lower
than 1/30sec.
(1/15^"1
sec,
B.)'
2. Set the Apertu
re Ring to a
n intermed
iate
position
such
as
5.6.
3. While
looking
through the viewfinder
focus
the lens,
and
then
gently
depress
the
Shutter
Retease
Button. The
diaphragm
blades
will
automatica
lly close
a
nd the viewf
inderwill
appear
slightly
darkened.Slightly
increase
pressure
onthe Shutter Release
Button and
metering
system will turn on; most likely
resu
lting in a movement of the ind
icator
need
levisible
with
inthe
viewf
inder.
4. lfthe indicator
needle
remains
stationary
at
the minus
position
(Fig.
I7), rotate
theAper-
'ture Ring
counterclockwise
until the needle
is
centered
between
theplus
and
minus
signs
;Fig. 15) ind
icating correct exposure,
a
nd
then
app,iy
additional
pressure
tothe
Shutter
Release
Button
to trip the
shutter.
NOTE
: lf the need
le ca
nnot be perfectly
centered (Fig. 15
, even after completely
rotating
theApertu
reRing
cou
nterclockwise,
a lower
shutter
speed
must
be
set
by
rotating
tneShutter
Speed
Dia
Iclockwise.
5. lfthe indicator
needle
rises
to the plusposi-
tion (Fig.
16 ind
icating
overexposure,
rotate
the Aperture Ring clockwise until it is
centered
between
the p!us
and minus
signs
r'Fig.
15).
Thentake
the
picture
by
increasing
pressure
on the Shutter.
Release
Button.
NOTE: lf the indicator
needle
remains
in
the plus position
,
Fig.
16
, eVen
after fully
rotating
the
Aperture
Ring
clockwise,
a
higher
sh
utter speed
must be set by rotating the
Sh
utterSpeed
D
iaI coil
nterclockwise'
NOTE: Correct
exposure
is determined
by
\i
*.!,
Fig. 18
Fig. 1
5Fig. 16 Fig,
17

centering
the ind
icator need
le between
the
plus
and
minus
signs(Fig.
15). correct
ex-
posure
ca
n be
set either before
or after ad-
va
ncing
thef
ilm.
2. APERTURE
PRIORITY
METHOD
occasionallyphotographers
wish to center
the
ind
icator need
le not by rotating the Aperture
Ring,
but by rotating the Shutter Speed
Dia
l.
This
method
is
used
to control
depth-of-f
ield
and
is easily accom
plished
by f
olrowing
the pro.
cedure
outlined
below.
1. Set
the desired
F-stop
on the ApertureRing
and
focus
the lens.
2. Gently
depress
the shutter Release
Button,
without tripping the' sh
utter, a
nd lock it
in the depressed
position by moving the
shutter Release
Button Lock Lever to the
right, with the middle finger of your right
hand.
3. with the shutter Release
Button locked in
the depressed
position, merely rotate the
shutter
speed
Dial
untilthe indicator
needle
is centered (Fig. 15). After the correct ex-
posu
re h
as been determ
ined, the shutter
Release
Button
may be unlocked
by moving
the Lock
Lever
to the left
NorE: whenthe shutterRelease
Button
is
locked
inthe depressedposition,
the shutter
Speed Dia
I can be freety rotated in the
TlLooo- 1
sec.
range
; however,
asa protec-
tion against
incorrect
exposu
re,the Shutter
Speed
Dial
cannot be set to 'r
B
" when
.the
Shutter
Ref
ease
Buttonisdepressed.
COUPLING
RANGE
OF
THE
BUILT.IN
METER
The
built-in
meter
of
your
chinon
cx
ll has
a
very broad range capabfe
of offering correct
exposure
inalmost
all photographic
situations.
However,
if the user
triesto set a shutterspeed
which
is
beyond
thecoupf
ing range
ofthe built-
in meter,
a red
warning
ff
ag
will
appear
between
the plus
and minus
signs
(Fig.
1g),
indicating
correct
exposure
cannot be obta
ined at that
shutter speed. To obta
in correct exposurea
higher
shutter
must
be
set
by
rotating
the
shut-
ter Speed
Dia
I counterclockwise
untif the red
warn
ing fIag disappears. For your reference,
the chart below indicates
the towest shutter
speed
that can beused
at different
film speeds
(ASA's). when setting a shutter speed lower
than that indicated
on thechart,
the red warn-
ing
flag
will
appear.
www.orphancameras.com

FOCUSING
Turn
the
focusing
ring
first
in
one
direction,
then
in the opposite
direction
until the microprism
disc in the centre of the image in the view-
finder
issharp
(Fig.2O).
The
lens
is now focus'
ed. The distance
scale
may alsobe used
for
focusing.' Estim
ate or measu
re the ca
mera-
to"subject
distance
in feet or in metres,
then
turn the focusing
ring
So
the figure represent'
ing
that distance
is
opposite
the index
line.
out of foc,us
RELEASING
THE
SHUTTER
Hold the cam
era as steady as possible
and
press
the shutter release
slowiy
and
smoothly'
When usingslower
speeds
ranging from 1/30
to L second
and " B
" (bulb)in
"poorly
lit areas,
use a tripod or other f
irm support to prevent
blurring
of the Picture.
BULts
The
Ii
B" setting
can
be
used
for long
exposures
at night, using
street lights or electric
signs,
or under
poor
lighting
conditions
when a flash
u
nit is not used.
in f
ocus
Fie.
20
10
Fig.
19

*ffi
ffiffi
Fig.
2I
UNLOADING
THE
CAMERA
When
the red
figure
" 20" or ,,36,, appears
in
theexposure
counter
window
arigned
with the
the index mark,
the end of the firm has been
reached.
Take
the
following
steps
for rewinding
the film
intothe cartridge.
(1) Unfold
cra
nkon rewind
knob
(F
ie.
2I).
Press in all the way the rewind release
button on camera bottom (Fjg.
22)
Turn rewind
crank
lever
clockwise.
Tension
is
felt as
thefilm isrewound
from the take-
up spool into the ca'ssette. Stop rewind-
ing
when
tension
is
released.
Open
cam
era-
back (by pulling
out rewind knob all the
way)
and
remove
thef
ilm.
Have
film processed
without
delay.
(2)
(3)
11
Fig. 22
www.orphancameras.com

DEPTHOFFIELD
A zone of the picture in front of and behind
your subject
will alsobe sharp. The depth
of
this zone depends
onthe aperture
selected. lf
you wish to know how much
of an areawill
be
sharp in the final picture,
it can be predeter'
mined
in two ways:
(A) Depth of Field Preview
Slide the AUTO/MANUAL
lever to '(
M
"
(Manual). Set the lens to the selected
,
aperture. This will enable
you
to preview
the area
of sharpness
inthe picture before
takingit.
(B) Depth of Field Scale (Fie. 23)
After setting the lensopeningand having
focused
onyoursubject,
the area
of sharp-
nessin front of and behind your subject
can be determined
on the Depth of Field
Scale. Locate on the Depth
of Field
Scale
the same two F numbers
corresponding
to
the aperture
you have set on the aperture
ring. The distance between these two F
numbers
onthe focusing
scalewill be the
area of sharpness
in your Picture.
Fig.23
L2

Fig.24
SELF
TIMER
Theself-timer
permits
the photographer
to get
into the picture. Place
camera on tripod or
otherfirm support ltripod socket is on bottom
of camera). Get
camera
ready
for exposure
as
usual. Push
down
self-timer
lever(Fig.2g.
Depress
shutterrelease
to start self-timer. Ex.
posure
will be made approximately
B seconds
afterthe release
hasbeen
pressed.
Fig.25
FLASH
PICTURES
Most types of flash bulbs and a.lso
electronic
flashcan beusedfor flashpictures.
When using
flash bulb No.
5, 58, 25,25B.,
MS,
M5B,
M2, M2B,
AG1,
6, 68, 8,connect
theflash
cord to flash socket " M
". When using ele-
ctronic
flash
or
SMflash
bulbs,
connect
the
f
lash
cord
to flash
socket
" X."(Fig.
25).
When
using
Nos.
5,58, M5 and
M5Bflash
bulbs
as well as electronic
flash,
Nos.
6,68, B flash
bulbsshutter speeds
from 1/30 to 1/125 sec.
arerecommended.
When
using
Nos.
M2,
M2B,
AG1,
AGlB,
SM
flash
bulbs shutter speeds
from 1/30 to 1/60 sec.
13
www.orphancameras.com

are
recommened.
Cordless
f
lash
units
areslipped
intothe accessory
shoe
onthe top of the eam'
era. The accessory
shoe may also
be utilized
for a flash unit havinga synchro
cord.
MIULTIPLE
EXPOSURE
To superimpose
two or moreexposures
on one
,negative,
makd the first exposure
in the normal
w?y,then,
withg-ut
moving
film transport lever,
slidethe multi6le-'exposure
lever (Fie.
26) as
far as it will €p to the left.
A red signal appears
in the cutoutwindow
in'
dicating
that the film transport lever can be
wound, but vgill
only set the shutter and not
transport
the'filrn.
. On releasing,
a second
ex'
posure
is made on the same
film frame' This
procedure
can be r:epeated
to obtain any num'
ber of exposureson one negative. lf the
multiple exposure
lever has beenset but is in
fact not required,
you.
can manually push it
back to cancel'its effect.
CHANGING
THE
LENS
A 55 mm lens is the proper focal length for
general purpose
picture
taking. Any Chinon
telephoto
andwide
angle
lens
canbe
used. To
L,4
removethe lens,
grip the lenswith one hand
and
thecamera
withthe other,
turning
thelens
counterclockwise
until it is removed.
To rep!ace
the lens,
turn clockwise
until
secured
in position.
IMPORTANT NOTE
When
installing
or removing
the 55 mm F/1'2
Chinon
lens
theshutter
rOiease
button
must
not
ber l,rck
G) position
or the focus
ring must be
turned
to a distance
setting
of lessthan O'9
M
(3feet) to avoid damage to the rear lens ele'
ment.
Fis.
26
Table of contents
Other CHINON Digital Camera manuals

