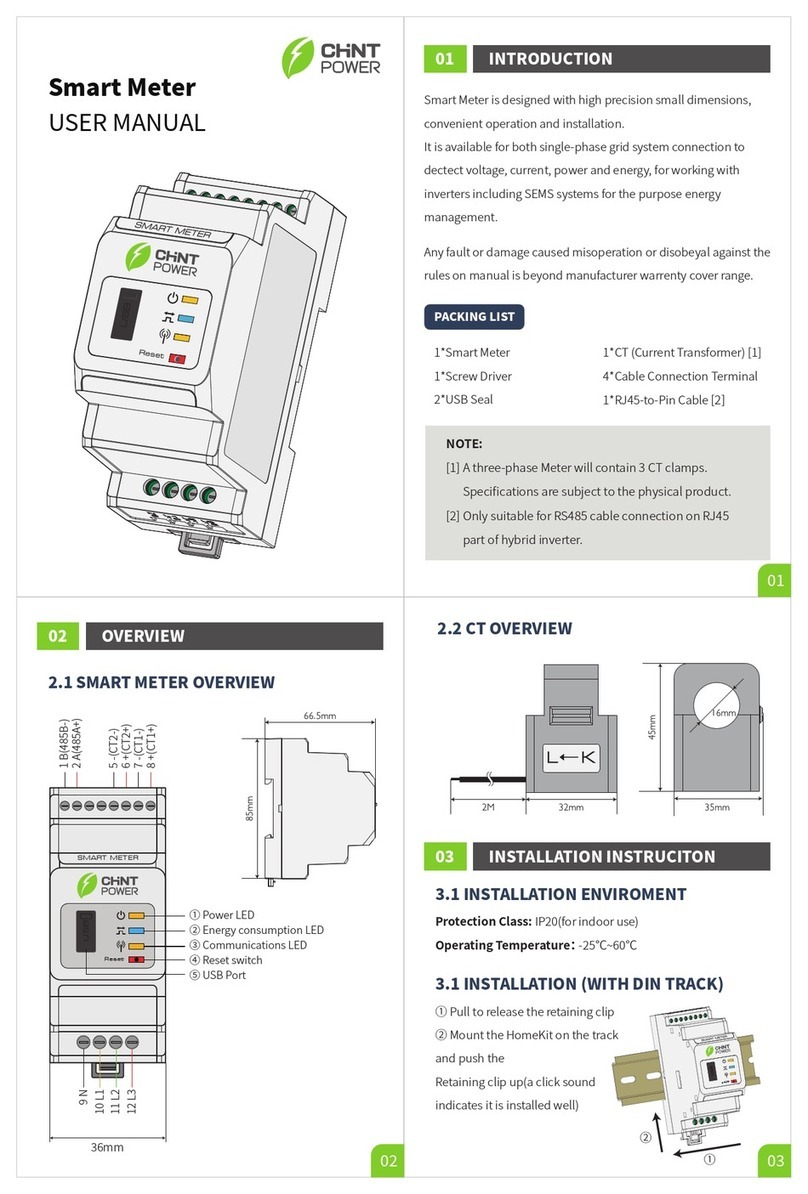
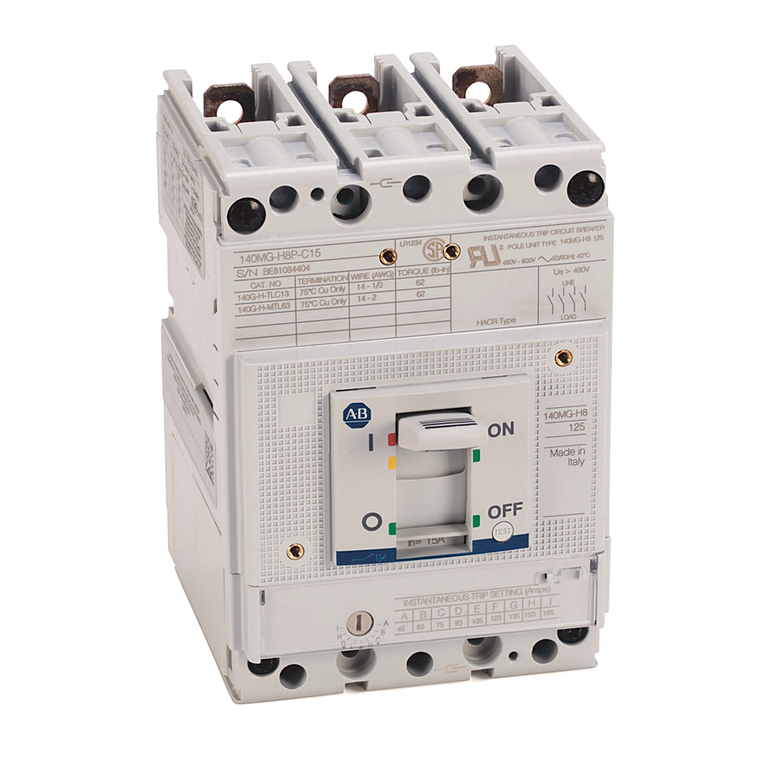
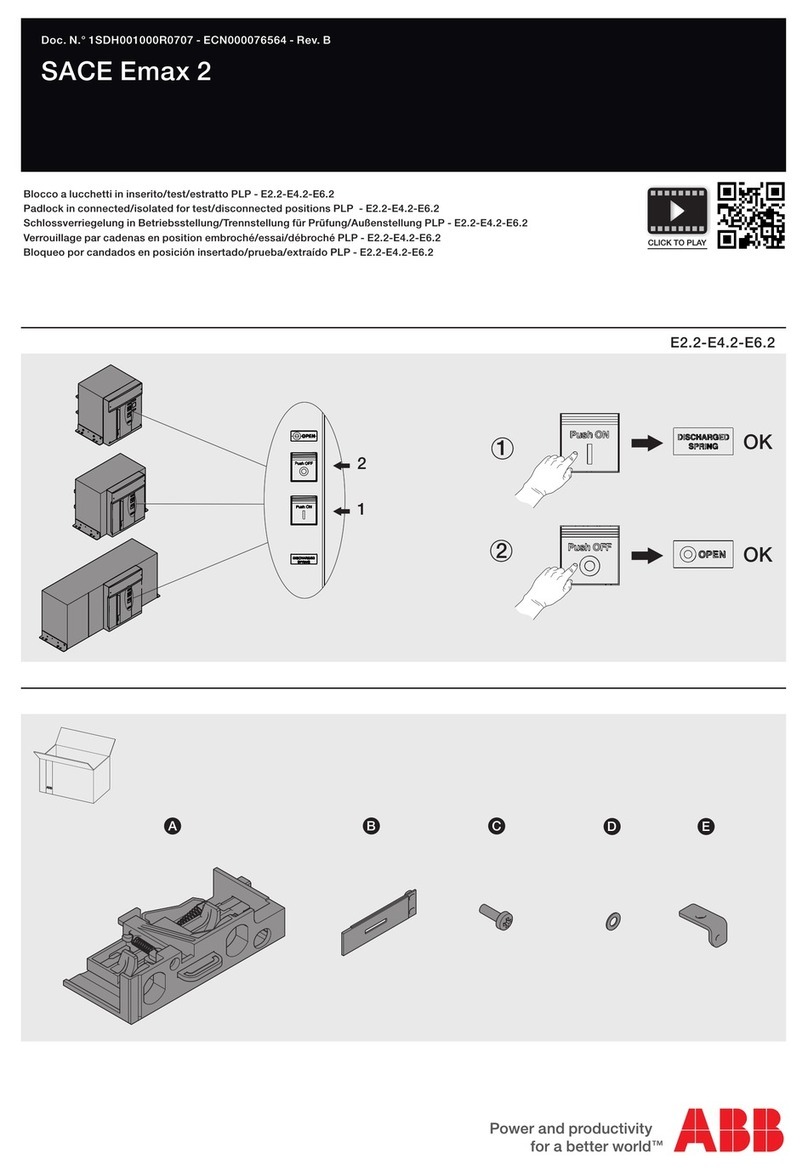
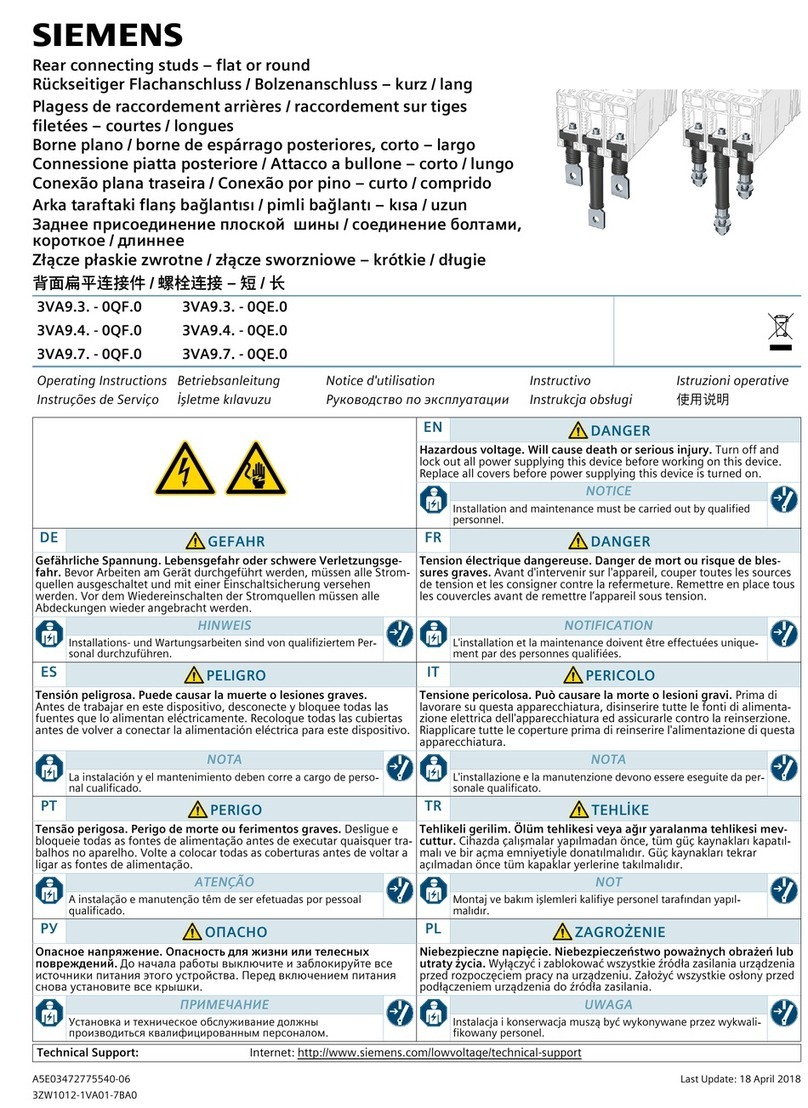
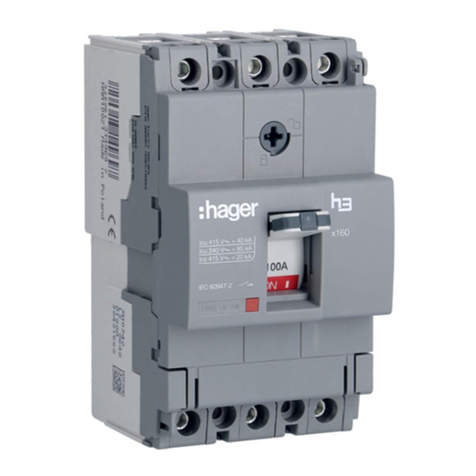
CHNT Power NXM Series User manual

NO:2021.04
Standard:IEC/EN 60947-2
NXM Series
Moulded-Case Circuit-Breaker
User Instructions

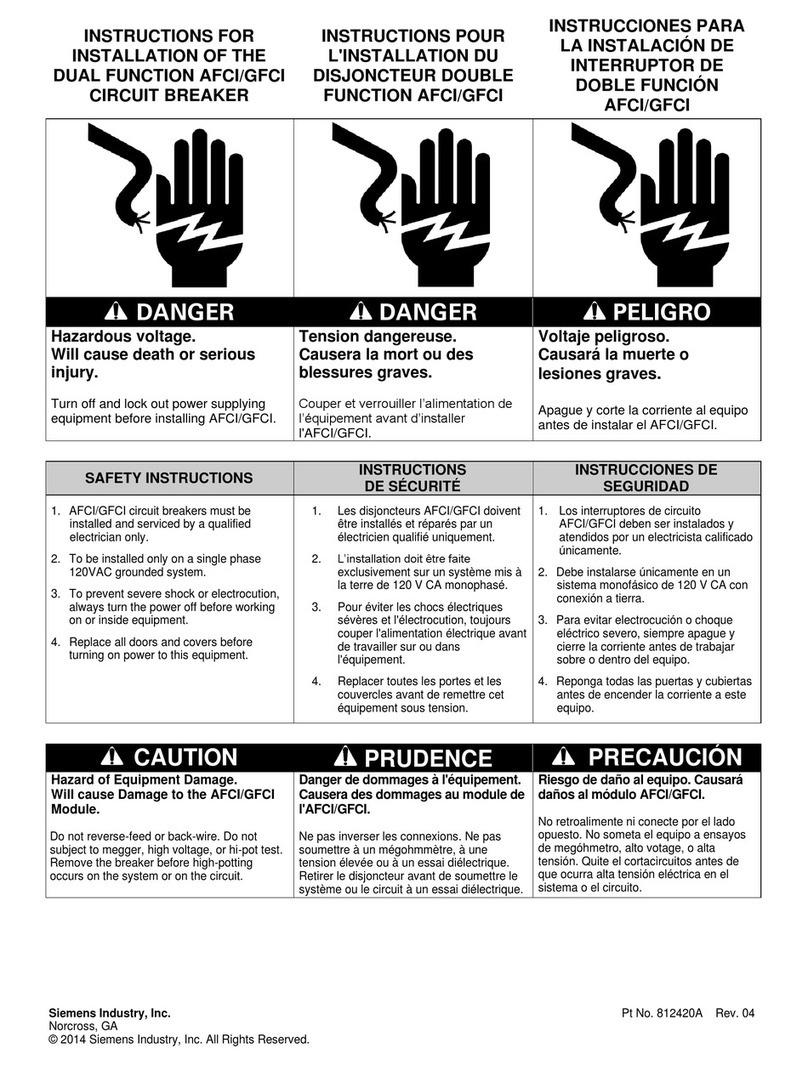
Safety Warning
1
2
3
4
Installation in any damp, condensed-phase environment with inflammable
and explosive gas is forbidden.Do not operate the product with wet hands.
You are prohibited from touching the conductive part when the product is
operating.
When the product is being installed or maintained, the power must be
switched off.
The product must not be installed in the place where gas medium can
corrode metal and damage insulation.
In order to avoid dangerous accidents, the installation and fixation of the
product must be carried out in strict accordance with the requirements of
the user instructions.
5
E M A
E U R

1
2
01
a) Ambient temperature for normal use: - 5 ℃ ~ + 40 ℃;
Note: if it is used within the range of - 35 ℃ ~ + 70 ℃, please consult with the
manufacturer
b) If the altitude exceeds 2000m, please consult with the manufacturer;
c) See the product sample for the inverse time lag, temperature compensation
curve and altitude derating curve of the product;
d) Pollution degree: degree 3;
e) Main circuit installation category: III;
f) Degrees of protection provided by enclosure: IP30 (except wiring terminals);
g) Rated insulation voltage Ui: 800V (NXM-63/160/125/250);
1000V (NXM-400/630/800/1000/1250/1600).
Use Information
Inspection and Test
Figure 1 Inspection
Tool
Cross screwdriver
1. Determine
product
technical
parameters;
2. Only
qualified and
professional
technicians are
allowed for
installation,
operation and
maintenance.
Type Screw Nut Flat
gasket
Spring
washer
PCS
2P 3P 4P
NXM-63
NXM-125
S
H
M4×62
M4×72
M4×45
M4×45
M4×90
M5×75
M5×75
M6×90
M5×140
2
-
2
2
-
-
-
-
-
4
4
4
4
4
4
4
4
4
4
4
4
4
4
NXM-160
NXM-250
NXM-400、NXM-630
NXM-800
NXM-1000
NXM-1250、NXM-1600
S
H

02
Smin
Xmin
25min
Xmin
Ensure
minimum
installation
distance
Figure 2 Minimum installation distance
Unit: mm
Type
NXM-63
NXM-125
NXM-160
NXM-250
NXM-400
NXM-630
NXM-800
NXM-1000
NXM-1250
NXM-1600
S X
50 25
100 50
①
Re-
triping
②
Making
③
Breaking
④
Making
⑤
Tripping
CLICK!
Figure 3 Test
3
Overall and Installation dimension
Under voltage
release
L
B
C
L1
E
J
E1
M
W3
W
F
2×φd
L
B
C
L1
E
J
E1
M
W4
W1
F
4×φd
A
2P 3P
Under voltage
release
Figure 4-1 NXM-63~250 front-panel wiring overall and installation dimension

03
Table 1 NXM-63 250 overall and installation dimension~
Figure 4-2 NXM-63~250 front-panel wiring overall and installation dimension
W3
L
B
C
L1
E
J
E1
M
W5
W2
F
6×φd
A1
Sectional view
of wiring
G
G1
H4
H3 H2
H1
Hmax
4P
Under voltage
release
Unit: mm
Overall
dimen-
sion
Dimen-
sion
Code
Specification
NXM-63S
NXM-125S
NXM-63H
NXM-125H NXM-160S NXM-160H NXM-250S NXM-250H
C
E
E1
F
G
G1
J
Hmax
H1
H2
H3
H4
L
L1
M
W
W1
86
55.5
27.5
23
17.5
8
17.5
88
51.7
24.5
29
16.5
7.5
25
102
56
30.5
29
23
10
25
90
71
64
21
21
100
81
74
31
31
96
75.5
62
112
91
77.5
98
77
62
23
123
102
87
24
135
121
49
56
78
24.5
24.5
155
135
50
63
90
24.5
165
145
101.5
78
105

04
Installa-
tion
dimen-
sion
W2
W3
W4
W5
A
A1
B
φd
103
25
50
75
25
50
117
4.2
120
30
60
90
30
60
130.5
4.5×6
140
35
70
105
35
70
126
4.5
Figure 5 NXM-400 1600 front-panel wiring overall and installation dimension~
L
B
C
L1
E
J
E1
M
W4
W1
F
4×φd
A
3P
W3
L
B
C
L1
E
J
E1
M
W5
W2
F
6×φd
A1
G
G1
4P
H4
H3 H2
H1
Hmax
Sectional view
of wiring
Under voltage release
Under voltage release
Table 2 NXM-400 1600 overall and installation dimension~
Unit: mm
Overall
dimen-
sion
Dimen-
sion
Code
Specification
NXM-400
NXM-630 NXM-800 NXM-1000 NXM-1250 NXM-1600
C
E
E1
F
G
G1
J
150
92
46
50
32.5
11.5
25
160
91
45
50
44.5
15
25
170
100
52
60
44.5
15
25
175
120
37.8
78
53
15
25
Dimen-
sion
Code
Specification
NXM-63S
NXM-125S
NXM-63H
NXM-125H NXM-160S NXM-160H NXM-250S NXM-250H
Table 1 (Continued)

05
W
P3
P2
P4
P1
W
φd1
W
W
M2
P2
P3
W W
Hmax
H1
H2
H3
H4
L
L1
M
W1
W2
W3
W4
W5
A
A1
B
φd
161
108.5
97.5
40.5
41.5
257
225
104
140
185
44
88
132
44
88
194
7
165
114
103.5
43
45
270
235
104
182
240
58
116
174
58
116
200
7
168
118
106
42
43
280
243
106
210
280
70
140
210
70
140
243
7.2
202
153
143
57
57
207
158
148
65
65
370
342
92.5
210
280
70
140
210
70
140
314
6
Installa-
tion
dimen-
sion
Figure 6 NXM-63~250 rear wiring
overall and installation dimension
Figure 7 NXM-400~800 rear wiring
overall and installation dimension
Dimen-
sion
Code
Specification
NXM-400
NXM-630 NXM-800 NXM-1000 NXM-1250 NXM-1600
Table 2 (Continued)

06
P6
P5
P6
P7
P5
P8
W
P2
P1
W
φd1
W
P10
L8
L4
L4
L7
L5
L5
L2
L6 L6
KK
Q
P9
4×φd2 6×φd2
Installation
diagram
Mounting plate hole
dimension (3P)
Mounting plate hole
dimension(4P)
M1
W
6×φD4×φd3
W
3P
B
L2
8×φD 6×φd3
W W W
AA
4P
B
L2
N
A
P6
P8
Figure 8 NXM-1000 rear wiring
overall and installation dimension
Figure 9 NXM series rear wiring
mounting plate hole dimension
Figure 10 NXM series plug-in wiring overall and installation dimension
Figure 11 NXM-63/125/400/
630/800/1000 plug-in structure Figure 12 NXM-160 plug-in structure
Figure 13 NXM-250 plug-in structure

07
Table 3 NXM series back-panel wiring overall and installation dimension
Unit: mm
Dimen-
sion
Overall
dimen-
sion
Installa-
tion
dimen-
sion
Code
Specification
NXM-63
NXM-125 NXM-160 NXM-250 NXM-400
NXM-630 NXM-800 NXM-1000
W
P1
P2
P3
P4
P5
P6
P7
P8
P9
P10
M2
φd1
M1
φd2
φD
L2
B
L4
L5
L6
L7
L8
K
Q
A
Φd3
25
——
67.5
100.5
——
44.5
50.5
——
——
8.5
29.5
M8
——
M6
5.5
11.8
121
117
92
144
3P:80
4P:106
75
159
3P:50
4P:75
60
25
4.5
30
——
63.5
96.5
——
——
75
——
135
13
38
M8
——
M10
8
11
135
130.5
106
167
3P:94
4P:124
——
——
3P:60
4P:90
72
30
4.5
35
——
67.5
108.5
——
77
95
132
150
13
47.5
M10
——
M10
6
12
147
126
108
184
3P:107
4P:142
——
——
3P:70
4P:105
76
35
4.5
44
40
58
75
93
88
111
——
——
25
60
——
φ12
M10
9
33
225
194
168
283
3P:142
4P:187
169
281
3P:88
4P:132
145
44
7
58
46
66
77
99
92
110
——
——
23
60
——
φ16
M12
9
40
235
200
168
302
3P:178
4P:236
170
300
3P:100
4P:166
124
58
7
70
64
84
——
——
143.5
158.5
——
——
27
87
——
φ16
M12
12
40
243
243
177
309
3P:214
4P:284
181
305
3P:90
4P:185
146
70
7

08
Installation
M8×16 10N·m
4
12.5
14.5
25.5
M8-6H
40.5
7.5
φ8.2
Cross sectional area : s
s(b×c)≥70
c≤5
11≤X≤13
φ8.5
a≤7.5
b≤16
a≤7.5
φ8.5
b≤16
M6×12 4N m
·
φ6.5
φ8.2
7
Cross sectional area : s
NXM-63:s(b×c)≥16
NXM-125:s(b×c)≥50
c≤4
11≤X≤13
φ6.5
a≤8
b≤17.5
a≤7
φ6.5
b≤17.5
Connect to breaker
25.5
40
4
17 4
12.5
M8×16 12N·m
Connect to breaker
23.5
φ10.5
φ8.5
6
6
21
62
40
10
Cross sectional area : s
NXM-250: s(b×c)≥120
c≤8
11≤X≤13
φ8.5
a≤10
b≤23.5
a≤10
φ8.5
b≤23.5
4
Installation and Wiring
Figure 14 NXM-63/NXM-125 connecting plate and wiring dimension
Figure 16 NXM-250 connecting plate and wiring dimension
Figure 15 NXM-160 connecting plate and wiring dimension
Figure 17 NXM-400 connecting plate and wiring dimension
Connect to breaker
Installation
Installation
Connect to breaker
30.5
30.5
16
43
43
70
70
11.5
11.5
φ10.5
φ10.5
φ14
φ14
8
Cross sectional area : s
s(b×c)≥240
c≤13.5
19≤X≤21
φ10.5
a≤11.5
b≤30.5
a≤11.5
φ10.5
b≤30.5
M10×30 30N m
·
Installation

09
30.5
30.5
16
43
43
70
70
11.5
11.5
φ10.5
φ10.5
φ14
φ14
8c≤13.5
19≤X≤21
φ10.5
a≤11.5
b≤30.5
a≤11.5
φ10.5
b≤30.5
Cross sectional area : s
wire
1 wire
2 wires
Copper-bar
s(b×c)≥370 s(b×c)≥400
s(b×c)≥185 s(b×c)≥200
M10×30 30N m
·
Installation
Figure 18 NXM-630 connecting plate and wiring dimension
Figure 20 NXM-1000 connecting plate and wiring dimension
Figure 19 NXM-800 connecting plate and wiring dimension
Figure 21 NXM-1250/ NXM-1600 connecting plate and wiring dimension
Connect to breaker
43
50
8.5
58
90 15
φ17
φ14
10
43
50
58
90 15
φ17
φ14 c≤20
19≤X≤21
φ14
a≤15
b≤43
Cross sectional area : s
1 wire
2 wires
s(b×c)≥600
s(b×c)≥300
M12×35 40N m
·
Installation
Connect to breaker
24 24
45
38
15
30
82
82
52
52
2525
77
h
5×φ11
1530
5×φ11
15
77
50
52
15
30
24
22
45
82
15
74
Unit: mm
Rated current
1600A
1250A/1000A
h
20
15
50
1530
M10×45(1000、1250)
M10×55(1600)30N m
·
Installation
Connect to breaker
Cross sectional area : s
s(b×c)≥480 s(b×c)≥500
s(b×c)≥240 s(b×c)≥250
43
14
10
58
90
15
φ14
φ14
φ17
58
90
15
43
c≤12
19≤X≤21
φ14
a≤15
b≤43
a≤15
φ14
b≤43
M12×35 40N m·
Installation
Connect to breaker
wire
1 wire
2 wires
Copper-bar

10
Electric operating
mechanismRated
control supply voltage
K
A
Electric operating
mechanismRated
control supply voltage
ON ON
TRIPPED TRIPPED
OFF OFF
PUSH TO TRIP PUSH TO TRIP
OFF OFF
RESET RESET
K
T
A
B
B2
B1
S4
S2
S1
P2
P1
Uc (+)
OFF
ON
(-)
Motor
driven
mechanism
5
Attachment Information
Figure22 -Motor driven mechanism overall and installation dimension
Figure 23 -Wring of motor diven mechanism (AC)
Table 4 NXM series motor riven mechanism overall and installation dimension
Unit: mm
Dimen-
sion
Overall
dimen-
sion
Code NXM-63
NXM-125 NXM-160 NXM-250 NXM-400
NXM-630 NXM-800 NXM-1000 NXM-1250
NXM-1600
Specification
K
B1
B2
T
A
B
74
102
51
92
25
117
90
116
53
97
30
130.5
90
116
60.5
97.5
35
142
130
176
88
154
44
194
130
176
88
153
58
200
130
176
88
154.5
70
243
130
176
88
156
70
314
Installa-
tion
dimen-
sion

11
( L Other sizes can be selected through
consultation with the manufacturer)
Breaker
150Min
N
18
30.5
L
Power
supply
Loop of
switching
on
Loop of
switching
off
F14
F12
QF
F11
L1 L3 N
Breaker
L5
Tripper
Ctrl
Schematic diagram of
handle installation
45
°
53
φ36
10
77
NXM-63/125/160/250/
400/630/800/1000
NXM-1250/1600
2×φ5.5
Figure 24 Manual operation mechanism installation dimension
Table 5 NXM Series manual operation mechanism installation dimension
Unit: mm
Size
code NXM-63
NXM-125 NXM-160 NXM-250 NXM-400
NXM-630 NXM-800 NXM-1000 NXM-1250
NXM-1600
Specification
N
L
53.5 61.5 63.5 98 97 97 68.5
65 95
Figure 25 Wiring of special tripper
for prepaid electricity meter Figure 26 Wiring of auxiliary contact

12
UC2 UC1 P1 P2
C1 C2
Power
supply
B14
B12
QF
B11
Power
supply
UC
Figure 30 Flash barrier or protective guard
① Flash barrier
shall be installed
before operation.
② Check if the
wiring is correct.
③ After
installation, the
insulation
resistance to the
ground shall not
be less than
10MΩ.
Insert in the direction of the arrow
on the flash barrier
Figure 27 Wiring
of alarm contact
Figure 29 Wiring
of shunt tripper
Figure 28 Wiring of
under voltage tripper
6
Environmental Protection
In order to protect the environment, the product or product parts should be
disposed of according to the industrial waste treatment process, or be sent to the
recycling station for assortment, dismantling and recycling.

QC PASS
Test date: Please see The packing
ZHEJIANG CHINT ELECTRICS CO., LTD.
NXM Series
Moulded-Case Circuit-Breaker
IEC/EN 60947-2
Check 17
13

NXM Series
Moulded-Case Circuit-Breaker
User Instructions
Zhejiang Chint Electrics Co., Ltd.
Add: No.1, CHINT Road, CHINT Industrial Zone,North Baixiang,
Yueqing, Zhejiang 325603,P.R.China
E-mail: global-sales@chint.com
Website: http://en.chint.com
This manual suits for next models
10
Table of contents
Other CHNT Power Circuit Breaker manuals
