manuals.online logo
Brands
  1. Home
  2. •
  3. Brands
  4. •
  5. CipherLab
  6. •
  7. Handheld
  8. •
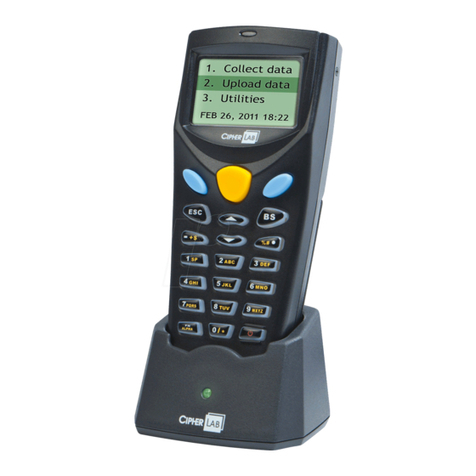
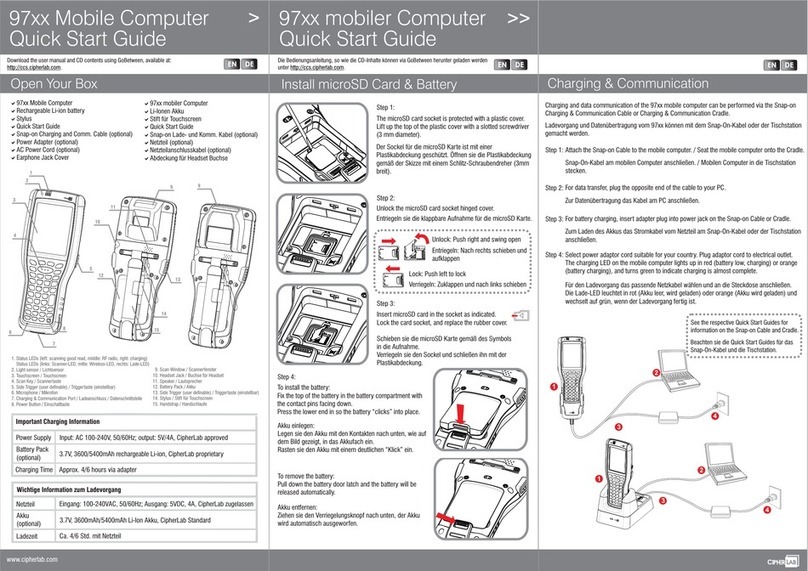
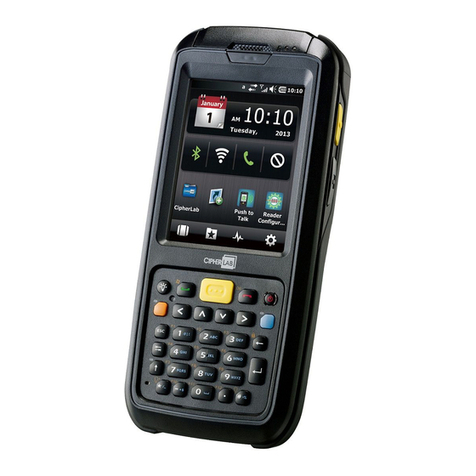
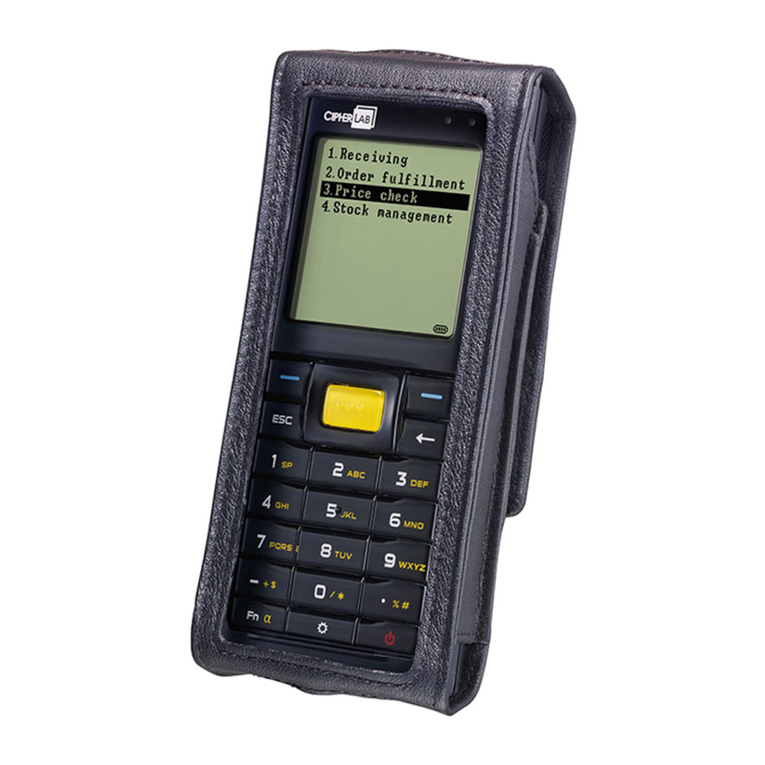
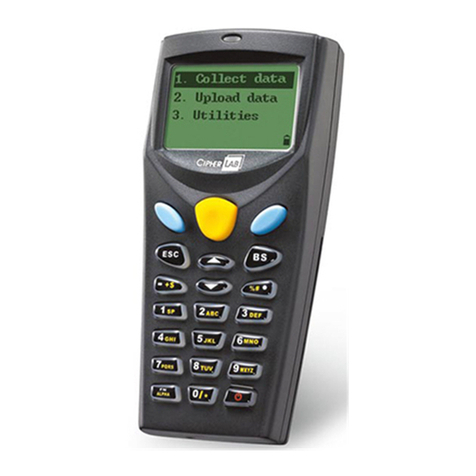
  9. CipherLab 8000 User manual

CipherLab 8000 User manual

8000 GPRS Cradle Installation
www.cipherlab.com Copyright 2008 CipherLab Co., Ltd.
Power Adapter
Power Tx/Rx Link
ESC
BS
SP
1
4
7
23
56
89
ABCDEF
GHIJKLMNO
PQRS TUVWXYZ
ALPHA
FN 0/*
-+$%#
In addition to charging the 8000 Series Mobile Computer, the GPRS cradle is specifically
designed for connecting the mobile computer to WWAN via GPRS or GSM data services.
Please contact your service provider for information on GSM/GPRS data services.
!Dual-Band EGSM900 and GSM1800
!GPRS multi-slot Class 10
!Full PBCCH support
!Comply with GSM phase 2/2+
!Output power — Class 4 (2W) for EGSM900 and Class 1 (1W) for GSM1800
!Power consumption
— GSM Mode: Typical 900 mA (including battery charging)
— GPRS Mode (Class 10): Typical 1200 mA (including battery charging)
Intended Purpose
Installation
Screw the antenna to the cradle. (Fig. 1) For initial configuration, skip steps 2 and 3.
Remove the rubber cover at the back of the cradle. (Fig. 2)
Insert your SIM card with contacts facing down, and replace the rubber cover. (Fig. 3)
Seat the mobile computer in the cradle. (Fig. 4)
Connect the power supply cord to a suitable power outlet. (Fig. 5)
The cradle's first LED will become red, indicating it is ready for charging the mobile
computer. (Fig. 6)
2
3
4
5
1
Note that you will need pliers to take out your SIM card when it is not desired in use.
SIM Card
Fig. 1
Fig. 2
8000 GPRS Cradle Installation
www.cipherlab.com Copyright 2008 CipherLab Co., Ltd.
Power Adapter
Power Tx/Rx Link
ESC
BS
SP
1
4
7
23
56
89
ABCDEF
GHIJKLMNO
PQRS TUVWXYZ
ALPHA
FN 0/*
-+$%#
In addition to charging the 8000 Series Mobile Computer, the GPRS cradle is specifically
designed for connecting the mobile computer to WWAN via GPRS or GSM data services.
Please contact your service provider for information on GSM/GPRS data services.
!Dual-Band EGSM900 and GSM1800
!GPRS multi-slot Class 10
!Full PBCCH support
!Comply with GSM phase 2/2+
!Output power — Class 4 (2W) for EGSM900 and Class 1 (1W) for GSM1800
!Power consumption
— GSM Mode: Typical 900 mA (including battery charging)
— GPRS Mode (Class 10): Typical 1200 mA (including battery charging)
Intended Purpose
Installation
Screw the antenna to the cradle. (Fig. 1) For initial configuration, skip steps 2 and 3.
Remove the rubber cover at the back of the cradle. (Fig. 2)
Insert your SIM card with contacts facing down, and replace the rubber cover. (Fig. 3)
Seat the mobile computer in the cradle. (Fig. 4)
Connect the power supply cord to a suitable power outlet. (Fig. 5)
The cradle's first LED will become red, indicating it is ready for charging the mobile
computer. (Fig. 6)
2
3
4
5
1
Note that you will need pliers to take out your SIM card when it is not desired in use.
SIM Card
Fig. 1 Fig. 2
Fig. 3 Fig. 4 Fig. 5
6
Fig. 6
ESC
BS
SP
1
4
7
23
56
89
ABCDEF
GHIJKLMNO
PQRS TUVWXYZ
ALPHA
FN 0/*
-+$%#
PowerTx/RxLink
Power Tx/Rx Link
ESC
BS
SP
1
4
7
23
56
89
ABCDEF
GHIJKLMNO
PQRS TUVWXYZ
ALPHA
FN 0/*
-+$%#
PowerTx/RxLink
8000 GPRS Cradle Installation
www.cipherlab.com Copyright 2008 CipherLab Co., Ltd.
Power Adapter
Power Tx/Rx Link
ESC
BS
SP
1
4
7
23
56
89
ABCDEF
GHIJKLMNO
PQRS TUVWXYZ
ALPHA
FN 0/*
-+$%#
In addition to charging the 8000 Series Mobile Computer, the GPRS cradle is specifically
designed for connecting the mobile computer to WWAN via GPRS or GSM data services.
Please contact your service provider for information on GSM/GPRS data services.
!Dual-Band EGSM900 and GSM1800
!GPRS multi-slot Class 10
!Full PBCCH support
!Comply with GSM phase 2/2+
!Output power — Class 4 (2W) for EGSM900 and Class 1 (1W) for GSM1800
!Power consumption
— GSM Mode: Typical 900 mA (including battery charging)
— GPRS Mode (Class 10): Typical 1200 mA (including battery charging)
Intended Purpose
Installation
Screw the antenna to the cradle. (Fig. 1) For initial configuration, skip steps 2 and 3.
Remove the rubber cover at the back of the cradle. (Fig. 2)
Insert your SIM card with contacts facing down, and replace the rubber cover. (Fig. 3)
Seat the mobile computer in the cradle. (Fig. 4)
Connect the power supply cord to a suitable power outlet. (Fig. 5)
The cradle's first LED will become red, indicating it is ready for charging the mobile
computer. (Fig. 6)
2
3
4
5
1
Note that you will need pliers to take out your SIM card when it is not desired in use.
SIM Card
Fig. 1 Fig. 2 Fig. 3 Fig. 4 Fig. 5
6
Fig. 6
ESC
BS
SP
1
4
7
23
56
89
ABCDEF
GHIJKLMNO
PQRS TUVWXYZ
ALPHA
FN 0/*
-+$%#
PowerTx/RxLink
Power Tx/Rx Link
ESC
BS
SP
1
4
7
23
56
89
ABCDEF
GHIJKLMNO
PQRS TUVWXYZ
ALPHA
FN 0/*
-+$%#
PowerTx/RxLink
Specifications
Notifications
Electrical Characteristics
Environmental Characteristics
Certification
Output AC 100~240 V, 50/60 Hz
— DC 5V, Maximum (peak) 2000 mA
Input —
Operating -10°C ~ 60°C Storage -20°C ~ 70°C
Operating 10% ~ 90% Storage 5% ~ 95%
CE
SRMC, MII
Temperature
Humidity (non-condensing)
Europe
China
LED Status Meaning
Solid red
Off
Flashing green
Off
Flashing green
Solid green
Off
Power ON
Power OFF
Transmitting/receiving data
No activity
Dialing out
Connected
Disconnected
Power
Tx/Rx
Link
8000 GPRS Cradle Installation
www.cipherlab.com Version 1.10
How It Works
2
3
5
1
6
7
8
Referring to the flow chart on the left, LED 2 and LED 3 are used to indicate a specific stage of initialization,
data connection, as well as firmware download. They are explained below (by number).
Initializing —After powering on, the Tx/Rx and Link LEDs will flash by turns at the time interval of 0.25 seconds
for about 30 seconds, indicating the cradle is in initialization process.
Initialization OK —If initialization is done successfully, the Link LED will flash at the time interval of 1 second,
Waiting for AT commands.
Initialization NG —If initialization fails, the Tx/Rx LED will flash at the time interval of 0.5 seconds, indicating an
error occurs. For example, it might fail to pass PIN authentication, the signal strength is weak for the GSM network, the
Access Point name is incorrect, etc.
For details on the specific initialization error, use "AT+ERR?" to get the error code. Although initialization fails, the cradle
can still accept AT commands. In case of the "ATDT" command, it will re-initialize before dialing out.
Dialing out —When in Dial mode ("ATDT"), the Link LED will flash at the time interval of 0.3 seconds for about 20
seconds.
Connected —When in Dial mode ("ATDT"), the Link LED will be green after successfully establishing a connection.
Data Transmission —When in Dial mode ("ATDT"), the Tx/Rx LED will flash as long as data transmission occurs.
Download Ready —When in Download mode ("AT+DOWNLOAD"), the Tx/Rx and Link LEDs will flash by turns to
indicate the cradle is ready.
Downloading —When in Download mode ("AT+DOWNLOAD"), the Tx/Rx and Link LEDs will flash simultaneously to
indicate downloading is in process.








How to upgrade firmware?







Connect a spare 8000 cradle to your computer and make sure its baud rate is 57,600 bps. If not, adjust the DIP
switch. (Fig. 1)
Hold this spare cradle upside-down so that its IR port is facing to the IR port of the 8000 GPRS cradle. Note that
you must connect the power supply cord of the two cradles. (Fig. 2)
Run HyperTerminal on your computer. Type "AT+DOWNLOAD"and press the [Enter] key.
The Tx/Rx and Link LEDs will flash simultaneously. The GPRS cradle is ready for upgrading firmware. (Fig. 3)
Exit HyperTerminal, and run CipherLab download utility, such as ProgLoad.exe on your computer.
Downloading will be in progress as long as the two LEDs are flashing simultaneously.
The 8000 GPRS cradle will restart itself automatically upon completion of program download.
Fig. 1 Fig. 2 Fig. 3
Powering on the cradle Initializing...Initializing... Initialization
done?
Dial mode
(ATDT...) Configuration mode Download mode
(AT+DOWNLOAD)
Waiting for AT
commands...
Other AT commands Downloading...
Downloading OK
Initialization
done?
GPRS Connection
"ATDTXXX.XXX.XXX.XXX: KKKK"
"ATDT[HostName: Port]"
GSM Connection
"ATDT(phone number)"
Dialing out...
Connected
Data transmission
Remote
hangs up?
Escape
sequence
<+++>?
OK
message
NO CARRIER message
Re-initializing...
Flow Chart
Yes
No
No
Yes
No
No
YesYes
4
Power Tx/Rx Link
PowerTx/RxLink
MR
TD
RD
MRTDRD
AlcorMicroAlcorMicro

Other manuals for 8000

10

Other CipherLab Handheld manuals

CipherLab RK95 User manual

CipherLab

CipherLab RK95 User manual

CipherLab 9300 Series User manual

CipherLab

CipherLab 9300 Series User manual

CipherLab RS30 User manual

CipherLab

CipherLab RS30 User manual

CipherLab 80 0 Series User manual

CipherLab

CipherLab 80 0 Series User manual

CipherLab 8000 User manual

CipherLab

CipherLab 8000 User manual

CipherLab CP50 G Assembly instructions

CipherLab

CipherLab CP50 G Assembly instructions

CipherLab 8300 User manual

CipherLab

CipherLab 8300 User manual

CipherLab 9400CE User manual

CipherLab

CipherLab 9400CE User manual

CipherLab 8300 User manual

CipherLab

CipherLab 8300 User manual

CipherLab 8000 User manual

CipherLab

CipherLab 8000 User manual

CipherLab RS51 User manual

CipherLab

CipherLab RS51 User manual

CipherLab 8700 Series User manual

CipherLab

CipherLab 8700 Series User manual

CipherLab 9400 Series User manual

CipherLab

CipherLab 9400 Series User manual

CipherLab 8600 User manual

CipherLab

CipherLab 8600 User manual

CipherLab 9700 User manual

CipherLab

CipherLab 9700 User manual

CipherLab 8001 User manual

CipherLab

CipherLab 8001 User manual

CipherLab 8200 User manual

CipherLab

CipherLab 8200 User manual

CipherLab 9700 User manual

CipherLab

CipherLab 9700 User manual

CipherLab 9500PPC User manual

CipherLab

CipherLab 9500PPC User manual

CipherLab 8200 User manual

CipherLab

CipherLab 8200 User manual

CipherLab 8400 Series User manual

CipherLab

CipherLab 8400 Series User manual

CipherLab 9300 Series User manual

CipherLab

CipherLab 9300 Series User manual

CipherLab 9300 Series User manual

CipherLab

CipherLab 9300 Series User manual

CipherLab RS50 User manual

CipherLab

CipherLab RS50 User manual

Popular Handheld manuals by other brands

Rohde & Schwarz R&S FPH user manual

Rohde & Schwarz

Rohde & Schwarz R&S FPH user manual

Gis T21 Series quick start guide

Gis

Gis T21 Series quick start guide

Balluff BIS V-830-3-011-B-000 Condensed guide

Balluff

Balluff BIS V-830-3-011-B-000 Condensed guide

Casio DT-X200 Series user guide
Casio

Casio DT-X200 Series user guide

Newland NLS-PT980-II Series user guide

Newland

Newland NLS-PT980-II Series user guide

Sony CLIE PEG-UX40 Frequently asked questions

Sony

Sony CLIE PEG-UX40 Frequently asked questions

Juniper Archer reference guide

Juniper

Juniper Archer reference guide

Nokia 6235 troubleshooting guide

Nokia

Nokia 6235 troubleshooting guide

Datastrip DSV3-SP user manual

Datastrip

Datastrip DSV3-SP user manual

Sharp UP-X200 Hardware operation manual

Sharp

Sharp UP-X200 Hardware operation manual

Samsung SGH-i700 Series Quick reference guide

Samsung

Samsung SGH-i700 Series Quick reference guide

Honeywell Dolphin 60s user manual

Honeywell

Honeywell Dolphin 60s user manual

Balluff BIS M-87 user guide

Balluff

Balluff BIS M-87 user guide

Acer n20 quick guide

Acer

Acer n20 quick guide

CHD Five quick reference

CHD

CHD Five quick reference

Cingular 8525 Getting started guide

Cingular

Cingular 8525 Getting started guide

Samsung Ultra-Mobile NP-Q1-V002 brochure

Samsung

Samsung Ultra-Mobile NP-Q1-V002 brochure

Motorola MC9500-K - Win Mobile 6.1 806 MHz Application guide

Motorola

Motorola MC9500-K - Win Mobile 6.1 806 MHz Application guide

manuals.online logo
manuals.online logoBrands
  • About & Mission
  • Contact us
  • Privacy Policy
  • Terms and Conditions

Copyright 2025 Manuals.Online. All Rights Reserved.