manuals.online logo
Brands
  1. Home
  2. •
  3. Brands
  4. •
  5. Cisco
  6. •
  7. Network Router
  8. •
  9. Cisco RVS4000 - Gigabit Security Router User manual

Cisco RVS4000 - Gigabit Security Router User manual

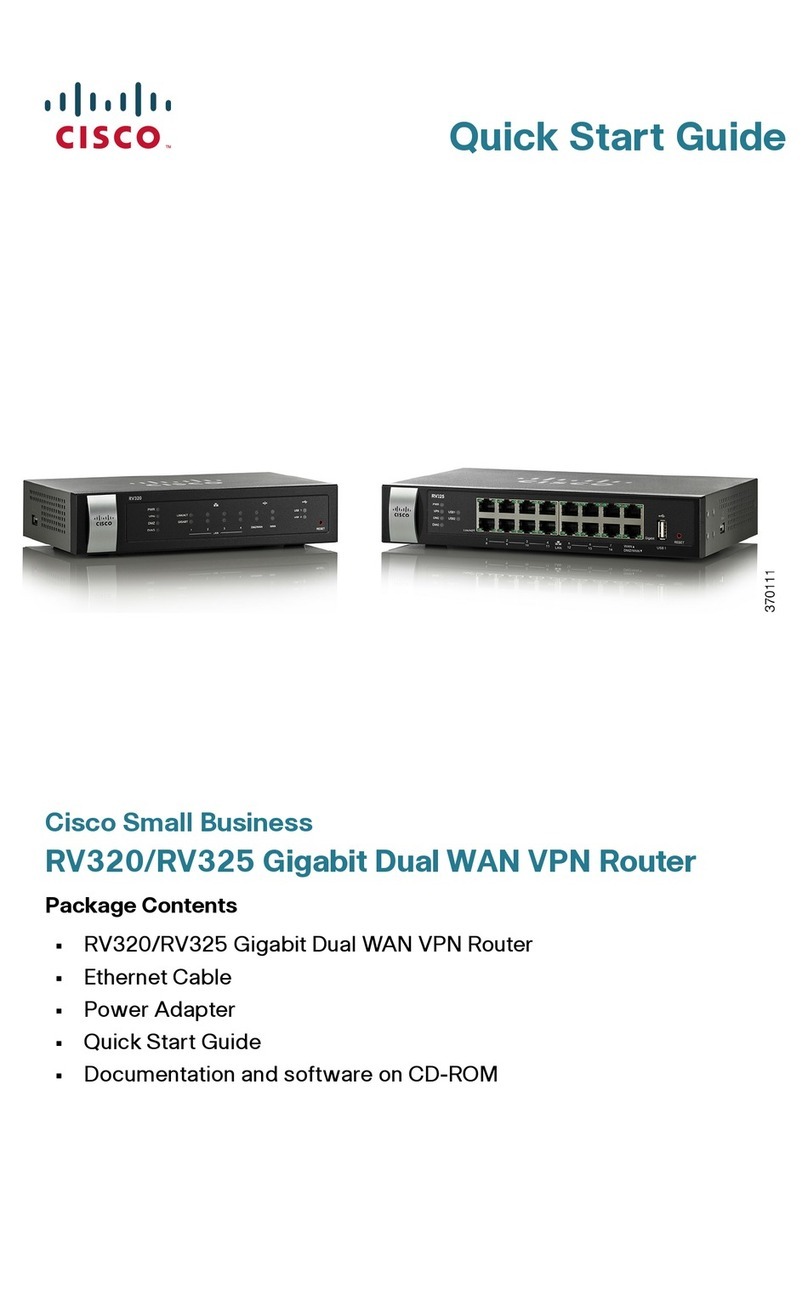
Quick Start Guide
Cisco Small Business
Model RVS4000
4-Port Gigabit Security Router with VPN
Package Contents
• RVS4000 Router
•NetworkCable
• Power Adapter
•Stands
•QuickStartGuide
• Software and Documentation on CD-ROM
Product Overview
Thank you for choosing the Cisco RVS4000 4-Port Gigabit Security Router with
VPN. The RVS4000 Router is an advanced Internet-sharing network solution for
your small business needs. Like any router, it lets multiple computers in your
office share an Internet connection.
This router also features a built-in 4-port full-duplex 10/100/1000 Ethernet
switch to connect four PCs directly, or you can connect more hubs and switches
to create as big a network as you need.
The Virtual Private Network (VPN) capability creates encrypted “tunnels”
through the Internet, allowing users to securely connect into your office
network from offsite.
Front Panel
The LEDs are on the front panel of the router.
POWER LED—Lights up green to indicate the router is powered on. The LED
flashes when the router is running a diagnostic test.
DIAG LED—If this light is off, the system is ready. The Diag LEDblinks red during
firmware upgrades.
IPS LED—The IPS LED lights up when the Intrusion Prevention System (IPS)
function is enabled. If the LED is off, then IPS functions are disabled. The IPS LED
flashes green when an external attack is detected. It flashes red when an
internal attack is detected.
ETHERNET Port LEDs (1-4)—For each LAN port, there are three LEDs. If a port
LED is continuously lit green, the router is connected to a device at the speed
indicated through the corresponding port (1, 2, 3, or 4). The LED flashes green
when a router is actively sending or receiving data on that port.
1
INTERNET LED—The Internet LED lights up green to indicate the line speed of
the device attached to the Internet port. If the router is connected to a cable or
DSL modem, typically the 100 LED will be the only LED lit up, indicating
100 Mbps. Flashing indicates activity.
Back Panel
The Ethernet ports, Internet port, Reset button, and Power port are on the back
panel of the router.
RESET Button—The Reset button can be used in two ways:
• If the router is having problems connecting to the Internet, press the Reset
button for just a second with a paper clip or a pencil tip. This is similar to
pressing the reset button on your PC to reboot it.
• If you are experiencing extreme problems with the router and have tried all
other troubleshooting measures, press and hold in the Reset button for
10 seconds. This will restore the factory defaults and clear all of the router
settings, such as port forwarding or a new password.
INTERNET Port—Provides a WAN connection to a cable modem or DSL
modem.
ETHERNET Ports (1-4)—Provide a LAN connection to network devices, such
as PCs, print servers, or additional switches.
POWER Port—Connects the router to power via the supplied AC power
adapter.
Placement Options
You can place the router horizontally on the rubber feet, mount it in the stand, or
mount it on the wall.
Desktop Option
For desktop placement, place the Cisco RVS4000 router horizontally on a
surface so it sits on its four rubber feet.
Stand Option
To install the router vertically in the supplied stands, follow the steps below.
To place the router vertically, follow these steps.
STEP 1Locate the left side panel of the router.
STEP 2With the two large prongs of one of the stands facing outward, insert
the short prongs into the little slots in the router and push the stand
upward until the stand snaps into place.
274946
POWER DIAG IPS ETHERNET
RVS4000
10
100
1000
1 2 3 4
INTERNET
STEP 3Repeat step 2 with the other stand.
Wall Option
To mount the Cisco RVS4000 router on the wall, follow these steps.
STEP 1Determine where you want to mount the router and install two
screws (not supplied) that are 2-9/16 in. apart (approximately
64.5 mm).
STEP 2With the back panel pointing up (if installing vertically), line up the
router so that the wall-mount crisscross slots on the bottom of the
access point line up with the two screws.
STEP 3Place the wall-mount slots over the screws and slide the router down
until the screws fit snugly into the wall-mount slots.
193817
Wall
mount
slots
2-9/16
Americas Headquarters
Cisco Systems, Inc.
170 West Tasman Drive
San Jose, CA 95134-1706
USA
http://www.cisco.com
Tel: 408 526-4000
800 553-NETS (6387)
Fax: 408 527-0883
Cisco, Cisco Systems, the Cisco logo, and the Cisco Systems logo are registered trademarks or
trademarks of Cisco Systems, Inc. and/or its affiliates in the United States and certain other
countries. All other trademarks mentioned in this document or Website are the property of their
respective owners. The use of the word partner does not imply a partnership relationship between
Cisco and any other company. (0705R)
© 2009 Cisco Systems, Inc. All rights reserved.
Printed in the USA on recycled paper containing 10% postconsumer waste.
78-18969-01
Before You Begin
To prepare the router for installation do the following:
• Obtain the setup information for your specific type of Internet connection
from your Internet Service Provider (ISP).
• Power off all of your network hardware, including the router, PCs, and cable
modem or DSL modem.
2
Installation
Perform the steps in this section to install the hardware.
STEP 1Connect one end of an Ethernet network cable to one of the LAN
ports (labeled 1-4) on the back of the router. Connect the other end
to an Ethernet port on a PC.
STEP 2Repeat step 1 to connect up to four PCs, switches, or other network
devices to the router.
STEP 3Connect an Ethernet network cable from your cable modem or DSL
modem to the Internet port on the back panel of the router.
STEP 4Power on the cable or DSL modem.
3
STEP 5Connect the power adapter to the router’s Power port and plug the
other end into an electrical outlet.
STEP 6The Power and Internet LEDs on the front panel will light up green as
soon as the power adapter is connected.
STEP 7Power on the PCs.
The router hardware installation is now complete.
Configure the Router
To configure the RVS4000, plug a PC into the router and launch the web-based
configuration utility as follows.
NOTE Before setting up the router, make sure your PCs are
conf igured to obtain an IP (or TCP/IP ) address automatically
from the router.
STEP 1Launch a web browser, such as Internet Explorer or Mozilla Firefox.
STEP 2In the Address field enter http://192.168.1.1 and press Enter.
STEP 3In the User Name and Password fields, enter admin.
The default user name and password is admin.
4
STEP 4Click OK.
For added security, you should later set a new password using the
Administration > Management window of the web-based utility.
STEP 5The web-based utility will appear with the Setup menu and Summary
selected. Click WAN under the Setup menu.
STEP 6If requested by your ISP (usually cable ISPs), complete the Host Name
and Domain Name fields, and the MTU and MTU Size fields.
Otherwise, leave the defaults.
STEP 7In the WAN screen, choose an Internet Connection Type from the
drop-down menu. Depending on which Internet connection type you
select, addtional setup may be required.
The Internet Connection Types are:
Automatic Configuration - DHCP: If you are connecting through DHCP
or a dynamic IP address from your ISP, keep this default setting.
Static IP: If your ISP assigns you a static IP address, select Static IP
from the drop-down menu. Complete the Internet IP Address, Subnet
Mask, Default Gateway, and DNS fields. Enter at least one DNS
address.
PPPoE: If you are connecting through PPPoE, select PPPoE from the
drop-down menu. Complete the User Name and Password fields.
PPTP: PPTP is a service used in Europe only. If you are using a PPTP
connection, check with your ISP for the necessary setup information.
Heartbeat Signal: Heartbeat Signal is used primarily in Australia.
Check with your ISP for the necessary setup information.
L2TP: L2TP is used mostly in Europe. Check with your ISP for the
necessary setup information.
STEP 8When you are finished entering your Internet connection settings, click
Save.
STEP 9Restart or power on your PC to obtain the new router setting.
STEP 10 Test the setup by opening your web browser from any computer and
entering http://www.cisco.com/smb.
Congratulations! The installation of the router is complete.
NOTE For more information about advanced settings and security
options, refer to the
Cisco
RVS4000 4-Por t Gigabit Security
Router with VPN Administration Guide on your CD-ROM. You
can also access this guide and other related documentation
on Cisco.com, as indicated in the next section.
Where to Go from Here
Resource Location
Te c h n i c a l
Documentation
http://www.cisco.com/en/US/products/ps9923/
tsd_products_support_series_home.html
Customer Support www.cisco.com/en/US/support/
tsd_cisco_small_business_support_center_contacts.
html
Open Source License
Notices
www.cisco.com/go/osln
Regulatory
Compliance and
Safety Information
www.cisco.com/en/US/products/ps9923/
tsd_products_support_series_home.html
Warranty Information www.cisco.com/go/warranty
Cisco Partner Central
site for Small Business
www.cisco.com/web/partners/sell/smb
5

Other manuals for RVS4000 - Gigabit Security Router

3

Other Cisco Network Router manuals

Cisco Linksys SFE2000 Instruction Manual

Cisco

Cisco Linksys SFE2000 Instruction Manual

Cisco 520-T1 - Small Business Pro SR Secure Router User manual

Cisco

Cisco 520-T1 - Small Business Pro SR Secure Router User manual

Cisco 3800 Series User manual

Cisco

Cisco 3800 Series User manual

Cisco Cisco 760 Series User manual

Cisco

Cisco Cisco 760 Series User manual

Cisco IOS Router User manual

Cisco

Cisco IOS Router User manual

Cisco Linksys SE2800 User manual

Cisco

Cisco Linksys SE2800 User manual

Cisco IR809 User manual

Cisco

Cisco IR809 User manual

Cisco IE 3000 User manual

Cisco

Cisco IE 3000 User manual

Cisco RV180 User manual

Cisco

Cisco RV180 User manual

Cisco 700 series User manual

Cisco

Cisco 700 series User manual

Cisco CISCO7301 Original instructions

Cisco

Cisco CISCO7301 Original instructions

Cisco 850 Series User manual

Cisco

Cisco 850 Series User manual

Cisco CVR100W User manual

Cisco

Cisco CVR100W User manual

Cisco ASR 1000 Series Operator's manual

Cisco

Cisco ASR 1000 Series Operator's manual

Cisco ASR 1013 User manual

Cisco

Cisco ASR 1013 User manual

Cisco NCS 540 Series Installation manual

Cisco

Cisco NCS 540 Series Installation manual

Cisco ASR 1000 Series User manual

Cisco

Cisco ASR 1000 Series User manual

Cisco CRS User manual

Cisco

Cisco CRS User manual

Cisco 3640 Series User manual

Cisco

Cisco 3640 Series User manual

Cisco RV130 User manual

Cisco

Cisco RV130 User manual

Cisco E-Series User manual

Cisco

Cisco E-Series User manual

Cisco SB 106 User manual

Cisco

Cisco SB 106 User manual

Cisco Catalyst 2924M XL Guide

Cisco

Cisco Catalyst 2924M XL Guide

Cisco ASR 1000 Series User manual

Cisco

Cisco ASR 1000 Series User manual

Popular Network Router manuals by other brands

Aruba MSR1200 installation guide

Aruba

Aruba MSR1200 installation guide

EtherWAN EX94000 quick start guide

EtherWAN

EtherWAN EX94000 quick start guide

Calix BLAST u4g installation guide

Calix

Calix BLAST u4g installation guide

Advantech ICR-2631 user manual

Advantech

Advantech ICR-2631 user manual

D-Link DES-3225G Series user guide

D-Link

D-Link DES-3225G Series user guide

ZyXEL Communications VMG8623-T50B quick start guide

ZyXEL Communications

ZyXEL Communications VMG8623-T50B quick start guide

Motorola CPEI 775 Series user manual

Motorola

Motorola CPEI 775 Series user manual

MikroTik 750/GL user manual

MikroTik

MikroTik 750/GL user manual

Belkin F5D52314 - Cable/DSL Gateway Router user manual

Belkin

Belkin F5D52314 - Cable/DSL Gateway Router user manual

BCDVideo BCD-RGD-804P-MT user guide

BCDVideo

BCDVideo BCD-RGD-804P-MT user guide

H3C S5500-HI Switch Series Mpls configuration guide

H3C

H3C S5500-HI Switch Series Mpls configuration guide

Sun Microsystems Virtual Tape Library user guide

Sun Microsystems

Sun Microsystems Virtual Tape Library user guide

D-Link DWR Series Configuration guide

D-Link

D-Link DWR Series Configuration guide

TRENDnet TWG-431BR user guide

TRENDnet

TRENDnet TWG-431BR user guide

StarTech.com BR4100DC Specifications

StarTech.com

StarTech.com BR4100DC Specifications

Samsung MWR-SH00N user manual

Samsung

Samsung MWR-SH00N user manual

Netopia 4652 Getting started guide

Netopia

Netopia 4652 Getting started guide

MicroNet SP916GL user manual

MicroNet

MicroNet SP916GL user manual

manuals.online logo
manuals.online logoBrands
  • About & Mission
  • Contact us
  • Privacy Policy
  • Terms and Conditions

Copyright 2025 Manuals.Online. All Rights Reserved.