Civacon RLT-1 User manual

RLT-1
Users Manual
Rev 2
CIVACON
4304 N. Mattox Road, Kansas City, MO. 64150
Phone: 816-741-6600 Fax: 816-741-1061
24/7 Technical Support: 1-800-5-CIVACON (1-800-524-8226)
www.civacon.com
ROM LINK TESTER
4304 N. Mattox Road • Kansas City, MO 64150 • PHONE: (816) 741-6600 • (888) 526-5657 FAX (816) 741-1061 www.civacon.com
ROM LINK TROUBLESHOOTING GUIDE
A. USING THE TESTER:
1. Turn on the tester. Notice that the Yellow LED will come on and the Green LEDs will flash
five times. If the Green LEDs stay ON it means your 9V alkaline battery is getting low.
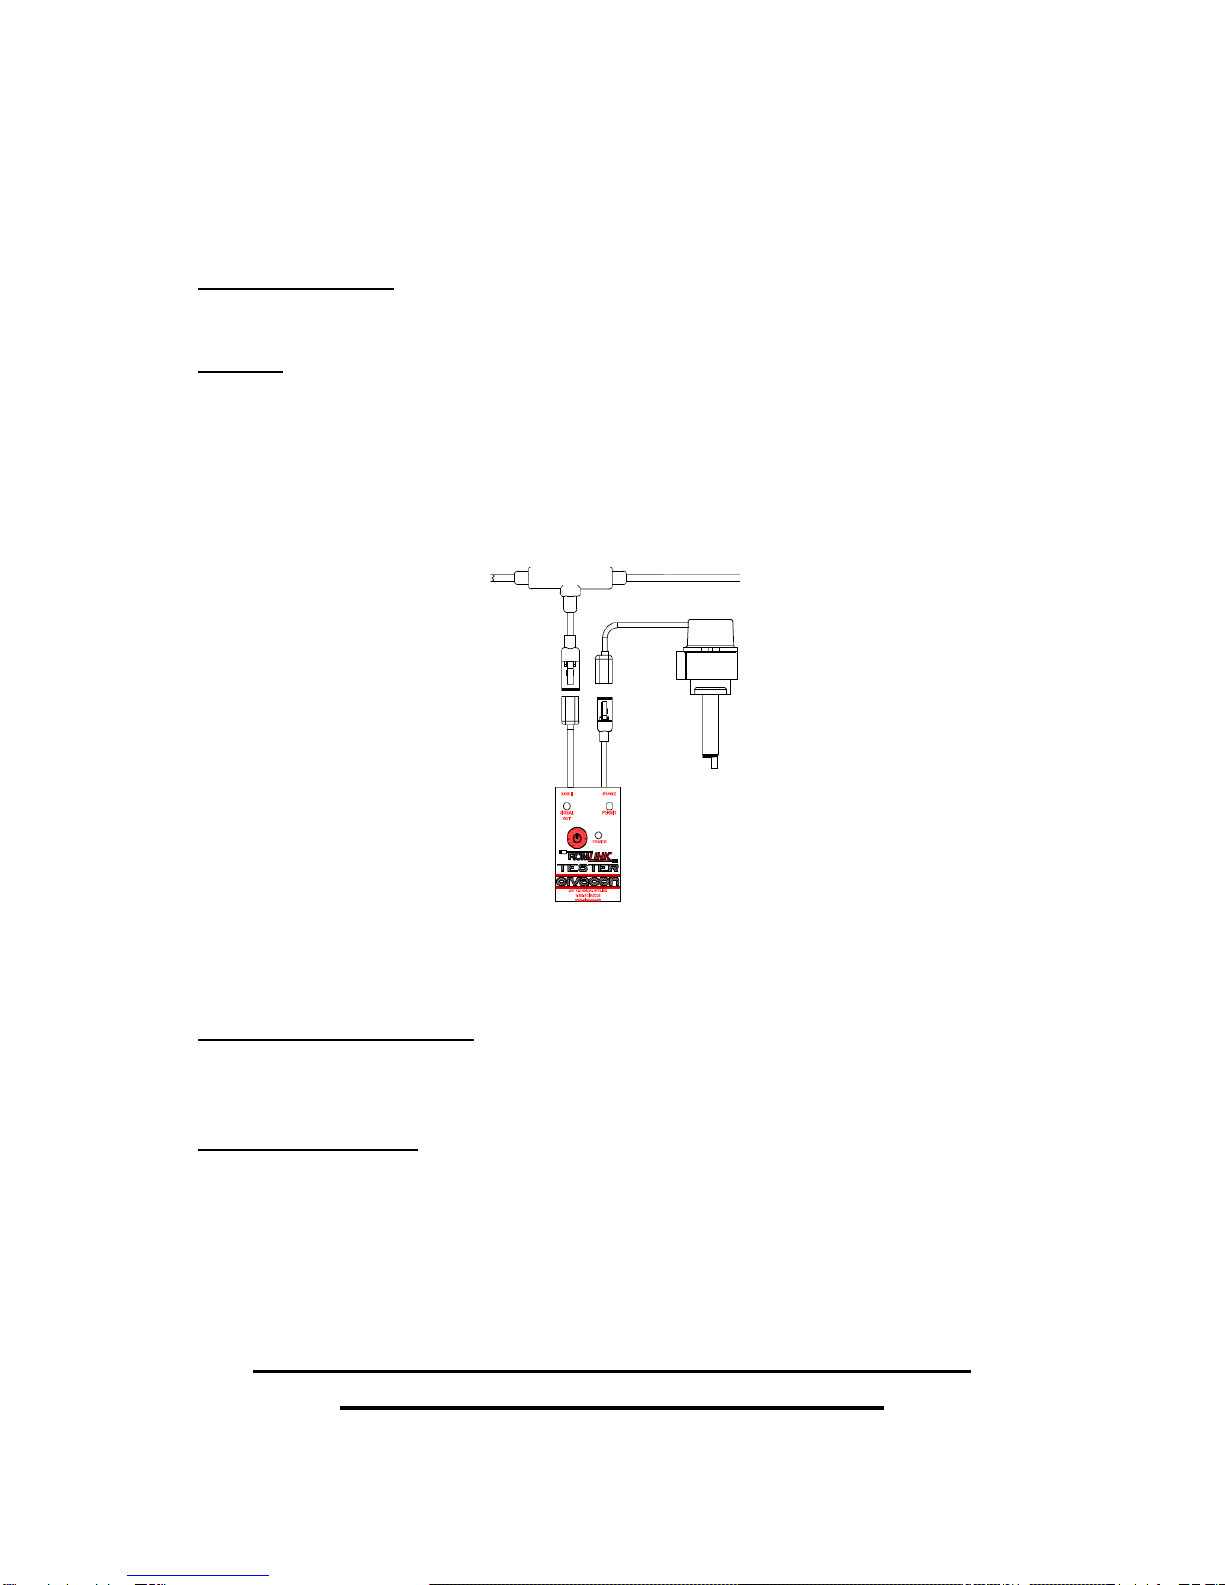
2. Testing: Disconnect the pigtail coming from the probe housing going to the “T”. Hook up the
lead labeled PROBE to the probe pigtail and the one labeled ROM/Wiring to the pigtail
coming from the “T”. If you get a green light on the probe side then the probe is GOOD. If
you get a green light on the ROM/Wiring side then the Cable is GOOD. Also look at the
ROM to see if the corresponding LED on the ROM goes out, meaning it is getting a good
signal from the cable to the ROM.
B. USING THE ACCESSORY KIT
1. Testing Individual Probes: Connect the Red clip to the Red (Black for Quick Start Probes)
and the Black clip to the Black (White for Quick Start Probes). A good Probe will light the
LED. Dipping the probe into Liquid will turn off the LED.
2. Testing ROM Inputs: Disconnect any wires which may be located in the Top or Bottom
compartment connectors on the ROM. Connect the Black wire of pigtail into the COM of the
ROM and touch the Red wire of the cable to the channel you want to test. The
corresponding LED will go OFF on the ROM. The Tester ROM II Wiring Light will be ON.
FOR 24 HOUR TECHNICAL ASSISTANCE CALL
1-800-5-CIVACON (1-800-524-8226)
Table of contents


