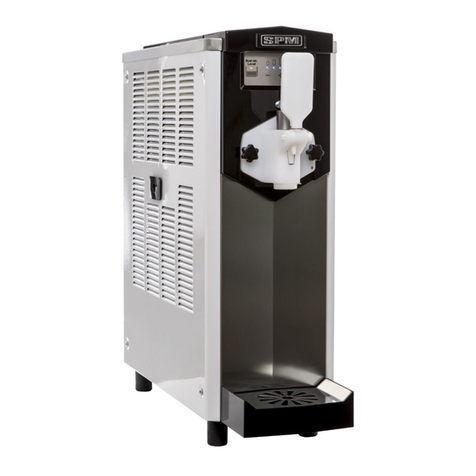
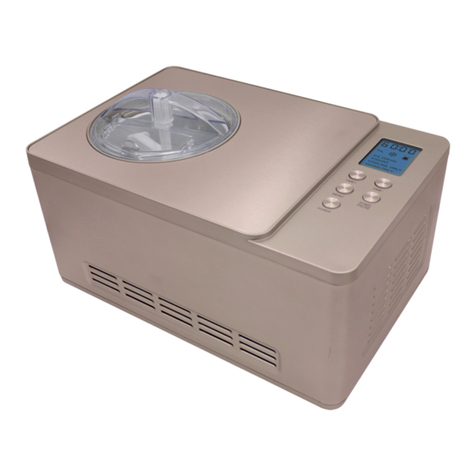
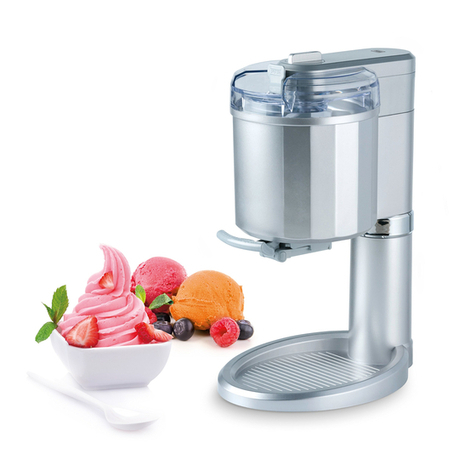
CJT HD12-15L User manual

OPERATINGINSTRUCTIONS
- 1 -
Ⅰ、Exploded Diagram
Model HD12-15L
1 Condenser 13 Discharge tank lover 25 Permanent
2 Fan motor 14 Spring 26 Seat B
3 Follower pulley 15 Handle 27 Fixed pin
4 Belt 16 Nut 28 Stirrer
5 Redactor 17 Spacer pin 29 Left side panel
6 Compressor 18 Fixed pin 30 Agitator motor
7 Front panel 19 Permanent seat 31 Evaporator
8 Operation panel 20 Discharge handle 32 Main pulley
9 Screw 21 Container cover 33 Upper plat
10 Tray 22 Permanent seat 34 Electrical box
11 O-ring for dispensing door 23 Guardrail 35 Back panel
12 O-ring for dispensing cover 24 Proximity switch 36 Right side panel
www.cjtcatering.com

OPERATINGINSTRUCTIONS
- 2 -
Model HD8-10L
1 Motor 14 Switch 27 Locknut
2 Support plate 15 Left side panel 28 Beater
3 Bearing sleeve 16 Fan motor 29 Hopper cover
4 Gear motor 17 Compressor 30 Top panel
5 Belt 18 Fan Blade 31 Beating tube
6 Passive wheel (big) 19 Dispensing tube 32 Supporting sleeve
7 Plug pad 20 Condenser 33 Hopper
8 Knob nut 21 Front side panel 34 Drive wheel (small)
9 Mandril 22 Beating spindle 35 Right side panel
10 Plug 23 O-ring 36 Frame
11 Dispensing plate 24 Shrapnel 37 Bank side panel
12 Protector tube 25 Rubber scraper
13 Knob 26 Scraper
www.cjtcatering.com

OPERATINGINSTRUCTIONS
- 3 -
Ⅱ、Technical Date
Model Power Input
Power cooling
capacity
Refrigerant
& in charge
Net
weight
Overall Dimension
( W×L×H)
R12 /610g
HD6-8L 1PH AC 220V/50Hz 800W 8L/h
R134a /500g
50kg 596×490×400(mm)
R12 /610g
HD8-10L 1PH AC 220V/50Hz 800W 10L/h R134a /500g 50kg 596×490×400(mm)
1500 W R22 /800g
1PH AC 220V/50Hz 2000 W R404A/850g
1800 W R22 /800g
HD12-15L
1PH AC 230V/60Hz 2400 W
15L/h
R404A/850g
100kg 455×710×755(mm)
HD16-20L 1PH AC 220V/50Hz 2000W 20L/h R404A/850g 110kg 455×700×710(mm)
2400 W R22 /760g
1PH AC 220V/50Hz 3000 W R404A/900g
1PH AC 230V/60Hz 3600 W R404A/900g
HD20-25L
3PH AC 380V/50Hz 2400 W
25L/h
R22 /760g
100kg 520×710×1180(mm)
Note: we will not make a notification supposed that there is any change on
above-mentioned specifications, pls refer to the nameplate on the machine.
Ⅲ、Working Condition
As commercial refrigeration equipment, Ice cream machine should work in following condition:
Ambient temperature: 5~40℃ Mixing temperature: 2~35℃
Power : 198~235V/1PH Frequency range : 50/60±1Hz
Caution:
Lower ambient temp, proper ventilation, steady voltage, clean conditions and the temp
of the mix is as low as possible will make the machine has a higher efficiency, less
electricity consume and long life.
www.cjtcatering.com

OPERATINGINSTRUCTIONS
- 4 -
Ⅳ、Use and Cautions
Many customers summarize a lot of recipe to make different ice cream when using this machine.
We suggest you make ice cream powder as follow.
A
、
Recipe
:
Ingredient ( weight ratio)
full cream milk power (8%) white sugar (16%) flavor ( a little)
emulsion stabilizer (0.5%) water (75%) food color( a little)
A
AT
TT
TE
EN
NT
TI
IO
ON
N:
:
B、Prepare ice cream mixing:
①Weight all materials as above table
②Put all materials into container and mix it slowly and equality.
③Put into the boil water, mixing it rapidly, assure all the mixer have dissolved (the boiled
water is the half of the total water)
④Put into some essence, pigment and water, mixing it when put the powder, make sure all the
mixer have dissolved.
A
AT
TT
TE
EN
NT
TI
IO
ON
N:
:
In this recipe, the proportion between milk power and sugar is
economy type it can not be reduced any more, It will freeze and damage
the machine if content of sugar is less this proportion or substitute
saccharin for sugar. Stabilizer is to improve emulsification and
overrun and prevent from freezing.
The mixer should be mixer equally and dissolved completely. Be sure there
is not grain in the mixing. All materials and utensil should meet the
Hegelian required. Above two times input water volume should meet the
Hli
id
iht
www.cjtcatering.com

OPERATINGINSTRUCTIONS
- 5 -
For safety, ensure the ground connection is in good condition.
All the exterior wires and other appliances must confirm with national standard.
Ⅴ、 Installations And Adjusting
A. unpack and inspect
1) Cut off the wrapping tape.
2) Open the wooden case by screwdriver.
3) Remove the foam.
4) Inspect carefully whether there is defective appearance or not.
5) Check the accessories with packing list.
6) Remove the fixing bolt and fixing feet that are at the bottom of the machine, push the machine,
let the front-wheel drive fall to the ground, and then take out the wooden base, let the
four wheels grounded. (Directly lift the machine to the ground or on the table if the machine
is table type)
B. Installation
1) SELECTING LOCATION
a. Place the machine on a level counter that is stable and strong enough to safely support
its weight.
b. Place the machine in a location that allows adequate space at the back and each side
for proper ventilation. Keep 50cm space from all sides of ventilation. The machine should
shade from the sun and should not be located too close to the units that radiate excessive
heat.
2) POWER SUPPLY
a. Select the proper power supply according to the voltage and power on the nameplate.
b. Connect the power wire and the power supply, ensuring the yellow and green wire was connected with
the ground wire firmly.
Caution:
www.cjtcatering.com

OPERATINGINSTRUCTIONS
- 6 -
C
、
The Pre-cool of the mixer
In order to let the machine run more efficiently. It is necessary to pre-cool mixing.
Normally, you can put the mixing on the cool place, let the well-prepared mixing cool by
itself .If you have freezer, you can put the mixing into it and pre-cool it to 0~40℃.
D
、
Keystroke and Direction
1)、HD6-8L、HD8-10L
Pour ice cream mixing into the hopper,2.5kg every time, turn on the machine, the mixer
begin to mix the ice cream, then rotate the timer according the arrowhead direction, the
refrigerate system begin to work(when the timer rotate according the arrowhead, rotate
large angle will spend longer time, opposite, will spend shorter time).the timer will
stop work when the ice cream make finished, if the timer didn’t stop work, meaning the
time of set is over long, in that case ,you can re-turn on the timer (because it need 3
minutes after restart the machine .so it ‘s better to set a little longer).if the ice cream
have already made, but the timer still didn’t stop work, this meaning the set time is so
long ,you can press the off button to stop it directly, After some time practice, you can
set the time accurately, press the off button as soon as the timer stop work, the mixing
box can be put into the freeze. And then input mixing, turn on the machine, start to work
again.
HD8-10LInstall the blender:
The plastic scraper and stainless flexible sheet are located at the bottom of the
blender, the nylon scrapers at both side of the blender, as the following drawing:
The plastic scraper is flexible, the hole on the scraper can be pull bigger to fit on
www.cjtcatering.com

OPERATINGINSTRUCTIONS
- 7 -
the screw, and then install the flexible sheet on it, if the sheet too tight, put some Vaseline
on it. When install the nylon scraper, face the tooth of the nylon scraper downwards and
press it to the charging basket tightly.
ATTENTION:
Note: if the scraper direction to be opposite, it will affect blows the frost effect.
2)、HD12-15L、HD20-25L
zBefore making ice cream ,you adjust suitable time and press Enactment-Key 3s.Display
twinkling ,the twinkling number is last-time one. If you feel too soft, you can adjust
Enactment-Key. Each adjusting make the machine to work increase 1 minute. The least time
is 5 minutes and the most is 25 minutes. During 5s,no any operating, the
control-Microcomputer will exit. Whole course for moulding take 15 minutes and different
material take different time. Pour ice cream mixing into the hopper,2kg every time for
HD12-15L or HD16-20L, 2.5kg every time for HD20-25L.
zAfter adjusting suitable time, press Auto-key and then leftward Indicator-light shine,
beater system start working .Waiting 3s,referentent system start running. Then number
display showing reduce step by step, When it is O ,the compressor will stop. The beater
continues working.
zPress Clean-key, beater system work for clean.
zAnytime, as long as you press Pause-key the machine will stop.
1、Indicator-light
2、Display
3、Pause-Key
4、Clean-Key
5、Auto-Key
6、Time Adjust-Key
www.cjtcatering.com

OPERATINGINSTRUCTIONS
- 8 -
3)、HD16-20L
zWash
Press “Wash” key ,the corresponding indicator light flashes, the beater system start to
work.
zTemperature adjust button
Please set the hardness of ice cream before make it, When the machine tune on (the digital
display “00”),Press hardness adjust button more than 3 second,the digital display flashes,
the flashed number means the hardness to be set different type. For example, the number is
“02”, means the hardness is type 2. at first use, you should not set a high type. Generally
start from type2. If the ice cream is soft, you should press button 。
to adjust the hardness, press the button one time,the hardness will add 1 type. The type
display from“01”to“10”circularly,the number is bigger, means the type is higher and ice
cream is harder。
zAuto
Press auto key after you adjust hardness,the corresponding indicator light flashes,the beater
system start to work, three seconds later the refrigeration system start to work. The digital
display will display number, which means the percentage of hardness. For example,“58”means
the hardness have already reached 58%.The number will increase after the machine works a few
minutes. The machine stops automatically (digital display “00”) while the ice cream hardness
reach 90% of you set the hardness. That means the ice cream is ready. Different ice cream powder
1、Indicator-light
2、Display
3、Pause-Key
4、Clean-Key
5、Auto-Key
6、Time Adjust-Key
www.cjtcatering.com

OPERATINGINSTRUCTIONS
- 9 -
have different hardness, and the time to make ice cream is also different, customer can control
it in practice operation.
zStop
No matter the machine is on wash working or auto working, you just need to press “Stop”
key ,the machine will stop working (digital display will indicate“00’’ )
E、Cautions
zDon’t tilt it over 45℃ when shipping.
zThe socket of this machine should be single phase triple holes and it should be safely earthed.
Don’t use with other electrical appliance in same socket.
zThe power supply should be 220V±10%,that is 198~242V when the machine is running.
zTo ensure it release heat correctly, keep 500mm space for the in and out wind bar when install
the machine.
zHD6-8L 、 HD8-10Lice cream machine restart the machine after 3 minutes when stop the
compressor.
zDon’t put you hands or other items into the hopper when it running.
zShut off the power supply after finish make ice cream, clean it ;take out the mixer and
use the water clean the hopper, then wipe it use towel; cleaning the outside of hopper can use
the wet towel wipe it, don’t use water wash it directly.
Ⅵ、Maintenance and service
A、
Wash the freezing cylinder
In order to ensure customer’s health and improve the using life of the unit, you must
to clean the freezing cylinder everyday.
1) Press wash key , draw off the mixing in the freezing cylinder, then press stop
key .
2) Pour same warm water with mild detergent into freezing cylinder .
3) Press wash key , beater work about five minutes later , draw off the water.
www.cjtcatering.com

OPERATINGINSTRUCTIONS
- 10 -
Pour clean water to wash for 2-3 times, then stop machine.
4)Turn off the power. Clean the spare part.
a. Unscrew four screw of the dispensing door, then take off the dispensing door.
b. Take off the beater and o-ring of dispensing door.
c. Wash all these parts, if it has been worn out, change another one.
d. Do the opposite steps to assembly the unit. Lubricate the valve pole when assembly
it.
B、Clean the unit
In order to attract more customers, please keep the unit clean at any time. You can use
a wet towel to clean the surface of the unit. Don’t wash down the unit to avoid the electrical
malfunction.
C、Clean the condenser
Shut off the power, take off the panel, then clean the fins of condenser by cleaner, strong
air or brush. Don’t damage the fins of condenser.
Ⅶ、Trouble shooting guide
Items Possible reason How to settle it
No power supplies Turn on the power
Breaker shut off Manual replacement then restart
the unit again
No working after
turn on
Protect circle works
R
estart the unit
Faulty electrical connection Check and connect it
Beater motor is broken repair and change it
Wash mode doesn’t
work
Small breaker start aside Check the reason and repair then
replacement
the corresponding switch line
broken off
Check and connect it Auto mode doesn’t
work
Controlling electronic board is
wrong
Change the electronic board
Compressor doesn’t Low voltage Solve the electrical voltage
www.cjtcatering.com

OPERATINGINSTRUCTIONS
- 11 -
Contact organ is broken Change the contact organ
Controlling electronic board is
wrong
Change the electronic board
Defective over load protect Check the over load protect and
replace it
Compressor is broken Change the compressor
run
Compressor capacitor is broken Change the capacitor
Refrigerant leakage Check and charging refrigerant
Fan motor doesn’t work Check or change the fan motor
No refrigeration
The capacitor of fan motor is
broken
Change the capacitor of motor
Hardness set too high Adjust the hardness higher
Controlling electronic board is
wrong
Change the electronic board
Unit refrigerates
continually
Bad refrigeration Check the refrigeration system
No mixing in hopper Add mixing
Limited switch is broken and the
connect line broken off
Change the switch or connect line
Belt is loosen or worn to much Adjust the nut to tighten it or
change it
Model is ‘auto’ but
no output
Connecting bearing sleeve or
beater bearing is broken
Change connecting bearing sleeve
or beater bearing
Irrelevant mixing Mix it relevantly Ice cream is too soft
Hardness set too low Adjust hardness setting
Irrelevant mixing Mix it relevantly Ice cream is too hard
Hardness set too high Adjust hardness setting
Dispenser door outlet leakage Install or change the o-ring of
piston
Dispenser door leakage Screw down bolt or change O-ring of
dispenser door
Ice cream leakage
Connect tube leakage Install or change the beater
sleeve
www.cjtcatering.com

OPERATINGINSTRUCTIONS
- 12 -
Limited switch is broken Change the switch
Ⅷ、Electrical Diagram
HD6-8L、HD8-10L Electrical Diagram
www.cjtcatering.com

OPERATINGINSTRUCTIONS
- 13 -
HD12-15L、HD20-25L 、HD16-20L Electrical Diagram
HD20-25L (380V/50Hz/60Hz) Electrical Diagram
www.cjtcatering.com
This manual suits for next models
4
Table of contents


