DELLA 048-GM-48332 User manual
Model# 048-GM-48332
USER’S MANUAL
1.6QT ICE CREAM MAKER
!CAUTION! WARNING: Do not use this device before reading these instructions.
INSTRUCTION MANUAL
Multifunctional maker
Ice Cream & Yoghourt
Model: 048-GM-48332
Read this booklet thoroughly before using and save it for future reference
NOTICE:
If your package is missing parts or you are having issues with assembly, please call Belleze Furniture directly at
(909)-595-5901. The Belleze Furniture customer service team will address any questions or concerns you may have.
Have this manual open and ready for reference.
CUSTOMER SERVICE:
909-595-5901
9:00AM - 6:00PM PST (Monday - Friday)
www.dellaproductsusa.com

2
Table of Contents
Warnings & Precautions ---------------------------------------------------------------------
Parts & Features --------------------------------------------------------------------------------
Controls & Functions ---------------------------------------------------------------------------
Using the Della Ice Cream Maker -----------------------------------------------------------
Additional Safety & Features ----------------------------------------------------------------
03
04
04
05
06

3
When using electrical appliances, basic safety precautions should always be followed including the following:
READ ALL INSTRUCTIONS BEFORE USE
1. To protect against electrical shock, do not immerse cord,
plug, or motor in water or other liquid.
2. Close supervision is necessary when any appliance is used
by or near children.
3. To disconnect, switch power to O and unplug from outlet.
Disconnect when not in use, before putting on or taking o
parts, and before cleaning.
4. Avoid contacting moving parts.
5. Do not operate any appliance with a damaged cord or plug
or after the appliance malfunctions, or has been dropped
or damaged in any manner. See warranty to return for
examination, repair, or electrical or mechanical adjustment.
Appliance serviced only by authorized agent.
6. The use of accessory attachments (not recommended or
sold by the manufacturer) may cause re, electric shock or
injury.
7. Do not use outdoors.
8. Do not let cord hang over edge of table or counter, or
touch heated surfaces, including the stove.
9. Do not use appliance for anything other than intended use.
10. Do not operate your Ice Cream Maker dry. Always have ice
cream mixture in the ICE CREAM CANISTER when you plug in
your appliance.
11. Do not use extension an cord. This appliance is for
household use only. No user-serviceable parts inside. Power
Unit never needs lubrication. Do not attempt to service this
product. POLARIZED PLUG INFORMATION This appliance
has a polarized plug (one blade is wider than the other). To
reduce the risk of electric shock, this plug is intended to t
into a polarized outlet only one way. If the plug does not t
fully into the outlet, reverse the plug. If it still does not t,
contact a qualied electrician. Do not attempt to modify the
plug in any way. If the plug ts loosely into the AC outlet or if
the AC outlet feels warm do not use that outlet.
SAVE THESE INSTRUCTIONS

4
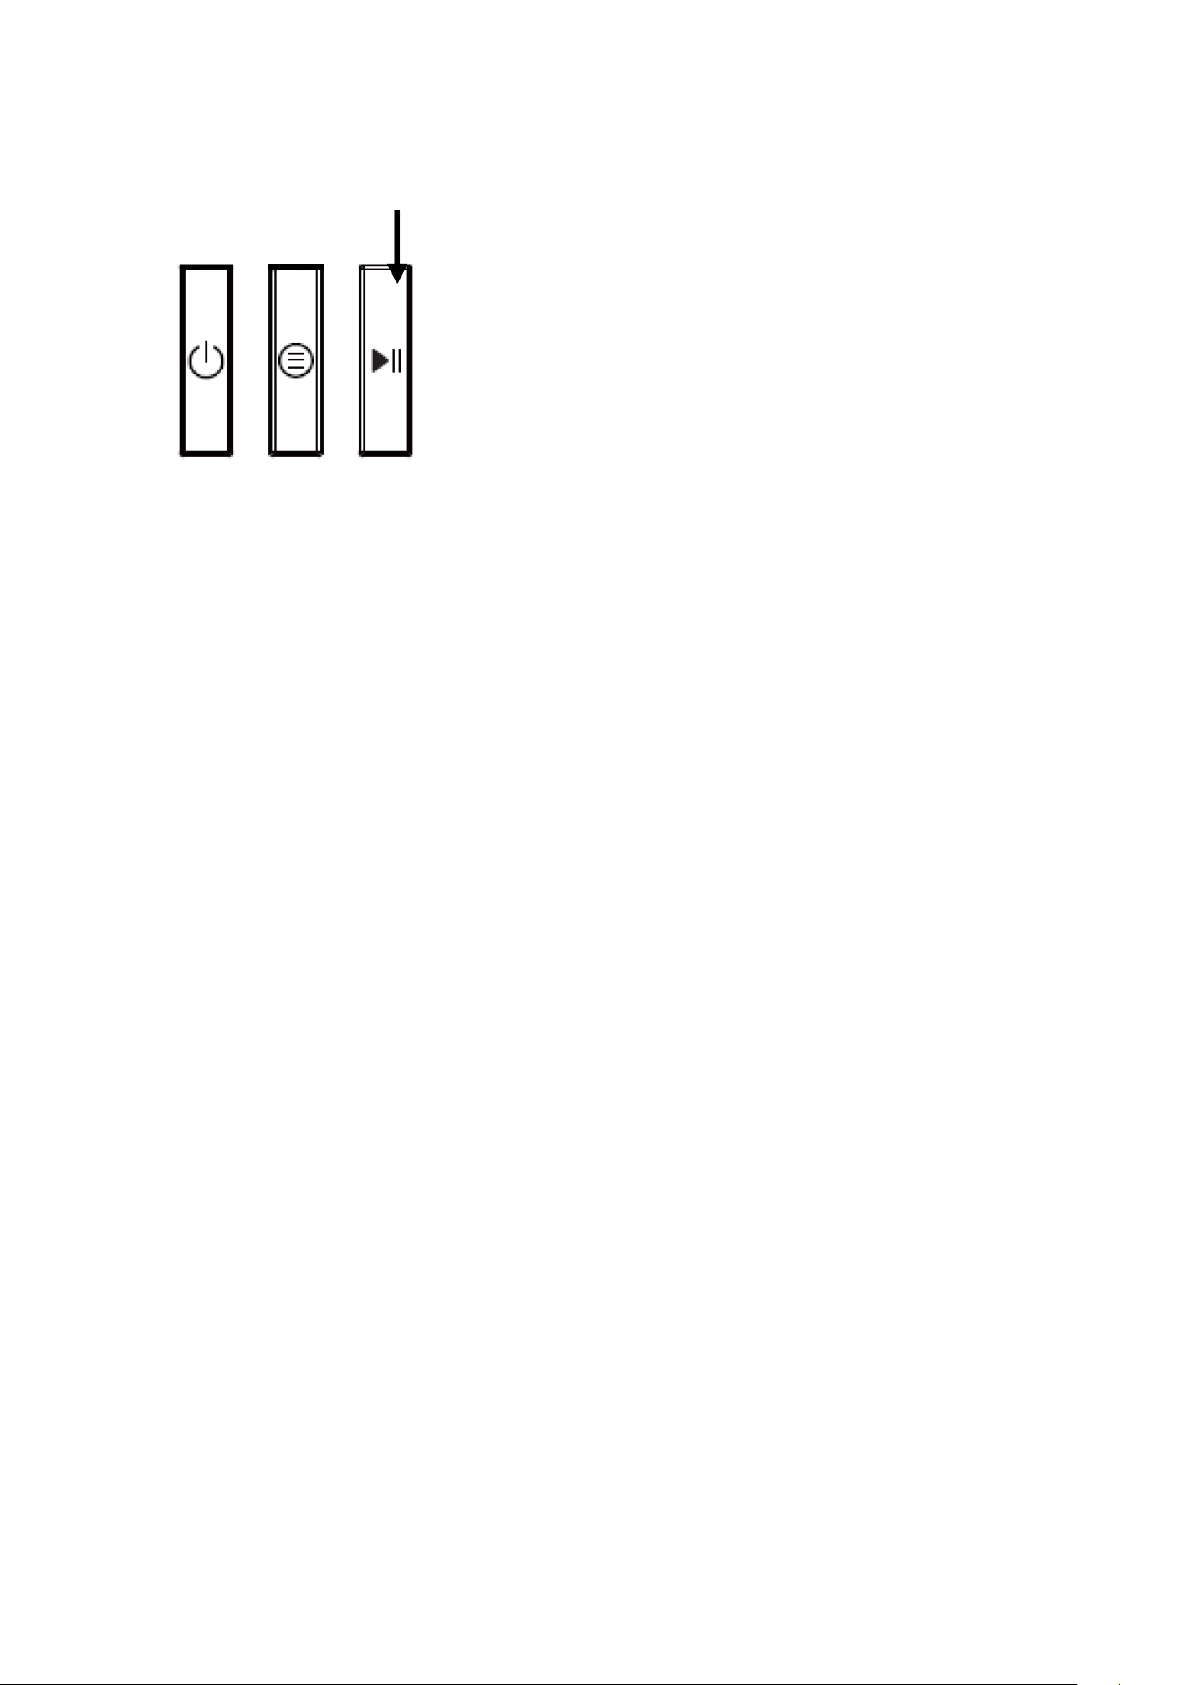
FUNCTION BUTTONS
[POWER] Button: After connecting with the electricity, pressing [POWER]
button, the default selection is ICE CREAM, and LCD will light and show
“60:00”. If no other operation, LCD will go off and hold showing “60:00” fifteen
seconds later. If pressing [POWER] button again, the machine will return to
stand by mode.
[MENU] Button: By pressing this button, there are 4 working modes for
option, including: MIXING ONLY, COOLING ONLY ,ICE CREAM,
YOGHOURT.
[TIME + -] knob: To adjust time.
[START/PAUSE] Button: After setting the menu and time, press this button
to start the working mode. During operation, by pressing this button, the
Power Menu Start/Pause
Add time
Subtract time
Add time
(Clockwise)
Time Dial
Counter
(Clockwise)
SPECIFICATIONS
Model Number: 048-GM-48332
Capacity: 1.6 Qt
Voltage: AC120V
Frequency: 60 Hz
Power Consumption: 150 W
Dimensions: 402L x 281W x 245H (mm)
Parts & Features
A. Lid
B. Mixing Blade
C. Ventilation
D. Removable Bowl
E. Time Dial
F. Controls
Controls & Functions
Power Button: After connecting to power source, press
POWER button. LCD will illuminate, display time setting of 60
minutes, and be on default‘Ice Cream’ setting.
Menu Button: The menu features 4 modes including - Mixing,
Cooling, Ice Cream, & Yogurt.
Time Dial: Adjusts time to specic needs of chosen desserts
and recipes.
Start / Stop: After selecting desired mode and time, use Start
/ Stop button to begin or pause making of frozen dessert.
Power Start/Stop
Step 3. In ICE CREAM mode, place the
mixing blade into the removable bowl and
keep the mixing blade bottom hole fitted well;
in YOGHOURT mode, please remove the
mixing blade. Then put the transparent lid
onto the machine and lock it anticlockwise.
Step 4.
Fasten the transparent lid.
Press the
[POWER] button to make the machine
electrified.
Step 5. Press the [MENU] button to choose
the working mode.
Step 6. Turn the [TIME+] or [TIME-] knob to choose the working time.
Step 7. Press the [START/PAUSE] button to start working.
Mixing
Cooling Ice cream Yoghourt
Mixing Cooling YogurtIce Cream
A
B
C
F
E
D

5
FUNCTION BUTTONS
[POWER] Button: After connecting with the electricity, pressing [POWER]
button, the default selection is ICE CREAM, and LCD will light and show
“60:00”. If no other operation, LCD will go off and hold showing “60:00” fifteen
seconds later. If pressing [POWER] button again, the machine will return to
stand by mode.
[MENU] Button: By pressing this button, there are 4 working modes for
option, including: MIXING ONLY, COOLING ONLY ,ICE CREAM,
YOGHOURT.
[TIME + -] knob: To adjust time.
[START/PAUSE] Button: After setting the menu and time, press this button
to start the working mode. During operation, by pressing this button, the
Power Menu Start/Pause
Add time
Subtract time
Add time
(Clockwise)
Time Dial
Counter
(Clockwise)
Using the Della
Ice Cream Maker
WARNING: Please ensure power cord is unplugged prior to
preparation.
Note: Prior to use, thoroughly wash and clean all parts that
come into contact with frozen treat.
Step 1: Place well-prepared ingredients into
removable mixing bowl.
Step 2: Place bowl back into machine. Turn bowl to
lock in place.
Step 3a: For ice cream, place mixing blade in removable bowl
and make sure it is well secured.
Step 3b: For yogurt, remove mixing blade and secure lid
onto machine tightly by turning counterclockwise.
Step 4: Turn on machine by pressing POWER button. Then,
select the desired mode from menu.
Step 5: Use Time Dial to select desired time.
Step 3. In ICE CREAM mode, place the
mixing blade into the removable bowl and
keep the mixing blade bottom hole fitted well;
in YOGHOURT mode, please remove the
mixing blade. Then put the transparent lid
onto the machine and lock it anticlockwise.
Step 4.
Fasten the transparent lid.
Press the
[POWER] button to make the machine
electrified.
Step 5. Press the [MENU] button to choose
the working mode.
Step 6. Turn the [TIME+] or [TIME-] knob to choose the working time.
Step 7. Press the [START/PAUSE] button to start working.
Mixing
Cooling Ice cream Yoghourt
Mixing Cooling YogurtIce Cream
working mode and time countdown will be paused. If press this button again,
the machine will go on the working mode and the time countdown.
MAKING ICE CREAM
Warning: Please be sure the power cord is unplugged.
Important: Always place the Maker upright on a flat surface in order that the
build-in COMPRESSOR can provide best performance.
Cleanness: Before use, thoroughly wash all parts that will come into contact
with the ice cream (including the fixed bowl, removable bowl, mixing blade,
transparent lid, refill lid, etc.)
Step 1. Prepare recipe ingredients:
Prepare recipe ingredients from your own
recipe or from the recipe booklet here, and
pour the well prepared recipe ingredients into
the removable bowl (See below picture).
Step 2. Put the removable bowl into the
machine and slightly turn around the bowl to
make it fitted well with the fixed bowl.
Step 3. In ICE CREAM mode, place the
mixing blade into the removable bowl and
keep the mixing blade bottom hole fitted well;
in YOGHOURT mode, please remove the
mixing blade. Then put the transparent lid
onto the machine and lock it anticlockwise.
Step 4.
Fasten the transparent lid.
Press the
[POWER] button to make the machine
electrified.
Step 5. Press the [MENU] button to choose
the working mode.
Step 6. Turn the [TIME+] or [TIME-] knob to choose the working time.
Step 7. Press the [START/PAUSE] button to start working.
Mixing
Cooling Ice cream Yoghourt
6
Step 6: Press the Start / Stop button to begin
making frozen dessert.
Step 7: Once time has completed, completely power o
machine and safely remove bowl containing nished
product.
**NOTE: To avoid damage or waste, additional ingredients
should not exceed 60% of bowl capacity as desserts
expand throughout process.**
Additional Safety & Features
Motor Self-Protection: When frozen dessert thickens, the
mixing motor may shut itself o to prevent from overheating.
This protects from unnecessary wear and damage to product.
Cooling Function: To avoid melting, your frozen dessert
enters a cooling function once its preparation has completed.
Storage & Maintenance
Storing Desserts: If dessert is not eaten following preparation,
keep frozen or refrigerated depending on the type of dessert.
(Ex. Ice cream placed in freezer; yogurt placed in refrigerator)
Storing Ice Cream Maker: Prior to storage, unplug machine
and thoroughly wash any and all parts used to make dessert
including: mixing blade, removable bowl, and lids. Dry, then
store.
VANILLA ICE CREAM
Yields 4 single cup servings
(239 calories per serving)
1 cup whole milk
1/2 cup granulated sugar
3/2 cups heavy cream (chilled)
1 – 2 teaspoons pure vanilla extract to taste
In a medium bowl, use a hand mixer or a whisk to combine
the milk and
granulated sugar until the sugar is dissolved (about 1 – 2
minutes on low
speed).
Stir in the heavy cream and vanilla to taste.
Turn machine on, pour
mixture into bowl through ingredient spout and let mix until
thickened,
about 30 – 40 minutes.
Enjoy!
Start/Stop
Other manuals for 048-GM-48332
1
Table of contents
Other DELLA Ice Cream Maker manuals


