Clarinet Systems ESB301 User manual

Download Manager User’s Manual
Version 1.0

Note
Clarinet Systems reserves the rights to change this document under
no obligation to provide any prior notification of such changes.
Copyright 2003 by Clarinet Systems, Inc.
All right reserved. No part of this document may be used or
reproduced in any manner whatsoever without written permission
except in the case of brief quotations while using Clarinet’s products.
EthIR LAN, EthIR Switch, EthIR Beam and Download Manager are
trademark of Clarinet Systems, Inc.
//www.clarinetsys.com

i
TABLE OF CONTENTS
1INTRODUCTION.................................................................................................................................1
2MINIMUM REQUIREMENTS...........................................................................................................1
2.1 HARDWARE ..................................................................................................................................... 1
2.2 SOFTWARE ...................................................................................................................................... 2
3INSTALLATION, INITIALIZATION, AND UN-INSTALLATION ..............................................2
3.1 INSTALLATION................................................................................................................................. 2
3.2 INITIALIZATION ............................................................................................................................... 2
3.3 UN-INSTALLATION .......................................................................................................................... 2
4GETTING START................................................................................................................................2
5DOWNLOAD A PACKAGE................................................................................................................3
6LOG ON.................................................................................................................................................4
6.1 SYSTEM ADMINISTRATORS.............................................................................................................. 4
6.2 PDA USERS..................................................................................................................................... 5
7MANAGING FTP SERVERS..............................................................................................................5
7.1 LIST................................................................................................................................................. 5
7.2 ADD NEW........................................................................................................................................ 6
7.3 EDIT ................................................................................................................................................ 7
7.4 DELETE ........................................................................................................................................... 7
8MANAGING SWITCHES....................................................................................................................7
8.1 LIST................................................................................................................................................. 8
8.2 SEARCH SWITCH.............................................................................................................................. 8
8.3 DELETE ........................................................................................................................................... 9
9MANAGING LOCATIONS...............................................................................................................10
9.1 LIST............................................................................................................................................... 10
9.2 ADD NEW...................................................................................................................................... 11
9.3 EDIT .............................................................................................................................................. 11
9.4 DELETE ......................................................................................................................................... 12
10 MANAGING PACKAGES................................................................................................................12
10.1 LIST............................................................................................................................................... 12
10.2 ADD NEW...................................................................................................................................... 13
10.3 EDIT .............................................................................................................................................. 14
10.4 DELETE ......................................................................................................................................... 14
11 MANAGING PACKAGE CATEGORIES.......................................................................................14
11.1 LIST............................................................................................................................................... 15
11.2 ADD NEW...................................................................................................................................... 15
11.3 EDIT .............................................................................................................................................. 16
11.4 DELETE ......................................................................................................................................... 16
12 MANAGING USERS.........................................................................................................................16
12.1 LIST............................................................................................................................................... 17
12.2 ADD NEW...................................................................................................................................... 17
12.3 EDIT .............................................................................................................................................. 18

ii
12.4 DELETE ......................................................................................................................................... 18
13 CUSTOMIZING SCREEN LAYOUT..............................................................................................19
13.1 CONFIGURING FRAME LAYOUTS ................................................................................................... 19
13.1.1 TOC Frame........................................................................................................................... 20
13.1.2 Banner Frame....................................................................................................................... 20
13.1.3 Content Frame...................................................................................................................... 20
13.2 GENERAL LAYOUT CONFIGURATION............................................................................................. 20
13.2.1 Title of a Page....................................................................................................................... 20
13.2.2 Header of a List.................................................................................................................... 21
13.2.3 <A> Tag............................................................................................................................... 21
13.2.4 Button ................................................................................................................................... 21
14 APPLICATION NOTE......................................................................................................................22
14.1 DOWNLOAD MS WORD DOCUMENTS AND DOCUMENT READER................................................... 22
14.1.1 For PocketPC....................................................................................................................... 22
14.1.2 For Palm............................................................................................................................... 22

Download Manager
Clarinet Systems, Inc. 1
1 Introduction
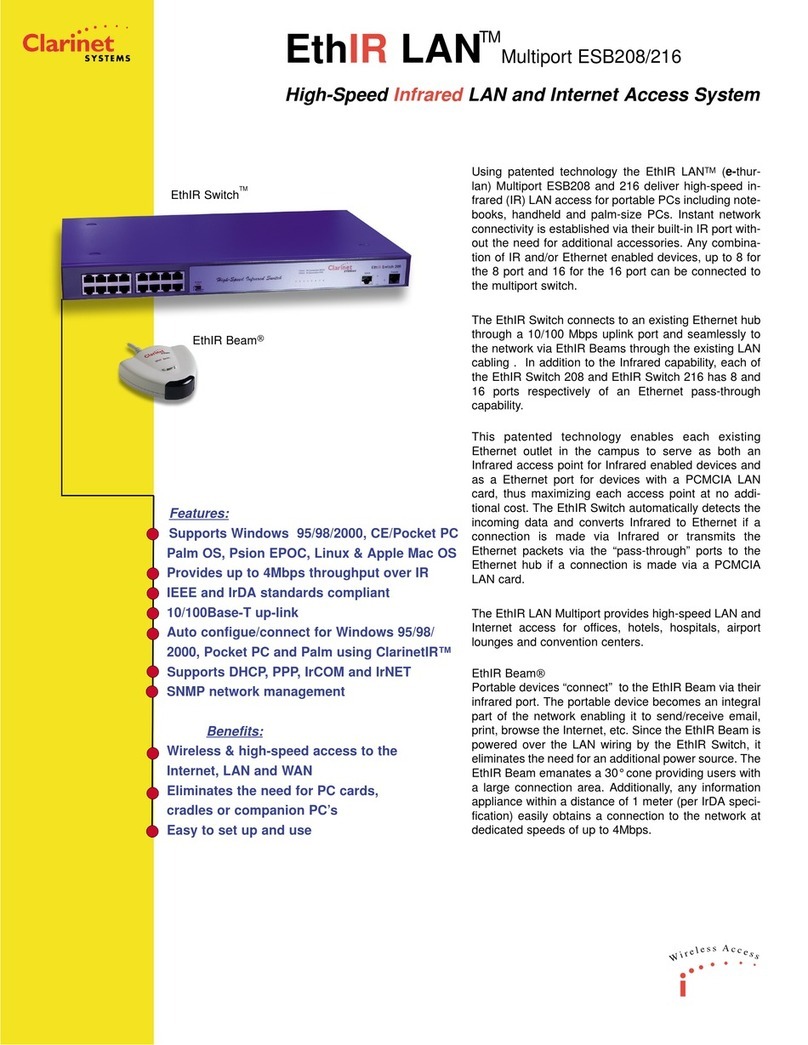
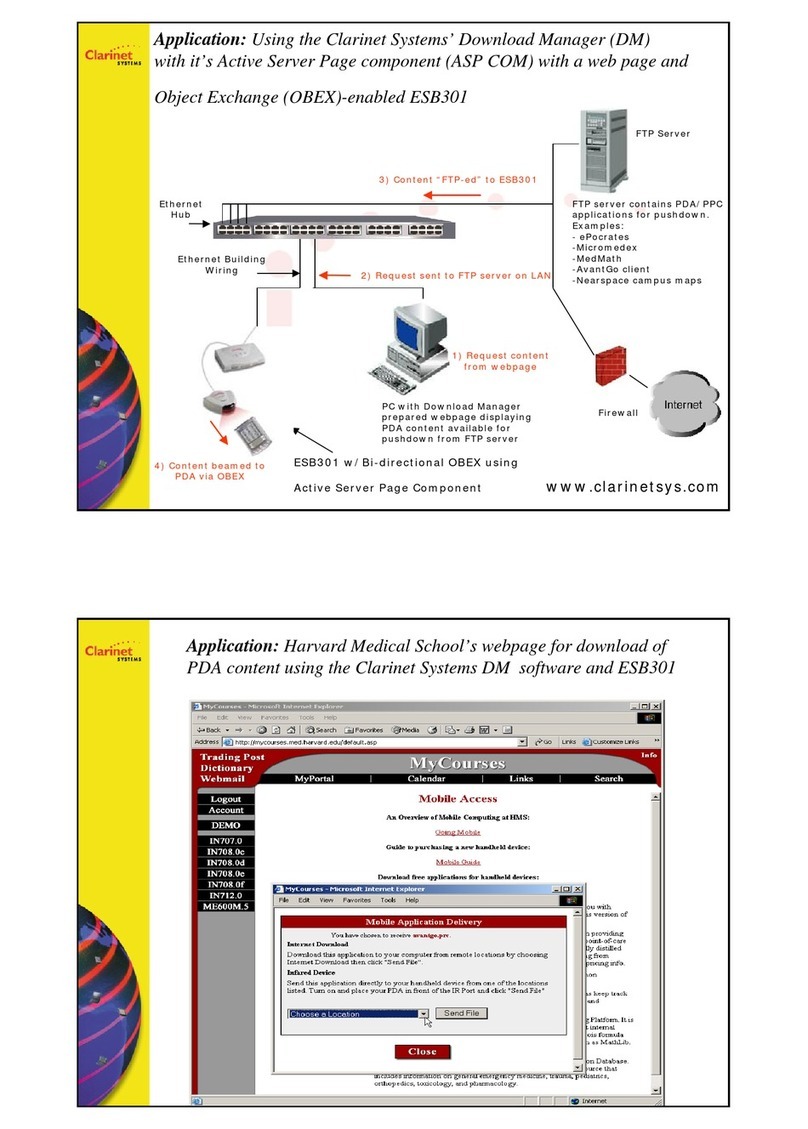
The Download Manager helps PDA/cell phone users to easily obtain files or data from a central server. It
sends packages to the PDA/cell phone through the Clarinet Systems, Inc (CSI) EthIR LAN - ESB301 and
ESB3011b. The PDA/cell phone communicates with the EthIR LAN main box - EthIR Switch (Switch) via
the built-in OBEX feature. There is no need to install any client software in the PDA/cell phone.
The Download Manager provides a quick and simple solution for an organization to distribute files or data
to various PDA/cell phone devices. It is a server side web-based application. The application offers two
types of user interfaces. The PDA/cell phone users access the web site via a PC and select packages to
download from a list. The administrators log on to the application and prepare the packages for the
PDA/cell phone users to download.
2 Minimum Requirements
2.1 Hardware
The complete system requires:
1. A PC running Windows 2000 SP3 with IIS version 4.0 or higher installed
2. A FTP server – the FTP server supported by the IIS is recommended
3. CSI Switch – ESB301 or ESB3011b
4. PDA/cell phone that supports OBEX
CSI
Switch
Desktop
PC
Download
Manager
2n
d
floor
Intranet
CSI
Switch
Desktop
PC
Main Lobby
OBEX OBEX

Download Manager
Clarinet Systems, Inc. 2
2.2 Software
1. Download Manager
2. Microsoft Internet Explorer v 5.5 or higher; or Netscape version 6.2 or higher
3 Installation, Initialization, and Un-installation
Download Manager application is shipped on a CD.
3.1 Installation
Insert the shipped CD in the CD-ROM drive of PC the Download Manager is to reside on. Run setup.exe
under the Download Manager subdirectory of the CD. Follow the steps of installation.
3.2 Initialization
Before the end users can start downloading packages, the administrator has to configure the system first.
The steps listed below explain the procedures to get the Download Manager running.
1. Have at least one FTP server running and get its information ready. The IP address of the FTP server,
the username, password, and the home directory are required when configuring the FTP server in the
Download Manager.
2. Install all the Switches, configure client PCs, and put them in place.
3. Run Download Manager from the PC where the Download Manager installed
a. From the Desktop, click on the Download Manager icon, or
b. From Windows Status Bar, Click StartxProgramsxClarinet SystemsxDownload
ManagerxLaunch Download Manager
4. Log on as the Administrator; see section 6.
5. Configure the FTP Server; see section 7.
6. Configure the Switch by running Search Switch; see section 8.
7. Add new locations; see section 9.
8. Add new packages; see section 10.
3.3 Un-installation
There are two ways to uninstall the Download Manager.
1. From Windows Status Bar, Click StartxProgramsxClarinet SystemsxDownload
ManagerxUninstall Download Manager
2. Run Add/Remove Programs from Control Panel and click on the Download Manager to remove.
4 Getting Start
You can choose any one of the following methods to start the Download Manager.
1. From Desktop, click on the Download Manager icon, or
2. From Windows Status Bar, Click StartxProgramsxClarinet SystemsxDownload
ManagerxLaunch Download Manager
3. Run IE first and set the URL to http://www.mywebsite.com/csidownload.
The home page is shown in Figure 1.

Download Manager
Clarinet Systems, Inc. 3
Figure 1 Home Page
The window is divided into three frames. The top frame is the banner that is 780 pixels wide and 70 pixels
high. The left frame is 160 pixels wide of the table of content. The right frame holds the actual contents.
Throughout the entire application, fields marked with * are mandatory and the user has to fill with data.
5 Download a Package
From any page, move your mouse over the Download Packages link in the TOC frame and click the
left mouse button to launch the Download Packages page.
First choose the location where you are and the type of OS of your PDA. The user then picks a package to
download.
Once selected, the location is saved as a cookie on the client computer. Subsequently accessing this client
computer for downloading does not require the user to input the location data again. The user still has to
provide the OS type of his/her PDA when downloading a package.
In order to avoid confusion among the end users, the system administrator can access the client application
from each client computer to set the location when a switch is installed next to a computer. The cookie
expires if the download activity is idle for 30 days.
T
OC
Fr
a
m
e
Banner Frame
Content Frame

Download Manager
Clarinet Systems, Inc. 4
Figure 2 Download Packages
When a package is selected for download, the Download Result page is displayed. The download time-out
time is calculated based on the size of the package. The result is displayed when the completion is signaled.
Figure 3 Download Result
6 Log On
From any page, enter the user name and password in the TOC frame and click the Log On button to log on.
6.1 System Administrators
The administrators can log into the system to modify the configuration. The default administrator’s name
and password are listed below. The system administrator should change the settings when running the
application at the first time.
User Name: admin
Password: admin
Where are
y
ou?
What OS does your
PDA have?
Press to pick
this package for
downloadin
g
.
You can sort in
ascending or
descending order.
You can sort by
the Package
Name or by the
Category.
Click the
Download Again
button to repeat the
download action.

Download Manager
Clarinet Systems, Inc. 5
Once the authentication is proved, the page is changed to indicate that user has logged in and the
modification may proceed.
Figure 4 Logged on
6.2 PDA Users
The PDA users are only required to gain the authorization of accessing the PC that has a CSI Switch near
by. The PDA users are not required to log into the Download Manager for downloading packages.
7 Managing FTP Servers
The Download Manager requires at least one FTP server is available for transferring packages to the CSI
Switches. If the default FTP is not defined, the Download Manager page will not allow the end user to
download files. The switch retrieves the package from the FTP server and forwards it via OBEX to the
PDA device.
The FTP settings in the Download Manager must reflect the real settings of your FTP server. Prior to
downloading packages, the FTP server has to be installed successfully.
After logged on, the administrator can move the mouse over the FTP Server link in the TOC frame and
click the left mouse button to launch the List of FTP Servers page, Figure 5.
7.1 List
The List of FTP Servers page lists all the configured FTP servers. The administrator may edit or delete a
listed FTP server by clicking on or .
From this page, the administrator can also add a new FTP server, edit an existing FTP server, or
delete a no longer used FTP server.
List of items can
be configured
Click Log Off
button to log
user off.
Logged on
user ‘s name

Download Manager
Clarinet Systems, Inc. 6
Figure 5 List of FTP Servers
7.2 Add New
The Add a New FTP Server page is for adding a new FTP server to the database.
Figure 6 Add a New FTP Server
Name: *The name of the FTP Server
IP Address: * The IP address of the FTP Server
User Name: * The user’s name who is authorized to access the FTP Server
Password: The password of the FTP user
Home Directory: The root of all the files. This could be a virtual directory name in some FTP
servers. In other FTP servers, this could be a full physical path. Please check
with your FTP server manual for help.
Default: A flag indicates if this is a default FTP Server. The default FTP Server is used
for downloading packages.
Input fields
Fields with *
are mandatory.
Click on to
edit the listed
FTP server.
Click the Clear
button to set all
the entries to the
default values.
Click the Add
button to add the
new FTP server to
database.
Click on to
delete the listed
FTP server.
Click on Add New
to show “Add a
New FTP Server”
page.
Click on Delete to
show “Delete a
FTP Server” page.
Click on Edit to
show “Edit a FTP
Server” page.
Click on < Back
button to go to
previous page.

Download Manager
Clarinet Systems, Inc. 7
7.3 Edit
The administrator must update the FTP settings in the Download Manager if any changes made in the FTP
Server.
Figure 7 Edit a FTP Server
7.4 Delete
The Delete a FTP Server page is for removing a no longer used FTP Server from the database.
Figure 8 Delete a FTP Server
8 Managing Switches
The CSI Switch is for transferring packages. The Download Manager needs to gain the information of the
Switches in order to direct the Switch for obtaining the package. The administrator should install the
Switches first and then run the Switch Search.
After logging on, the administrator can move the mouse over the Switches link in the TOC frame and click
the left mouse button to launch the List of Switches page, Figure 9.
Select FTP
server from the
list for deletion.
Fields in gray
indicate input is
not required.
Select a FTP
Server from the
list for editin
g
.
Fields to be
edited.
Click the Edit
button to update
the data.
Click the Delete
button to remove
the FTP server.

Download Manager
Clarinet Systems, Inc. 8
8.1 List
The List of Switches lists all the Switches found in the past. The administrator may delete a listed Switch
by clicking on .
Figure 9 List of Switches
The information received from each Switch is exposed in the List of Switch page. It includes the unique
serial number of Switch, the current IP address the Switch is in use, the total number of ports the Switch
has, the model of the Switch, and the firmware version of the Switch.
8.2 Search Switch
The Search Switch page searches Switches in the given range for a number of times. All the Switches
found in the search is marked as active. The Switches not found are inactive. The Download Package page
only shows all the locations with active Switch installed. Since an inactive Switch cannot response, there is
no need to display the associated location in the Download Packages.
The system examines the first IP address in the range, reports the search result, idles for Unit Delay ms, and
then examines the next IP address in the range. When the last IP address in the range is examined, the
system checks if Retry is 0. If the Retry is not 0, the system idles for Retry Delay ms and then starts
examining the first IP address in the range again.
Click on to
delete the listed
Switch.
Click on the Arrow
button to sort in
ascending or
descendin
g
order.
Click on Search
Switch to show
“Search Switch”
p
a
g
e.
Click on Delete to
show “Delete a
Switch” page.

Download Manager
Clarinet Systems, Inc. 9
Figure 10 Search Switch
First IP Address: *The first IP address to be searched in the IP range
Last IP Address: * The last IP address to be searched in the IP range
Retry: * The number of times that the range of IPs will be searched.
Retry Delay: * The amount of time in ms that the system waits before re-searching the entire
range of IPs again. The default value is 100 ms.
Unit Delay: * The amount of time in ms that the system waits before searching the next IP in
the range. The default value is 20 ms.
Figure 11 Search Result
8.3 Delete
This page allows the administrator to delete a Switch from the database. Either an active or inactive Switch
may be deleted. Switches in use cannot be deleted unless it is no longer associated to a location.
Click the
Search Now
button to start
searching.
Click the
Search Again
button to repeat the
search action.

Download Manager
Clarinet Systems, Inc. 10
Figure 12 Delete a Switch
9 Managing Locations
The location is a PC site that is adjacent to a Clarinet’s EthIR Beam. Each EthIR Beam represents a Switch
port. A CSI Switch may have 1, 8, or 16 ports. The administrator has to configure the location and relate a
Switch port to the location. Currently only ESB301 and ESB3011b single port support OBEX function.
Please check our website //www.clarinetsys.com the OBEX function availability of other EthIR LAN
products.
9.1 List
The List of Locations page lists all the configured locations. The administrator may edit or delete a listed
location by clicking on or .
From this page, administrator can also add a new location, edit an existing location, or delete a no longer
used location.
Figure 13 List of Locations
Click on to
edit the listed
location.
Click on to
delete the listed
location.
Click on Add New
to show “Add a
New Location”
p
a
g
e.
Click on Delete to
show “Delete a
Location” page.
Click on Edit to
show “Edit a
Location” page.
Click on < Back
button to go to
previous page.
Select Switch
from the list for
deletion.
Fields in gray
indicate input is
not required.
Click the Delete
button to remove
the Switch.

Download Manager
Clarinet Systems, Inc. 11
9.2 Add New
The Add a New Location page is for adding a new location to database.
Figure 14 Add a New Location
Name: *The name of the location
Switch: * The IP address of the Location
Switch’s Port Number: * Which port of Switch to use; 0 if 1-port switch; 0-7 if 8-port Switch; 0-15 if 16-
port Switch. ESB301and ESB3011b has one IR port.
9.3 Edit
The administrator must update the location settings if the associated Switch is replaced or the port of
Switch is altered. There is no need to update the location settings if only the IP address of Switch has been
changed.
Figure 15 Edit a Location
Input fields
Fields with *
are mandatory.
Click the Clear
button sets all the
entries to the
default values.
Select a location
from the list for
editin
g
.
Fields to be
edited.
Click the Add
button to add the
new location to
database.
Click the Edit
button to update
the data.

Download Manager
Clarinet Systems, Inc. 12
9.4 Delete
The Delete a Location page is for removing a no longer used location from the database.
Figure 16 Delete a Location
10 Managing Packages
A package is a bundle of files or just one file that can be used on the PDA devices. Some third party
software may be used to combine the files to one zipped .prc file. Once the zipped file is copied to a Palm
PDA, it can automatically extract and delete the zipped file. For Pocket PC, the developer may generate
one .cab or .exe file for downloading.
10.1 List
The List of Packages page lists all the configured packages. The administrator may edit or delete a listed
package by clicking on or .
From this page, administrator can also add a new package, edit an existing package, or delete a no longer in
use package.
The system does not show the inactive packages in the Download Manager. For logging purpose, it is
recommended to mark the package to inactive instead of deleting it. However, logging is not supported in
the current release.
Select location
from the list for
deletion.
Fields in gray
indicate input is
not required.
Click the Delete
button to remove
the location.

Download Manager
Clarinet Systems, Inc. 13
Figure 17 List of Packages
10.2 Add New
The Add a New Package page is for adding a new package to the database.
Figure 18 Add a New Package
Name: *The name of the package
Path: * The complete file path and the file name of the package; this is the file location
that FTP server will use to fetch the package.
Description: * The description of the package.
Requirement: * The requirement for running the package on the PDA. This is displayed in the
download page for user reference.
For PDA OS: * The type of PDA OS this package can run on.
Category: * The category of the package.
Size (in KB): * The size of the package in K Byte. This is used to estimate the transmit time
when downloading the package. When the estimated time is up during the file
downloading, the download is stopped and the time out error is reported.
A newly created package is always an active package.
Input fields
Fields with *
are mandatory.
Click on to
edit the listed
package.
Click the Clear
button to set all
the entries to the
default values.
Click the Add
button to add the
new package to
database.
Click on to
delete the listed
package.
Click on Add New
to show “Add a
New Package”
page.
Click on Delete to
show “Delete a
Package” page.
Click on Edit to
show “Edit a
Package” page.

Download Manager
Clarinet Systems, Inc. 14
10.3 Edit
The Edit a Package page is for updating the settings saved in the database.
Figure 19 Edit a Package
A package can be set to inactive so the package’s information is still kept in the database but it cannot be
downloaded to PDA devices.
10.4 Delete
The Delete a Package page is for removing a package from the database.
Figure 20 Delete a Package
11 Managing Package Categories
The category of a package is used to categorize the packages. When Download Package page is displayed,
user can sort the list by the package’s category.
Select package
from the list for
deletion.
Fields in gray
indicate input is
not re
q
uired.
Select a package
from the list for
editing.
Fields to be
edited.
Click the Edit
button to update
the data.
Click the Delete
button to remove
the package.

Download Manager
Clarinet Systems, Inc. 15
11.1 List
The List of Package Categories page lists all the configured package categories. The administrator may edit
or delete a listed package category by clicking on or .
From this page, administrator can also add a new package category, edit an existing package category, or
delete a no longer use package category.
Figure 21 List of Package Categorys
11.2 Add New
The Add a Package Category page is for adding a new package category to the database.
Figure 22 Add a Package Category
Name: *The name of the package category
Description: * The description of the package category.
Input fields
Fields with *
are mandator
y
.
Click on to edit
the listed package
category.
Click the Clear
button to set all
the entries to the
default values.
Click the Add
button to add the
new package
category to
database.
Click on to
delete the listed
package category.
Click on Add New
to show “Add a
New Package
Category” page.
Click on Delete to
show “Delete a
Package Category”
p
a
g
e.
Click on Edit to
show “Edit a
Package Category”
page.
Click on < Back
button to go to
previous page.

Download Manager
Clarinet Systems, Inc. 16
11.3 Edit
The Edit a Package Category page is for updating the settings saved in the database.
Figure 23 Edit a Package Category
11.4 Delete
The Delete a Package Category page is for removing a no longer used package category from the database.
Figure 24 Delete a Package Category
12 Managing Users
Download Manager supports only two types of user now, administrator and general. A general user does
not have user name and password nor need to log on for downloading package. An administrator can
configure the application settings and download packages.
Select a package
category from the
list for deletion.
Fields in gray
indicate input is
not required.
Select a package
category from the
list for editing.
Fields to be
edited.
Click the Edit
button to update
the data.
Click the Delete
button to remove the
package category.
Other manuals for ESB301
3
This manual suits for next models
1
Table of contents
Other Clarinet Systems Wireless Access Point manuals
Clarinet Systems
Clarinet Systems ESB208 User manual
Clarinet Systems
Clarinet Systems ESB301 Manual
Clarinet Systems
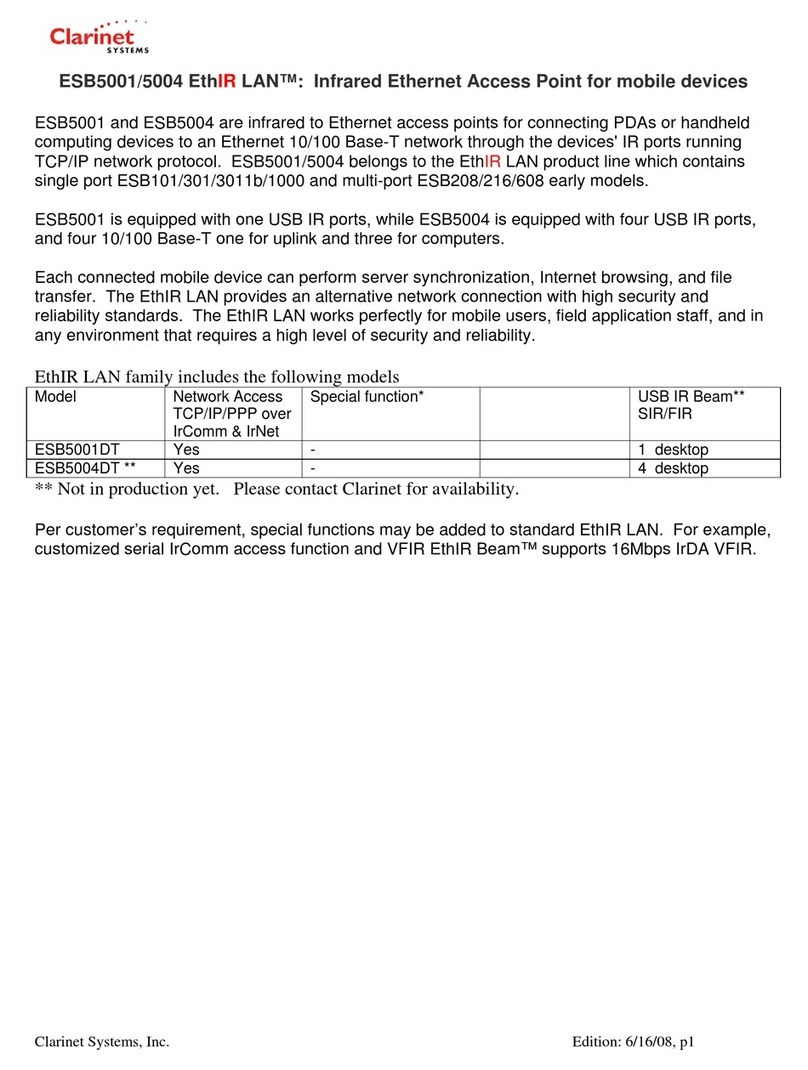
Clarinet Systems SyncHUB ES608 User manual

Clarinet Systems
Clarinet Systems ESB301 User manual

Clarinet Systems
Clarinet Systems EthIR LAN ESB1000 User manual

Clarinet Systems
Clarinet Systems ESB301 Manual
Clarinet Systems
Clarinet Systems EtherUSB EA104 User manual
Clarinet Systems
Clarinet Systems EtherUSB EA104 User manual
Clarinet Systems
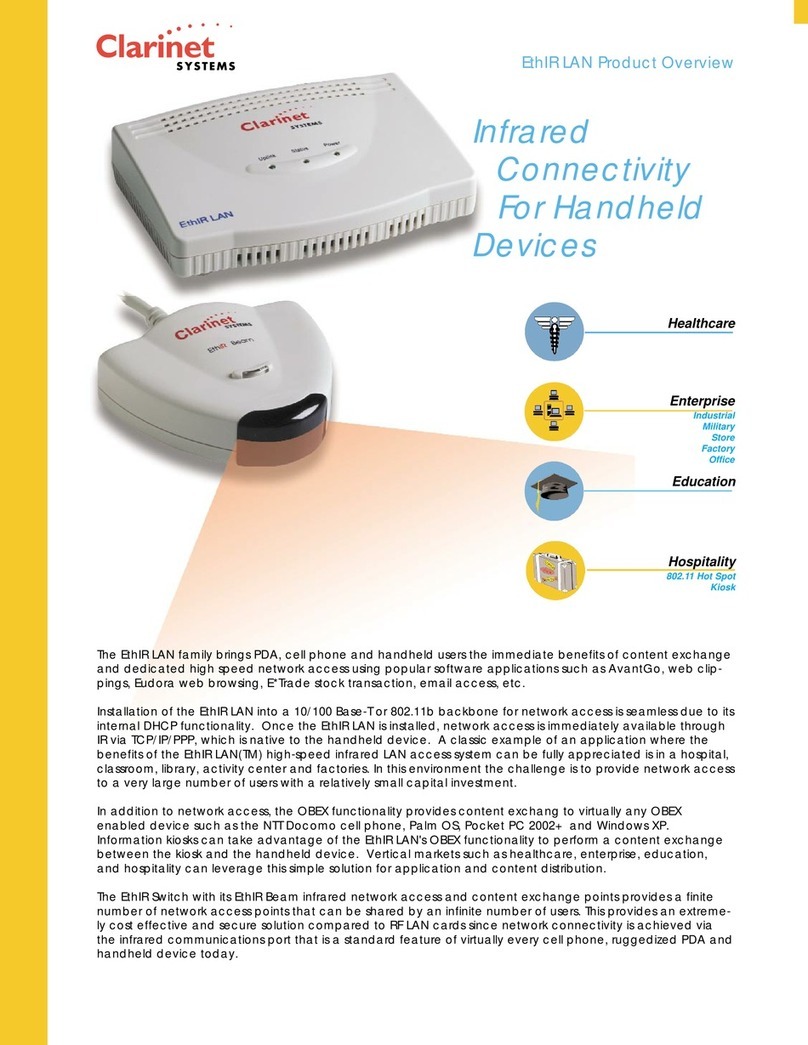
Clarinet Systems EthIR LAN ESB1000 User manual
Clarinet Systems
Clarinet Systems SyncHUB ES608 User manual
