9
Parts & Service: 020 8988 7400 / E-mail: Parts@clarkeinternational.com or Service@clarkeinternational.com
UNPACKING
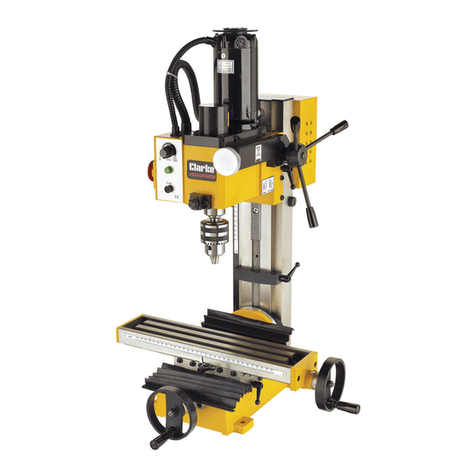
Thank you for purchasing this CLARKE Milling/Drilling Machine, designed for
drilling, deep milling and face milling of small workpieces with maximum
dimensions of 300mm x 200mm x 200mm.
IMPORTANT: Careful consideration is required when choosing the location
for the machine with regard to table movement, Mill/Drill head movement
and location of the power supply. Additionally, the workbench should be
firm, flat and level. Avoid installing in damp or very dusty locations and
ensure that adequate light is provided.
Your new machine is delivered fully assembled (except for handles which are
contained in a bag of loose parts), and should be bolted to a board with four
bolts. Various tools and accessories are also contained in the bag of loose
parts - see Fig.1.
To remove the machine from the case, carefully lay the carton on its side and
break the seal at the bottom. Fold the three flaps back and gently turn the
carton so that it is upright. Tilt the carton in order to fold back the remaining
flap then lift the carton from the machine and packing materials.
1. Remove all polystyrene packaging material, then, with assistance, lift the
machine onto a workbench. DO NOT attempt to do this single handedly.
2. Unbolt the machine from the board - 4 nuts with countersunk screws and
washers, and with assistance, carefully slide or lift into position on your
workbench.
3. Before drilling the bench in order to secure the machine, ensure:
• the head can be raised to its full height - 755mm from the table
surface,
• the head can be pivoted in either direction through 45º without
fouling,
• adequate clearance is available for the longitudinal travel of the
cross slide.
4. Once satisfied, drill four holes corresponding with those in the machine
base, and bolt the machine securely to the workbench using M10 nuts
bolts and washers, (not supplied).
5. Alternatively, the Mill/Drill may be mounted centrally on a board of at least
20mm (3/4”) thickness, and of minimum size, 455x455mm (18”x18”).
This allows the Mill/Drill to be moved to somewhere more convenient when not
in use, in a small workshop. The board may then be clamped securely (with
‘G’ clamps to a workbench when required for use.
6. Screw the three handles into the head raise/lower hub.
