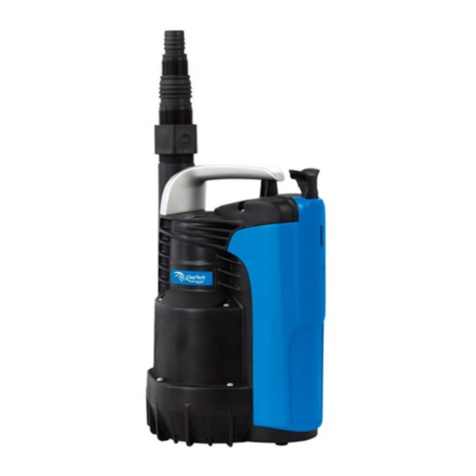
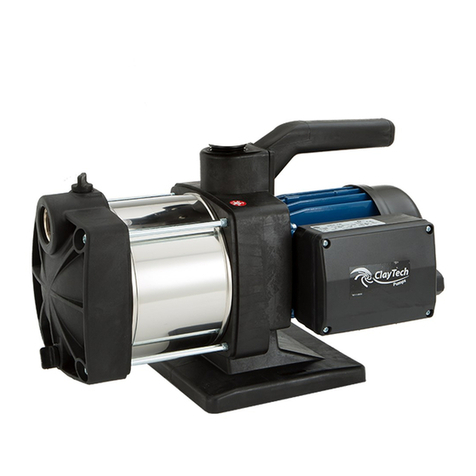
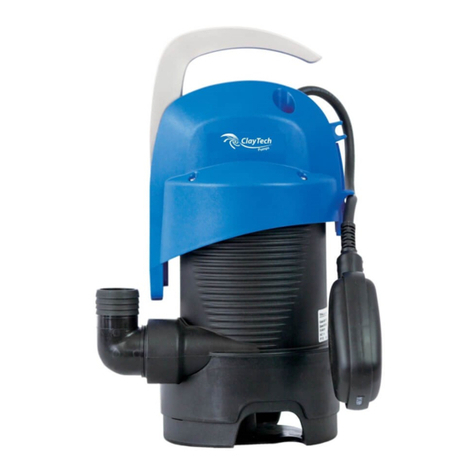
ClayTech PROSUB 6 User manual

SUBMERSIBLE PUMPS
OWNERS MANUAL
•INSTALLATION •OPERATION •TROUBLE SHOOTING •
For any assistance or after sales service call Claytech on our toll free number 1300 798 022.
Please have a look at further quality Claytech products at www.claytech.com.au
DIRTY WATER
VORTEX PUMPS
BVP
PROVORT 540
PROVORT 500
VORT 510
PROSUB 6/9
FILTERED
GREY WATER
CLEAN WATER
BLUESUB 15
BLUEDIVER
BLUESUB 6
CL_SUB.OM_03.2012
•INSTALLATION •OPERATION •TROUBLE SHOOTING •
For any assistance or after sales service call Claytech on our toll free number 1300 798 022.
Please have a look at further quality Claytech products at www.claytech.com.au
BRISBANE
26 French Avenue,
Brendale, Qld, 4500
T 1300 798 022
F07 3881 2780
MELBOURNE
24 Healey Rd,
Dandenong South, Vic, 3175
T 03 9706 9922
F03 9706 9533.
CONTACT US
T1300 798022

1. SAFETY INSTRUCTIONS
Carefully read these instructions before starting the pump.
For safety reasons, persons who have not read the instructions shall not be authorised to
use the pump. A drainage pump is an electrical appliance and needs due care and
responsibility when operating. The power cable should never be used to transport or shift
the pump. Always use the handle of the pump for these operations.
The pump cannot be used to pump salty water, sewage, inflammable, corrosive or
explosive liquids (i.e. petrol, fuel, diluents), grease, oils or food stuff.
In case power cable is damaged, to avoid any risk, replacement must be done by the
manufacturer of the pump or by an authorised service centre.
Never remove the plug by pulling on the power cord.
Before handling the pump always remove the plug from the power socket.
Before starting the pump, verify that:
• TheelectricsystemisequippedwithaResidualCurrentDevice(RCD)witharated
residual operating correct of no greater than 30 mA.
• Thevoltageandfrequencyshown(240V/50Hz)onthetechnicalnameplateofthepump
correspond to the data of the electric supply system.
• Thepowercableofthepumpisnotdamaged
• Theelectricconnectionisdoneinadryareaatasafedistancefrompossibleooding.
• Pumpissuitedforapplication:greywater/cleanwater,pressurerequirementsetc.
6. MAINTENANCE AND CLEANING
7. WARRANTY POLICY
Before doing any maintenance on the pump, always remove the plug from the power
supply.
Wear protective cloths when doing any maintenance work, gloves, protective eye wear
etc.
Periodically,itisadvisabletomakesurethatnodirt,leavessandetc.hasaccumulatedin
the collection pit.
Itisabsolutelynecessarytoprotectpumpfromfreezing.Ifthetemperaturefallsbelow
thefreezingpoint,removethepumpfromtheliquidandstoreitinasafeplacewhereit
cannotfreeze.
ClaytonEngineeringwarrantthisproductfor2yearsfromthedateofpurchase.The
warranty covers manufacturer’s defects in material or workmanship. The warranty does
not cover malfunctions due to misuse or due to failure to follow the instructions in the
instructionmanual.AnyalterationstotheproductaretobeperformedbyaClayton
Engineeringapprovedserviceagent.Anyrepairsperformedbynonapprovedpersonnel
may void the warranty.
Tomakeaclaim,contactClaytonEngineering,26FrenchAve,Brendale,Q,4500on
provide proof of purchase and then will be instructed on the procedure for repairing or
replacement of the product under warranty. All costs incurred for repair or replace, and
additional claims can be discussed at this stage.
This warranty is provided in addition to other rights and remedies you have under law:
Our goods come with guarantees that cannot be excluded under the Australian
ConsumerLaw.Youareentitledtoareplacementorrefundforamajorfailureandfor
compensation for any other reasonably foreseeable loss or damage. You are also entitled
to have the goods repaired or replaced if the goods fail to be of acceptable quality and
thefailuredoesnotamounttoamajorfailure.
1st January 2012.

2. TECHNICAL DATA & SUITABLE APPLICATIONS
Model ProVort500 Vortort510 ProVort540 BVP ProSub6 ProSub9
Power(w) 330 330 650 1000 300 600
Max head (m) 5.8 5 9 11 6.5 9
Maxow(l/min) 150 130 230 320 125 195
Max soft solids
handling (mm) 30 30 30 38 5 5
Water quality grey grey grey grey filtered
grey filtered
grey
Model BlueSub6 BlueSub15 BlueDiver20 BlueDiver30 BlueDiver40
Power(w) 220 750 600 750 950
Max head (m) 5.5 14.5 24 34 45
Maxow(l/min) 115 170 68 68 68
Max soft solids
handling (mm)
0 0 0 0 0
Water quality Clean Clean Clean Clean Clean
ProVort500, Vort510, ProVort540, BVP are open vortex design suitable for grey water
and can handle suspended solids.
ProSub6 & 9 are suited for screened grey water like domestic washing machine.
BlueSub6 is suited to clean water applications such as transferring of stored water.
BlueSub15 has been especially designed for high pressure discharge from water
treatment systems. (clean water stage)
BlueDiver20, 30 & 40 are multistage submersible pumps ideal for the clean water stage
of packaged waste water treatments plants and drainage application where a high head
is required.
Thesepumpscanhandlewatertemperatureupto35°C.Submersiblepumpswithoat
are not suitable for continuous operation.
Problem Possible Cause Solutions
Pumpdeliverslittle
or no water
a) suction screen on some
models could be
clogged.
a)Cleansuctionscreen
b) Air bubble in the pump
body
b) submerged pump should be
tilted and gently shaken with
discharge pipe open.
c) Water level under the
suction minimum.
c) Stop pumping till adequate
water available.
d) Discharge pipe or
impeller partially
clogged
d) Remove any obstructions.
e) The required head too
high for pumps
capability.
e)sourcecorrectpumpforjob.
The pump stops
running (possible
intervention of the
thermal overload
switch)
a) is fluid being pumped to
dense causing the motor
to overheat.
Disconnect the power cord, correct
the reason for overheating; then
wait until the pump is cooled, plug
the cord and resume operation.
b) water temperature of
water too high.
c) Solid body obstructing
the impeller.
d)Powersupplydoesn’t
comply with the
nameplate’s data.
The pump does
not stop
a) the pump is not being
stopped by float
a) make sure the float can move
freely and is not hooked on
edge or sitting on bottom of
tank.Adjustlengthofoat
using cable clip if necessary.

4. STARTING THE PUMP
First time the pump is used, if it has a side outlet it should be placed on its side under
water to allow any air inside the pump to come out of discharge outlet.
Once the air is removed fit the discharge pipe to outlet.
Make sure pump is secure in pit and cannot fall over.
Adjustoatleadlengthifnecessary.
Turn power supply on to pump.
Protection against overload conditions
The pump is equipped with a thermal overload protector. If the motor overheats, the
thermalprotectorautomaticallystopsthepump.Coolingtimeisaround15–20min,
after which the pump automatically restart. If the overload cut-out is tripped, it is
absolutely necessary to search for the cause and eliminate it.
5. TROUBLESHOOTING
Before performing any troubleshooting operation, it is necessary to disconnect the pump
from the power supply (by removing the plug from socket).
Problem Possible Cause Solutions
The pump does
not start
a) No power going to pump a) plug lead securely into socket,
check that power socket is
working.
b) Float switch has not
enabled pump.
b)makesureoatisnotjammed
and that water depth is
adequate.
c)impellerjammed c) disconnect from power and
check impeller is free to rotate.
3. OPERATION
The pump must only be used when immersed in water. If the water runs out the pump
must be stopped by either the float switch or turning off the power switch.
The pump must never be allowed to run dry.
Never leave the pump in operation when the delivery pipe is clogged.
The pump must be placed in a stable position inside a collection pit or in the lowest part
of the place where it is to be installed.
AllpumpsexcepttheProSub6&9haveanadjustableoatswitchwhichstartsandstops
the pump automatically.
Thewaterlevelthatpromptsthestartingandstoppingofthepumpcanbeadjustedby
modifying the length of the float switch cable between the support and the float switch.
Float cable must be clipped into the float support and at a length that float cannot touch
bottom of pit.
The length of the float cable must never be shorter than 10cm.
The float must be able to move freely while the pump is running and not get hooked on
side of pit, ensure dimensions of pit are suitable.
ProSub6 & 9 have integrated float switch specifically designed for uses in narrow pits
with dimensions as small as 20cm x 20cm. The water level that prompts the starting and
stoppingcannotbeadjustedinthesemodels.Thesetwomodelshaveanautomaticor
manual operation.
Automatic mode: The integrated float switch starts and stops the pump automatically.
To select this mode push the pumps T shaped ,vertical lever into the down position.
Manual operation: To start the pump, lift the T shaped, vertical lever. In this position the
pumpwilldrawdownto2-3mm.Pushleverbackdowntostopthepump.
This manual suits for next models
8
Other ClayTech Water Pump manuals
Popular Water Pump manuals by other brands

IWAKI PUMPS
IWAKI PUMPS EWN-R instruction manual

Reefe
Reefe RainPro RM5000 Installation Guide & Owners Information

BLACKMER
BLACKMER ATX300A Installation, operation and maintenance instructions

Levitronix
Levitronix BPS-200 user manual

Almatec
Almatec A Series Operating and installation instructions

GORMAN-RUPP
GORMAN-RUPP GHS Series Installation, operation and maintenance manual
fluid-o-tech
fluid-o-tech TP30 Series instruction manual
Grundfos
Grundfos COMFORT PM B instructions

Becker
Becker dvt 3.140 operating instructions
Gude
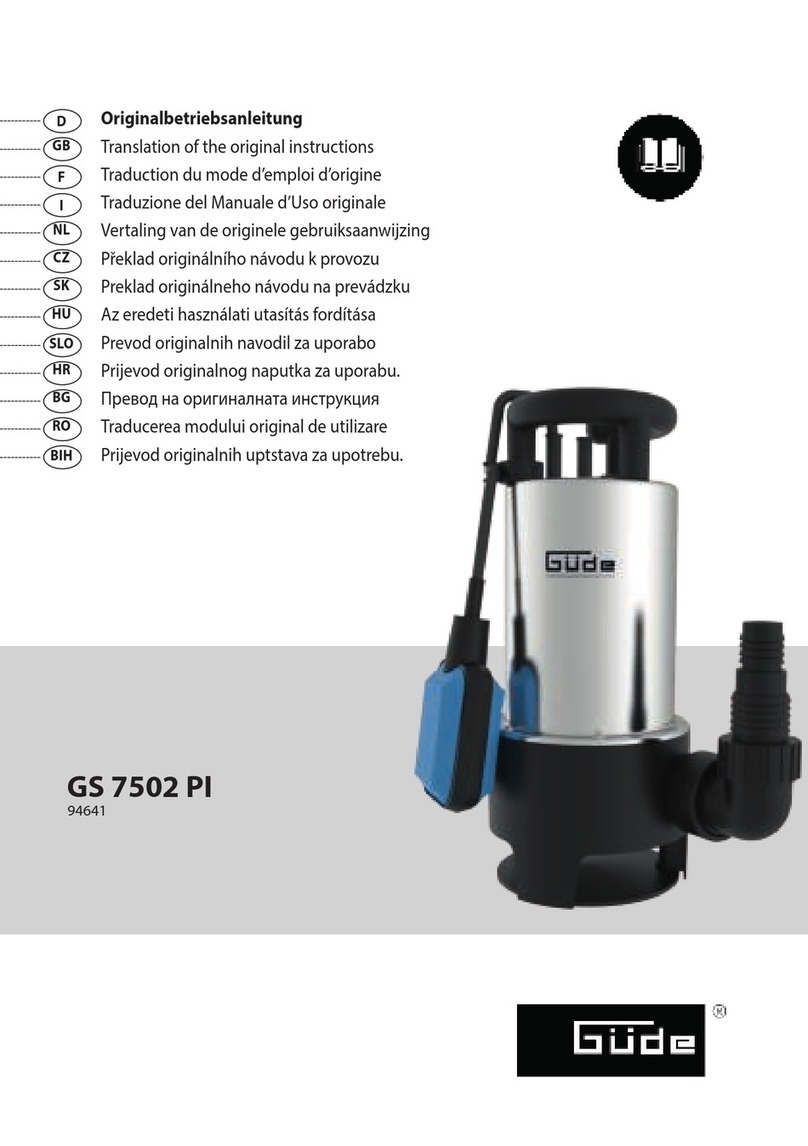
Gude GS 7502 PI Translation of the original instructions

Beckett
Beckett Fountain Pump G90AG Specifications
Siccom
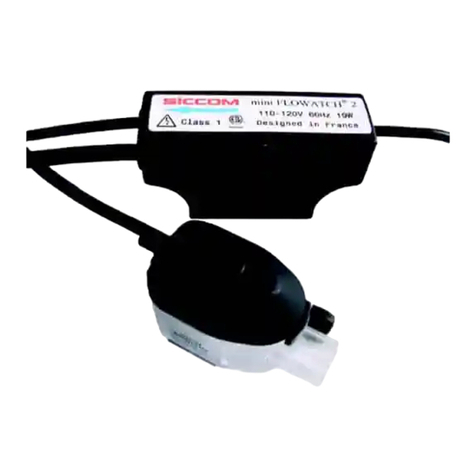
Siccom Mini FLOWATCH 2 installation instructions
