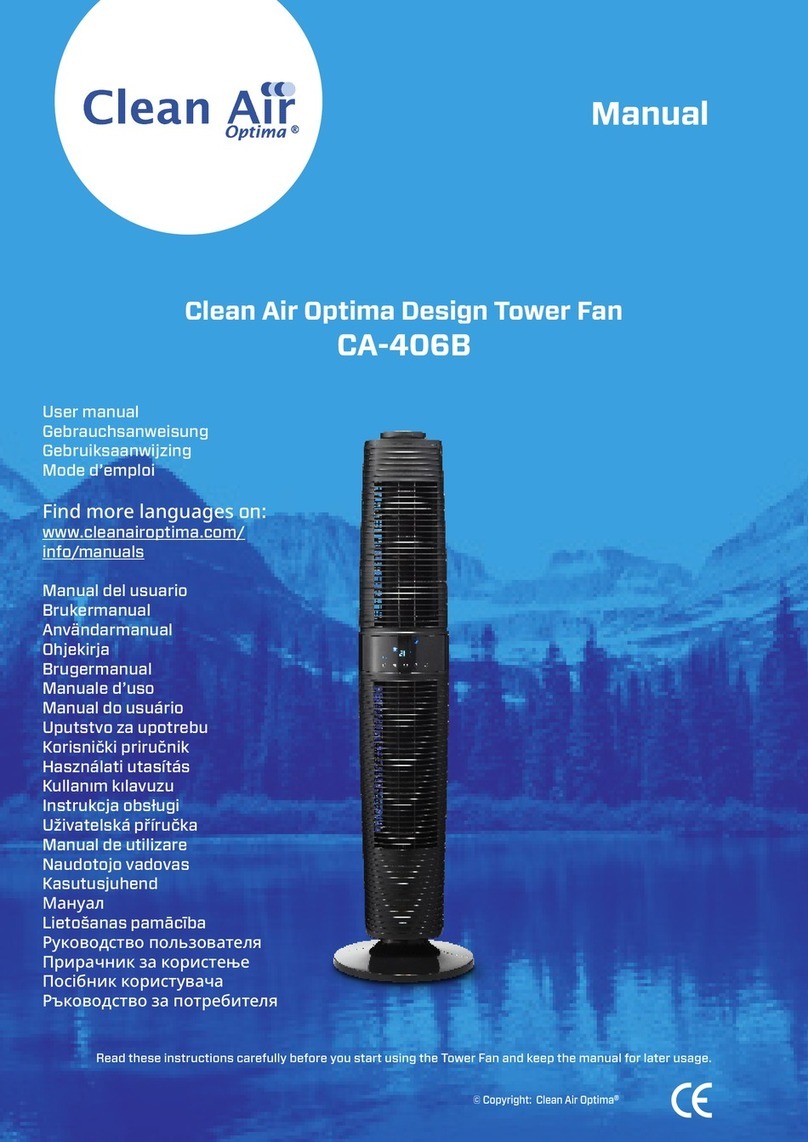
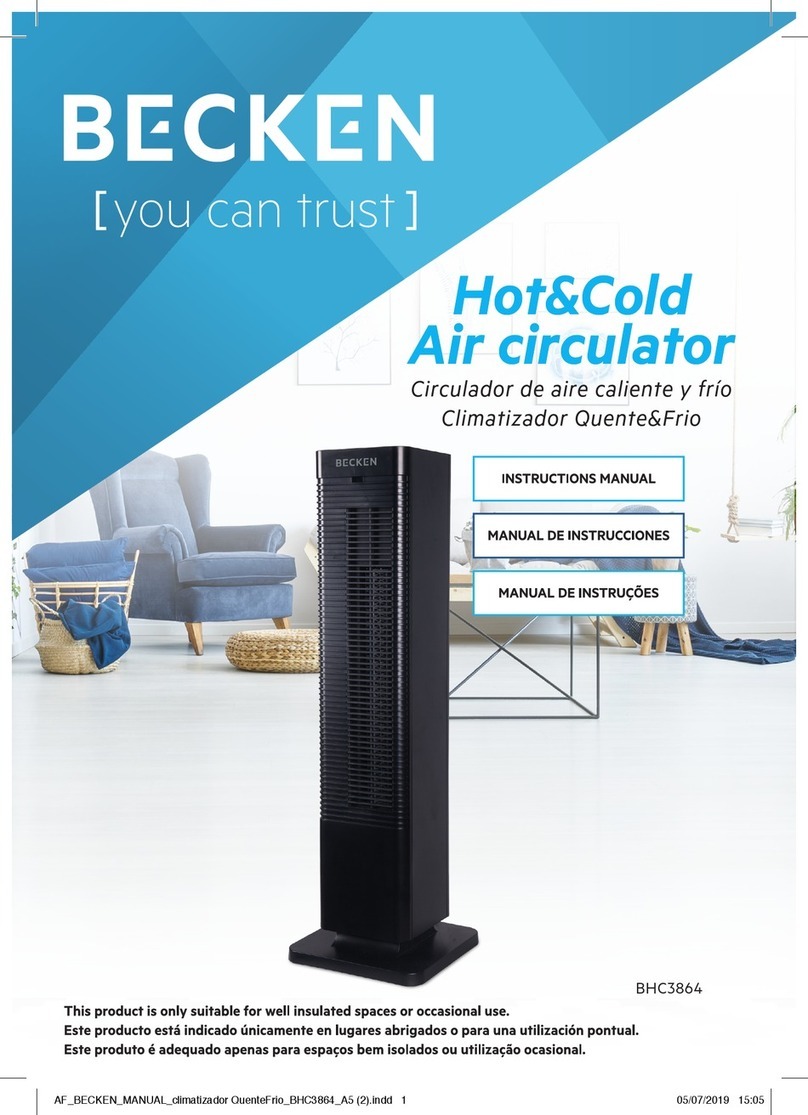
Clean Air Optima CA-404B User manual

User manual
Gebrauchsanweisung
Gebruiksaanwijzing
Mode d’emploi
Manual del usuario
Instrukcja obsługi
Uživatelská příručka
Manual de utilizare
Naudotojo vadovas
Kasutusjuhend
Lietošanas pamācība
Руководство пользователя
Прирачник за користење
Find more languages on:
www.cleanairoptima.com/
info/manuals
Read these instructions carefully before you start using the circulator-fan and keep the manual for later usage.
Circulator-fan with ionizer Clean Air Optima® CA-404B
© Copyright: Clean Air Optima
®
Manual

2
CA-404B
English
Thank you for purchasing the Clean Air Optima®Circulator-fan with ionizer CA-404B.
We wish you many years to have a pleasant room climate and healthy indoor air with this
ecient and eective Clean Air Optima® product.
These instructions describe the safety precautions to be observed during operation. They are
meant to prevent injuries and to avoid damaging the device.
Description of the device
The device consists of the following main components:
1. Removable protection grid
2. Protection grid cover
3. Protection grid decoration net
4. Protection grid rear
5. Foldable stand
6. Foldable stand cover
7. Steppless speed swicht knob
8. Digital display
9. Top of the housing
10. Housing
11. Foot

3
Safety warnings
This device may only be used in accordance with these safety instructions. Take the following
steps to minimize the risk of personal injury caused by for example electric shocks or fire.
1. Only for indoor use. Do not use or store outdoors.
2. Use proper voltage: AC 220V - 240V, 50Hz
3. Make sure that the air outlets are always free, clean up dust, hair and other obstruction for
the airflow and at the air outlets.
4. Keep your hair, clothes, jewels or fingers away from the air outlets.
5. The device is not intended to be used by children or persons with reduced physical-,
sensory- or mental capabilities, unless they are supervised by a person responsible for
their safety.
6. Children should be kept away unless continuously supervised.
7. To safely use the device, put it in a steady, horizontal position. Do not move while using.
8. Do not use the device when there is visible damage on the electrical cord or on the device
itself. Do not repair the device yourself in case of damage. Never pull the device by its cord.
If the power cord is damaged, then it must be replaced by an authorized service person to
prevent electric shock or fire.
9. Repairs may only be performed by authorized service personal. Do not try to repair the
device yourself to prevent electric shock or fire.
10. Always remove the plug from the socket when the device is not being used or when you
clean internal or external parts of it.
11. Do not use the device in rooms where inflammable liquids or gases are stored, close to
heat sources or in particularly humid rooms like the bathroom, shower or swimming pool.
12. To prevent malfunctions, never insert strange objects into the device.
13. Never dissemble or replace the device’s inner parts.
14. Do not place the device in direct sunlight, to avoid that the device discolours.
15. Never immerse the unit in water or other liquids.
16. Do not touch the power cord with wet hands.
17. Clean the device before storage. Store the machine in a cool and dry place outside
the reach of children.
18. Do not ingest the battery, the battery is a Chemical Burn Hazard.
19. This device contains a coin / button cell battery. If the coin / button cell battery is
swallowed, it can cause severe internal burns in just 2 hours and can lead to serious
complaints or decease.
20.Keep new and used batteries away from children.
21. If the battery compartment does not close securely, stop using the device and keep it away
from children.
22.If you think batteries might have been swallowed or placed inside any part of the body,
seek immediate medical attention.
23.The batteries contain materials, which are hazardous to the environment, they must be
removed from the device before it is scrapped and that they are disposed safely.
24.Use, maintain and clean the device as described in this manual.

4
Features
1. Stepless Speed Switch Knob with 24 speed levels.
2. Timer function 1 - 12 hours.
3. Remote control function.
4. Negative ion >3.000.000 /cm³.
5. Oscillation function, automatic swing in horizontal direction up to 80°; manual swing
in vertical direction up to 180°.
6. Sleep Air Flow mode.
7. The display led lights will automatically turn o after 1 minute of use and or inactivity
of the display.
8. Foldable for easy storage.
9. Uninterruptible power memory function.
10. Dynamic Natural Air Flow
Installation and Operating instructions
The package contains: circulator-fan, remote control and instruction manual.
Assembling the device
1. Take out the device from the package.
2. Carefully put the device on a stable surface.
3. The device needs to be positioned at least 20 cm from a wall.
Operating Functions
Plug in the device: you will hear an acoustic sound “Bi, Bi”.
ON/OFF button
Press the button, the circulator-fan starts working. Press it again, the device turns o.
Steppless Speed Switch Knob
Turn the switch knob to the right to increase the wind speed levels. The digital display
will show the corresponding wind speed level. If you continue to rotate to the right you will
reach an maximum wind speed level of 24 and you will hear the acoustic sound “Bi”. Rotate the
switch knob to the left to decrease the wind speed level. If you continue to rotate to the
left you will reach an minimum wind speed level of 1 and you will hear the acoustic sound “Bi”.
Dynamic Natural Air Flow
Press the button, to turn on the Dynamic Natural Air Flow mode, the digital display will
show level 8. Use the switch knob and rotate to the right to switch to level 16 and 24 or
switch back to 16 and 8 by rotating the switch knob to the left.

5
24 levels are divided into three groups
1 – 8 low level = level 8 on display
9 – 16 middle level = level 16 on display
17 – 24 high level = level 24 on display
The wind speed levels in 8, 16 and 24 are preprogrammed for the Dynamic Natural Air Flow,
the circulator-fan will operate according to the diagram below:
Press again to turn o the Dynamic Natural Air Flow mode.
Sleep Air Flow
Press the button, to turn on the Sleep Air Flow mode, the digital display will show level 6.
The wind speed levels can be adjusted from level 6 to level 1 with the switch knob by
rotating to the left. When operating for example in Sleep Air Flow mode level 6, the wind speed
will be reduced by one level (6 to 5, 5 to 4, 4 to 3, 3 to 2, 2 to 1, 1 = continuous) every 30 minutes.
Press again to turn o the Sleep Air Flow mode.
Timer
Pressing the button, sets the timer. The timer function determines how many hours the
circulator-fan will operate. You can set the timer simply by turning the switch knob to the
right or left and the digital display will show the selected time you would like to run the device.
The timer can be set from 1 hour to 12 hours. As time passes, the time value decreases until it
goes to 00:00 hours and the device shuts o.

6
Press again to turn o the Timer function.
80° Oscillation
Pressing the button, sets the 80° automatic oscillation. The circulator-fan will oscillate to
the right angle of 45° and to the left angle of 45°.
Press again to turn o the 80° Oscillation function.
Negative Ion
Pressing the button, will activate the negative ion generator with a total capacity of
> 3.000.000 negative ions / cm³that are spread from the fan air flow through out the entire
room and thereby neutralize pollutants and smells. Negative ions attach onto dust particles,
microorganisms and other unwanted particles in the air and connect them to each other.
This way, the particles become heavier than air and fall onto the ground so that you can no
longer breathe them in.
Negative ions are most found in the forest, mountains and by the sea. Negative ions ensures
fresh and healthy air.
Press again to turn o the Negative Ion function.

7
Remote control
The buttons on your remote control:
1. ON/OFF
2. Timer
3. 80°oscillation
4. Program setting
5. Wind speed level 1-24
6. Negative ion
Replacing batteries in the remote control
1. Open the battery cover at the back side of the remote control to place the battery.
(see picture 1).
2. To place the battery: there is a “security tab” at the bottom of the remote control that you
first have to slide to the right and then pull out the battery holder. (see picture 2).
Insert the battery with the correct polarity. (see picture 3).
3. Push the battery cover back into the remote control.
Remote control Battery cover
Picture 1 Picture 2
Picture 3 Battery (CR2025)

8
Cleaning and maintenance
1. Before cleaning the device, unplug the power cord.
2. Clean the housing with a soft moisture cloth. Do not use chemical solvent (such as benzene,
alcohol, gasoline). The surface may be damaged or even the whole case may be deformed.
The circulator-fan has an detachable front for easy cleaning (see picture 1).
Use a Philips-head screwdriver and remove the screw from the rear protection grid
(see picture 2). Then turn the detachable front on the front side a quarter to the left and
take out the grid.
You can now remove dirt and dust from the blades with a soft moisture cloth (see picture 3).
3. Do not sprinkle water on the device.
4. If the circulator-fan is not used for a longer period of time, we advise to clean the device
carefully and let it dry. The device has to be stored in a cool and dry place.
Picture 1 Picture 2
Picture 3

9
Troubleshooting
The following is a troubling shooting guide to help you solve any issues that you may have
using the Clean Air Optima®Circulator-fan CA-404B
Problem Possible Cause Solution
Device does not
switch on
Power plug not plugged in
ON / OFF button not activated
Plug in device
Press ON / OFF button
Device is noisy
There may be too much dust
on the device/fan blades
The device is on an unstable
surface
Clean the device and fan blades
Place the device on solid and
even ground
The remote control
does not work
Check if the battery
is installed
Check if the battey
is in-stalled correctly
Check the capacity
of the battery
Check the remote control
distance exceeds the range
Install the battery
Install the battery correctly
Replace te battery
Range is within 5 meters from
the front-side of the device

10
WARNING!
If the above recommended solutions do not work, please contact Clean Air Optima®technical
support at the telephone number for your region. Do not attempt to disassemble, reassemble,
or repair the device as this may void the warranty.
Specifications
Model CA-404B
Rated voltage 220V - 240V, 50Hz
Rated power 25W
Noise level < 10dB(A) (Speed 1)
≤55dB(A) (Speed 24)
Airflow 660m³/H
Turning circle Horizontal 80°Automatic oscillation
Vertical 180°Manual rotation
Dimensions 240 x 240 x 345 mm
Weight 2,1 kg
Colour Black
Carried standard IEC/EN 60335-1 IEC/EN 60335-2-80 IEC/EN 62233:2008
Complies with EU
regulations CE / WEEE / RoHS
Ask your retailer or your municipality for updated information regarding
the disposal of the packaging and of the device.

11
Service
Warranty Certificate for the Clean Air Optima®Circulator-fan with ionizer CA-404B.
Date of purchase: …………………………………………………………………………………………
Customers name: …………………………………………………………………………………………
Address: …………………………………………………………………………………………………….........
Telephone: …………………………………………………………………………………......……………….
Email: ………………………………………………………………………………………………...........………..
Seller’s name: …………………………………………………………………………………...…………...
Address: …………………………………………………………………………………………........………….
1. Please fill in completely this Warranty Certificate. Send it with the invoice and the unit,
postage pre-paid and using the original packing box, to your distributor. Make sure to include
the appropriate return postage for the package.
2. Please enclose a short description of the damage, fault or malfunction, and the circum-
stances under which these problems arose.
The Clean Air Optima®Circulator-fan with ionizer CA-404B is subjected to strict testing
procedures before leaving the factory. If within 2 years from the date of purchase the product
does not perform according to the specifications, because of factory defects, the purchaser
is entitled to free repairs or replacement of parts upon presentation of this warranty (provided
that the malfunction or damage to the device and/or parts occurred under normal operating
conditions). What is covered: All parts defective in material and workmanship. For how long:
two years from purchase date. What we will do: Repair or replace any defective parts.
Other Conditions
The provisions of this warranty are in lieu of any other written warranty whether express or
implied, written or oral, including any warranty of merchantability or fitness for a particular
purpose. The manufacturer’s maximum liability shall not exceed the actual purchase price
paid by you for the product. In no event shall the manufacturer be liable for special, incidental,
consequential, or indirect damages. This warranty does not cover a defect that has resulted
from improper or unreasonable use or maintenance, faulty assembly, accident, natural
catastrophes, improper packing, or unauthorized tampering, alteration, or modification as
determined solely by us. This warranty is void if the label bearing the serial number has been
removed or defaced.

12
Thank you
for reading!
Share your feedback about the Clean Air Optima®
Circulator-fan with ionizer CA-404B on:
www.cleanairoptima.com
For frequently asked questions about the CA-404B go to:
www.cleanairoptima.com and search for the CA-404B.
Download PDF instruction manual on:
www.cleanairoptima.com/info/manuals
Watch all Clean Air Optima®Product
animation video’s on:
www.youtube.com
Clean Air Optima International B.V. | David Ricardostraat 9-7 / 9-9 | 7559 SH Hengelo (ov)
The Netherlands | Phone: +31 (0) 74 - 2670145
Clean Air Optima Germany GmbH | Enschedestraße 14 | 48529 Nordhorn | Germany
Phone: +49 (0) 5921 879-121

13
CA-404B
Deutsch
Vielen Dank, dass Sie sich für den Clean Air Optima®Zirkulator-Ventilator mit
Ionisator CA-404B entschieden haben.
Wir wünschen Ihnen viele Jahre angenehmes Raumklima und gesunde Raumluft mit diesem
ezienten und eektiven Clean Air Optima® Produkt.
Diese Anleitung beschreibt die Sicherheitsvorkehrungen, die im Betrieb zu beachten sind. Sie sind
dafür vorgesehen, Verletzungen vorzubeugen und Beschädigungen am Gerät zu vermeiden.
Beschreibung des Geräts
Das Gerät besteht aus folgenden Hauptkomponenten:
1. Abnehmbares Schutzgitter
2. Schutzgitterabdeckung
3. Schutzgitter-Dekorationsnetz
4. Schutzgitter hinten
5. klappbarer Ständer
6. Klappbare Ständerabdeckung
7. Geschwindigkeitsregler für stufenlose Geschwindigkeit
8. Digitale Anzeige
9. Oberseite des Gehäuses
10. Gehäuse
11. Fuß

14
Sicherheitshinweise
Dieses Gerät darf nur in Übereinstimmung mit diesen Sicherheitshinweisen verwendet
werden. Führen Sie die folgenden Schritte aus, um das Verletzungsrisiko für Personen
(z.B. durch Stromschläge oder Feuer) zu minimieren.
1. Nur für Innenräume geeignet. Nicht im Freien verwenden oder lagern.
2. Die richtige Spannung verwenden: AC 220V - 240V, 50Hz
3. Achten Sie darauf, dass die Luftauslässe immer frei sind. Beseitigen Sie Staub, Haare und
andere Hindernisse für den Luftstrom und an den Luftauslässen.
4. Halten Sie Haare, Kleidung, Schmuck oder Finger von den Luftauslässen fern.
5. Das Gerät ist nicht für die Verwendung durch Kinder oder Personen mit eingeschränkten
körperlichen, sensorischen oder geistigen Fähigkeiten bestimmt, es sei denn, diese
Personen werden von einer für ihre Sicherheit verantwortlichen Person beaufsichtigt.
6. Kinder müssen vom Gerät ferngehalten werden, außer die Kinder sind unter ständiger Aufsicht.
7. Stellen Sie das Gerät zum sicheren Gebrauch in eine stabile, horizontale Position.
Beim Gebrauch nicht bewegen.
8. Verwenden Sie das Gerät nicht, wenn sichtbare Schäden am Netzkabel oder am Gerät
selbst vorhanden sind. Reparieren Sie das Gerät nicht selbst, wenn es beschädigt ist.
Ziehen Sie das Gerät niemals an seinem Kabel. Wenn das Netzkabel beschädigt ist, muss
es von einem befugten Servicemitarbeiter ausgetauscht werden, um Stromschlag oder
Feuer zu vorzubeugen.
9. Reparaturen dürfen nur von befugtem Servicepersonal durchgeführt werden.
Um Stromschlägen oder Feuer vorzubeugen: Nicht versuchen, das Gerät selbst zu reparieren.
10. Immer den Stecker aus der Steckdose ziehen, wenn das Gerät nicht benutzt wird, oder
wenn Sie innere oder äußere Teile des Geräts reinigen.
11. Verwenden Sie das Gerät nicht in Räumen, in denen brennbare Flüssigkeiten oder Gase
aufbewahrt werden, in der Nähe von Wärmequellen oder in besonders feuchten Räumen
wie dem Badezimmer.
12. Um Fehlfunktionen vorzubeugen: Führen Sie keine Fremdkörper in das Gerät ein.
13. Nie die inneren Teile des Geräts zerlegen oder ersetzen.
14. Das Gerät nicht in direktem Sonnenlicht aubewahren, damit sich das Gerät nicht verfärbt.
15. Nie das Gerät in Wasser oder andere Flüssigkeiten eintauchen.
16. Das Netzkabel nicht mit nassen Händen berühren.
17. Reinigen Sie das Gerät vor der Lagerung. Bewahren Sie das Gerät an einem kühlen und
trockenen Ort außerhalb der Reichweite von Kindern.
18. Die Batterie nicht verschlucken, die Batterie stellt eine chemische Verbrennungsgefahr dar.
19. In diesem Gerät befindet sich eine Knopfzelle / Knopfbatterie. Wenn die Knopfzellenbatterie
verschluckt wird, kann sie innerhalb von nur 2 Stunden schwere innere Verbrennungen
verursachen und zu schweren Beschwerden oder zum Tod führen.
20.Halten Sie neue und gebrauchte Batterien von Kindern fern.
21. Wenn sich das Batteriefach nicht sicher verschließen lässt: Verwenden Sie das Gerät nicht
mehr und halten Sie es von Kindern fern.
22.Wenn Sie glauben, dass Batterien verschluckt wurden oder sich in irgendeinem Teil des
Körpers befinden: Suchen Sie sofort einen Arzt auf.
23.Die Batterien enthalten umweltgefährdende Stoe, sie müssen vor dem Entsorgen aus
dem Gerät entfernt und sicher entsorgt werden.
24.Verwenden, warten und reinigen Sie das Gerät wie in dieser Anleitung beschrieben.

15
Merkmale
1. Geschwindigkeitsregler mit 24 Geschwindigkeitsstufen.
2. Timerfunktion 1 - 12 Stunden.
3. Fernbedienungsfunktion
4. Negative Ionen >3.000.000 /cm³.
5. Oszillationsfunktion, automatisches Schwenken in horizontaler Richtung bis 80°;
manuelles Schwenken in vertikaler Richtung bis 180°.
6. Schlaf-Luftstrom-Modus.
7. Die LED-Beleuchtung des Displays schaltet sich nach 1 Minute Verwendung und/oder
Inaktivität des Displays automatisch aus.
8. Zusammenklappbar für einfache Lagerung.
9. Unterbrechungsfreie Speicherfunktion.
10. Dynamischer natürlicher Luftstrom
Installations- und Betriebsanleitung
Inhalt der Verpackung: Zirkulator-Ventilator, Fernbedienung und Bedienungsanleitung.
Zusammenbau des Geräts
1. Nehmen Sie das Gerät aus der Verpackung.
2. Stellen Sie das Gerät vorsichtig auf einen stabilen Untergrund.
3. Das Gerät muss in mindestens 20 cm Entfernung von einer Wanden aufgestellt werden.
Bedienfunktionen
Stecken Sie das Gerät ein: Sie hören einen akustischen Ton „Bi, Bi“.
Taste ON / OFF
Drücken Sie auf die Taste , der Zirkulator-Ventilator geht in Betrieb. Drücken Sie noch
einmal auf die Taste. Das Gerät schaltet sich aus.
Stufenloser Geschwindigkeitsregler
Drehen Sie den Geschwindigkeitsregler nach rechts, um die Windgeschwindigkeitsstufen
zu erhöhen. Die Digitalanzeige zeigt die entsprechende Windgeschwindigkeitsstufe an. Wenn
Sie weiter nach rechts drehen, erreichen Sie eine maximale Windgeschwindigkeitsstufe von
24 und Sie hören den akustischen Ton „Bi“. Drehen Sie den Geschwindigkeitsregler nach
links, um die Windgeschwindigkeit zu verringern. Wenn Sie weiter nach links drehen, erreichen
Sie eine minimale Windgeschwindigkeitsstufe von 1 und Sie hören den akustischen Ton „Bi“.
Dynamischer natürlicher Luftstrom
Drücken Sie die Taste , um den Modus „Dynamischer natürlicher Luftstrom“ einzuschalten,
auf der Digitalanzeige wird Stufe 8 angezeigt. Drehen Sie den Geschwindigkeitsregler
nach rechts, um zu den Stufen 16 und 24 zu gehen, oder gehen Sie zurück zu 16 und 8, indem
Sie den Geschwindigkeitsregler nach links drehen.

16
24 Stufen sind in drei Gruppen unterteilt
1 - 8 niedrige Stufe = Stufe 8 im Display
9 - 16 mittlere Stufe = Stufe 16 im Display
17 - 24 hohe Stufe = Stufe 24 im Display
Die Windgeschwindigkeitsstufen in 8, 16 und 24 sind für dynamischen Natürlichen Luftstrom
vorprogrammiert, der Zirkulator-Ventilator arbeitet nach dem unten stehenden Diagramm:
Drücken Sie erneut , um den Modus „Dynamischer natürlicher Luftstrom“ auszuschalten.
Schlaf-Luftstrom
Drücken Sie die Taste , um den Schlaf-Luftstrom-Modus einzuschalten. Die Digitalanzeige
zeigt Stufe 6 an.
Die Windgeschwindigkeitsstufen können mit dem Geschwindigkeitsregler durch Drehen
nach links von Stufe 6 auf Stufe 1 eingestellt werden. Bei Betrieb z. B. im Schlaf-Luftstrom-
Modus in Stufe 6 wird die Windgeschwindigkeit alle 30 Minuten um eine Stufe reduziert
(6 auf 5, 5 auf 4, 4 auf 3, 3 auf 2, 2 auf 1, 1 = kontinuierlich).
Drücken Sie erneut auf , um den Schlaf-Luftstrom-Modus auszuschalten.
Timer
Durch Drücken der Taste wird der Timer eingestellt. Die Timerfunktion bestimmt, wie
viele Stunden der Zirkulator-Ventilator arbeitet. Den Timer können Sie einfach durch Drehen
des Schaltknopfes nach rechts oder links einstellen. Die Digitalanzeige zeigt dann die
gewählte Zeit an, zu der Sie das Gerät laufen lassen möchten. Der Timer kann von 1 Stunde bis
12 Stunden eingestellt werden. Im Laufe der Zeit nimmt der Zeitwert ab, bis er 00:00 erreicht
und das Gerät abschaltet.
1 - 8 niedrige Stufe
9 - 16 mittlere Stufe
17 - 24 hohe Stufe
H
Med
Low
Stopp
H
Med
Low
Stopp
H
Med
Low
Stopp

17
Drücken Sie erneut auf , um die Timer-Funktion auszuschalten.
80° Oszillation
Durch Drücken auf die Taste wird die automatische 80°-Oszillation eingestellt.
Der Zirkulator-Ventilator schwenkt in einen Winkel von 45° nach rechts und 45° nach links
hin und her.
Drücken Sie erneut , um die 80°-Oszillationsfunktion auszuschalten.
Negative Ionen
Drücken der Taste aktiviert den Negativionengenerator mit einer Gesamtkapazität
von > 3.000.000 negativen Ionen / cm³die sich über den gesamten Raum verteilen und
so Schadstoe und Gerüche neutralisieren. Negative Ionen binden sich an Staubpartikel,
Mikroorganismen und andere unerwünschte Partikel in der Luft und verbinden sie miteinander.
Auf diese Weise werden die Partikel schwerer als Luft und fallen auf den Boden, so dass sie
nicht mehr eingeatmet werden können.
Negative Ionen sind am häufigsten im Wald, in den Bergen und am Meer zu finden.
Negative Ionen sorgen für frische und gesunde Luft.
Drücken Sie erneut , um die Funktion „Negative Ionen“ auszuschalten.

18
Fernbedienung
Die Tasten auf Ihrer Fernbedienung:
1. EIN/AUS
2. Timer
3. 80°Oszillation
4. Programmeinstellung
5. Windgeschwindigkeit Stufe 1-24
6. Negatives Ion
Wechseln der Batterien in der Fernbedienung
1. Önen Sie die Batterieabdeckung an der Rückseite der Fernbedienung, um die Batterie
einzulegen. (siehe Bild 1).
2. Zum Einsetzen der Batterie: An der Unterseite der Fernbedienung befindet sich eine
„Sicherheitslasche“, die Sie zuerst nach rechts schieben und dann den Batteriehalter
herausziehen müssen. (siehe Bild 2). Setzen Sie die Batterie richtig gepolt ein. (siehe Bild 3).
3. Den Batteriefachdeckel wieder in die Fernbedienung drücken.
Fernbedienung Batteriefachdeckel
Bild 1 Bild 2
Bild 3 Batterie (CR2025)

19
Reinigung und Wartung
1. Bevor Sie das Gerät reinigen: Ziehen Sie den Netzstecker aus der Steckdose.
2. Reinigen Sie das Gehäuse mit einem weichen, feuchten Tuch. Verwenden Sie keine
chemischen Lösungsmittel (z.B. Benzol, Alkohol, Benzin). Die Oberfläche kann beschädigt
oder sogar das gesamte Gehäuse verformt werden.
Der Zirkulator-Ventilator hat eine abnehmbare Front zur einfachen Reinigung (siehe Bild 1).
Drehen Sie mit einem Kreuzschlitzschraubendreher die Schraube aus dem hinteren
Schutzgitter (siehe Bild 2) heraus. Drehen Sie dann die abnehmbare Front an der
Vorderseite eine Viertelumdrehung nach links und nehmen Sie das Gitter heraus.
Nun können Sie mit einem weichen, feuchten Tuch Schmutz und Staub von den Messern
entfernen (siehe Bild 3).
3. Sprühen Sie kein Wasser auf das Gerät.
4. Wird der Zirkulator-Ventilator längere Zeit nicht benutzt, empfehlen wir, das Gerät sorgfältig
zu reinigen und trocknen zu lassen. Das Gerät muss an einem kühlen und trockenen
Ort aufbewahrt werden.
Bild 1 Bild 2
Bild 3

20
Störungsbehebung
Im Folgenden finden Sie eine Anleitung zur Störungssuche. Sie hilft Ihnen, Probleme zu lösen,
die bei Verwendung des Clean Air Optima® Zirkulator-Ventilator CA-404B auftreten können.
Problem Mögliche Ursache Lösung
Gerät schaltet nicht ein
Netzstecker nicht eingesteckt.
Taste ON / OFF nicht betätigt.
Gerät einstecken
Taste ON / OFF drücken
Gerät ist laut
Möglicherweise befindet sich
zu viel Staub auf dem Gerät/den
Lüfterblättern
Das Gerät steht auf einer
instabilen Oberfläche.
Reinigen Sie das Gerät und die
Lüfterblätter
Stellen Sie das Gerät auf einen
festen und ebenen Untergrund.
Die Fernbedienung
funktioniert nicht
Kontrollieren, ob die Batterie
eingelegt ist
Kontrollieren, ob die Batterie
eingelegt ist
Die Kapazität der Batterie
kontrollieren
Kontrollieren, ob der Abstand
der Fernbedienung die
Reichweite überschreitet
Die Batterie einsetzen
Die Batterie richtig einsetzen
Die Batterie ersetzen
Die Reichweite beträgt 5 Meter
von der Vorderseite des Geräts
Table of contents
Languages:
Other Clean Air Optima Fan manuals
Popular Fan manuals by other brands
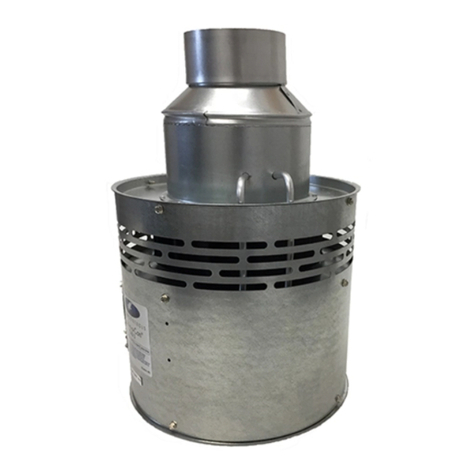
Field Controls
Field Controls 46261200 instruction sheet
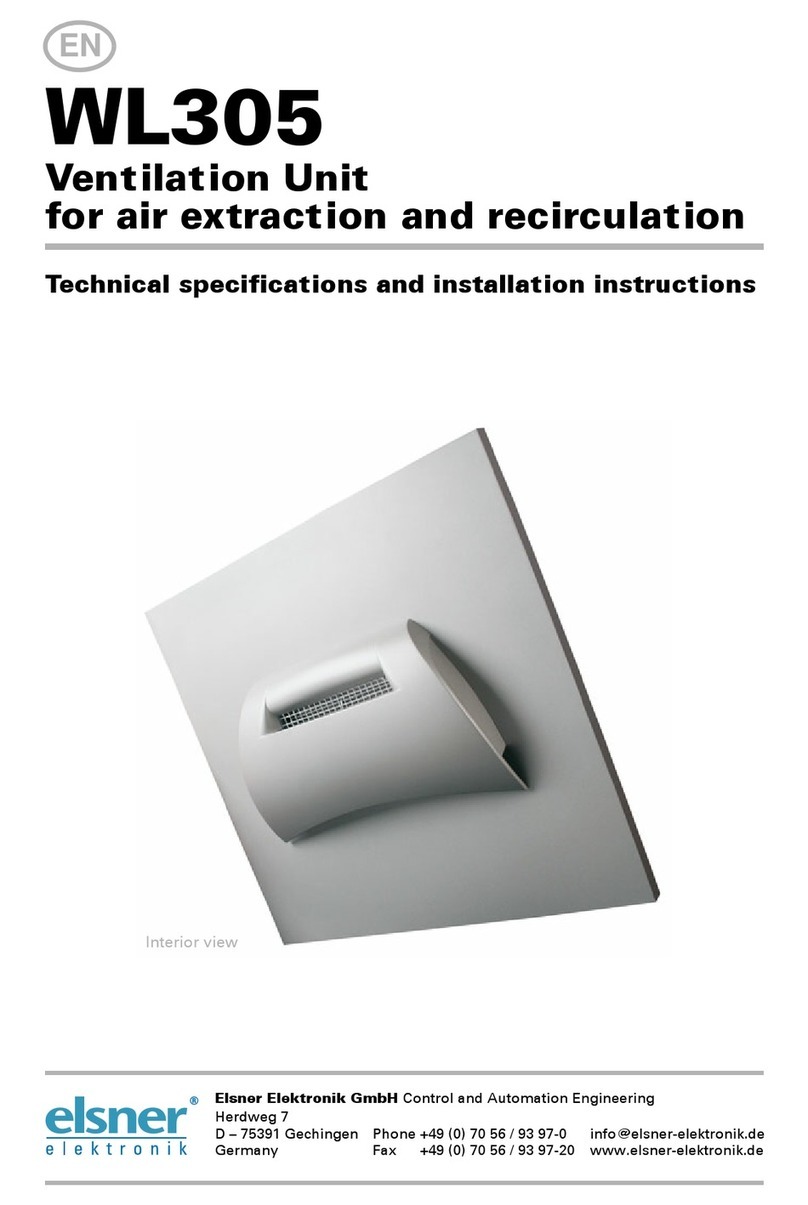
elsner elektronik
elsner elektronik WL305 installation instructions

MOORE FANS
MOORE FANS AirBrake installation instructions
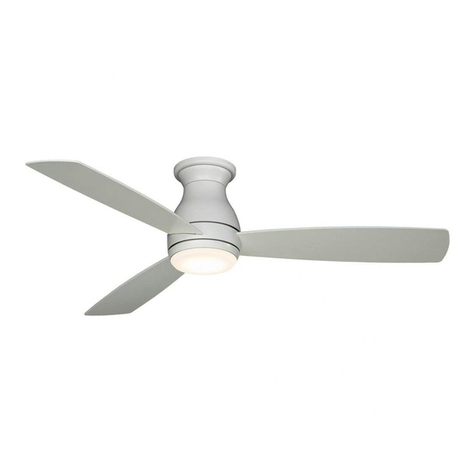
Fanimation
Fanimation HUGH 44 instructions
Eberg
Eberg AIRO 85 instruction manual

Kichler Lighting
Kichler Lighting Verdi instruction manual

