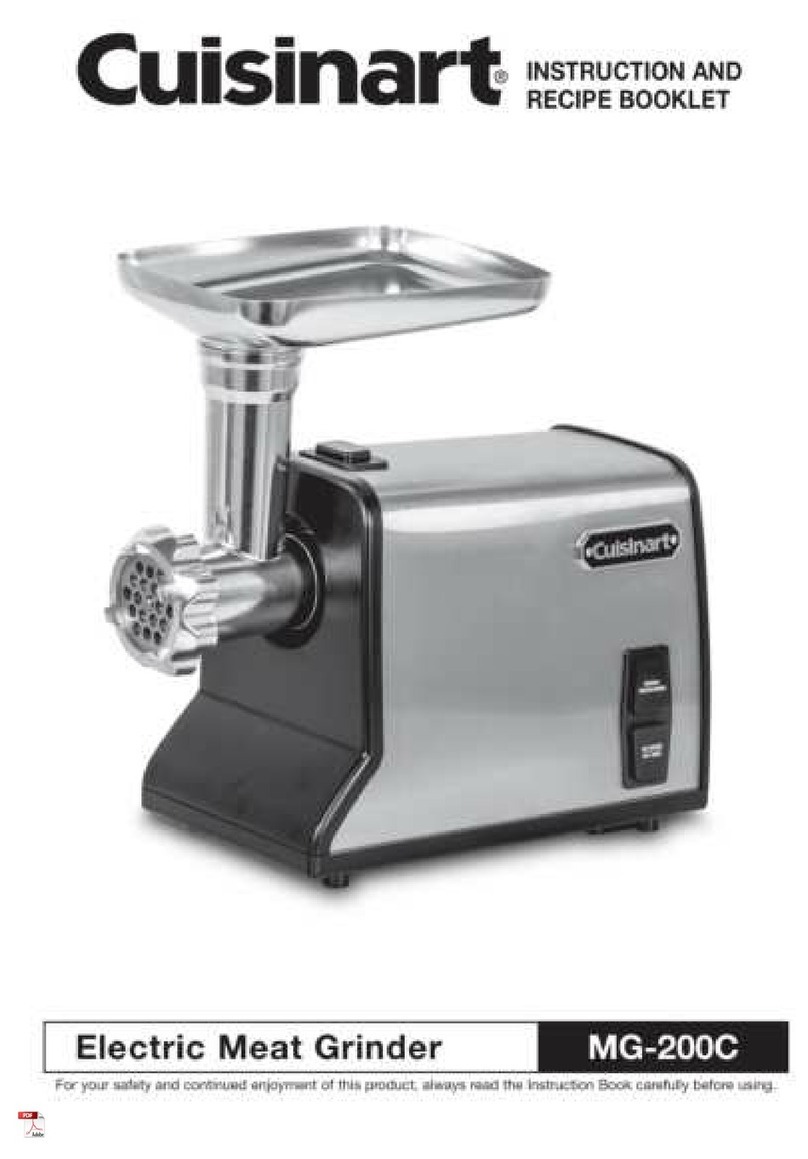
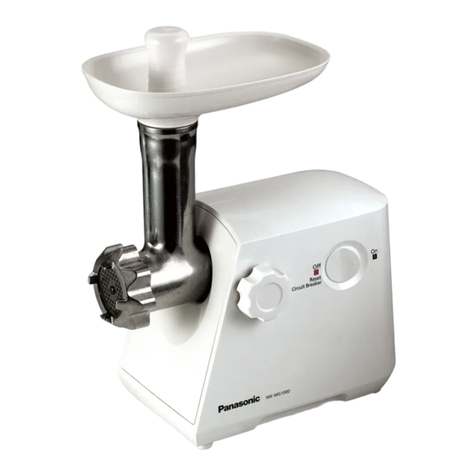
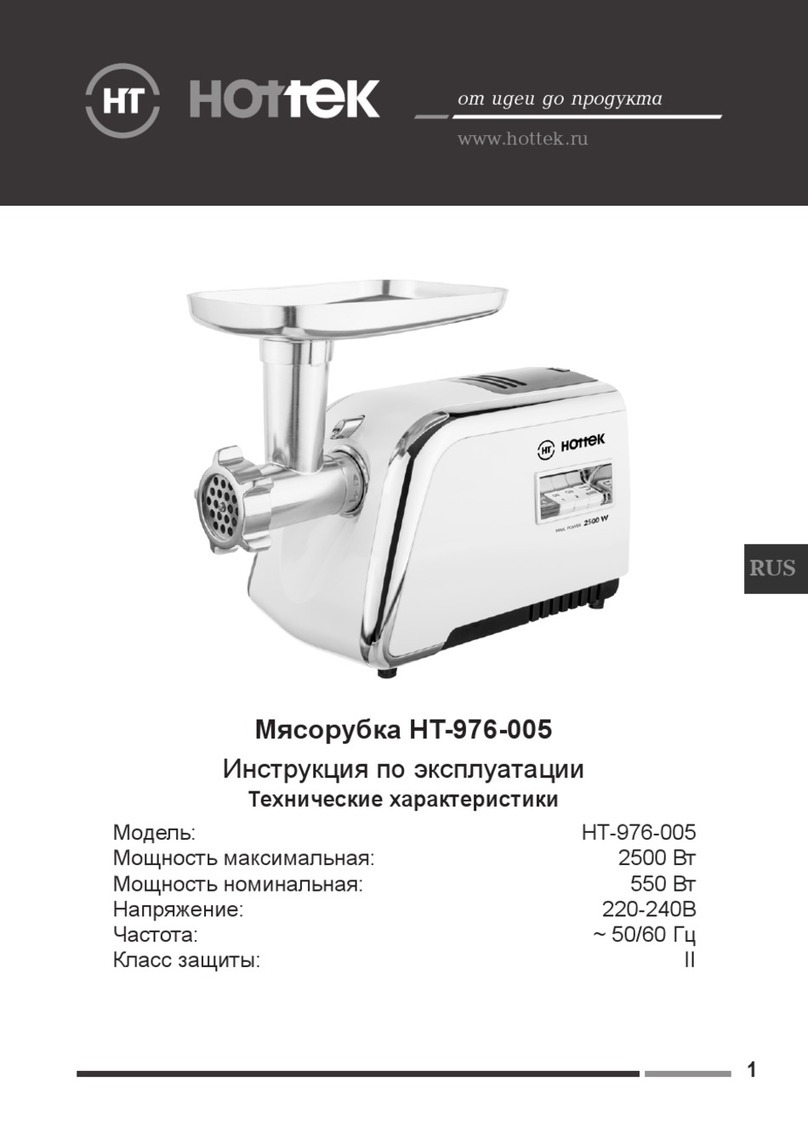
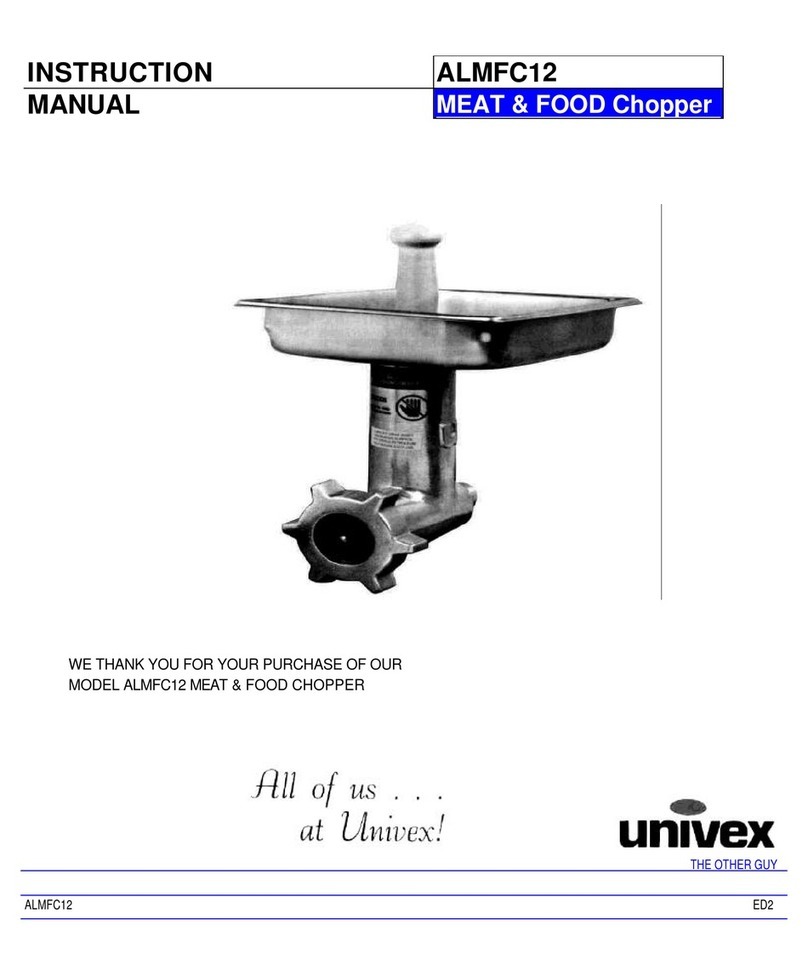
Clearline MEAT-O-VIT User manual

IMPORTANT: Please read these instructions fully before using the appliance.
Kindly retain these instructions for future reference.
INSTRUCTION MANUAL
MEAT-O-VIT
Effortlessly grinds a wide variety of meats
COMES WITH KEBAB AND SAUSAGE
ATTACHMENTS

1. Please make sure that the voltage indicated on the machine corresponds with
the voltage in your home.
2. Wash the accessories in soapy water, rinse and dry them. Do not use water of
temperature greater than 40oC.
3. Only for domestic use.
4. The Mince discs needs to be kept oiled at all times, always coat them with oil
when stored.
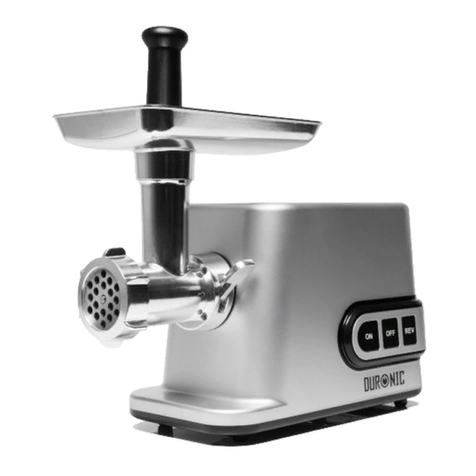
KNOW YOUR MEAT GRINDER
INSTRUCTIONS BEFORE USE:
S No. Body Parts
1. Sausage Maker Attachment Top
2. Kebab Maker Attachment Top
3. Kebab Maker Attachment
4. Sausage Maker Attachment
5. Ring Nut
6. Mince Discs - 3 Nos. – Fine
Medium, Coarse
S No. Body Parts
7. S.S. Cutting Blade
8. Feed Screw
9. Mincer Head with Food Chute
10. Aluminum Food Tray
11. Pusher
12. Mincer Head Release Button
13. Motor Unit
14. On/Off/Reverse Button
ATTACHMENTS
1 2 3 4
11
10
9
12 13
8765

ASSEMBLING THE MINCER HEAD:
1. Hold the mincer head with Food Chute (Part No. 9) at an angle (as shown in
Fig.1) and insert it into the Motor Housing (Part No. 13). Turn the Food Chute
anti-clockwise to lock it. In locked position the Food Chute should be facing
vertically upwards.
2. Now place the Feed Screw (Part No. 8) inside the Mincer head as shown in Fig
No 2.
3. Then place the SS Cutting Blade (Part No. 7) on top of the Feed Screw with the
cutting edge facing outside as shown in Fig No 3.
4. Fit the Mincing Discs (Part No. 6) of your choice (depends on how you want
the meat to be - coarse, medium or fine) on top of the SS Cutting Blade. Slots
are provided in the Mincer Head for proper fitment. (Fig. 4)
5. Screw the Ring Nut (Part No.5) on top of the Disc. (Fig No.5)
6. Fit the aluminum food tray (Part No.10) on top of the food chute. (Fig No. 6)
Note: Never push the food using your finger or any other object.
The appliance is now ready for mincing.
(Fig No.1) (Fig No.2) (Fig No.3)
(Fig No.4) (Fig No.5) (Fig No.6)

1. Cut the fresh meat into pieces (confirm that the bones ,ribs, skin and fat in
the fresh meat are removed first. (The maximum cut size of the meat should be
20mm×20mm×60Mmm)
2. Assemble the machine as per the points stated above.
3. Plug in the power cord and turn on the machine.
4. Put the meat in the Food Tray and use the Pusher to push it down the Mincer
Head with Food Chute.
5. The Minced Meat will start to come out from the disc you have chosen.
6. After the mincing is completed, you can use the machine in “REVERSE” mode to
clear out any blockage caused by the meat.
7. You can now unplug the machine.
HOW TO MINCE MEAT
This machine has 2 attachments – Sausage Maker (Part No. 1 & 4) and a Kebab
Maker (Part No. 2 & 3)
ATTACHMENTS
Note : The reverse button only works for the duration it is pressed.
Sausage Maker – (Assembly as per figure 7)
To use your Meat Grinder to make fresh home-made sausages, follow the steps
below –
1. Hold the Mincer Head with Food Chute (Part No.9) and insert the Feed Screw (
Part No.8) into the mincer head.
2. Fit the SS cutting blade (Part No.7) on top of the Feed Screw (Part No. 8) with
the cutting edge facing outside.
3. Place the Sausage Maker Attachment (Part No.4) below the Sausage Maker
Attachment Top (Part No.1) and on top of the SS Cutting Blade. (Part No. 7)
and screw the Ring Nut (Part No. 5) on top of them.
4. Hold a Edible Sausage filler in front of the meat mincer from one hand and
put the marinated meat in the Food Chute using your other hand. Minced
meat will come out from the sausage attachment and into the Edible Sausage
filler. May be operated by two people if needed.

CLEANING AND MAINTENANCE
Kebab Maker –
1. Hold the Mincer Head with Food Chute (Part No.9) and place the Feed
Screw (Part No.8) into the mincer head.
2. Fit the SS cutting blade (Part No.7) on top of the Feed Screw (Part No. 8) with
the cutting edge facing outside.
3. Place the Kebab Maker Attachment (Part No.3) below the Kebab Maker
Attachment Top (Part No.2) and on top of the SS Cutting Blade. (Part No. 7)
and screw the Ring Nut (Part No. 5) on top of them.
4. Put the marinated meat in the Food Chute. Minced meat in the shape of
Kebabs will come out from the machine. May be operated by two people if
needed.
1. Be sure to turn off the appliance by pulling out the plug.
2. Press the Mincer Head Release Button (Part No.12) and simultaneously rotate
the attached parts clockwise to release it from the motor unit (Part No.13).
3. Unscrew the Ring Nut. If the Ring Nut (Part No.5)
4. Disassemble all the parts, rinse with lukewarm water, and wipe dry.
5. The Motor Unit can be wiped with a damp cloth. Never immerse the main unit
in water or wash it directly under a faucet / running water.
6. Metal parts such as Discs and SS Cutting Blade must be immersed in olive oil
or other edible oils to prevent rust.
(Fig No.7)

WARRANTY CARD
Serial No.
Model No.
Customer’s Name :
Address :
Date of Purchase :
Dealer’s Name & Stamp
Bill No.
MEAT MINCER
CLEARLINE APPLIANCES LIMITED
177G, Industrial Area, Phase-I, Chandigarh - 160002
Incase of any complaints
please contact: +91 172 4647707, 4626036, 4626027
Whatsapp us at : 98882 27707
write to us at the above mentioned address
Marketed By:
www.clearline.co.in
This product carries a warranty of 12 months from the date of purchase against defects
caused by faulty workmanship and materials. The warranty excludes defects caused by
the product not being used in accordance with instructions, mis-use, accidental damage
and tampering with by un-authorised persons. In the event of any defect arising during
warranty period, the same should be taken to your nearest dealer or wholesaler. It will
then be taken care of as per the discretion of the company’s representative. The
warranty does not cover damage/defects caused by the events beyond control like acts
of god, lightning, abnormal power supply, voltage fluctuations.
CLEARLINE CUSTOMER SERVICE
Table of contents
