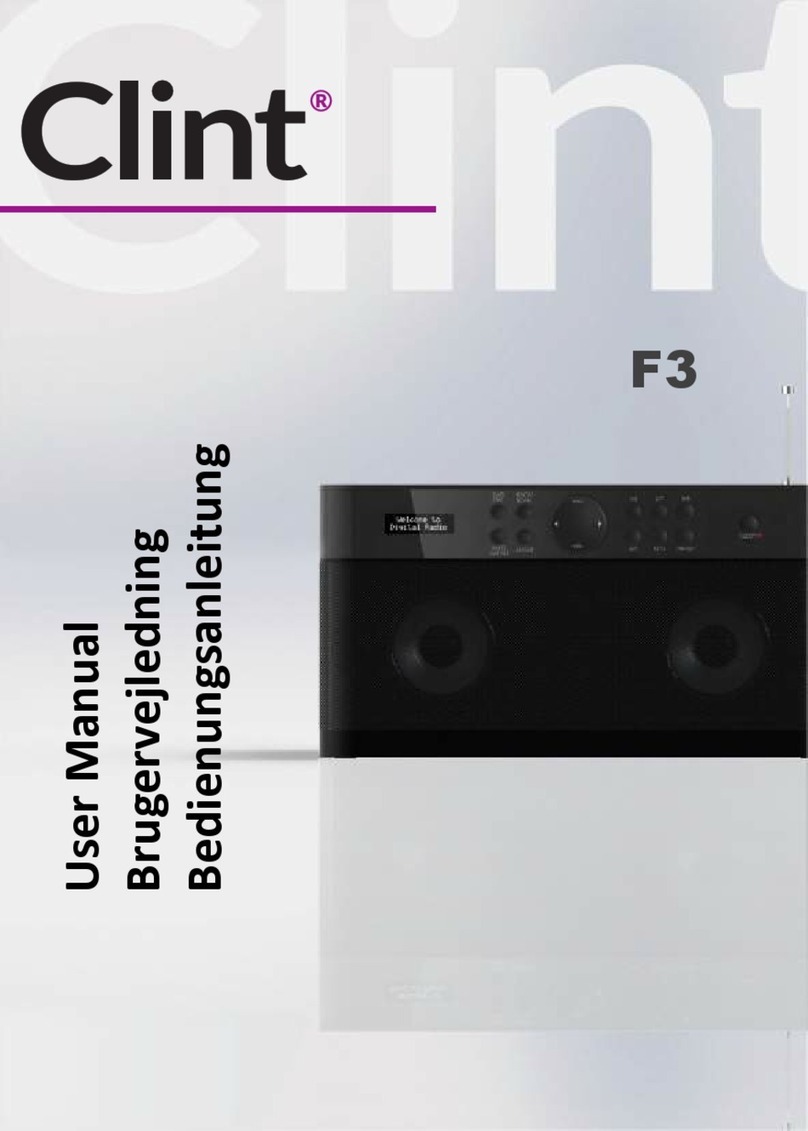
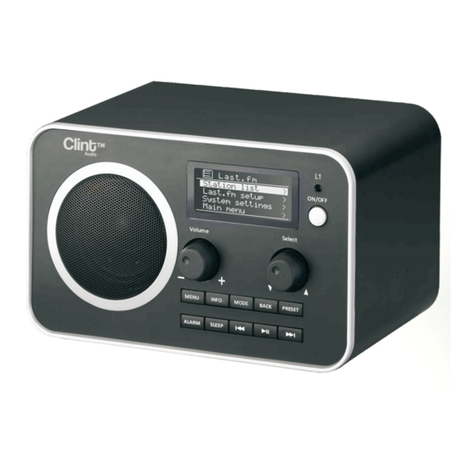
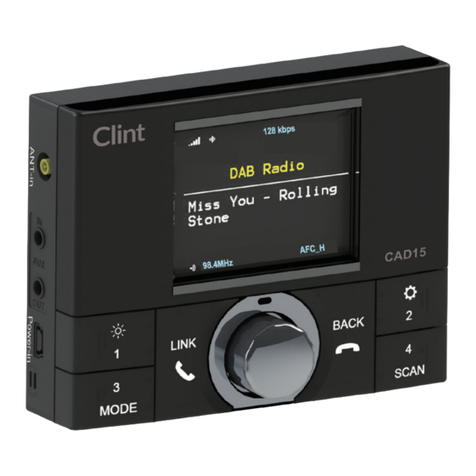
Clint L1 User manual

L1
User Manual
Brugervejledning
Bedienungsanleitung

www.clintdigital.com
2
Contents
1 Controls, connectors and Menus .................................................
1.1 Main controls ...............................................................................
1.2 Connectors ...................................................................................
1.3 Menus ..........................................................................................
2 Geng started .............................................................................
3 Operaon .....................................................................................
3.1 DAB+ radio mode .........................................................................
3.2 FM radio mode ............................................................................
3.3 Bluetooth setup ..........................................................................
3.4 Aux In mode ................................................................................
4 Alarms and sleep .........................................................................
4.1 Alarms .........................................................................................
4.2 Sleep ...........................................................................................
5 System sengs ...........................................................................
5.1 Equaliser......................................................................................
5.2 Time.............................................................................................
5.3 Backlight .....................................................................................
5.4 Inacve Standby .........................................................................
5.5 Language ....................................................................................
5.6 Factory Reset .............................................................................
5.7 SW version..................................................................................
5.8 BD address..................................................................................
6 Back panel / Connecons ..........................................................
7 Important Safety Instrucon .....................................................
8 General Specificaon ................................................................
9 Troubleshoong ........................................................................
10 Support and help ......................................................................
3
3
4
5
6
6
6
10
14
15
15
15
17
17
19
19
20
21
22
22
22
23
23
24
25
25
25

www.clintdigital.com
1 Controls, connectors and display
1.1 Main controls
3
Control Funcon/usage
Volume +/- Turn to adjust volume. Press volume to MUTE.
Le/Right/Select Turn to cycle forwards and backwards through menus and opons.
Press to select current opon.
Buon Funcon/usage
ON/OFF Turn the radio On/Off.
MENU Show menu opons.

www.clintdigital.com
4
Buon Funcon/usage
INFO
MODE Switch DAB+/FM/Bluetooth/Auxiliary Input.
PRESET
BACK
ALARM
SLEEP
Short press for preset staon selecon (Le/Right knob to choose
and select specific preset). Long press to enter preset staon
(Le/Right knob to choose and select preset store).
Return to parent menu level
Enters alarm wizard or cancels alarm (when alarm is sounding)
On Bluetooth mode: Play/Pause
On Bluetooth mode: short press - previous track
long press - rewind
On Bluetooth mode: short press - next track
long press – fast forward
1.2 Connectors
L1 has 2 connectors:
On the connector PCB there are two connectors.
• Line in
• DC power in (12V)
When playing, cycle through delay-me values for switching to
standby.
Cycle through further informaon screens then return to the
normal Now playing screen.

www.clintdigital.com
1.3 Menus
5

www.clintdigital.com
6
2 Geng started
Although the Clint® L1 is sophiscated, geng started is simple. To play
DAB+ or FM radio, all you need is a power source (a 100-240 V mains
supply).
1. Place L1 on a suitable shelf or table.
2. Extend the telescopic antenna.
3. Connect the power adaptor between L1 and the mains supply.
When L1 is first powered up it will enter welcome screen.
Press the ON/OFF buon to turn on the radio.
Note: The first me the radio is turned on it will automacally search for
available DAB+ staons.
3 Operaon
3.1 DAB+ radio mode
DAB+ radio mode receives DAB+ digital radio and displays informaon
about the staon and program/track as broadcast.

www.clintdigital.com 7
To enter DAB+ mode
Press Mode buon unl the display shows DAB.
3.1.1 To do a full scan
Press MENU > Full scan >. Once a scan is complete, the radio returns to
playing the previously-selected staon or first staon on the staon list.
To remove staons that are listed but unavailable
Press MENU > Prune >. This removes all invalid staons.

www.clintdigital.com
8
3.1.2 Selecng staons
To change staon
Use the le/right knob to scroll through the list of staons and press to
tune to the displayed staon. The Now playing screen is displayed with
the new staon details.
3.1.3 Presets
L1 has 10 preset memories for DAB+.
To store a staon in a preset memory
Press and hold Preset buon unl the display shows Preset Store.
Presets (1-10) are displayed as either Empty or with the currently stored
staon name.
Use the le/right knob to choose a preset memory then press to store
the currently-playing staon.
Aer confirming the preset staon is stored the display reverts to the
Now playing screen.

www.clintdigital.com 9
To recall a preset staon
Press Preset buon (the display will show Preset Recall). Select one of
the listed preset staons using the le/right knob and press Select to
choose the displayed preset staon.
3.1.4 Manual tune
To manually tune
Press MENU > Manual tune then use le/right knob to display a
parcular channel/frequency, press Select to tune to that
channel/frequency.

www.clintdigital.com
10
3.1.5 Other sengs
Dynamic range compression (DRC)
This funcon reduces the difference between the loudest and
quietest audio being broadcast. Effecvely, this makes quiet sounds
comparavely louder, and loud sounds comparavely quieter.
Note: DRC only works if it is enabled by the broadcaster for a specific
staon.
To change the DRC seng
Select MENU > DRC >. The opons available are:
DRC off | high | low .
3.2 FM radio mode
FM radio mode receives analogue radio from the FM band and displays
RDS (Radio Data System) informaon about the staon and show
(where broadcast).
To enter FM mode
Press Mode buon unl the display shows FM Mode.

www.clintdigital.com 11
3.2.1 Selecng staons
The first me you select FM radio, L1 is set to the lowest frequency in
the FM band.
To scan for a staon in FM mode
Press Select knob. L1 scans up through the FM band frequencies, showing
the current frequency on the screen display.
A scan stops when a signal is found. L1 can be set to stop at each staon
or only at staons with a strong signal.
Alternavely, you can tune, using the le/right knob on the front panel,
in 50 kHz steps.

www.clintdigital.com
12
3.2.2 Presets
L1 has 10 preset memories for FM, which work in the same way as DAB+
mode presets, as described earlier in secon 3.1.3 Presets.
3.2.3 Now playing informaon
While FM radio is playing, the screen shows its frequency, or if RDS
informaon is available, staon name and any further ‘RadioText’
informaon. If no informaon is available, just the frequency and
a No RadioText message is shown.
To view further informaon about the broadcast
Press INFO buon. Each me you press INFO buon, the next set of
informaon is displayed, cycling through: RDS RadioText, programme
type, frequency, mono/stereo, me and date.
3.2.4 Sengs
Scan sengs
By default, FM scans stop at any available staon (All staons).
Opons: Strong staons only | All staons

www.clintdigital.com 13
To change the scan sengs, to stop only at staons with good signal
strength.
Press MENU > Scan seng > Strong staons only.
Note: In the example screen on the below, the asterisk indicates
‘Strong staons only’ is the currently set value.
Audio sengs
By default, all stereo staons are reproduced in stereo. For weak
staons, this may result in poor quality audio. The audio quality
can be improved using mono.
Opons: Stereo allowed | Forced mono

www.clintdigital.com
14
To play weak staons in mono
Select MENU > Audio seng > Forced mono.
3.3 Bluetooth setup
To manually pair the L1 with an available Bluetooth device
Press the Mode buon unl display shows Bluetooth. Press and hold
the Mode buon unl the display shows the message ‘Bluetooth
discoverable’. Release the buon and use the Bluetooth setup on your
smart device to pair and connect with the L1. (We refer to the user
guide of the specific product for Bluetooth setup. Search for Clint | L1)
Once the devices are paired and a connecon established (indicated
by a steady Bluetooth signal strength icon) the Bluetooth equipped
smart device can stream audio to the L1 unit.

3.4 Aux In mode
Aux In mode plays audio from an external source such as an MP3 player.
To play audio with Aux In mode
1. Turn on the L1 radio.
2. Connect the external audio source to the Line In socket.
3. Press MODE buon unl the display shows Auxiliary Input.
4. Adjust the volume of L1 as required.
www.clintdigital.com 15
4 Alarms and sleep
4.1 Alarms
To set alarms
Turn L1 on.
To set or change alarm 1, press ALARM once, then press Select .
To set or change alarm 2, press ALARM twice, then press Select .
To exit alarm seng mode, press ALARM again.
The alarm setup prompts you for the following parameters. Select a
value for each parameter in turn turning the le/right knob and press
Select to confirm and move on to the next parameter.

www.clintdigital.com
16
Parameters
• On me – hours and minutes
• Duraon – 15 | 30 | 45 | 60 | 90 minutes
• Source – DAB | FM | Buzzer
• Daily | Once | Weekends | Weekdays
• Volume – increase using the right buon or decrease using the le
buon. Inially the alarm sounds at a low volume and
gradually gets louder to the set volume.
• Alarm – Off | On
In all listening modes acve alarms are indicated by displaying the
relevant Alarm 1 and Alarm 2 icons.
To turn alarms on or off in standby mode
Press ALARM. The display shows the current alarm status. To switch the
alarms on or off, press ALARM repeatedly to cycle through four states
as shown below:

www.clintdigital.com 17
4.2 Sleep
To set the sleep mer while the radio is playing
Press SLEEP. You can choose the sleep delay me in minutes from:
Sleep Off | 15 | 30 | 45 | 60 | 90
Use le/right knob to cycle through the opons (or press SLEEP
repeatedly) then press Select to choose the displayed opon.
Once you select a sleep delay period, the display returns to the sleep
set screen. Aer the sleep delay period the radio switches to standby
mode.
5 System sengs
The System Sengs allow you to tailor the L1 with a variety of opons
to suit you.
To access system sengs from any mode
Select MENU > System >, then choose from the various opons as
described in the menu map on page 5 and below.
To choose the displayed Alarm state, press Select. To return to standby
without changing the current alarm states, press BACK.

www.clintdigital.com
18
The System Seng Menu opons are:
• Equaliser
• Time
• Backlight
• Inacve Standby
• Language
• Factory Reset
• Soware Upgrade
• SW version
• BD address
To navigate through the menus
The following controls are used to move about the menu tree to choose
and select the required sengs:
Le/Right/Select – Cycles forwards and backwards through the current
menu or seng opons.
Press Select when the desired Menu opon is shown on the display.
If the opon has a further sub-menu the first opon of the sub-menu is
displayed. If the opon is a seng value, the displayed value is selected.
Note: Current or default values are indicated by an asterisk (*) on the
right-hand side of the top line of the character display.
BACK – Jumps back to the parent menu of the currently displayed menu
or seng.

www.clintdigital.com 19
5.2 Time
The me and date can be updated manually or automacally. With
auto-update, the me and date are automacally synchronised with
naonal me signals broadcast over DAB+ and FM (when available).
You can also select the display format for the me and date.
5.1 Equaliser
This presents a number of preset sengs plus a My Equaliser opon to
allow you to create your own equaliser sengs.
My EQ… | Normal | Classic | Jazz | Pop | Rock | Speech
5.1.1 My EQ…
This opon allows you to set a bias in the treble and bass audio
frequencies. Values can be set between -7 (Minus 7) and +7 (plus 7).
You can also select a Loudness funcon which automacally compensates
for the characteriscs of human hearing by boosng the treble and bass
frequencies as the overall volume is decreased.
Treble – (Use the le and right keys to choose a value between -7 and +7)
Bass – (Use the le and right keys to choose a value between -7 and +7)
Loundness – (automacally compensates for the characteriscs of human
hearing by boosng the treble and bass frequencies)

www.clintdigital.com
20
The Time menu contains the following opons:
• Set Time/Date – (see below)
• Auto update - Update from Any | Update from DAB | Update from FM
| No Update
• Set 12/24 hour - 12 | 24
• Set date format - DD-MM-YYYY | MM-DD-YYYY.
Set Time/Date
This opon is for manually seng the me and date displayed. The
me displays as hh:mm, with the first value, hh, acve (flashing).
Adjust each value using the le/right knob and press Select to confirm.
The next value then becomes acve and flashes. The date values follow
and are set in the same way.
Note: The date displays as DD-MM-YYYY or MM-DD-YYYY depending on
your choice of date format (see above).
5.3 Backlight
The L1 display has a backlight with three brightness sengs, and
adjustable meout (this is the me delay, in seconds, aer which the
display switches to the Dim level).
Other manuals for L1
2
Table of contents
Languages:
Other Clint Radio manuals