manuals.online logo
Brands
  1. Home
  2. •
  3. Brands
  4. •
  5. CNC Design
  6. •
  7. Control System
  8. •
  9. CNC Design D-500 Manual

CNC Design D-500 Manual

CNC D-500 Build Instructions V1.0
http://www.ukcnc.net
Please make sure you have checked the Plate Checklist and that all the
parts have been received. Before proceeding with these build
instructions.
Unpack the ballscrews and the FK12/FF12 bearing sets.
Be careful to not loose the little circlips that are packed with the FF12
bearings.
To protect the parts you will find that they are covered in a light oil and
it is worth wiping this all off before starting to assemble. Also wearing
rubber nitrate gloves to protect your hands from this thin oil
penetrating your skin is advised.
Slide the bearings over the end of each ballscrew. If a little bit tight
then gently tap on with a tube that matches the inner race. Do not
hammer the whole bearing as you could damage it.
It is up to you when you apply grease, but can be easier as you
assemble or you can do it at the end of the build.
We always find it easier to place the grease into a syringe first and then
squeeze some grease into the ballnut until it comes out the sides. Then
gently turn the ballnut over any excess grease to make sure it works it’s
was in.
After squeezing the grease in then screw in the nipples and tighten off.
If using a grease gun, first screw the nipples in place and apply grease.
Get the parts shown above ready for assembly.
Attach the Z-Axis ballnut block on to the ballscrew with the M5x25mm
screws hand tight.
Slide the ballscrew through the DC-Plate8 and slide on the FK12 spacer.
Slide the FK12 bearing on to the ballscrew.
Slide on the second FK12 spacer.
Grip the ballscrew using a wrench and a rag to protect the thread.
Screw on the locking nut.
Tighten off the locking nut with a spanner.
On the locking nut is a small grub screw that will need tightening off.
Insert the M4 x 16mm screws and tighten off.
Get the parts shown above ready for assembly.
Attach the Y-Axis ballnut blocks on to the ballscrews with the M5 x
25mm screws hand tight.
Get the parts shown above ready for assembly.
Making sure the ballscrew is threaded through DC-Plate14, slide on the
FK12 spacer.
Slide the FK12 bearing on to the ballscrew.
Slide on the second FK12 spacer.
Grip the ballscrew using a wrench and a rag to protect the thread.
Screw on the locking nut and tighten off with the spanner.
On the locking nut is a small grub screw that will need tightening off.
Do the same assembly for the other side also.
On both sides, insert the M4 x 16mm screws and tighten off.
Get the parts shown above ready for assembly.
Attach the X-Axis ballnut block DC-Plate4 on to the ballscrew with the
M5x25mm screws hand tight.
Making sure the ballscrew is threaded through DC-Plate11, slide on the
FK12 spacer.
Slide the FK12 bearing on to the ballscrew.
Slide on the second FK12 spacer.
Grip the ballscrew using a wrench and a rag to protect the thread.
Screw on the locking nut and tighten off with a spanner.
On the locking nut is a small grub screw that will need tightening off.
Insert the M4 x 16mm screws and tighten off into DC-Plate11.
Repeat this for the other side.
All the ballscrew assemblies are now ready for the build.
Get the parts shown above ready for assembly.
First get the Left side base parts together
Insert the M5 x 25mm screws hand tight for now.
Again, insert the M5 x 25mm screws hand tight for now.
Repeat the same for the Right hand side.

Other manuals for D-500

2

Other CNC Design Control System manuals

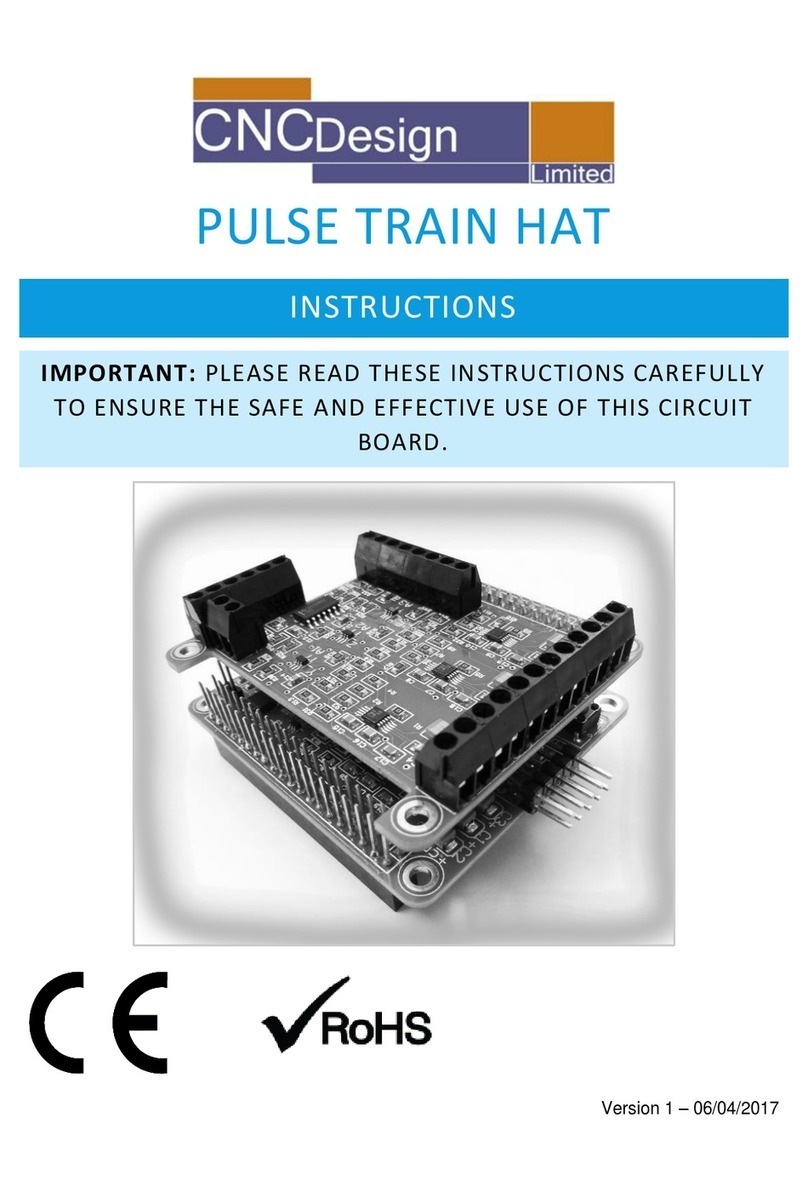
CNC Design PULSE TRAIN HAT User manual

CNC Design

CNC Design PULSE TRAIN HAT User manual

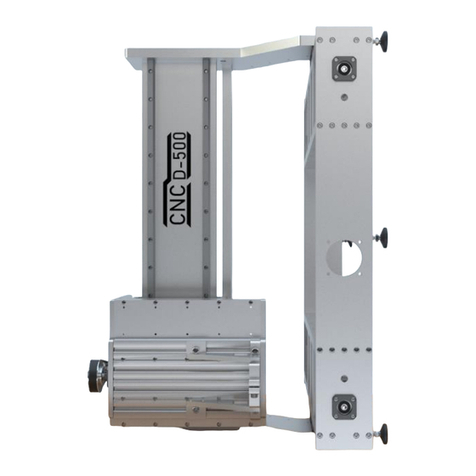
CNC Design D-500 User manual

CNC Design

CNC Design D-500 User manual

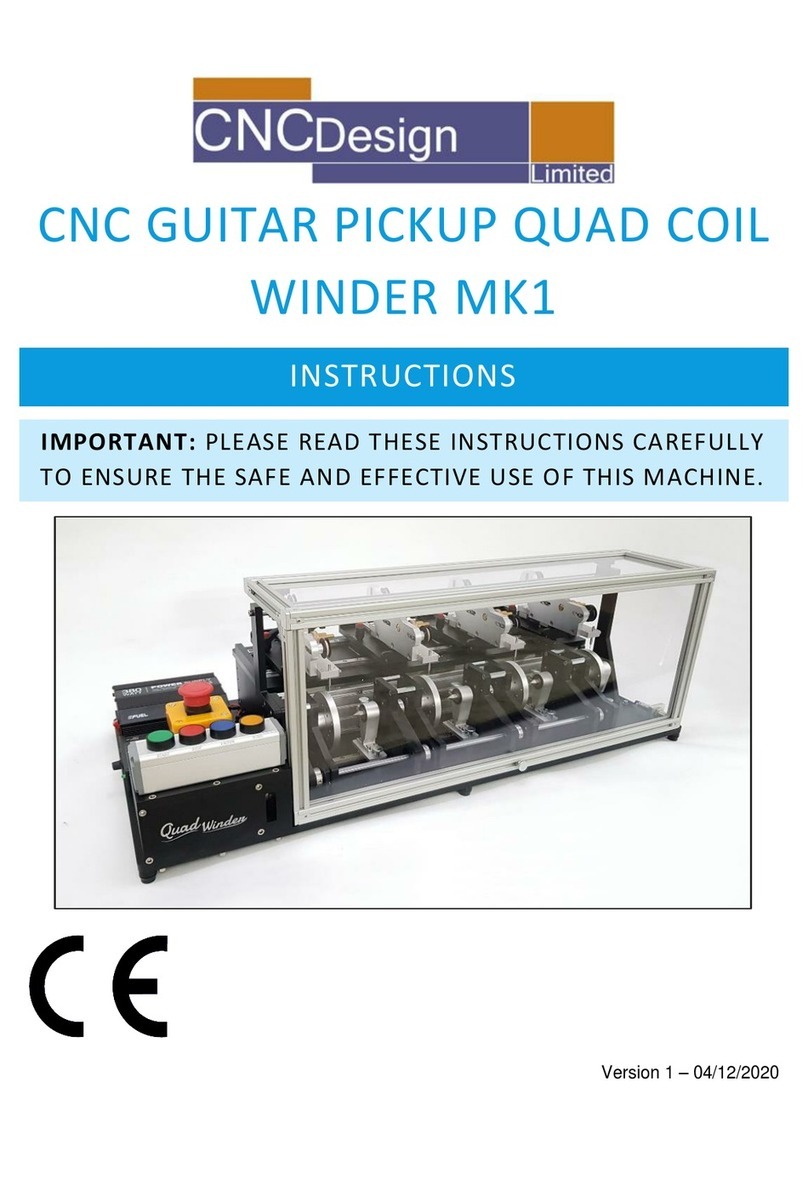
CNC Design CNC GUITAR PICKUP QUAD COIL WINDER MK1 User manual

CNC Design

CNC Design CNC GUITAR PICKUP QUAD COIL WINDER MK1 User manual

Popular Control System manuals by other brands

Pentatech GA50 instruction manual

Pentatech

Pentatech GA50 instruction manual

Honeywell RP908A Series Service data

Honeywell

Honeywell RP908A Series Service data

elsner elektronik WS1000 Style manual

elsner elektronik

elsner elektronik WS1000 Style manual

Distech Controls ECLYPSE APEX user guide

Distech Controls

Distech Controls ECLYPSE APEX user guide

Ez-Boom 2010 Quick reference card

Ez-Boom

Ez-Boom 2010 Quick reference card

ETC EOS Operation manual

ETC

ETC EOS Operation manual

Muncie MP2 Operation, service and parts manual

Muncie

Muncie MP2 Operation, service and parts manual

CAME PST001 installation manual

CAME

CAME PST001 installation manual

SABROE UNISAB S-Control instruction manual

SABROE

SABROE UNISAB S-Control instruction manual

Bimba MFD user guide

Bimba

Bimba MFD user guide

Lippert Components Sway Command Install manual

Lippert Components

Lippert Components Sway Command Install manual

Eaton COOPER POWER SERIES Installation and operation instructions

Eaton

Eaton COOPER POWER SERIES Installation and operation instructions

LEGRAND DA-LITE user manual

LEGRAND

LEGRAND DA-LITE user manual

Comunello Automation BORDER 400 Installation and user manual

Comunello Automation

Comunello Automation BORDER 400 Installation and user manual

IAI Rec instruction manual

IAI

IAI Rec instruction manual

Siemens SINUMERIK 840DE Operation & programming manual

Siemens

Siemens SINUMERIK 840DE Operation & programming manual

Miboxer FUT043A quick start guide

Miboxer

Miboxer FUT043A quick start guide

Studio Technologies 236 user guide

Studio Technologies

Studio Technologies 236 user guide

manuals.online logo
manuals.online logoBrands
  • About & Mission
  • Contact us
  • Privacy Policy
  • Terms and Conditions

Copyright 2025 Manuals.Online. All Rights Reserved.