manuals.online logo
Brands
  1. Home
  2. •
  3. Brands
  4. •
  5. CNC Workshop
  6. •
  7. Toy
  8. •
  9. CNC Workshop MINIATURE SCENERY Observation Blimp User manual

CNC Workshop MINIATURE SCENERY Observation Blimp User manual

Preparation
Once you clear some table space you will need a
hobby knife and glue (PVA, wood glue, hobby glue)
and a file or small piece of sandpaper to be used for
cleaning up any tiny imperfections.
It’s a good idea to familiarise yourself with how the
pieces fit together before gluing.
Getting Started
I. Parts should remove easily from the board by
pressing through and popping them out. It’s a
good idea to cut through the tiny joins first
though, and some parts (particularly smaller,
more detailed parts) may need more careful
persuasion.
II. Use a file or sand paper last to completely
remove the tabs that might remain.
III. Parts may be a very tight fit, slight trimming
or sanding of parts may be needed for ease of
assembly.
Construction
Slot the parts together as shown by the pic-
tures below, applying glue wherever there is
a connection.
Allow the model to completely dry before
painting it. This is a complex kit with many
small parts. Allowing each section to dry
thoroughly before heading to the next is
strongly recommended.
INSTRUCTIONS
Observation Blimp
Some parts of this kit are very fine, or
have engraving very close to edges.
Make sure you cut through any tabs
carefully with a hobby knife first to
avoid damage.
The exclusive copyright on the model designs are the property of CNC Workshop Ltd. © Copyright CNC Workshop Ltd., 2006. All rights reserved. Made in Australia
Assemble the stand first, so you’ll
have somewhere to put your
model.
Take careful note of the
position of the various
rings. Make sure they
are seated firmly as far
as they will go.
Largest Ring
The Stand can be inserted at
this point. I suggest you prac-
tice adding and removing the
stand before progressing fur-
ther, to familiarise yourself with
how it attaches. It does not have
to be glued in position.
NOTE VERY CARFULY THE
DIRECTION INDICATED BY THE
LIGHT GREEN INDENTATION.
The Engine Bit.
I’ve shown both the front and
back here and in subsequent
drawings for clarity.
The engine bit IS rather com-
plex and time consuming, so
take your time, and remember
to use a file and sandpaper to
clean up parts as you go.
This would be a great time
to start painting your
model, as parts in and
around the engine will be-
come very hard to reach.
This part has engraved bolt
heads, that the drawing
doesn’t show.
There will be a gap between
the propeller and drive belt.
Trim a spare circle by split-
ting it down the middle to
fit the gap.
Note the small cut-outs at
the bottom of these parts.
(more bolts here too...
Sorry).
A good way to line up all the lettering is
after carefully trimming the letters from
the sheet, place them back in their holes
face down, and glue the mounting bar to
the back.
....aaaaand Done.
I hope you enjoyed that as much as I did designing
it. If you have any problems or need clarifications,
please let us know.

Other manuals for MINIATURE SCENERY Observation Blimp

1

Other CNC Workshop Toy manuals

CNC Workshop MINIATURE SCENERY Observation Blimp User manual

CNC Workshop

CNC Workshop MINIATURE SCENERY Observation Blimp User manual

CNC Workshop MINIATURE SCENERY Shipping Container1 User manual

CNC Workshop

CNC Workshop MINIATURE SCENERY Shipping Container1 User manual
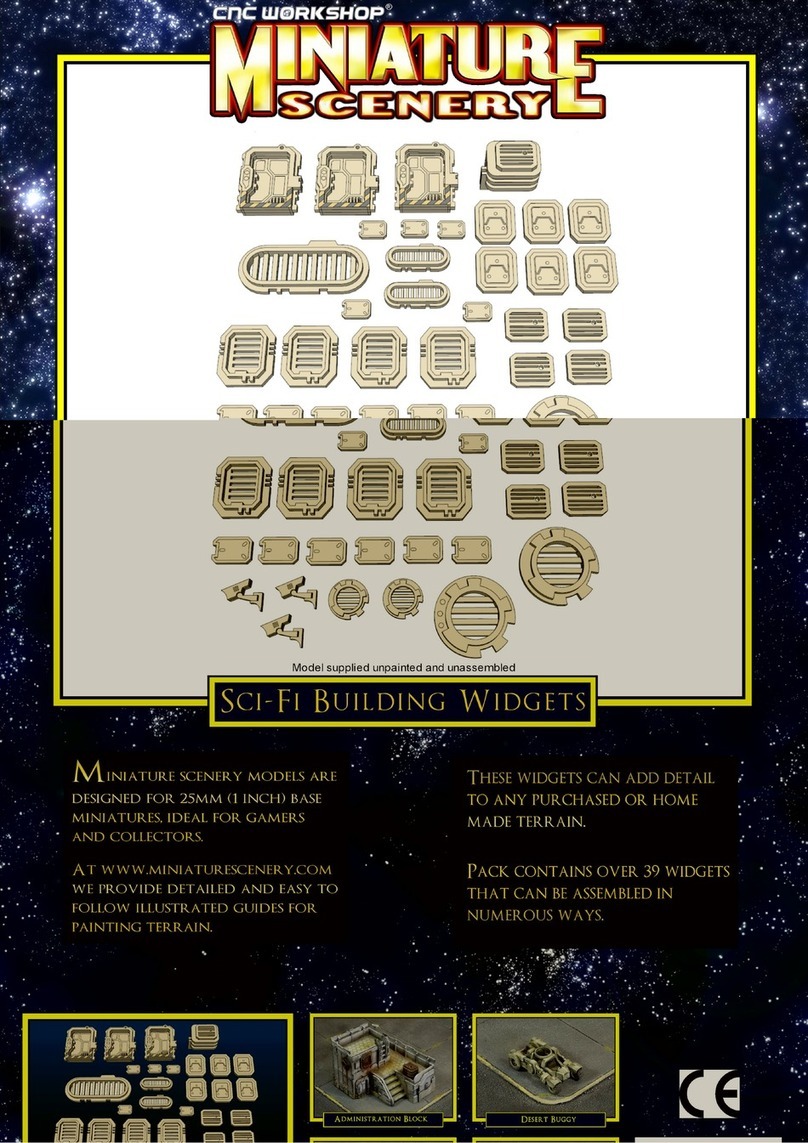
CNC Workshop MINIATURE SCENERY Shipping Container1 User manual

CNC Workshop

CNC Workshop MINIATURE SCENERY Shipping Container1 User manual

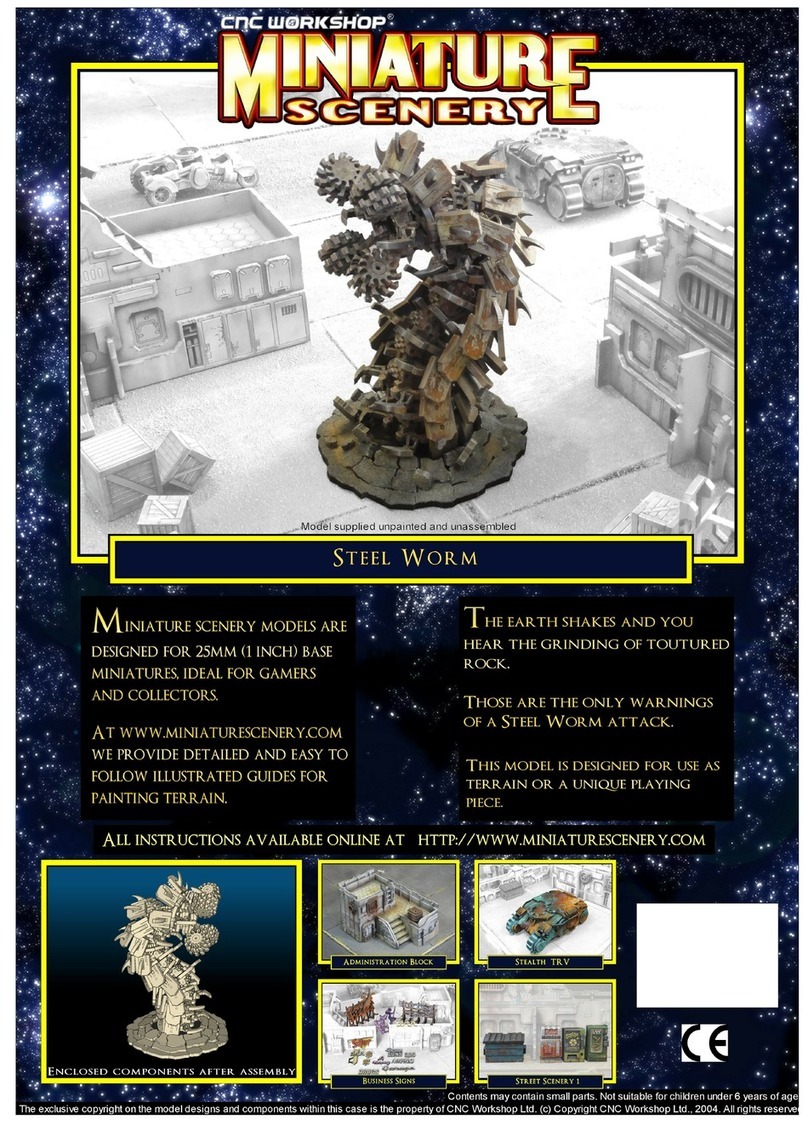
CNC Workshop Miniature Scenery Conquerer III User manual
CNC Workshop

CNC Workshop Miniature Scenery Conquerer III User manual

CNC Workshop MINIATURE scenery Steel Worm User manual

CNC Workshop

CNC Workshop MINIATURE scenery Steel Worm User manual

Popular Toy manuals by other brands

IKEA LILLABO quick start guide

IKEA

IKEA LILLABO quick start guide

Little Tikes Handle Haulers Big Top Charlie 636172M ADULT BATTERY INSTALLATION REQUIRED

Little Tikes

Little Tikes Handle Haulers Big Top Charlie 636172M ADULT BATTERY INSTALLATION REQUIRED

Enabling Devices Musical Swirl Art user guide

Enabling Devices

Enabling Devices Musical Swirl Art user guide

Lionel FasTrack 78-2110-250 owner's manual

Lionel

Lionel FasTrack 78-2110-250 owner's manual

Eduard Sd.Kfz. 166 Brummbar zimmerit 1/35 quick start guide

Eduard

Eduard Sd.Kfz. 166 Brummbar zimmerit 1/35 quick start guide

Eduard Zoom P-47D-20 Thunderbolt manual

Eduard

Eduard Zoom P-47D-20 Thunderbolt manual

Fisher-Price W1383 manual

Fisher-Price

Fisher-Price W1383 manual

SIG KADET EP-42B Assembly manual

SIG

SIG KADET EP-42B Assembly manual

XICOY Turbojet X45 quick start guide

XICOY

XICOY Turbojet X45 quick start guide

Faller 140445 manual

Faller

Faller 140445 manual

Horizon Hobby F-4 Phantom 80mm EDF instruction manual

Horizon Hobby

Horizon Hobby F-4 Phantom 80mm EDF instruction manual

Schildkröt 970400 user manual

Schildkröt

Schildkröt 970400 user manual

Fisher-Price X0057 instructions

Fisher-Price

Fisher-Price X0057 instructions

GRAUPNER GF9 PANTHER instructions

GRAUPNER

GRAUPNER GF9 PANTHER instructions

Eduard Brassin Shackleton MR.3 wheels Assembly instructions

Eduard

Eduard Brassin Shackleton MR.3 wheels Assembly instructions

Horizon Hobby F-15 Eagle instruction manual

Horizon Hobby

Horizon Hobby F-15 Eagle instruction manual

Heli-scale Bell HUEY 412 instruction manual

Heli-scale

Heli-scale Bell HUEY 412 instruction manual

REVELL KIT 1428 Assembly manual

REVELL

REVELL KIT 1428 Assembly manual

manuals.online logo
manuals.online logoBrands
  • About & Mission
  • Contact us
  • Privacy Policy
  • Terms and Conditions

Copyright 2025 Manuals.Online. All Rights Reserved.