manuals.online logo
Brands
  1. Home
  2. •
  3. Brands
  4. •
  5. Coast Spas
  6. •
  7. Hot Tub
  8. •
  9. Coast Spas Patio User manual

Coast Spas Patio User manual

2021
Initial Start-up
Your spa will enter Priming Mode (Pr) when it is
energized. During Priming Mode, press “PUMP”
button(s) repeatedly and be sure all pumps are
free of air. Priming Mode lasts for less than 5
minutes. Press “Warm” or “Cool” to exit. After
Priming Mode, the spa will run in Standard Mode
(see Mode section).
Temp Control (80°F - 104°F / 26°C - 40°C)
The last measured water temperature is
constantly displayed. The water temperature
displayed is current only when the pump has
been running for at least 2 minutes. To display
the set temperature, press “Warm” or “Cool”
once. To change the set temperature, press
temperature button again before the display
stops flashing. After three seconds, the display
will stop flashing and begin to display the current
spa temperature. At this time the spa will begin
to work towards adjusting the water temperature
until it is at the set temperature.
PUMP 1
Press “Pump 1” to turn pump 1 on or off and to
shift between low and high speeds. The low-
speed will turn off after 4 hours. High-speed will
turn off after 15 minutes. Low-speed may run
automatically at times (filtration cycles, etc.)
during which it cannot be deactivated from the
panel, however the “high-speed” mode may be
operated.
PUMP 2 & AUX (if equipped)
Press the corresponding button once to turn the
device on. The device will turn off after 15 minutes.
If the secondary device on your hot tub is an
additional Jet Pump, when you press the button to
activate the pump it will be on “Low Speed”. Press
the button again to activate “High Speed”. Press
once again to turn “Off”.
Light
Press “Light” to operate the spa light. Turns off
after 4 hours. If your hot tub is equipped with a
multicolor lighting package, then pressing the
“Light” button consecutively will toggle the lights
through different colors modes.
Mode
Mode is changed by pressing “Warm or Cool” then
once the display is flashing “Light”.
Press the “Light” button until you reach “Mode”.
Press the “Warm or Cool” to toggle the “Mode” to
“Ready” or “Rest”. Once you have the desired
mode on screen press the “Light” button set.
TEMPERATURE RANGE
Temperature Range is changed by pressing “Warm
or Cool” then once the display is flashing “Light”.
Press the “Light” button until you reach “TEMP”.
Press the “Warm or Cool” to toggle the “TEMP” to
“High” (Arrow Up) or “Low” (Arrow Down). Once
you have the desired Temperature Range on
screen press the “Light” button set.
Adjusting Filtration
Filter cycles are set using a start time and a
duration. Start time is indicated by an “A” or “P” in
the bottom right corner of the display. Duration has
no “A” or “P” indication. Each setting can be
adjusted in 15-minute increments. The panel
calculates the end time and displays it
automatically. Filtration Cycles are changed by
pressing “Warm or Cool” then once the display is
Patio—6 Button Topside Upgrade
flashing “Light”.
Press the “Light” button until you reach “FLTR” 1 or
2 as indicated in the lower right side. Press the
“Warm or Cool” to toggle the “FLTR” to “BEGN”.
Press “Warm or Cool” to move to Step 1 or press
“Light” to move to Step 2.
Step 1. BEGN—Press the “Warm or Cool” to set
the starting hour. Once the hour is set Press the
“Light” button to move to the starting minute,
minutes are set in 15 minutes increments. Press
“Light” to move to Step 2.
Step 2. RUN—HRS—Press the “Warm or Cool” to
set duration in hour(s). Once the hour(s) is set
Press the “Light” button to move to the duration in
minutes, minutes are set in 15 minutes increments.
Press “Light” to move to Step 3.
Step 3. F 1—ENDS—”Time”. This screen will verify
the end time of the filtration cycle. F 2 will display
for Filtration cycle 2.
Show and Set Time-of-Day
Setting the time-of-day can be important for
determining filtration times and other background
features.
When in the TIME menu, SET TIME will flash on
the display if no time-of-day is set in the memory.
24-hour time display can be set under the PREF
menu.
To set the time press the Warm or Cool button.
While the Temperature is still flashing, press Light
repeatedly until "TIME" appears in the LCD. Use
the Warm and Cool button to adjust the hour on the
display. Press the light button to proceed to the
minutes. Use the Warm and Cool button to adjust
the minutes on the display. Press the light button
to save the time.
Note: If Time of Day is not actually programmed
due to a power cycle, “SET TIME” will appear in the
menu instead of just TIME.
Flip (Invert Display)
To set press the Warm or Cool button. While the
Temperature is still flashing, press Light
repeatedly until "FLIP" appears in the LCD. Once
“FLIP” is on the screen use the Warm or Cool
buttons to change the screen. Press the Light
button to save the selected option.
Restricting Operation
The control can be restricted to prevent unwanted
use or temperature adjustments. Locking the
panel prevents the controller from being used, but
all automatic functions are still active. Locking the
Temperature allows Jets and other features to be
used, but the Set Temperature and other
programmed settings cannot be adjusted.
Temperature Lock allows Access to a reduced
selection of menu items. These include Set
Temperature, FLIP, LOCK, UTIL, INFO and FALT
LOG.
To set the LOCK press the Warm or Cool button.
While the Temperature is still flashing, press Light
repeatedly until "LOCK" appears in the LCD. Once
“LOCK” is on the screen use the Warm or Cool
buttons to toggle to TEMP. With TEMP on the
screen press the Light button to change to PANL .
With eight the TEMP or PANL on the screen press
the Warm or Cool buttons to apply the LOCK to
the selected item. Press the Light button to save
your selection.
Unlocking
This Unlock sequence may be used from any
screen that may be displayed on a restricted
panel.
While pressing and holding the Temperature
Button (or UP button, if available), Slowly press
and release the Light Button two times.
Hold (Standby)
Hold Mode is used to disable the pumps during
Patio—6 Button Topside Upgrade 2021
service functions like cleaning or replacing the filter.
Hold Mode will last for 1 hour unless the mode is exited
manually.
To use the Hold Mode press the Warm or Cool button.
While the Temperature is still flashing, press Light
repeatedly until "HOLD" appears in the LCD. Press the
Warm or Cool button to start Hold Mode. Pressing the
Light button or the Warm or Cool buttons will exit this
menu.
Preferences
To enter Preferences press the Warm or Cool button.
While the Temperature is still flashing, press Light
repeatedly until "PREF" appears in the LCD. Use the
Warm or Cool button to enter the menu. Once F/C
appears on the screen you can use the Warm or Cool
button to toggle the selection on the screen or the Light
button to move to the next menu option, option are
listed below. When finished use the light button to save
your selection.
F/C
Change the temperature between Fahrenheit and
Celsius.
24-12
Change the clock between 12 hr and 24 hr display.
RE-- MIN-- DERS
Turn the reminder messages (like “Clean Filter”) On or
Off.
CLN- UP
Cleanup Cycle Duration is not always enabled, so it
may not appear. When it is available, set the length of
time Pump 1 will run after each use. 0-4 hours are
available.
DOL PHIN AD-- DRES --------
(This message may not appear depending on the
configuration). When set to 0, no addressing is used.
Use this setting for a Dolphin Remote which is factory
set for no address by default. When set between 1 and
7, the number is the address. (See the
Dolphin manual for details.)
Utilities and Information
To enter Utilities and Information press the
Warm or Cool button. While the Temperature
is still flashing, press Light repeatedly until
"UTIL" appears in the LCD. Use the Warm or
Cool button to enter “INFO”. While on the
“INFO” press the Warm or Cool button to
enter Utilities and Information or the Light
button to toggle through Addition Utilities.
Utilities and Information, While “INFO is on
the LCD press the Warm or Cool button and
F/C should appear on the screen. You can
use the Warm or Cool button to toggle the
selection on the screen or the Light button to
move to the next menu option, option are
listed below. When finished use the light
button to save your selection.
INFO (System Information sub-menu)
The System Information Menu displays
various settings and identification of the
particular system. As each item in the
menu is highlighted, the detail for that item is
displayed at the bottom of the screen.
SSID (Software ID)
Displays the software ID number for the
System.
MODL (System Model)
Displays the Model Number of the System.
SETP (Current Setup)
Displays the currently selected Configuration
Setup Number.
SIG (Configuration Signature)
Displays the checksum for the system
configuration file.
Patio—6 Button Topside Upgrade 2021
Heater Voltage (Feature not used on CE rated
systems.)
Displays the operating voltage configured for the heater.
Heater Wattage as Configured in Software
Displays a heater kilowatt rating as programmed into the
control system software (1-3 or 3-6).
H _ (Heater Type)
Displays a heater type ID number.
SW _ (Dip Switch Settings)
Displays a number that represents the DIP switch
positions of S1 on the main circuit board.
PANL (Panel Version)
Displays a number of the software in the topside control
panel.
Additional Utilities, While “INFO is on the LCD press
the Light button and GFCI should appear on the screen.
You can use the Warm or Cool button to toggle the
selection on the screen or the Light button to move to the
next menu option, option are listed below. When finished
use the light button to save your selection.
GFCI (GFCI Test)
GFCI Test is not always enabled, so it may not appear.
A / B (A/B Sensor Temperatures)
When this is set to On, the temperature display will
alternate to display temperature from Sensor A and
Sensor B in the heater.
FALT LOG (Fault Log)
The Fault Log is a record of the last 24 faults that can be
reviewed by a service tech.
DEMO (Demo Mode)
Demo Mode is not always enabled, so it may not appear.
Patio—6 Button Topside Upgrade 2021
Other Coast Spas Hot Tub manuals

Coast Spas SWIM SPAS 1302 User manual

Coast Spas

Coast Spas SWIM SPAS 1302 User manual

Coast Spas LOUNGE 1300 User manual

Coast Spas

Coast Spas LOUNGE 1300 User manual

Coast Spas TRADITIONAL APEX User manual

Coast Spas

Coast Spas TRADITIONAL APEX User manual

Coast Spas 1300 PLUNGE SPA User manual

Coast Spas

Coast Spas 1300 PLUNGE SPA User manual

Coast Spas Purfikt Spa User manual

Coast Spas

Coast Spas Purfikt Spa User manual

Coast Spas EcoClean User manual

Coast Spas

Coast Spas EcoClean User manual

Coast Spas Classic Series User manual

Coast Spas

Coast Spas Classic Series User manual

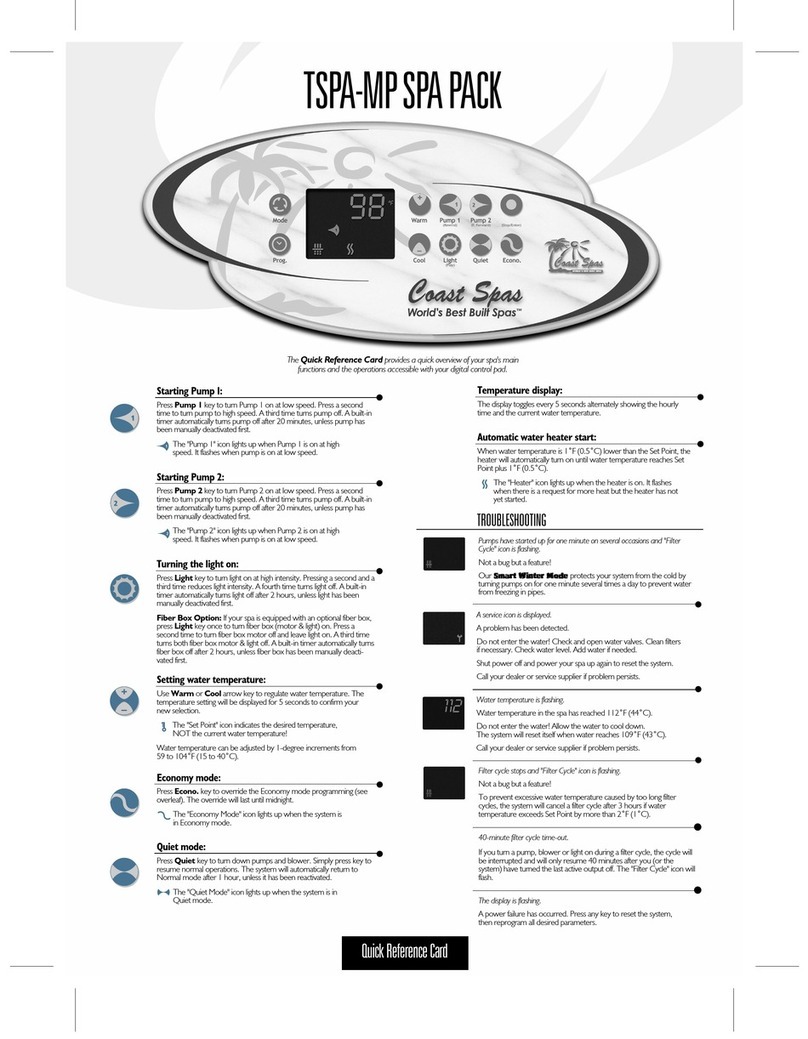
Coast Spas TSPA-MP Reference guide

Coast Spas

Coast Spas TSPA-MP Reference guide

Coast Spas Purfikt User manual

Coast Spas

Coast Spas Purfikt User manual

Coast Spas Wellness Spa Series User manual

Coast Spas

Coast Spas Wellness Spa Series User manual

Coast Spas CASCADE II User manual

Coast Spas

Coast Spas CASCADE II User manual

Coast Spas Classic Series User manual

Coast Spas

Coast Spas Classic Series User manual

Coast Spas TubLicious 2011 User manual
Coast Spas

Coast Spas TubLicious 2011 User manual

Coast Spas SPECIAL Series User manual

Coast Spas

Coast Spas SPECIAL Series User manual

Coast Spas Infinity Cascade II User manual

Coast Spas

Coast Spas Infinity Cascade II User manual

Coast Spas Elite Series User manual

Coast Spas

Coast Spas Elite Series User manual

Coast Spas INFINITY EDGE SWIM User manual

Coast Spas

Coast Spas INFINITY EDGE SWIM User manual

Coast Spas Patio Series User manual

Coast Spas

Coast Spas Patio Series User manual

Coast Spas CURVE APEX User manual

Coast Spas

Coast Spas CURVE APEX User manual

Coast Spas Oasis E7B User manual

Coast Spas

Coast Spas Oasis E7B User manual

Coast Spas 1302 User manual

Coast Spas

Coast Spas 1302 User manual

Coast Spas COAST FRESHE User manual

Coast Spas

Coast Spas COAST FRESHE User manual

Coast Spas tublicious 2017 User manual

Coast Spas

Coast Spas tublicious 2017 User manual

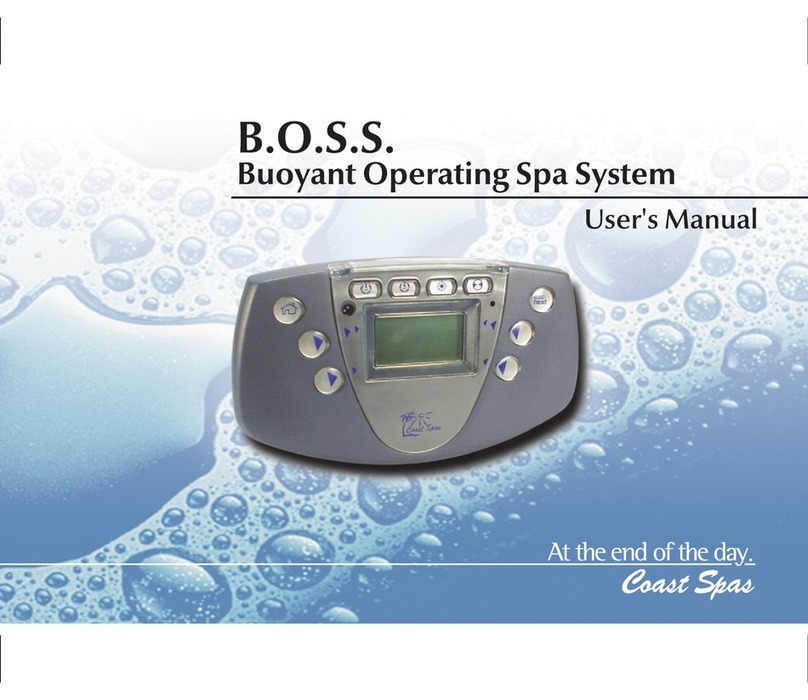
Coast Spas Buoyant Operating Spa System User manual

Coast Spas

Coast Spas Buoyant Operating Spa System User manual

Popular Hot Tub manuals by other brands

Platinum Hot Tubs Platinum II owner's manual

Platinum Hot Tubs

Platinum Hot Tubs Platinum II owner's manual

Jetta Water Dance Baths Owner's manual & installation guide

Jetta

Jetta Water Dance Baths Owner's manual & installation guide

Jacuzzi Finestra EW05 Specification sheet

Jacuzzi

Jacuzzi Finestra EW05 Specification sheet

M-Spa Lite Orbit owner's manual

M-Spa

M-Spa Lite Orbit owner's manual

M-Spa MONO owner's manual

M-Spa

M-Spa MONO owner's manual

Life Smart Willow owner's manual

Life Smart

Life Smart Willow owner's manual

Calflame Carbon Fiber 200 Brochure & specs

Calflame

Calflame Carbon Fiber 200 Brochure & specs

Calspas Cal Spas Home Resort Installation

Calspas

Calspas Cal Spas Home Resort Installation

Calspas Spa Wrap owner's manual

Calspas

Calspas Spa Wrap owner's manual

M-Spa Soho P-SH063 owner's manual

M-Spa

M-Spa Soho P-SH063 owner's manual

PULSE+ RIO ShowerSpa 1049B-BN owner's manual

PULSE+

PULSE+ RIO ShowerSpa 1049B-BN owner's manual

Passion Veneto owner's manual

Passion

Passion Veneto owner's manual

Aquatic HOTSOAK 94 AI36AIR6642HS Specification sheet

Aquatic

Aquatic HOTSOAK 94 AI36AIR6642HS Specification sheet

Auto Spa Cover ASC-2 installation guide

Auto Spa Cover

Auto Spa Cover ASC-2 installation guide

HoMedics JetSpa Elite JET-2 Instruction manual and  warranty information

HoMedics

HoMedics JetSpa Elite JET-2 Instruction manual and warranty information

Coleman CO534L-A owner's manual

Coleman

Coleman CO534L-A owner's manual

Aquatic MILLENNIUM 9 AI9mIl7700 Specifications

Aquatic

Aquatic MILLENNIUM 9 AI9mIl7700 Specifications

European Touch FORTE' owner's manual

European Touch

European Touch FORTE' owner's manual

manuals.online logo
manuals.online logoBrands
  • About & Mission
  • Contact us
  • Privacy Policy
  • Terms and Conditions

Copyright 2025 Manuals.Online. All Rights Reserved.