manuals.online logo
Brands
  1. Home
  2. •
  3. Brands
  4. •
  5. COBHAM
  6. •
  7. Antenna
  8. •
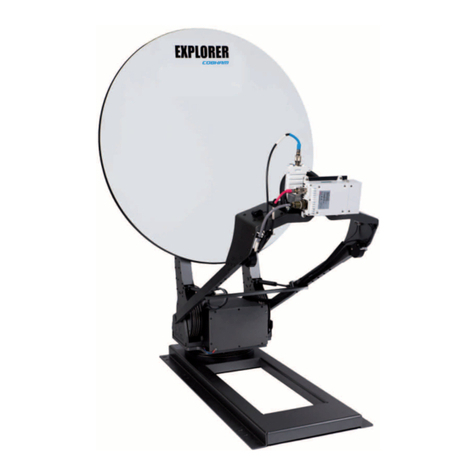
  9. COBHAM EXPLORER 6100 Ku User manual

COBHAM EXPLORER 6100 Ku User manual

This manual suits for next models

2

Other COBHAM Antenna manuals

COBHAM Explorer 325 User manual

COBHAM

COBHAM Explorer 325 User manual

COBHAM EXPLORER 5075GX User manual

COBHAM

COBHAM EXPLORER 5075GX User manual

COBHAM Explorer 710 User manual

COBHAM

COBHAM Explorer 710 User manual

COBHAM EXPLORER 8100 User manual

COBHAM

COBHAM EXPLORER 8100 User manual

COBHAM Sea Tel Tracker 6000 User manual

COBHAM

COBHAM Sea Tel Tracker 6000 User manual

COBHAM EXPLORER 3075GX Guide

COBHAM

COBHAM EXPLORER 3075GX Guide

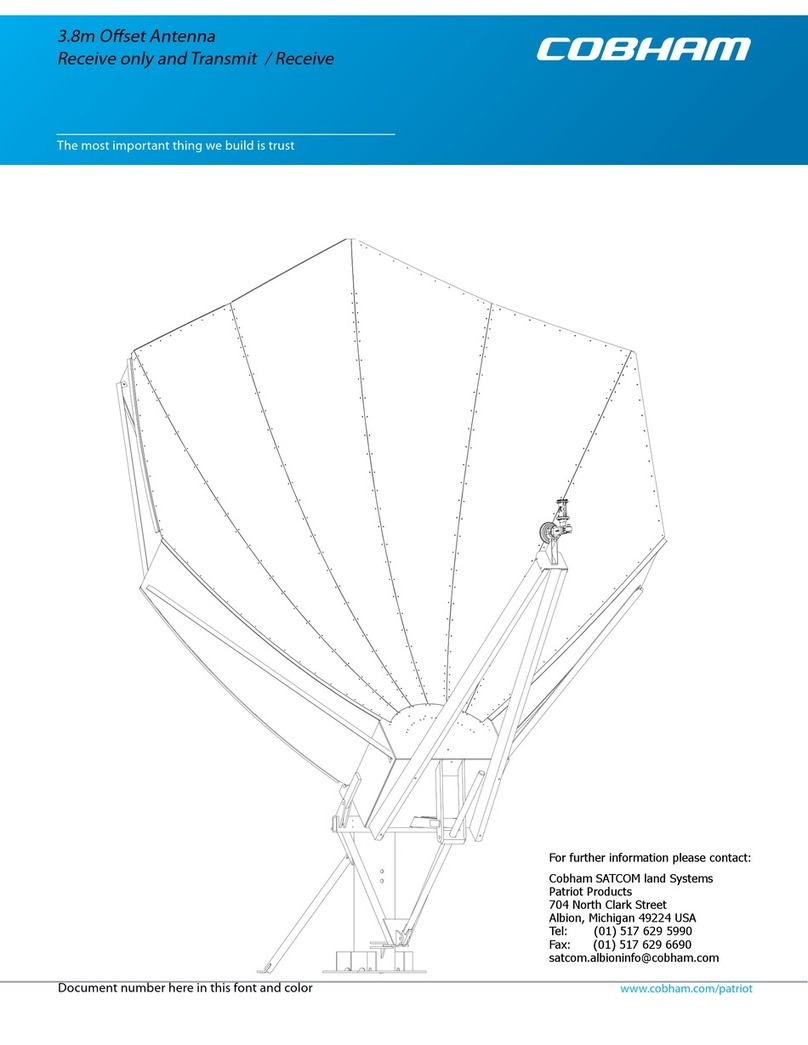
COBHAM 3.8m Offset Antenna User manual

COBHAM

COBHAM 3.8m Offset Antenna User manual

COBHAM Explorer 3075 User manual

COBHAM

COBHAM Explorer 3075 User manual
COBHAM Sailor 150 FleetBroadband User manual

COBHAM

COBHAM Sailor 150 FleetBroadband User manual

COBHAM Explorer 710 User manual

COBHAM

COBHAM Explorer 710 User manual

COBHAM Sailor 150 FleetBroadband User manual

COBHAM

COBHAM Sailor 150 FleetBroadband User manual

COBHAM EXPLORER 6075LX Guide

COBHAM

COBHAM EXPLORER 6075LX Guide

COBHAM Saailor Fleet One User manual

COBHAM

COBHAM Saailor Fleet One User manual

COBHAM SAILOR 100 GX User manual

COBHAM

COBHAM SAILOR 100 GX User manual

COBHAM EXPLORER 540 User manual

COBHAM

COBHAM EXPLORER 540 User manual

COBHAM Sea Tel User manual

COBHAM

COBHAM Sea Tel User manual

COBHAM Sea Tel 6011-4 User manual

COBHAM

COBHAM Sea Tel 6011-4 User manual

COBHAM SAILOR 1000 XTR Ku 8W Use and care manual

COBHAM

COBHAM SAILOR 1000 XTR Ku 8W Use and care manual

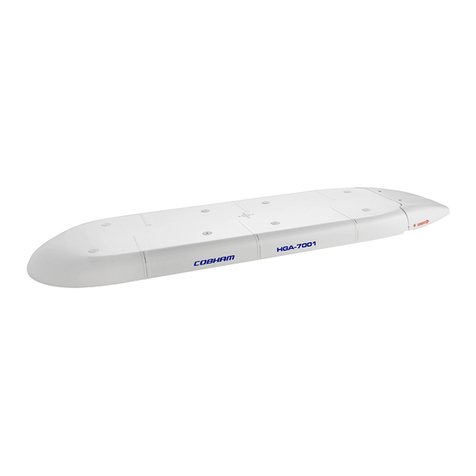
COBHAM HGA-7001 User manual

COBHAM

COBHAM HGA-7001 User manual

COBHAM SAILOR 900 Ka User manual

COBHAM

COBHAM SAILOR 900 Ka User manual

COBHAM EXPLORER 8100 User manual

COBHAM

COBHAM EXPLORER 8100 User manual

COBHAM EXPLORER 8100 GX User manual

COBHAM

COBHAM EXPLORER 8100 GX User manual

COBHAM Sailor 900 VSAT User manual

COBHAM

COBHAM Sailor 900 VSAT User manual

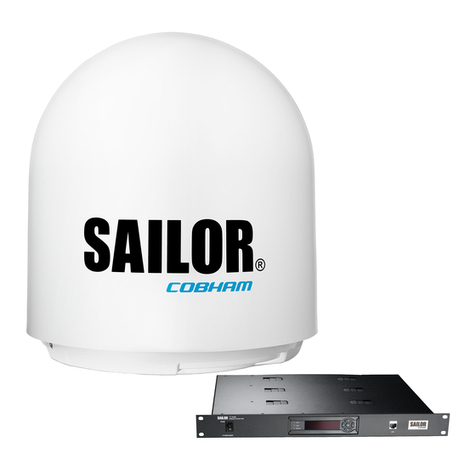
COBHAM SAILOR 1000 XTR Ku 8W User manual

COBHAM

COBHAM SAILOR 1000 XTR Ku 8W User manual

Popular Antenna manuals by other brands

DAVIS Windex AV 3160 installation instructions

DAVIS

DAVIS Windex AV 3160 installation instructions

Belden Hirschmann BAT-ANT-N-14G-IP23 Mounting instruction

Belden

Belden Hirschmann BAT-ANT-N-14G-IP23 Mounting instruction

Vtronix YHK Fitting instructions

Vtronix

Vtronix YHK Fitting instructions

KVH Industries TracVision 6 Technical manual

KVH Industries

KVH Industries TracVision 6 Technical manual

Leica Geosystems GS10 user manual

Leica Geosystems

Leica Geosystems GS10 user manual

Sirio Antenne Gain-Master manual

Sirio Antenne

Sirio Antenne Gain-Master manual

Sony VCA-41 Installation/connections

Sony

Sony VCA-41 Installation/connections

ZCG Y100 Series installation guide

ZCG

ZCG Y100 Series installation guide

Advantech Wireless INTREPID120 Assembly instructions

Advantech Wireless

Advantech Wireless INTREPID120 Assembly instructions

Cerio ANT-10AO installation guide

Cerio

Cerio ANT-10AO installation guide

Alfa Network APA-L01 Specifications

Alfa Network

Alfa Network APA-L01 Specifications

Naval PR-422CA Operation manual

Naval

Naval PR-422CA Operation manual

Feig Electronic ID ISC.ANTH200/200 Series manual

Feig Electronic

Feig Electronic ID ISC.ANTH200/200 Series manual

TERK Technologies TV44 owner's manual

TERK Technologies

TERK Technologies TV44 owner's manual

TERK Technologies SIR3 owner's manual

TERK Technologies

TERK Technologies SIR3 owner's manual

Directive Systems & Engineering DSE2324LYRMK quick start guide

Directive Systems & Engineering

Directive Systems & Engineering DSE2324LYRMK quick start guide

HP J8999A instructions

HP

HP J8999A instructions

MobilSat MSP-S Mounting instructions

MobilSat

MobilSat MSP-S Mounting instructions

manuals.online logo
manuals.online logoBrands
  • About & Mission
  • Contact us
  • Privacy Policy
  • Terms and Conditions

Copyright 2025 Manuals.Online. All Rights Reserved.

Assembly
1. Unpack the Base Unit with the antenna positioner.
WARNING: Be careful not to get your ngers caught
in the mechanic systems when handling and installing the
antenna!
2. Place the Base Unit upon level ground and deploy the two
support legs.
3. Position the antenna in the approximate direction:
Northern hemisphere - the display faces north
Southern hemisphere - the display faces south
This way the antenna points towards the equator, over
which the satellites are located.
WARNING: Anchor the support legs to the ground.
Especially in high wind conditions, add extra weight to the
support legs, or insert stakes through holes in the support
feet.
4. Turn the black knobs to adjust the feet up and down to
level the base and achieve stability.
5. Retract the two thumb screws on the mounting blocks
which are located on the elevation arms.
6. Take the RF assembly out of the case, handle it carefully.
7. Insert the RF assembly into the mounting blocks.
Push forward to make sure it is completely engaged, while
tightening the two thumb screws.
8. Unpack the seven reector panels (in two separate bags).
9. Insert the bottom panels rst and latch them along the
edge of each panel.
10. Insert and latch the upper panels.
11. Take out the feed horn and mount it carefully on the RF
assembly by screwing it into the reector hub.
IMPORTANT: Hold the feed horn as shown while
mounting it. Do not touch the subreector, it can be easily
damaged.
EXPLORER 6100 Ku
1m Stabilized Auto-Acquire Fly-Away Antenna System for Ku-band Operation
Quick guide
1 2 4
5
8 9 10
3
6
COBHAM PUBLIC
7
11
7
BUC
Antenna positioner
GNSS window
WLAN window
Base Unit
Subreector
Introduction
This quick guide describes unpacking and assembly of the an-
tenna. The next page shows how to connect cables, access the
web interface and download the full User & Installation manual.
For details on initial conguration, see the Initial Conguration
and Setup Guide included with the system.
98-171053-C
www.cobham.com/satcom
Any responsibility or liability for loss or damage in connection with the use of this product and the accompanying documentation is disclaimed by Thrane & Thrane A/S. The information in this manual is provided for information
purposes only, is subject to change without notice and may contain errors or inaccuracies. Manuals issued by Thrane & Thrane A/S are periodically revised and updated. Anyone relying on this information should acquire the
most current version e.g. from www.cobham.com/satcom, Cobham SYNC Partner Portal, or from the distributor. Thrane & Thrane A/S is not responsible for the content or accuracy of any translations or reproductions, in whole or
in part, of this manual from any other source. In the event of any discrepancies, the English version shall be the governing text.
Thrane & Thrane A/S is trading as Cobham SATCOM.
COBHAM PUBLIC
User & Installation manual
You can download the User & Installation manual at https://sync.cobham.com or
directly from the terminal.
To download the manual from the terminal, do as follows:
1. Connect a PC to LAN Port 1, open your browser and access the web interface at
http://192.168.0.1 (default IP address for LAN Port 1).
2. Click HELPDESK and then Support.
3. Click the link Download manual.
Power on
WARNING: RF radiation! Do not place your head or other body parts in front of the
reector when the system is operational.
CAUTION: Use ONLY 24-48 VDC to connect to the EXPLORER 6100 Ku system! Do
NOT connect AC power directly to the DC power input.
1. Connect DC power to the front of the Base Unit (Neutrik connector marked DC Power).
We recommend using the EXPLORER 6000 Series Power Supply available from Cobham
SATCOM (sales item number 403160P). See the User & Installation manual for other power
solutions.
2. Press the On/Off button. If the terminal is congured, the system typically auto-acquires
the network within ve minutes.
3.
When the connection is established, the display shows TRACKING.
4. Wait until the connected modem shows that it is ready (see your modem documentation
for details). Then use Port 2 or Port 3 on the Base Unit to connect to the Internet.
NOTE: Do not cover the GNSS (GPS, Glonass, etc.) window located on the positioner nor the
WLAN window located in the front of the Base Unit (see picture at the top of reverse page).
Display
1
2
4
12. Connect the cables from the antenna positioner:
Receive (Blue, Rx) coax cable (TNC) to Co-pol or X-pol
connector on the RF assembly.
Transmit (Red, Tx) coax cable (N) to BUC Transmit port
Pol encoder cable (black with braided sleeve) to the
leftmost circular connector on the RF assembly.
If your BUC requires separate power: Connect the BUC
power cable from the rightmost circular connector on
the antenna positioner to the BUC M&C connector on the
BUC.
13. Connect your modem to Rx Out, Tx In and LAN 5 and/
or RS-422 or RS-232 (depending on your modem) on the
back of the Base Unit.
See the modem documentation and the EXPLORER 6100
Ku User & Installation manual for further details.
12 12
12 13