Cobra RC Toys av drone User manual


6
side to
side fly
Forward
tumbling
key
When the UFO stop spinning in the air,press the
key button on the top left corner,then control the
forward handle,it will turn forward 360 degrees.
When the right operating rod is pushed towards
to left, the left side of UFO down and forward.
When the right operating rod is pushed towards
to right, the right side of UFO down and forward.
Backward
tumbling
key
When the UFO stop spinning in the air,press the
key button on the top left corner,then control the
backward handle,it will turn backward 360 degrees.
Left
tumbling
key
When the UFO stop spinning in the air,press the
key button on the top left corner,then control the
left side fly handle,it will turn left side 360 degrees.
Right
tumbling
key
When the UFO stop spinning in the air,press the
key button on the top left corner,then control the
right side fly handle,it will turn right side 360 degrees.
When the UFO falling down,please push down the throttle lever to the bottom quickly.
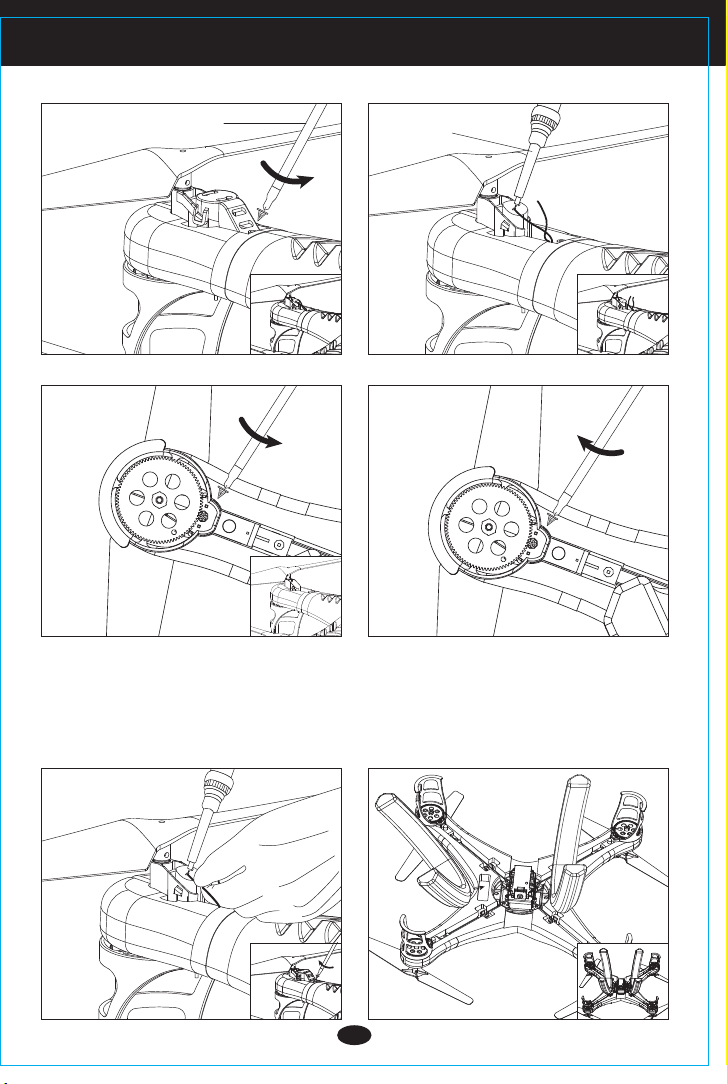
Don't paste label or paper on the UFO,it may make UFO too weight to fly.
Before implementing different direction rolling demo, you must first click the remote control
on the upper left corner of the front / back / left / right tumbling bond.
NOTICE
Special prompt
1.Trimmer adjust the description
If not to push the derection handle when flying,UFO still spinning,you can press the
Fine-tuning switch key to adjust controller trimmer,until UFO fly stable and does not spin.
When the UFO stop spinning,it's head counterclockwise
spin,continuous pressing the left fine-tuning switch,
press the “R”direction until the UFO fly stable.
When the UFO stop spinning,it's head clockwise spin,
continuous pressing the left fine-tuning switch,press
the “L”direction until the UFO fly stable.
When the UFO stop spinning,you want to move the left side
flying, can continuous pressing the side fly fine-tuning switch
from right,press the “R”direction until the UFO fly stable.
When the UFO stop spinning,you want to move the right side
flying,can continuous pressing the side fly fine-tuning switch
from right,press the “L”direction until the UFO fly stable.
When the UFO stop spinning,you want to move forward flying,
can continuous pressing forward/backward fine-tuning switch
from right,press upward direction until the UFO fly stable.
When the UFO stop spinning,you want to move backward flying,
can continuous pressing forward/backward fine-tuning switch
from right,press backward direction until the UFO fly stable.
turn
right
to
adjust
turn
left
to
adjust
turn
"R"
to
adjust
turn
"L"
to
adjust
dowmward
to
adjust
upward
to
adjust
NOTICE
When the UFO is about 30cm from the ground,UFO will be affected by their own blades
vortex and become unstable,it is called the ground effect reaction.When the UFO's weight
more and more lighter,the ground effect reaction influence will be greater.

7
Flying practice
After enough practice,you can attempt the following flying operation.
Self revolving
Always go forward and turn left,and
exercise flying in a quadrate pattern.
then repeatly practice in rotundity.
Landing at the appoint
pace (fixed landing)
(Number 8 flight)
Warning:
1. Pleae do not touch thehigh-speed rotating prepeller;
2. When playing the UFO,please keep the UFO 2 meters safe distanct with other people
3. Be guided by adults whenoperating.
Troubleshooting
NOTICE:
1.When the UFO or controller is lack of power,remote control distance would be affected and
become shorter.
2.If the power of UFO is low,there will be can't fly high or difficult to take-off.
3.If the UFO appeared to breakage,deformation,please repair it timely,serious situation it will
case such as blades fracture,broken,at this time,couldn't make UFO fly,otherwise it will
cause injury.
4.Please pull out the power plug if you don't play the UFO for a long time,that can avoid battery
leakage caused by damage to this product.
5.Don't make UFO flight crash or serious collision,it will damage the UFO or shorten its lifetime.
6.Model UFO with a variety of alloy components,when kids play UFO should be careful,avoid to
be cutted by alloy pieces.
Warning: Do not stab any sharp matter such as needle or snail into the body of plane; it may
damage the inbuilt lithium battery.
PROBLEM CAUSE SOLV
1.Controller’s power switch is
“OFF”. 1.Turn power switch “ON”.
3.Change new batteries instead.
1.Turn controller power switch “ON”.
2.Turn helicopter's power switch “ON”.
3.Do not play the chopper in winds,which can confuse your
control.
1.Pull up the throttle stick.
2.Full charge helicopter battery,(See instruction above).
2.Insert batteries into controller
improperly.
3.Batteries lack of power.
1.You havern’t operated the
controller.
2.Donesn’t turn on controllers
power switch.
3.You play the helicopter in
strong winds weather.
1.Main rotor blades rotate too
slowly.
2.Doesn’t fully charge helicopter
battery.
Can not
control the
helicopter
Helicopter
can not rise
Helicopter landing
too fast
Controller
does not
work
You loose the throttle stick or
pull it too fast. Slowly pull down the throttle till the chopper lands smoothly.
2.Check and make sure the battery is in accordance with the
instructions of the positive and the negative pole in the
battery box.

8
PARTS
Maintenance & Repair:
If the product is not used for a long time, the battery shall be taken out; use clean and soft cloth to clean
the product.
Avoid insolating or heating the tool under sunshine; do not soak it in water, as the parts of it may be
damaged.
Attention: Pictures refer to the actual product.
Part-01 Part-02 Part-03
Foam Set Landing Part 2.4G Remote Controller
Part-04 Part-05 Part-06
7.4V/650mAh Li-Poly Main Blade A Main Blade B
Part-07 Part-08 Part-09
Main Frame Plastic Of Motor Set Carbon Fiber Tube
Part-10 Part-11 Part-12
Charger Main Motor's Line Main Motor's line
(Red/Blue) (Black/White)
Part-13 Part-14 Part-15
Main Motor Set(Red/Blue) Main Motor Set(Black/White) Carbon Fiber
Tube Buckle

9
1.Pressing the camera button, the UFO starts
aerial photopraphing. Pressing the button
again to stop aerial photopraphing. If want
to restart aerial photopraphing, please
repeat the steps above.
2.A light under the video camera will glow
green when in stand-by mode and the
light will glash red when camera is recording
video.(See pic.4)
3.Light will flash red and green continuously
when Micro SD Card memory is full. The
video recordings(AVI files)must be removed
in order to make room for new recordings.
4.To view recording remove the MicroSD
card from the rear of the video camera(See
pic.5)by slightly depressing the MicroSD
card and allowing it to then spring out
enough tograb it and pull it out of the slot.
5.MicroSD Card can now be used as a
Flash Drive.
6.Go to "NO NAME"drive, go into the DCIM
Folder, Go into the 100DSCIM Folder, AVI
files can be played on several media players
such as "Quicktime."
7.HAVE FUN!!!
■If you have trouble playing the files with
Quicktime try your other media players. You
can also look online for recommended free
downloadable AVI players.
■Video camera does not record sound.
■Micro SD Card should be placed with the
little copper connections facing as show in
■All fies on the Micro SD Card can be removed
or erased without comprimising the video
camera. The video camera will regenerate
the DCIM and 100DSCIM folders if necessary.
Pic.3
-Insert Micro SD card with
connection facing up.
-Push to remove
Fittings
CARD READER SD CARD
Camera lens
Camera button
USING THE ON-BOARD VIDEO CAMERA
Pic.4
Pic.5

10
1.disassemble screw and motor cover
3.disassemble motor's screw and motor
5.The red wire in A blade motor should
weld the motor negative pole. Black
wire should weld motor positive pole.
The red wire in B blade motor should
weld the motor positive pole. Black
wire should weld motor negative pole.
assemble the motor cover and screw
4.assemble new motor and rotate the screw
6.Install the landing
2.take out the motor wires
screwdriver solder iron
Motor Changing Steps
Table of contents
Other Cobra RC Toys Drone manuals