User Manual
1
1- Introduction
The CoLibrì e-DaVinci book covering machine is an automatic system used to cover any type of
book or publication and may also be used to file, save and protect documents, photographs, plans
and objects. Covering books or publications of any shape and size becomes a very quick and easy
task using the CoLibrì system's special transparent covers that are available in various sizes. In
fact, no more than 20 seconds are needed to apply a resistant and perfectly adherent protective
cover. In addition, the transparent cover is not sticky, it does not alter the book cover and may be
removed and replaced at any time.
The CoLibrì
e-DaVinci
book covering machine has been designed for exclusive use
with original CoLibrì material. The use of non-original CoLibrì material causes
malfunctioning and possible serious damages to the machine and voids the warranty on
the machine itself
The book covering machine has been designed with the objective of creating a ready-to-use compact
unit, suitable to trim and weld covers in an automatic, safe, simple, clean and perfectly squared manner.
All these characteristics have been perfectly integrated in the CoLibrì e-DaVinci, a hi-tech system
which is accurate down to the last detail and which is also light, handy, fast and cost effective. The
system is particularly suitable for stationery shops, bookshops, schools and libraries. In addition,
because it is fast and easy to use, the CoLibrì e-DaVinci book covering machine is also the ideal
solution for professional offices, where architects, editors, photographers, etc. can use it to file projects,
documents, sketches and drawings or to put objects, photographs and printouts into envelopes.
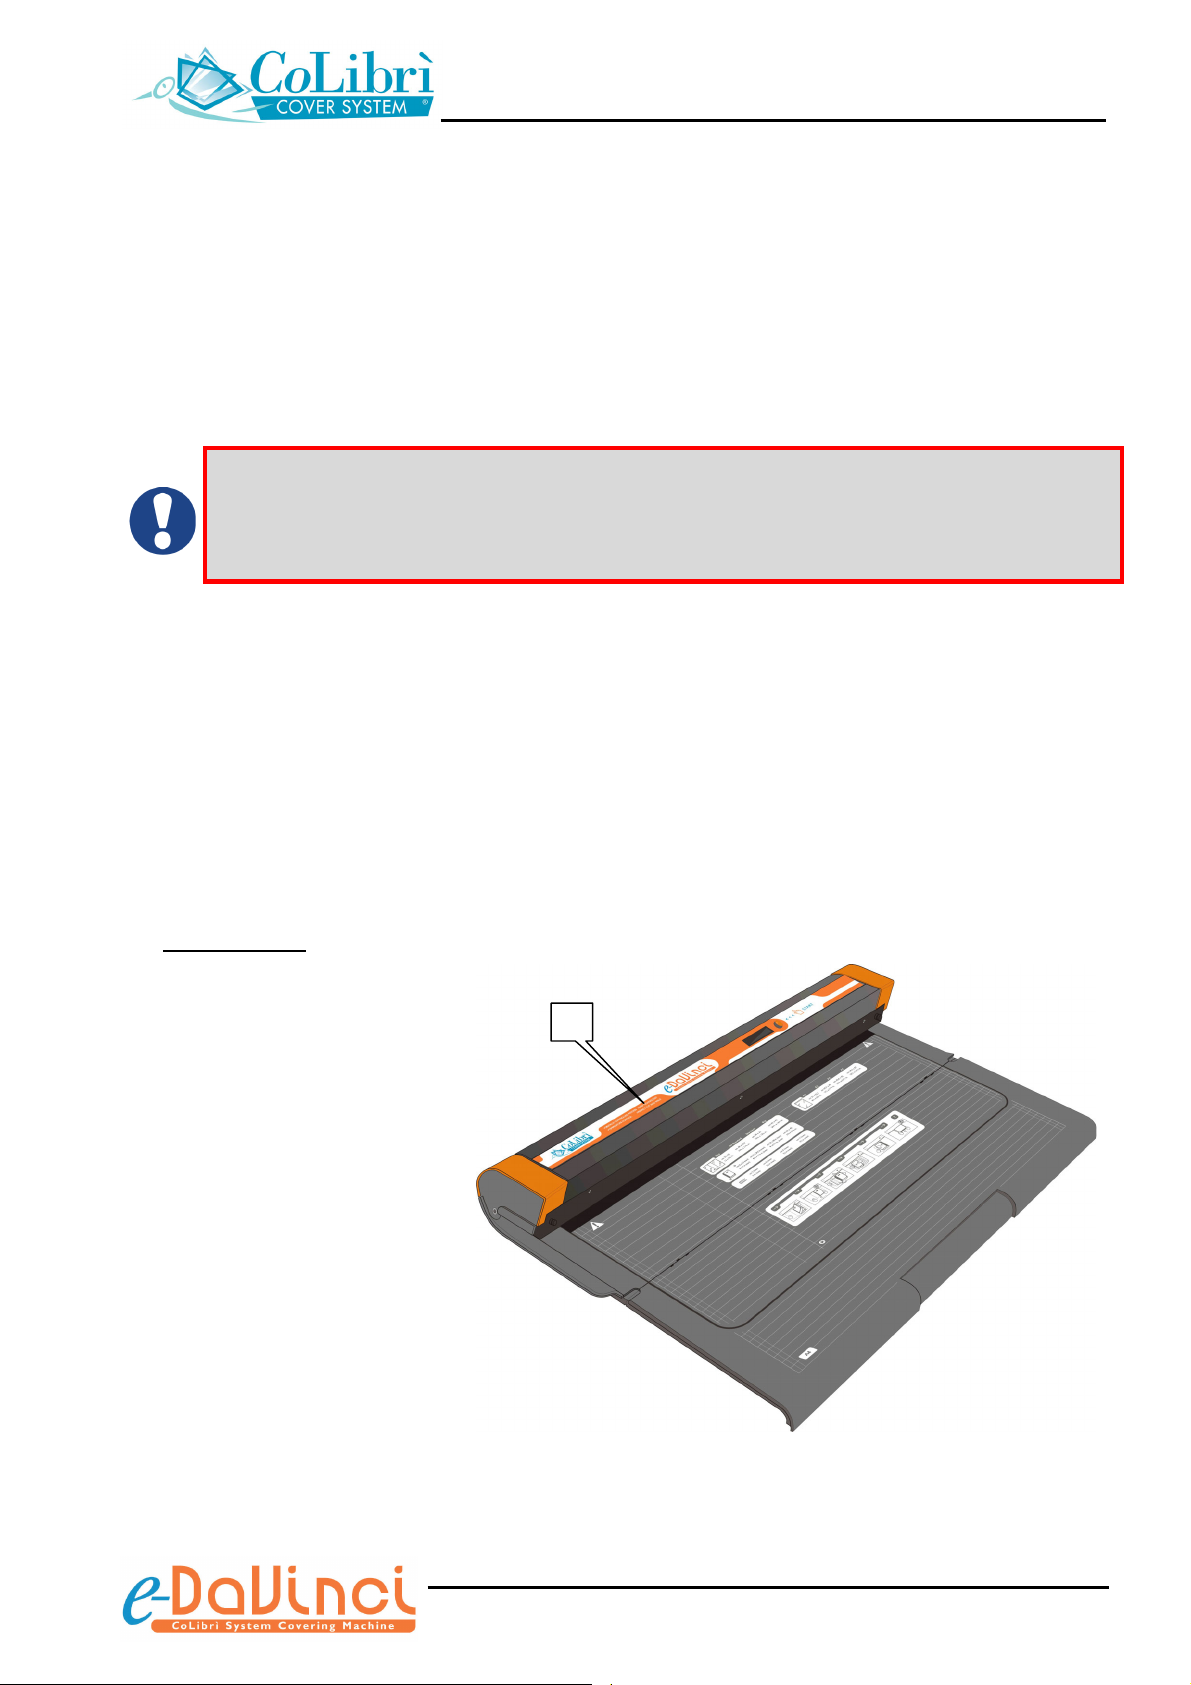
1.1 Identification of Components
1. Welding head
The welding head contains the
main elements needed for
trimming/welding the cover (e.g.
welding bar, control board,
motors, etc.). The external casing
allows a rapid dissipation of the
heat developed during the welding
process and, at the same time, it
prevents the user from touching
potentially dangerous parts.
A slight overheating of the
welding head after extended
use is normal. In any event,
the accessible surfaces do
not reach dangerous
temperatures.
1