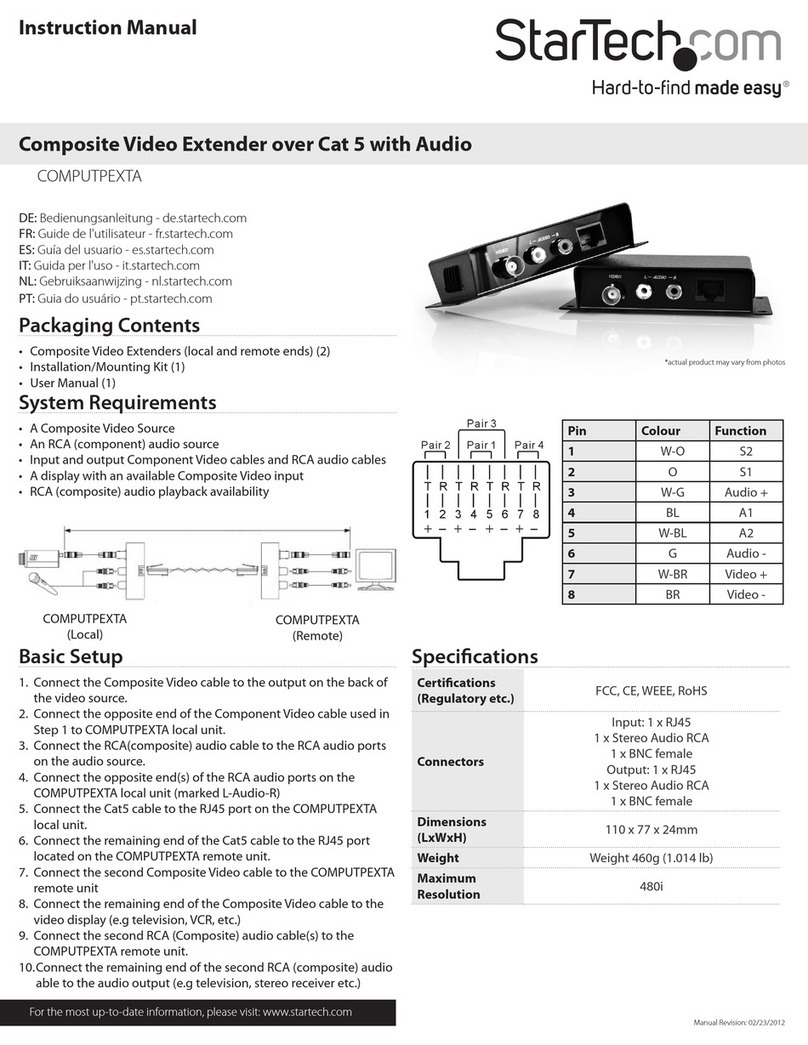
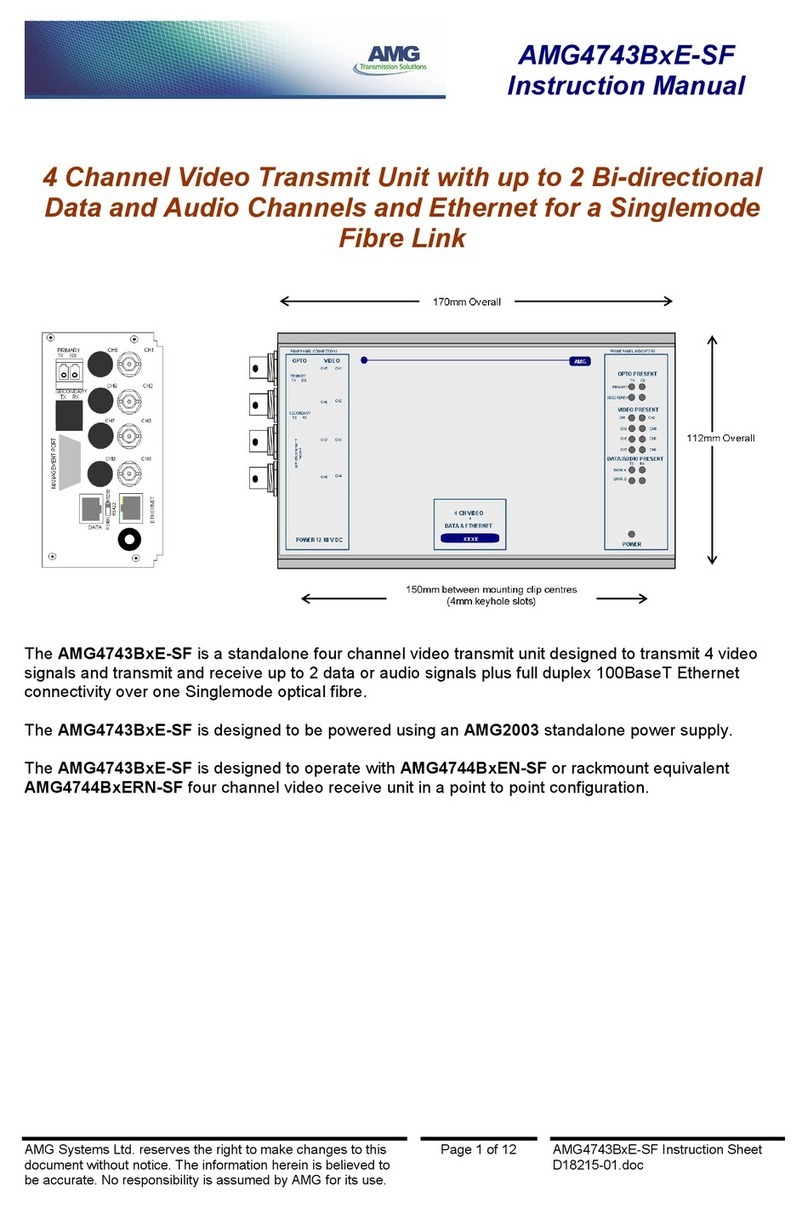
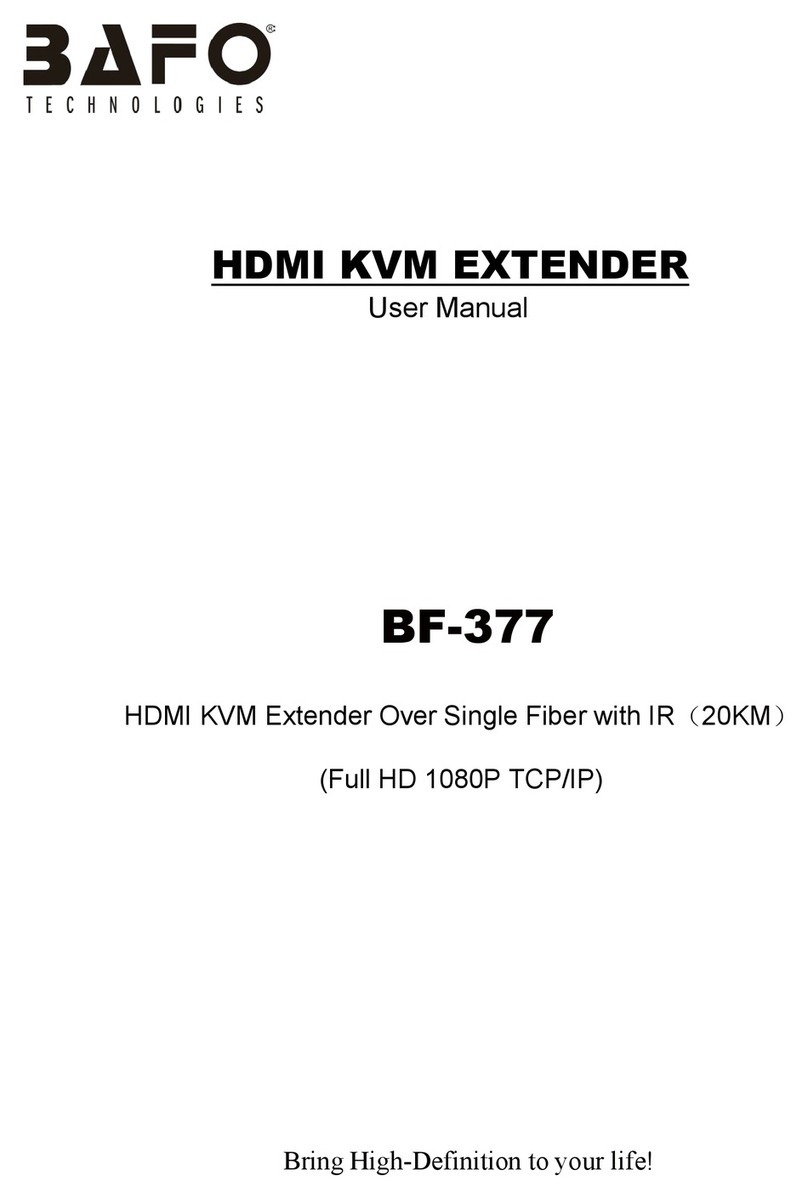
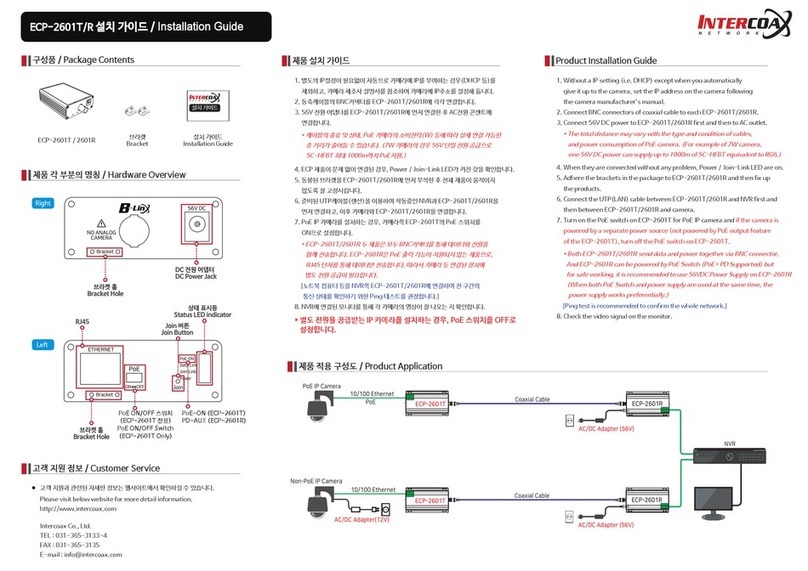
Comm-Tec DaisyNET II User manual

Version: V1.0.6
DaisyNET II
User Manual

Important Safety Instructions
1. Do not expose this apparatus
to rain, moisture, dripping or
splashing and that no objects
filled with liquids, such as vases,
shall be placed on the apparatus.
6. Clean this apparatus
only with dry cloth.
2. Do not install or place this unit
in a bookcase, built-in cabinet or
in another confined space.
Ensure the unit is well ventilated.
3. To prevent risk of electric
shock or fire hazard due to
overheating, do not obstruct
the unit’s ventilation openings
with newspapers, tablecloths,
curtains, and similar items.
4. Do not install near any heat
sources such as radiators, heat
registers, stoves, or other
apparatus (including amplifiers)
that produce heat.
5. Do not place sources of naked
flames, such as lighted candles,
on the unit.
7. Unplug this apparatus
during lightning storms or
when unused for long
periods of time.
8. Protect the power cord
from being walked on or
pinched particularly at
plugs.
9. Only use attachments /
accessories specified by
the manufacturer.
10. Refer all servicing to
qualified service
personnel.

1
Warnings of FCC
This equipment has been tested and found to comply with the
limits for a Class B digital device, pursuant to Part 15 of the FCC
Rules. These limits are designed to provide reasonable protection
against harmful interference in a residential installation. This
equipment generates uses and can radiate radio frequency
energy and, if not installed and used in accordance with the
instructions, may cause harmful interference to radio
communications. However, there is no guarantee that interference
will not occur in a particular installation. If this equipment does
cause harmful interference to radio or television reception, which
can be determined by turning the equipment off and on, the user is
encouraged to try to correct the interference by one or more of the
following measures:
-- Reorient or relocate the receiving antenna.
-- Increase the separation between the equipment and
receiver.
-- Connect the equipment into an outlet on a circuit different
from that to which the receiver is connected.
-- Consult the dealer or an experienced radio/TV technician
for help.
Changes or modifications not expressly approved by the party
responsible for compliance could void the user's authority to
operate the equipment.

2
Table of Contents
Introduction ...............................................................................................3
Overview .............................................................................................3
Features...............................................................................................4
Package Contents ................................................................................5
Specifications ......................................................................................6
Panel Layout......................................................................................11
Quick Start................................................................................................14
Connections and Installation....................................................................18
Application Diagram.................................................................................20
Web Control .............................................................................................22
Status.................................................................................................23
Configuration.....................................................................................25
Advanced...........................................................................................34
Device List Window............................................................................39
EDID Management ...................................................................................40
Warranty Terms and Conditions.................................................................1

3
Introduction
Overview
DaisyNET II is a 100m 4K Daisy-chain Presenter with HDBaseT in
and HDBaseT out, and utilizes HDBaseT technology as
daisy-chain medium to cascade multiple A/V sources, displays or
any devices with HDBaseT connection together in a chain to set
up an A/V distribution system.
DaisyNET II supports three video inputs including HDMI, Display
Port and VGA plus 3.5mm audio in, with HDBaseT input and
HDBaseT output for cascading. A local HDMI out with audio
de-embedder is provided in the rear side to connect local monitor
or zone displays. It has a 2-Port Ethernet Switch built-in so that
Ethernet could pass through over HDBaseT for LAN control, or to
feed LAN access to sources or displays. RS232 port is used to
pass through RS232 commands or control display device. USB
charger is also provided to charge mobile devices. It offers
ShowME button and Contact Closure to switch sources, and
rotary switch for EDID management.
DaisyNET II offers a future-ready Ultra HD A/V switching and
distribution solution, and cutting-edge HDMI 2.0 and HDCP 2.2
compatibility. With user-friendly WEB GUI and Telnet API to
configure advanced functionality including CEC controller, RS232
controller and Daisy-chain Grouping, it is perfectly suitable for
collaboration or presentation in conference and education
application.

4
Features
HDMI, DisplayPort and VGA plus stereo switching inputs,
local HDMI bypass out with audio de-embedder
HDBaseT input and output to cascade multiple A/V sources
and displays
HDMI 2.0 and input supports HDCP 2.2
Supports 4K@60Hz 4:2:0 8-bit up to 70m over Cat5e/Cat6, or
up to 100m over Cat6a/Cat7
Built in CEC controller and RS232 controller for smart control
Automatic CEC and RS232 command to Power ON/Standby
Display, by detecting input signal status
Daisy-chain Grouping mode offered to match flexible
application
LAN control with user-friendly WEB GUI and Telnet API
ShowMe and Contact Closure for source switching
Built in 2-Port Ethernet Switch for LAN control or LAN access
Built in USB Charger up to 5V/1.5Ato charge mobile devices
Independent rotary switch for EDID management
Advanced signal re-locking and cable equalization for
multiple daisy-chains

5
Package Contents
1 x DaisyNET II
1 x Power Supply (DC 12V 3A)
2 x Phoenix Male Connector (3 Pin 3.5mm)
2 x Phoenix Male Connector (4 Pin 3.5mm)
2 x Phoenix Male Connector (2 Pin 3.5mm)
1 x Mounting Brackets (Pair)

6
Specifications
Video
Input
1 x HDMI IN, 1 x DisplayPort IN,
1 x VGA IN, 1 x HDBaseT IN
Input Signal Type
HDMI: HDMI 2.0 w/HDCP 2.2,
DP: DP 1.2 w/HDCP2.2
Input Resolution
Support
HDMI:
4096 x 2160@24/25/30/50/60Hz,
3840 x 2160@24/25/30/50/60Hz,
1080p@24/25/30/50/60Hz,
1080i@50/60Hz, 720p@50/60Hz,
1920 x 1200@60Hz,
1680 x 1050@60Hz,
1600 x1200@60Hz, 1600 x 900@60Hz,
1440 x 900@60Hz, 1400 x 1050@60Hz,
1366 x 768@60Hz, 1360 x 768@60Hz,
1280 x 1024@60H, 1280 x 960@60Hz,
1280 x 800@60Hz, 1280 x 768@60Hz,
1024 x 768@60Hz, 800 x 600@60Hz
DisplayPort:
800x600@60 Hz, 1024x768@60Hz ,
1280x768@60Hz, 1280x800@60Hz,
1280x960@60Hz, 1280x1024@60Hz,
1360x768@60Hz, 1366x768@60Hz,
1440 x900@60Hz, 1600 x900@60Hz,
1600 x1200@60Hz,
1680 x1050@60Hz,
1920 x1080@60Hz,

7
1920 x1200@60Hz,
1280x720P@50Hz, 1280x720P@60Hz,
1920x1080P@50Hz,
3840x2160@50Hz, 3840x2160@60Hz,
4096x2160@50Hz, 4096x2160@60Hz.
VGA:
800x600@60 Hz, 1024x768@60Hz ,
1280x768@60Hz, 1280x800@60Hz,
1280x960@60Hz, 1280x1024@60Hz,
1360x768@60Hz, 1366x768@60Hz,
1440 x900@60Hz, 1600 x900@60Hz,
1600 x1200@60Hz,
1680 x1050@60Hz,
1920 x1080@60Hz,
1920 x1200@60Hz,
1280x720P@50Hz, 1280x720P@60Hz,
1920x1080P@50Hz,
Output
1 x HDMI OUT, 1x HDBaseT OUT
Output Signal Type
HDMI 2.0 with 4k, HDBaseT
Output Resolution
Support
HDMI:
4096 x 2160@24/25/30/50/60Hz,
3840 x 2160@24/25/30/50/60Hz,
1080p@24/25/30/50/60Hz,
1080i@50/60Hz, 720p@50/60Hz,
1920 x 1200@60Hz,
1680 x 1050@60Hz,
1600 x 1200@60Hz,
1600 x 900@60Hz, 1440 x 900@60Hz,
1400 x 1050@60Hz, 1366 x 768@60Hz,

8
1360 x 768@60Hz,
1280 x 1024@60H, 1280 x 960@60Hz,
1280 x 800@60Hz, 1280 x 768@60Hz,
1024 x 768@60Hz, 800 x 600@60Hz
DisplayPort:
800x600@60 Hz, 1024x768@60Hz ,
1280x768@60Hz, 1280x800@60Hz,
1280x960@60Hz, 1280x1024@60Hz,
1360x768@60Hz, 1366x768@60Hz,
1440 x900@60Hz, 1600 x900@60Hz,
1600 x1200@60Hz,
1680 x1050@60Hz,
1920 x1080@60Hz,
1920 x1200@60Hz,
1280x720P@50Hz, 1280x720P@60Hz,
1920x1080P@50Hz,
1920x1080P@60Hz,
3840x2160@50Hz, 3840x2160@60Hz,
4096x2160@50Hz, 4096x2160@60Hz.
VGA:
800x600@60 Hz, 1024x768@60Hz ,
1280x768@60Hz, 1280x800@60Hz,
1280x960@60Hz, 1280x1024@60Hz,
1360x768@60Hz, 1366x768@60Hz,
1440 x900@60Hz, 1600 x900@60Hz,
1600 x1200@60Hz,
1680 x1050@60Hz,
1920 x1080@60Hz,

9
1920 x1200@60Hz,
1280x720P@50Hz, 1280x720P@60Hz,
1920x1080P@50Hz
Note:
HDMI and HDBaseT inputs support
4:4:4 color sampling except for 4K/UHD
resolutions at 50/60 Hz which support
4:2:0 color sampling.
HDBaseT out: HDMI 2.0 with 4k@60Hz
(Chroma sub-sampling 4:2:0 8-bit only)
Video Impedance
100 Ω
Input Video Level
0.5-1.2 V p-p
Input DDC Level
5 volts p-p (TTL)
Maximum Pixel Clock
300MHz
Audio
Input
1 x Audio in for VGA, DP/HDMI/HDBT
embedding audio
Input Connector Type
3.5mm jack
Output
HDMI audio de-embedded, Stereo
Control
Control Method
ShowME, Contact Closure, Telnet, Web
GUI
External LEDs
Specifications
2.5 - 3.3 V
5 - 8 mA

10
General
Operating
Temperature
0°C to 45°C (32°F to 113°F)
Storage Temperature
-20°C to 70°C (-4°F to 158°F)
Humidity
10% to 90%, non-condensing
ESD Protection
Human-body Model:
±8kV(Air-gap discharge)/
±4kV(Contact discharge)
Power Supply
DC 12V 3A
Power Consumption
20.52W (Maximum)
Device Dimension
(W x H x D)
223mm x 27mm x 124.2mm /
8.78’’ x 1.06’’ x 4.89’’
Product Weight
0.8kg
Certification
CE, FCC

11
Panel Layout
Front Panel
No.
Name
Description
1
LocateMe LED
Located a device in the chain, LED
flashes 2 times when click “LocateME” on
WEB
2
Power LED
Indicate power status
3
RESET
Press and hold this button for at least five
seconds to reset the DaisyNET II
4
USB
CHARGER
Charge USB device
5
HDMI IN LED
This LED is on if HDMI IN is selected as
input
6
HDMI IN
Connects to HDMI source device
7
DP IN LED
This LED is on if DP IN is selected as
input
8
DP IN
Connects to DisplayPort source device
9
VGA IN LED
This LED is on if VGAIN is selected as
input
10
VGA IN
Connects to VGA source device
11
AUDIO IN
VGA analog stereo audio input
12
ETHERNET
Connects to a LAN device such as
Laptop for LAN access or WEB control
13
EDID
Rotary switch is provided to offer EDID

12
No.
Name
Description
management.
14
Show Me
Button
Press this button to switch the input
source in turn, or activate remote device
when active source detected on remote
device in cascaded connection.
ShowMe switch is only effective for active
sources, cannot switch to inactive
channel, disabled source or source not
been detected. By pressing local
ShowMe button on current selected
device for 3 seconds, it would cancel the
device and switch back to the last
selected device/source.
Hold press ShowMe button for 10
seconds, input signal LED will blinking
twice to start sorting, based on the
current device IP sequentially.
Rear Panel
No.
Name
Description
1
HDBT IN
Connects to HDBT output port of any HDBT
device or the other DaisyNET II.
2
RS232
Connects to a controllable device such as
projector as RS232 pass-through
3
Ethernet
Connects to a LAN device such as IP-based
touch panel for LAN control

13
No.
Name
Description
4
SHOW
ME
Connects to a controller such as keypad to
switch sources
5
KEY
Connects to a controller such as a keypad to
select HDMI, DP or VGA source directly.
Pin 1 represents HDMI IN, Pin 2 represents
DP IN, Pin3 represents VGA IN. Pin G
represents Ground.
6
LED
Connects to a controller such as a keypad to
indicate current selected input channel.
Pin 1 represents HDMI IN, Pin 2 represents
DP IN, Pin3 represents VGA IN. Pin G
represents Ground.
7
HDMI
OUT
Connects to a HDMI display device
8
AUDIO
OUT
Connects to audio system such as an
amplifier
9
HDBT
OUT
Connects to HDBT input port of any HDBT
device or the other DaisyNET II.
10
Power 10
Connects to power supply with 2-pin phoenix
connector
11
Power 11
DC 12V power input

14
Quick Start
DaisyNET II could be used flexibly as either transmitter or receiver
to support a couple of different installations and applications,
because of a local HDMI Out port built in.
Application 1: Chain-type Connection
In Application 1, Device 1 and Device 2 are used as transmitter to
connect source, while Device M and Device Z are dedicated
receivers to connect multiple displays.
Application 2: Chain-type Connection with Local Monitor
In Application 2, each DaisyNET II in the chain has their local
HDMI Out connected with local monitor, so as to show forward or
local source once it’s selected in the chain. Please note only

15
backward devices could display forward sources, while forward
devices can not have their local monitor to show backward
sources.
Application 3: Ring-type Connection
In Application 3, the last Device Z has its HDBT OUT connecting
to HDBT IN of the first Device 1. As a result, each source
selected could be displayed by any monitor in the chain, and fix
the issue in chain-type connection that backward sources can not
be displayed in forward monitors.
Application 4: Grouping Mode
In Application 3, Device 1 and Device 2 work in Group 1, while
Device M and Device Z work in separate Group Z. Devices in
different groups can not select or display sources from other

16
groups. Grouping mode is simply activated by Telnet API or
clicking the Daisy-chain Grouping option on the WEB GUI of
device, then the video will stop to be outputted to backward
devices.
For example, set Device 2 in grouping mode to make Device 1
and Device 2 work as Group 1, then Device 3 and all backward
devices are in the other group; set Device 2 and Device 4 in
grouping mode to make Device 1 and Device 2 in a group, Device
3 and Device 4 work in a group, Device 5 and backward devices in
the other group (More details please check Page 23.) Both
Chain-type and Ring-type connection could support grouping
mode.
Before set up, please take care of below steps:
1. Connect a PC to each device by Ethernet port, log in their WEB
GUI to set static IP address and alias name for every device.
(Please check Page 18 to learn how to log in WEB GUI.)
2. Connect all devices by HDBaseT ports through Cat cable, make
a Chain-type connection firstly and feed LAN access to Ethernet
port of any device. Do not make Ring-type connection directly with
LAN access, otherwise there will be LAN conflicts and LAN control
disabled.
3. Log in WEB GUI of the first device in the chain, input total
quantity of devices cascaded within Daisy-chain Sequence and
then click Start Sequence. (More details please check Page 22
Daisy-Chain Sequence).
4. Connect the HDBT OUT of the last device to the HDBT IN of the

17
first device, log in WEB GUI of the first device to click Start
Sequence again, then Ring-type connection is set up correctly.
Any DaisyNET II reset, removed, replaced or newly added in the
chain, please follow above instruction to configure them again.

18
Connections and Installation
1. Connect the HDBT OUT port of DaisyNET II 1 to the HDBT IN
port of DaisyNET II 2, connect the HDBT OUT port of
DaisyNET II 2 to the HDBT IN port of DaisyNET II 3, and
follow to daisy-chain multiple DaisyNET II through HDBT
ports by Cat cable.
2. Using quality HDMI/DP/VGA cables to connect different
sources (such as Laptop, PC, Blu-ray, satellite/cable TV, etc.)
to HDMI IN/DP IN/VGA IN port of DaisyNET II.
3. Using quality HDMI cables to connect the HDMI display
device (such as Projector, Monitor or TV) to the HDMI OUT of
DaisyNET II.
4. Connect a controller such as IP-based touch panel to an
Ethernet port of DaisyNET II, or Contact Closure-based
keypad to the ShowME/KEY/LED ports to control. Circuit
diagram of Contact Closure ports including SHOW ME, KEY
and LED without any resistors as shown:
Specs of the LED:
2.5 - 3.3 V / 5 - 8 mA
5. Power on all devices. Use the ShowMe button, Contact
Closure, WEB GUI or Telnet API command to operate the
DaisyNET II.
Other manuals for DaisyNET II
3
Table of contents
Other Comm-Tec Extender manuals
