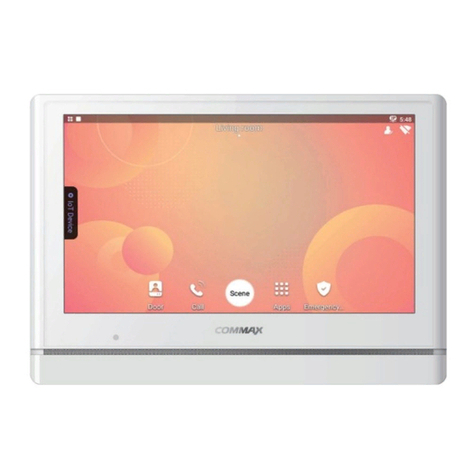
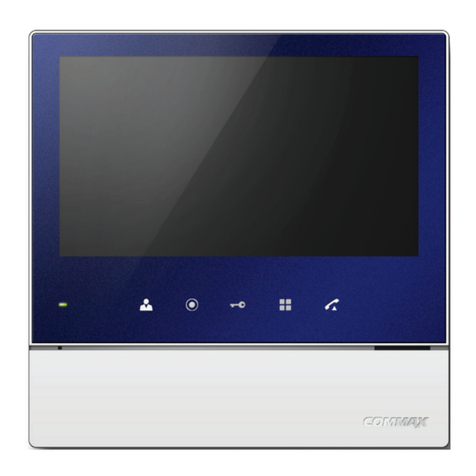
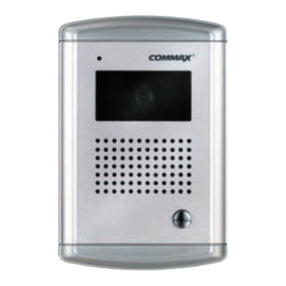
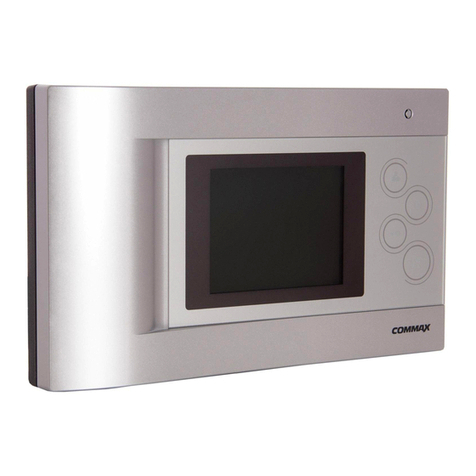
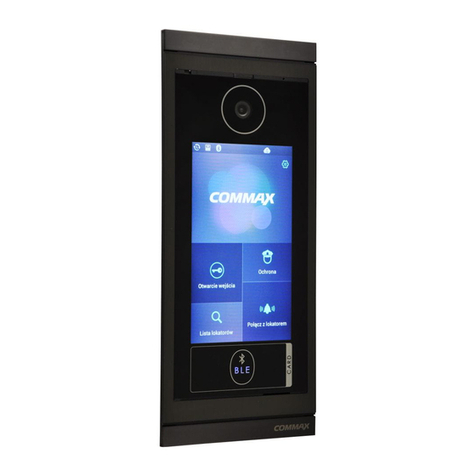
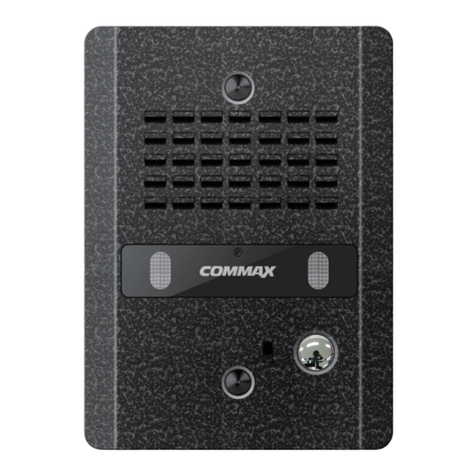
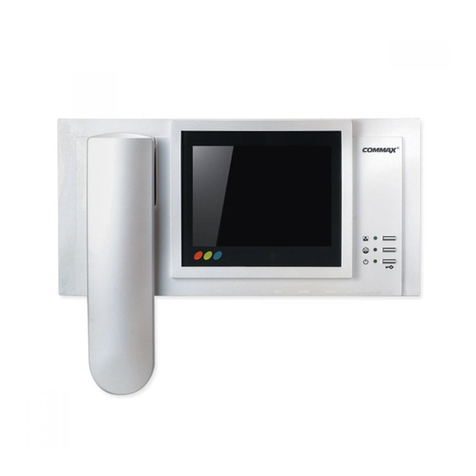
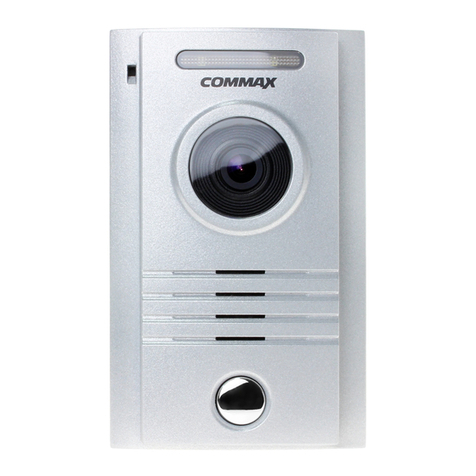
Commax CDV-70UX User manual

•Thank you for purchasing COMMAX products.
•Please carefully read this User’s Guide (in particular, precautions for safety) before using a product and follow
instructions to use a product exactly.
•The company is not responsible for any safety accidents caused by abnormal operation of the product.
513-11, Sangdaewon-dong, Jungwon-gu, Seongnam-si, Gyeonggi-do, Korea
Int’l Business Dept. Tel. : +82-31-7393-540~550 Fax. : +82-31-745-2133
Web site : www.commax.com
•Thank you for purchasing COMMAX products.
•Please carefully read this User’s Guide (in particular, precautions for safety) before using a product and follow
instructions to use a product exactly.
•The company is not responsible for any safety accidents caused by abnormal operation of the product.
Color video door phone CDV-70UX
User Manual

1
1. Table of Contents
Table of Contents
2. Safety Warning & Caution . . . . . . . . . . . . . . . . . . . . . . . . . . . . . . .2
3. Start . . . . . . . . . . . . . . . . . . . . . . . . . . . . . . . . . . . . . . . . . . . . . . . .4
3.1.Part name . . . . . . . . . . . . . . . . . . . . . . . . . . . . . . . . . . . . . . . .4
3.2.Display composition . . . . . . . . . . . . . . . . . . . . . . . . . . . . . . . .5
4. Home . . . . . . . . . . . . . . . . . . . . . . . . . . . . . . . . . . . . . . . . . . . . . . .6
4.1. Display composition . . . . . . . . . . . . . . . . . . . . . . . . . . . . . . . .6
4.2. Door . . . . . . . . . . . . . . . . . . . . . . . . . . . . . . . . . . . . . . . . . . . .7
4.3. Call log . . . . . . . . . . . . . . . . . . . . . . . . . . . . . . . . . . . . . . . . . .7
4.4. Visitor Photo Viewer . . . . . . . . . . . . . . . . . . . . . . . . . . . . . . . .7
4.5. Emergency . . . . . . . . . . . . . . . . . . . . . . . . . . . . . . . . . . . . . . .7
4.6. phone . . . . . . . . . . . . . . . . . . . . . . . . . . . . . . . . . . . . . . . . . . .7
5. Applications . . . . . . . . . . . . . . . . . . . . . . . . . . . . . . . . . . . . . . . . . .8
5.1. Call . . . . . . . . . . . . . . . . . . . . . . . . . . . . . . . . . . . . . . . . . . . . .8
5.1.1. Display composition . . . . . . . . . . . . . . . . . . . . . . . . . . . . . .8
5.1.2. Door . . . . . . . . . . . . . . . . . . . . . . . . . . . . . . . . . . . . . . . . . .9
5.1.3. Call log . . . . . . . . . . . . . . . . . . . . . . . . . . . . . . . . . . . . . . .10
5.1.4. Receiving a call from Smartphone . . . . . . . . . . . . . . . . . .11
5.2. Security . . . . . . . . . . . . . . . . . . . . . . . . . . . . . . . . . . . . . . . .12
5.2.1. Display composition . . . . . . . . . . . . . . . . . . . . . . . . . . . . .12
5.2.2. Panic alert . . . . . . . . . . . . . . . . . . . . . . . . . . . . . . . . . . . . .13
5.2.3. Check visitors . . . . . . . . . . . . . . . . . . . . . . . . . . . . . . . . . .14
5.3. Convenient features . . . . . . . . . . . . . . . . . . . . . . . . . . . . . . .16
5.3.1. Display composition . . . . . . . . . . . . . . . . . . . . . . . . . . . . .16
5.3.2. Create account . . . . . . . . . . . . . . . . . . . . . . . . . . . . . . . . .17
5.3.3. Alarm clock . . . . . . . . . . . . . . . . . . . . . . . . . . . . . . . . . . . .18
5.3.4. Calculator . . . . . . . . . . . . . . . . . . . . . . . . . . . . . . . . . . . . .19
5.3.5. Sound recorder . . . . . . . . . . . . . . . . . . . . . . . . . . . . . . . . .19
6. Settings . . . . . . . . . . . . . . . . . . . . . . . . . . . . . . . . . . . . . . . . . . . .20
6.1. Settings . . . . . . . . . . . . . . . . . . . . . . . . . . . . . . . . . . . . . . . .20
6.2. Password setting . . . . . . . . . . . . . . . . . . . . . . . . . . . . . . . . .20
6.3. Advanced setting . . . . . . . . . . . . . . . . . . . . . . . . . . . . . . . . .20
6.4. Wireless network setting . . . . . . . . . . . . . . . . . . . . . . . . . . .21
6.5. Sound setting . . . . . . . . . . . . . . . . . . . . . . . . . . . . . . . . . . . .21
6.6. Display setting . . . . . . . . . . . . . . . . . . . . . . . . . . . . . . . . . . .22
6.7. Language and keyboard setting . . . . . . . . . . . . . . . . . . . . . .23
6.8. Time and date setting . . . . . . . . . . . . . . . . . . . . . . . . . . . . . .23
7. Supplement . . . . . . . . . . . . . . . . . . . . . . . . . . . . . . . . . . . . . . . . .25
7.1. The package includes the followings. . . . . . . . . . . . . . . . . .25
7.2. Specification and Features . . . . . . . . . . . . . . . . . . . . . . . . .25
7.3. Wiring . . . . . . . . . . . . . . . . . . . . . . . . . . . . . . . . . . . . . . . . .26
7.4. Caution for cabling . . . . . . . . . . . . . . . . . . . . . . . . . . . . . . . .26
7.5. Caution for recoding video of visitors . . . . . . . . . . . . . . . . . .27
7.6. Connecting via Smartphone . . . . . . . . . . . . . . . . . . . . . . . . .28

2
2. Safety Warning & Caution
Please follow the things described below in order to prevent any
danger or property damage.
Warning
Caution
Prohibition.
No disassembly
No touch
Must follow strictly.
Shows plugging out the power cord
without an exception
Shows the warning and caution for an electric shock.
Shows the warning and caution for a fire.
It may cause a serious damage or
injury if violated.
It may cause a minor damage or
injury if violated.
Power & Installation
Warning
Please don’t use several
products at the same time on
one power socket.
·It may cause a fire due to an
abnormal overheating.
Please don’tbend the power
cable excessively or it may
cause an electric shock.
·fire when using a damaged
power cable.
Please don’t handle the power
cable with a wet hand.
·It may cause an electric
shock.
Please plug out the power
cable from the socket when
not using it for a long period
of time.
·It may shorten the product
lifespan or cause a fire.
Please don’t install the
product in the place where
there is much oil, smoke or
humidity.
·It may cause an electric
shock or fire.
Please don’t install the
product with the lightening
and thunder.
·It may cause an electric
shock or fire.
Please don’tuse and connect
this product with other
products with different rated
voltage
·It may cause a disorder or
fire.
When installing the product
that generates heat, please
install the product away from
the wall (10cm) for the
ventilation.
·It may cause a fire due to
the increased internal
temperature.

3
Cleaning & Use
Please don’tdisassemble,
repair or rebuild this product
arbitrarily (please contact the
service center if a repair is
needed.
·It may cause an electric
shock or fire.
Please plug the power cable
firmly into the inner end
·It may cause a fire.
Please hold the plug tightly
when unplugging the power
cable (a part of the copper
wire may be disconnected if
the grabbing is only made on
the cord when pulling out the
cable).
·It may cause an electric
shock or fire
When connecting the power
cables after cutting the cable,
please install the product with
power off
·It may cause an electric
shock or fire
When installing the product,
please fix it firmly while using
the wall-mounting unit and
screws.
·It may cause an injury from
the falling object.
Please be careful when using
an AC circuit breaker since
there is a possibility of an
electric shock.
When cleaning the product,
please rub it with a soft and
dry cloth after plugging out
the power cable. (Please don’t
use any chemical products
such as wax, benzene, alcohol
or cleanser.)
Please don’t drop the product
on the ground and don’tapply
a shock .
·It may cause a failure.
Please use the designated
connection cable within the
maximum calling distance
designated for the product
·It may reduce the product
performance.
Please check the use voltage
and current for the DC-only
products and use the
appropriate rectifier.
·It may cause a fire.
Please avoid direct rays of the
sun or heating devices at a
time of installation.
·It may cause a fire.
Please don’t install the
product on an unstable place
or small support board.
·It may cause an injury if it
falls down while in use.
If an abnormal sound, burning
smell or smoke is coming out
of the product, please plug out
the power cable and contact a
service center.
·It may cause an electric
shock or fire.
Please don’t insert any
metallic or burnable materials
into the ventilation hole.
·It may cause an electric
shock or fire.
Please use only the designated
batteries for the products of
using DC power.
·It may cause an electric
shock or fire.
Cleaning & UsePower & Installation
Warning
Caution
4
3. Start
No.
1
2
3
4
5
6
7
Description Description
Touch screen
Speaker
Power LED
Microphone
Panic button
Page button
Door release button
Call button
Home button
Power switch
Camera 1 connector
Camera 2 connector
Interphone connector
SD card slot
No.
8
9
10
11
12
13
14
3.1. Part name
②⑭③ ④
⑪
⑫⑬
⑭
⑤
⑥
⑦
⑧
⑨⑩
①

5
3.2. Display composition
Page scrolling enabled
Buttons at the top
Go to Home
Volume down
Volume up
Alert icons
The corresponding icon will be indicated for each alert. Scroll down while touching the top line of
alert indication to display the alert detail.
System activation error.
System successfully activated
Call function error
Call function properly activated
Wi-Fi
Back
Other options (background &
settings)
Panic alert
Visitor image recorded
Unanswered call
Alarm on
Device connected

6
4. Home
4.1. Display composition
Door Monitoring individual entrance, talking with a visitor, etc.
Call log Call log
Visitor Photo Viewer Check recorded images of visitors
Emergency Panic alert
phone Call interphone

7
4.2. Door
Monitoring individual entrance
1) Individual entrance monitoring and talking with a visitor enabled by a touch of 'Individual
entrance’ button.
2) Please refer to section ‘5.1.2 Individual entrance’ for detail.
4.3. Call log
Call log, Call type, Make a call from Call log
1) Touch ‘Call log’ button to view call log list.
2) Please refer to section ‘5.1.3 Call log’ for detail
4.4. Visitor Photo Viewer
Check recorded images of visitors
1) The latest recorded image is displayed first.
2) Please refer to section ‘5.2.3 Visitor’ for detail
4.5. Emergency
Panic alert
1) Panic alert activated by a touch of ‘Panic alert’ button
2) Please refer to section ‘5.2.2 Panic’ for detail.
4.6. phone
Call interphone
Call an interphone by a touch of ‘Interphone’ button’
No images
New images
Visitor's image recorded at the individual entrance

8
5. Applications
5.1. Call
5.1.1. Display composition
Door Monitoring individual entrance, Talking with a visitor, etc.
phone Call interphone
Call log Call log

9
①Activated call indication
②Requesting a call
③Call
④End call
⑤Cancel
⑥Capture an image
⑦Capture a video
⑧Display setting
⑨Call display
⑩Volume
⑪Recording in progress
⑫Door Open
5.1.2. Door
Individual entrance monitoring
※Different ‘Call display’ is displayed for each type of call.
※Up to 500 images including videos can be stored and automatic overwriting is done from the
oldest image or video.
Individual monitoring and talking with a visitor
1) Touch ‘Individual entrance’ icon.
2) Touch ‘Individual entrance’ or ‘Individual entrance 2’ button for monitoring.
3) Touch ‘Cancel’ button to stop monitoring.
4) Touch ‘Call’ button while monitoring to start talking with a visitor.
5) Touch ‘End call’ button to end a call.
Recording visitor's image from individual entrance
1) Touch ‘Capture an image’ button while paging or calling.
2) If successfully recorded, (visitor image recorded) icon is indicated at the top of the display.
Adjusting an image size
1) While talking touch (expand) button to enlarge the image.
2) If the expanded image is touched, it goes back to the original size.
Display settings for images from an individual entrance
1) Touch 'Individual entrance’ button.
2) Touch (Display setting) button.
3) Touch the following buttons that you wish to set up in the Display settings tab and use the right
and left buttons to change the value.
(Hue), (Saturation), (Brightness), (Contrast) (Lt.), (Rt.)
4) If you wish to return to default setting, touch 'Default setting’ button.
※Display settings for the images from an individual entrance is enabled in monitoring mode of
the individual entrance

10
Receiving a call from an individual entrance
1) When paged from an entrance, the touch panel rings and displays the visitor.
2) To receive a call, touch (Call) button. To reject a call, touch (Cancel) button.
3) To hang up a call, touch (End call) button.
Switching channel from an individual entrance to the other.
1) While monitoring an entrance touch (Switch channel) button.
2) The current monitoring channel will be switched to the other entrance.
Using Call log
1) Touch button to make a call from Call log.
2) Touch (Other options) button and touch ‘Delete’ button to delete the call log selected.
※Up to 500 call logs can be stored and the automatic overwriting starts from the oldest log
information.
5.1.3. Call log
Call log, Call type, Make a call from Call log
Call log display
Individual entrance image display setting

11
1) Smartphone rings and by a touch of ‘Confirm’ button visitor’s image is displayed.
2) To receive a call, touch ‘Call’ button and touch ‘Cancel’ button to reject a call.
3) To end a call, touch ‘End call’ button
4) As a call is received from Smartphone, the touch panel displays the following message,
‘The call is being forwarded to a registered wireless device’.
5.1.4. Receiving a call from Smartphone
The call is being forwarded to a registered wireless device.
Display while a call is being forwarded to Smartphone

12
5.2. Security
5.2.1. Display composition
Panic alert Panic alert
Check visitors Check recorded images of visitors
Security functions

13
5.2.2 Panic alert
Panic alert
Enter password
Panic alert reset
By touch of ‘Panic alert’ button, the Panic alert is activated. The Panic alert notice is processed
in three steps such as ‘On’, ‘Off’, and ‘Reset’.
Panic alert on
1) Touch ‘Panic alert’ icon to activate the emergency alert. The touch panel displays the Panic
alert icon and sounds a siren.
Panic alert off
1) Touch ‘Off’ button.
2) Enter password (default password is ‘1234’.)
Panic alert reset
1) If password accepted, the ‘Off’ button is changed to ‘Reset’.
2) Touch ‘Reset’ button.
3) The Panic alert is off and reset to normal.

14
①Menu
②Visit location and unanswered call log
③Time of picture taken
Touch ‘Menu’ button to view menu selection
④Page information
⑤Previous page
⑥Next page
Below icons indicate which entrance the images were taken from.
Individual entrance Images taken from an individual entrance
5.2.3. Check visitors
Viewing recorded images of visitors from an individual entrance
Select all Check all images viewed in current display
Delete Delete selected images
Delete all Delete all recorded images
Exit Exit from current menu

15
Check recorded images
In Check visitors mode, all recorded images from individual entrances can be viewed including
time and date information.
Deleting recorded images
1) Touch ‘Menu (①)’ button.
2) Touch ‘Menu (①)’ button or touch an image for 2 seconds or longer to activate ‘Select’ mode.
3) Select an image by a touch or touch (Select all) button to select images you wish to
delete.
4) Touch the image once again to unselect.
5) Touch (Delete) button to delete the selected images..
Expanded view
1) Touch an image that you wish to expand.
2) Touch button at the top of the screen to view the previous.

16
5.3. Convenient features
5.3.1. Display composition
Convenient features
Create account User registration at ‘Ruvie’ (http://www.ruvie.co.kr/)
Wifi Analyzer Wifi Analyzer
Alarm clock Alarm clock
Calculator Calculator
Sound recorder Sound recorder

17
5.3.2. Create account
User registration
User registration
Renew information or set to factory default setting.
1) If already registered, the user information is displayed. Enter new information and touch
‘renew’ button to change information.
2) If ‘Factory default setting’ button is touched, the registered user information is deleted.
※In order to make a call and/or check call log information via Smartphone, the user registration
must be completed as explained above.
※If the device is not connected to Internet, the user registration page is not activated.
1) Touch ‘Applications’ icon.
2) Touch ‘User registration’ button.
5) User registration is completed.
3) Enter your ID and touch ‘ID check’ button to
check for validity.
4) Enter your password and email address and
touch ‘Confirm’ button.

18
5.3.3. Alarm clock
Alarm clock setting / activation
Alarm clock
①List of alarm
②Activation button
Time setting
1) Touch a time you wish to set up (①).
2) Touch the time to adjust.
3) After setting up an alarm, check the box on the right to activate the alarm.
Ringtone setting
1) Touch ‘Ringtone’.
2) Check the ringtone for the alarm.
3) Touch ‘Confirm’ button to finish the setting.
Other settings
1) Select a repeat option.
2) Label the alarm.

19
5.3.4. Calculator
Calculator
Recording a voice message
1) Touch ‘Record (①)’ button.
2) Touch ‘Stop (②)’ button to stop recording and select ‘Finish recording’ to complete recording
or ‘Delete’ to delete the message.
3) Touch ‘Play (③)’ button to listen to the recorded message.
Only the four fundamental arithmetic operations are provided
5.3.5. Sound recorder
Voice recorder
음성 녹음 화면
Other manuals for CDV-70UX
1
Table of contents
Other Commax Intercom System manuals

Commax
Commax CDS-481L User manual

Commax
Commax CMV-43S User manual

Commax
Commax CDV-43Q User manual

Commax
Commax dpv-4be User manual

Commax
Commax DR-2L User manual

Commax
Commax CDV-35A User manual

Commax
Commax DRC-481LCRF User manual

Commax
Commax DRC-GAC User manual

Commax
Commax DP-LA01M User manual

Commax
Commax DP-4VHP User manual

Commax
Commax CAV-72B User manual

Commax
Commax CIOT-L2TM User manual

Commax
Commax CDV-43N User manual

Commax
Commax DRC-4BH User manual

Commax
Commax CIOT-L20M User manual

Commax
Commax CDV-352HD User manual

Commax
Commax DP-ML User manual

Commax
Commax TP–nKP User manual

Commax
Commax DRC-4CGN2 User manual

Commax
Commax CM-810M User manual