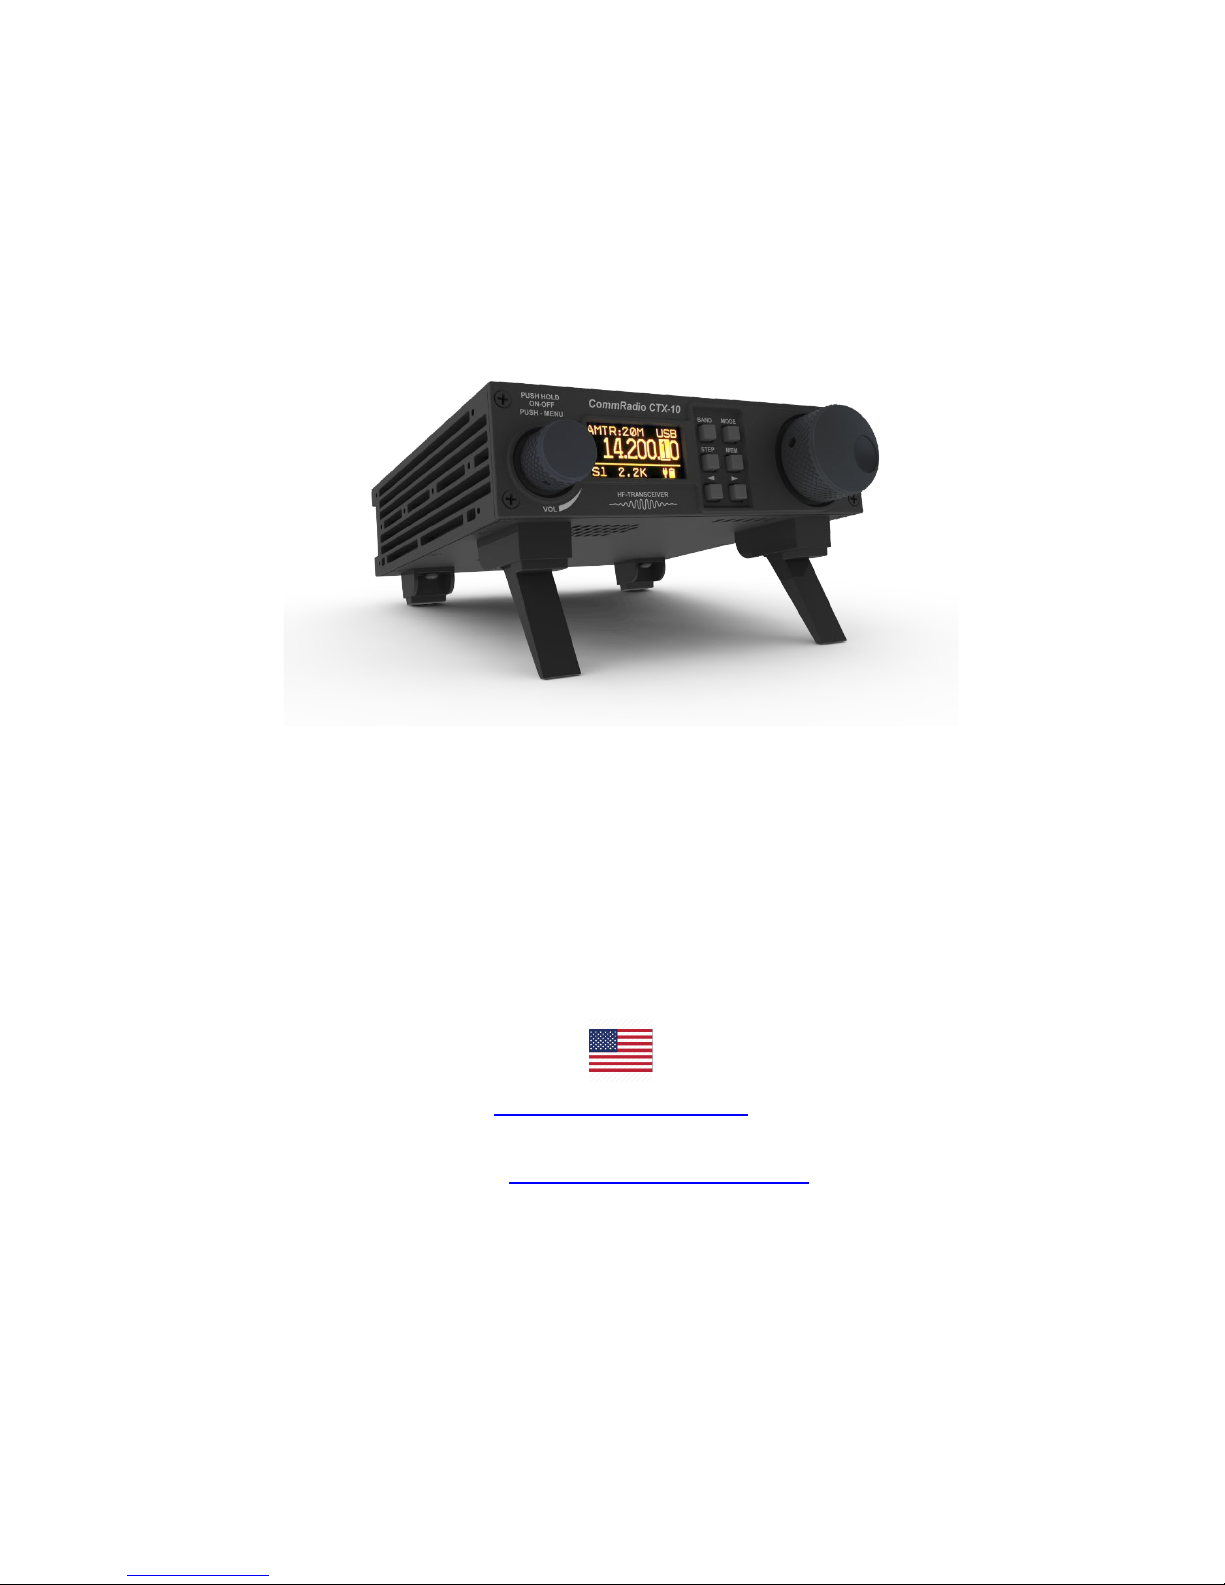
CommRadio CTX-10 User Manual – Rev E4 - 15 NOV 2018
Key Pad - <RIGHT ARROW> (Tuning resolution function) ......................................... 28
Key Pad - <RIGHT ARROW> (Tuning Knob lock function)......................................... 28
Tuning Knob [T] .................................................................................................................. 28
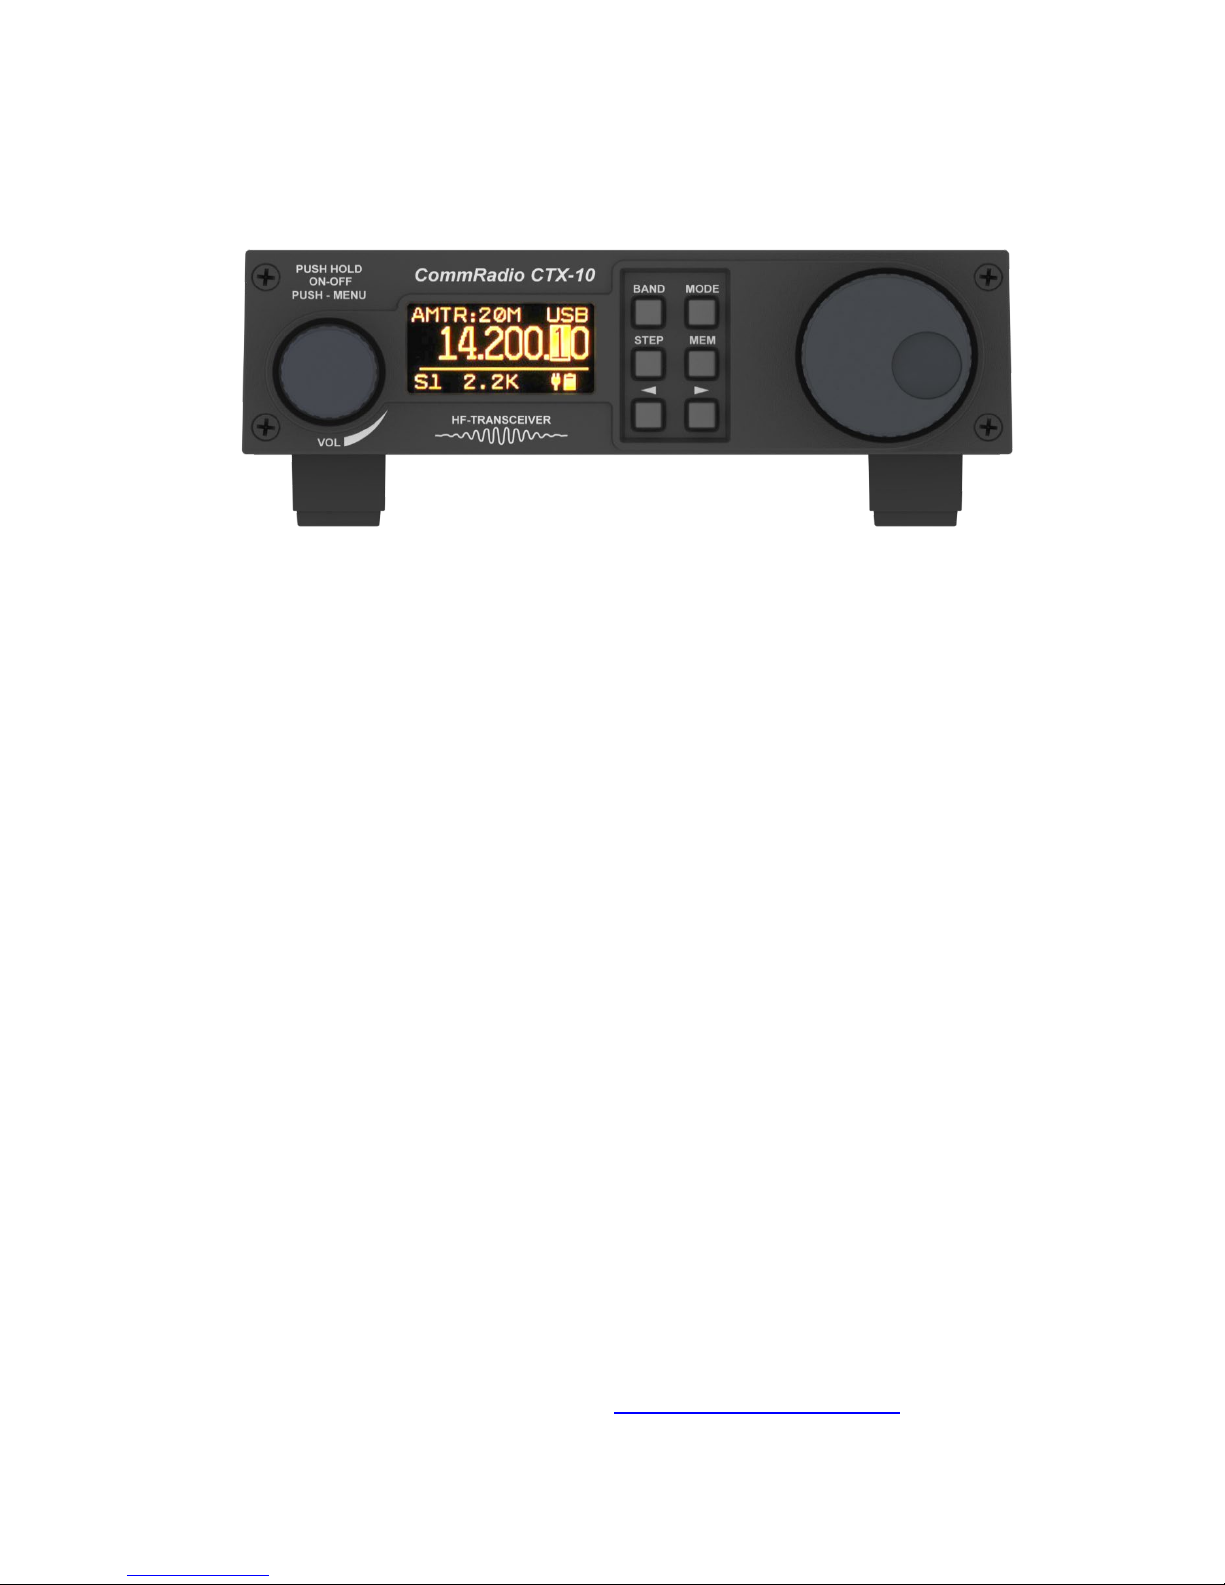
Rear Panel ............................................................................................................................ 29
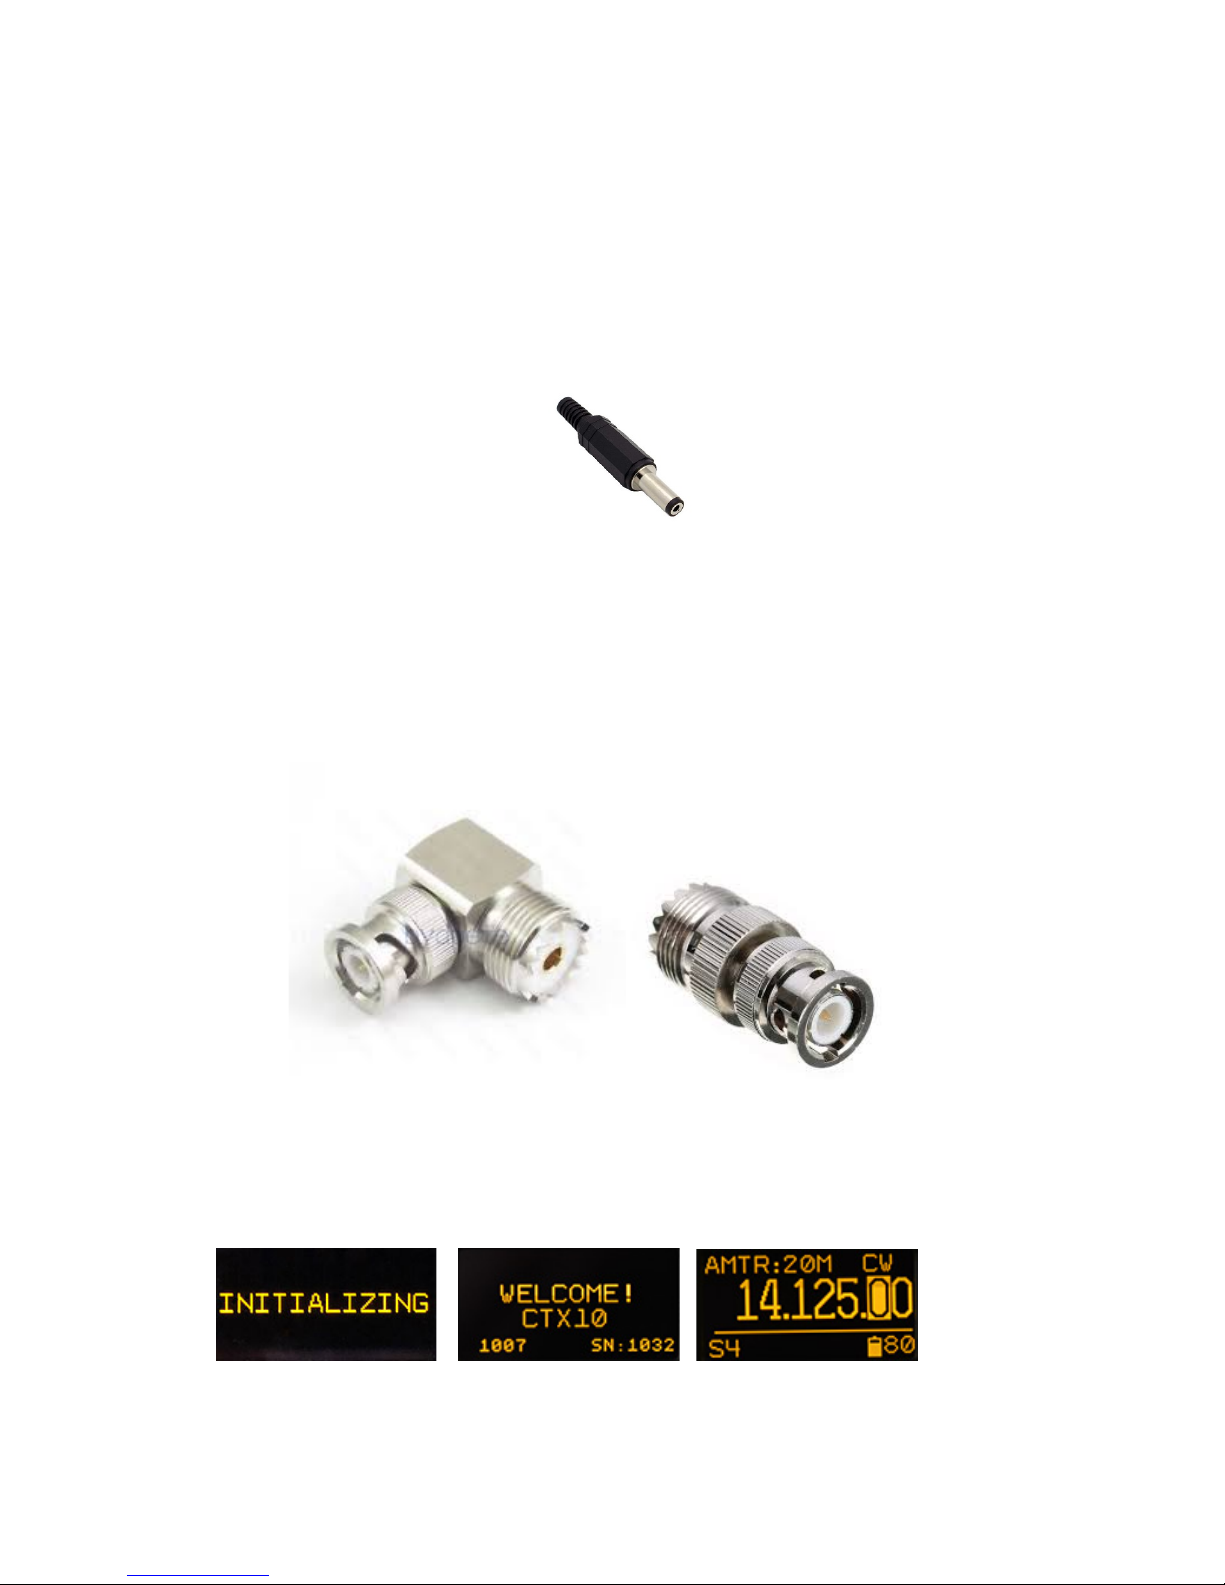
Power Input...................................................................................................................... 29
USB.................................................................................................................................. 29
Headphone ....................................................................................................................... 29
SPKR................................................................................................................................ 29
KEY ................................................................................................................................. 30
ACC ................................................................................................................................. 30
MIC .................................................................................................................................. 31
HF .................................................................................................................................... 31
Ground ............................................................................................................................. 31
CTX-10 Technical Notes ..................................................................................................... 32
CTX-10 Power ................................................................................................................. 32
Battery Protection Circuit ................................................................................................ 32
Internal Li-ION Battery Charger ..................................................................................... 32
Monitoring Voltage Input at power jack and Battery Charging ...................................... 33
The Beauty of a COLD BOOT ........................................................................................ 33
Morse Code Reader.......................................................................................................... 33
Beware of interrupting a …Powering Down… Process .................................................. 33
The LOCK function ......................................................................................................... 33
USB Power Bricks for the CTX-10? ............................................................................... 34
Bar Armor for the CTX-10 .............................................................................................. 35
A Peek inside the CTX-10!.............................................................................................. 36
Ambient Noise Gate (ANG) – SSB Audio Processing.................................................... 37
Antenna Tuning Unit – ATU – Some details! ................................................................. 37
CTX-10 Frequently Asked Questions (FAQ) ...................................................................... 38
Q. What was the purpose of the piece of wire wrapped under the Control Knob? ......... 38
Q. The rear of the radio is marked 10 – 20 VDC for power input, but the User’s Guide
says 5 – 20 VDC. Which is it?......................................................................................... 38
Q. When I whisper into the microphone nothing is transmitted. Is my radio broken?.... 38
Q. How should I clean and protect the finish of my radio? ............................................. 38
Q. How do I ‘Zero Beat’ an incoming CW signal that I want to answer?....................... 39
CTX-10 Specifications......................................................................................................... 39