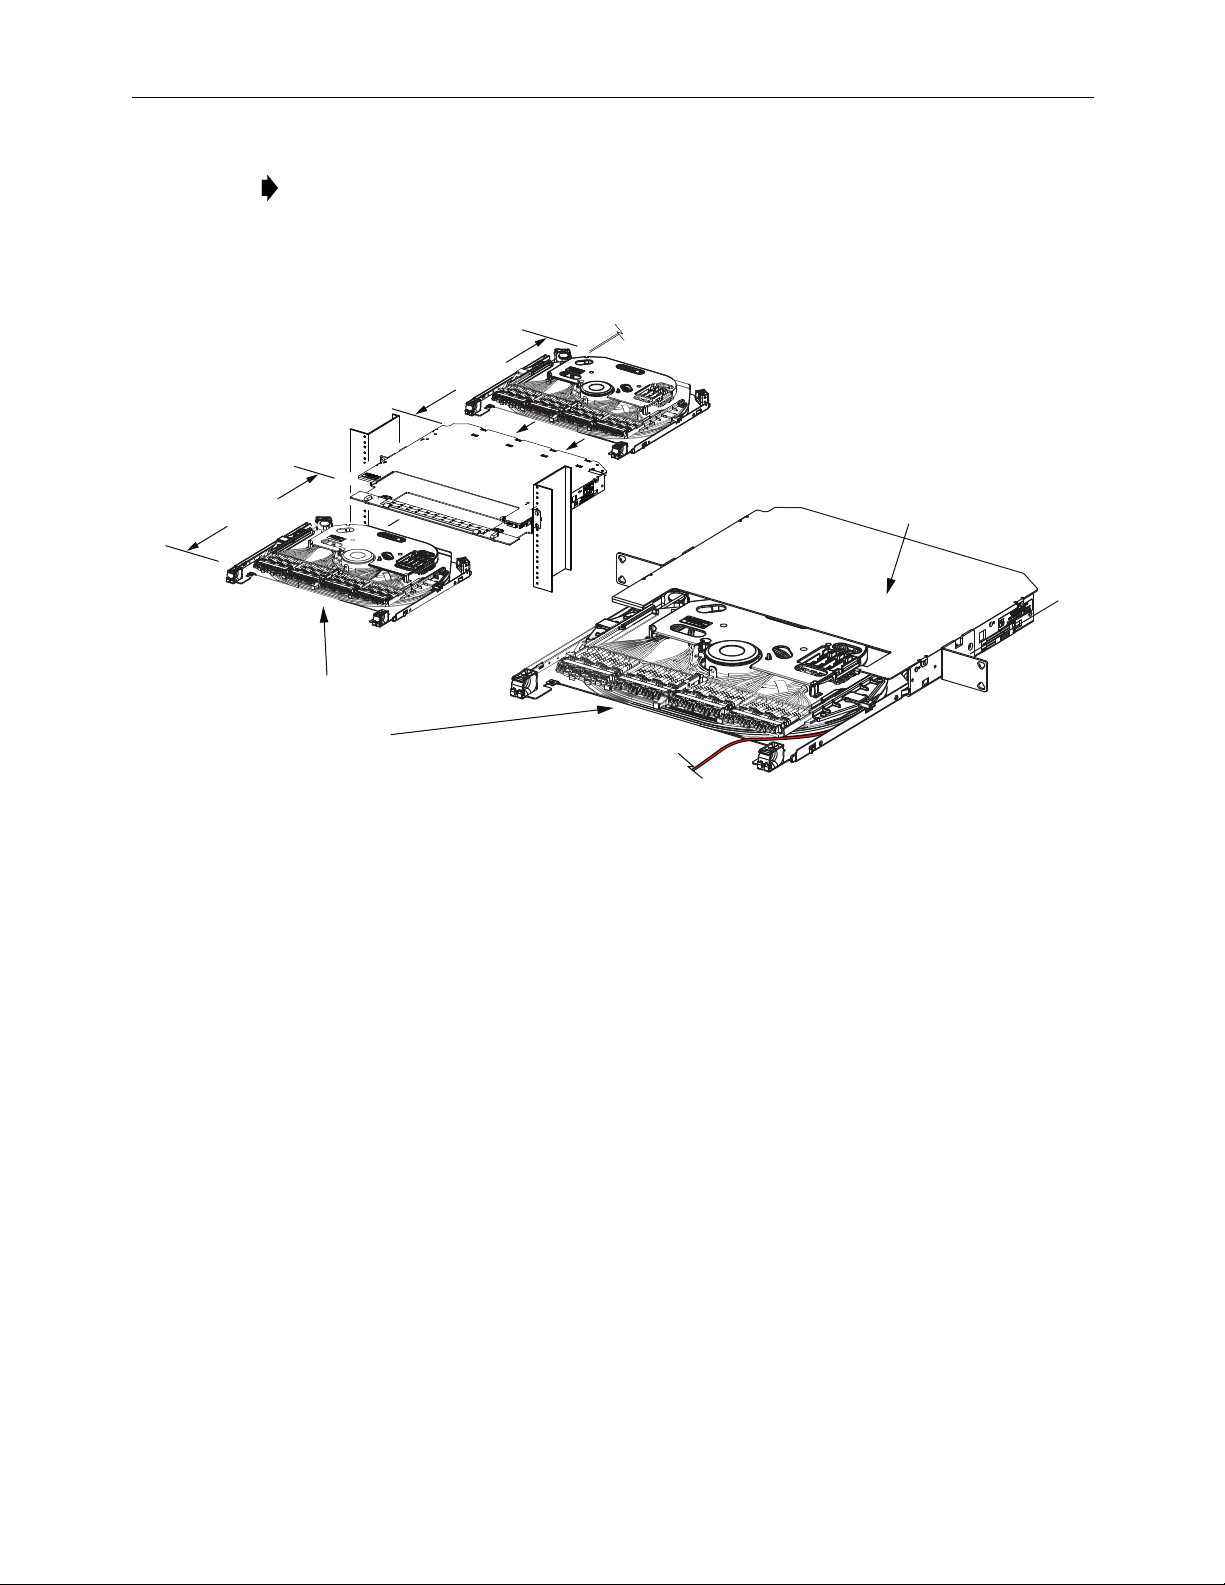
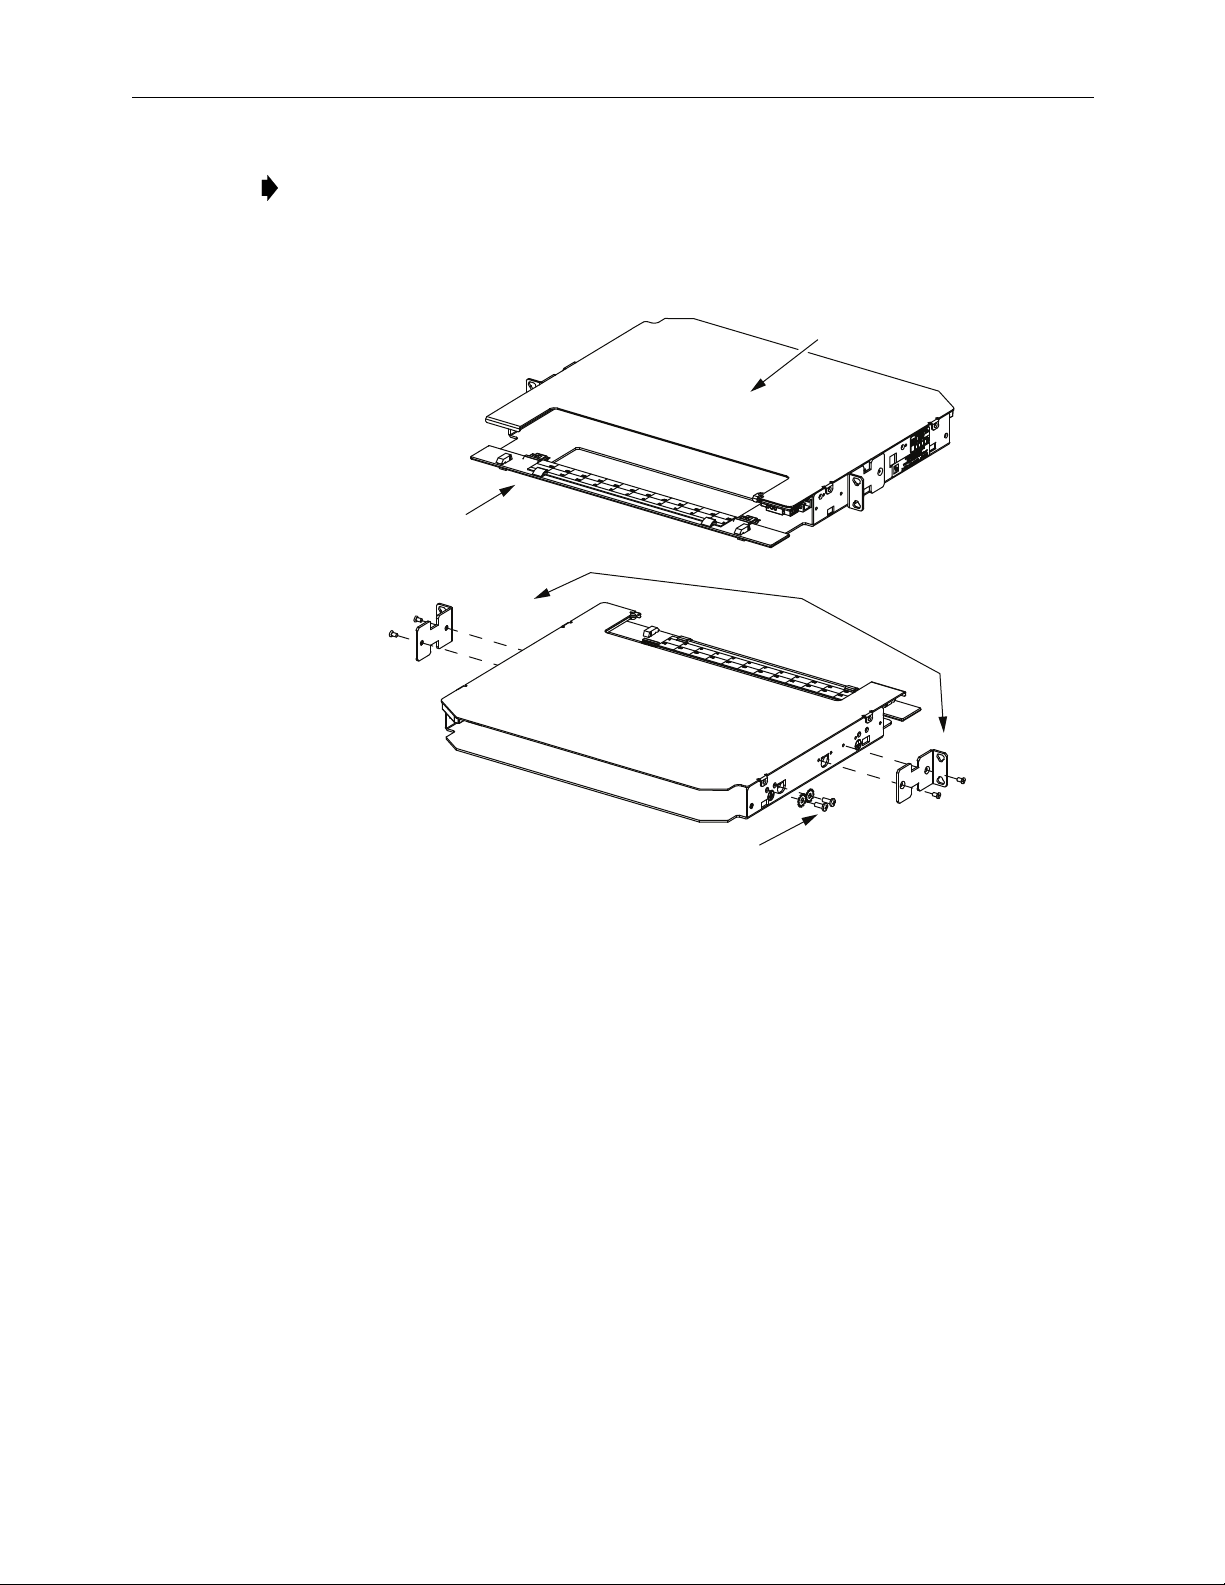
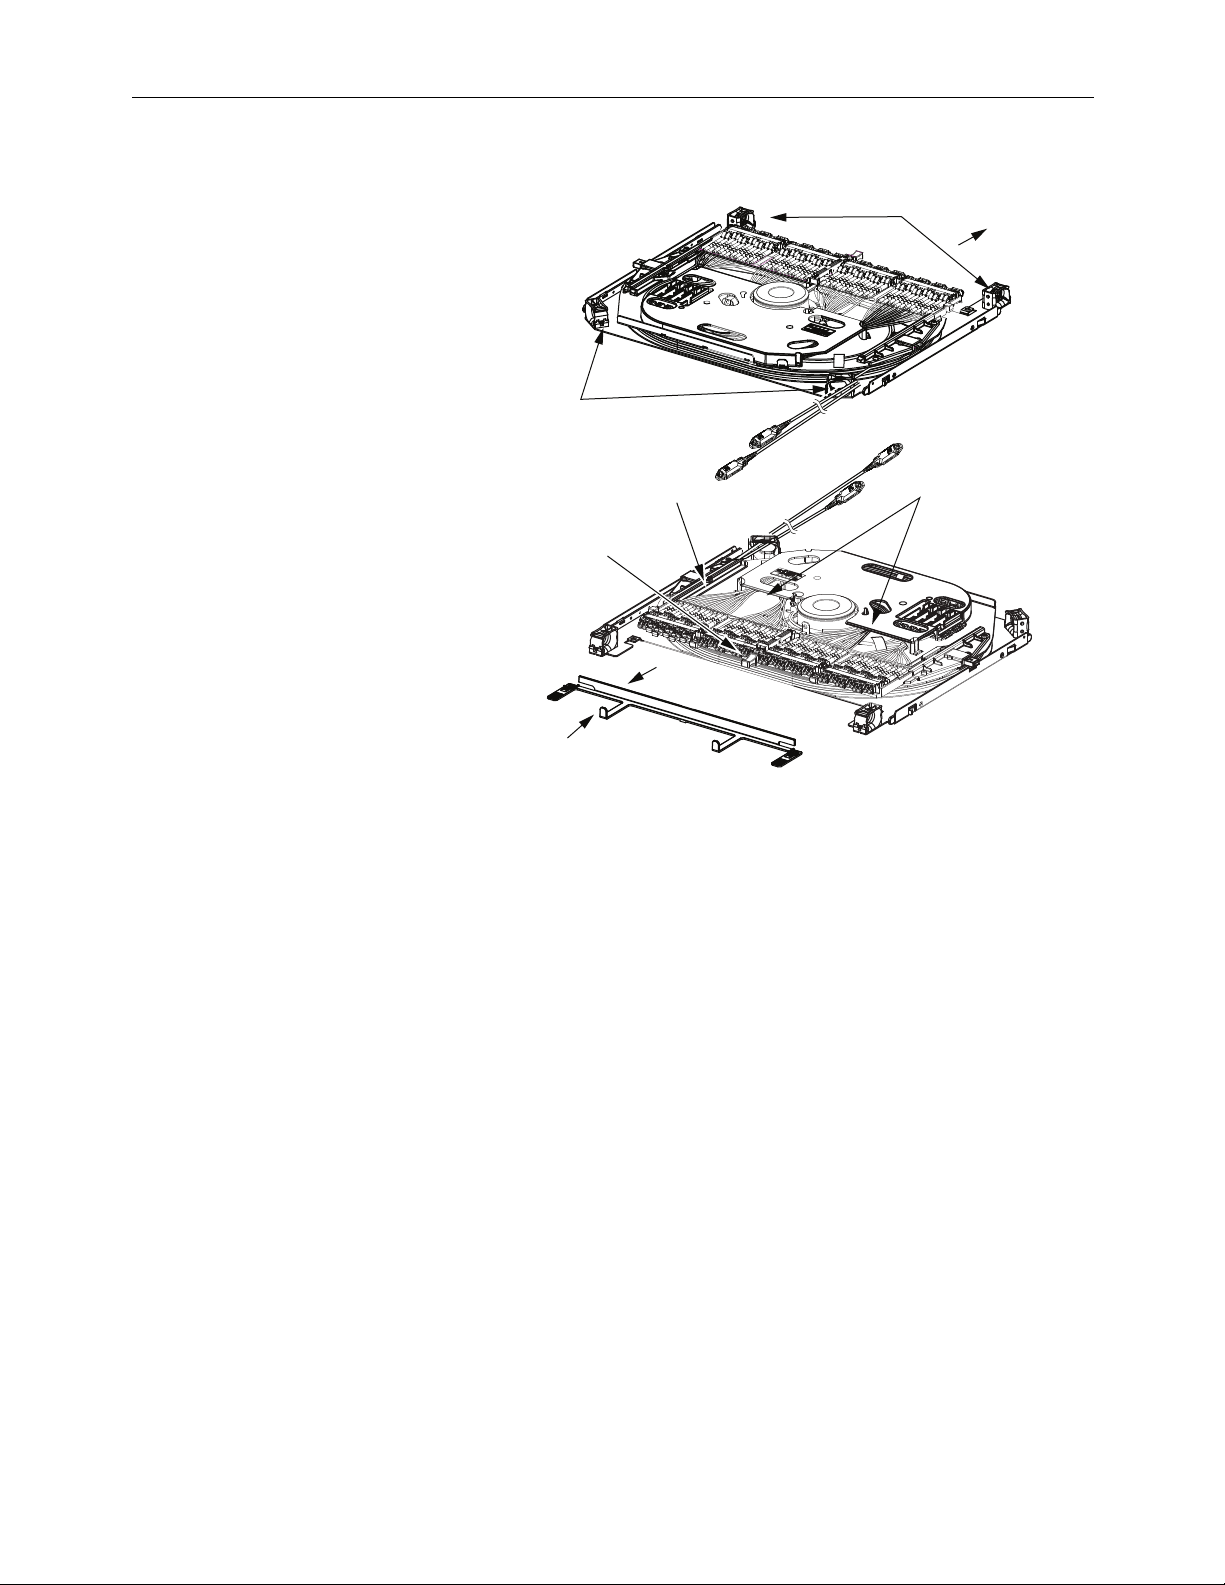
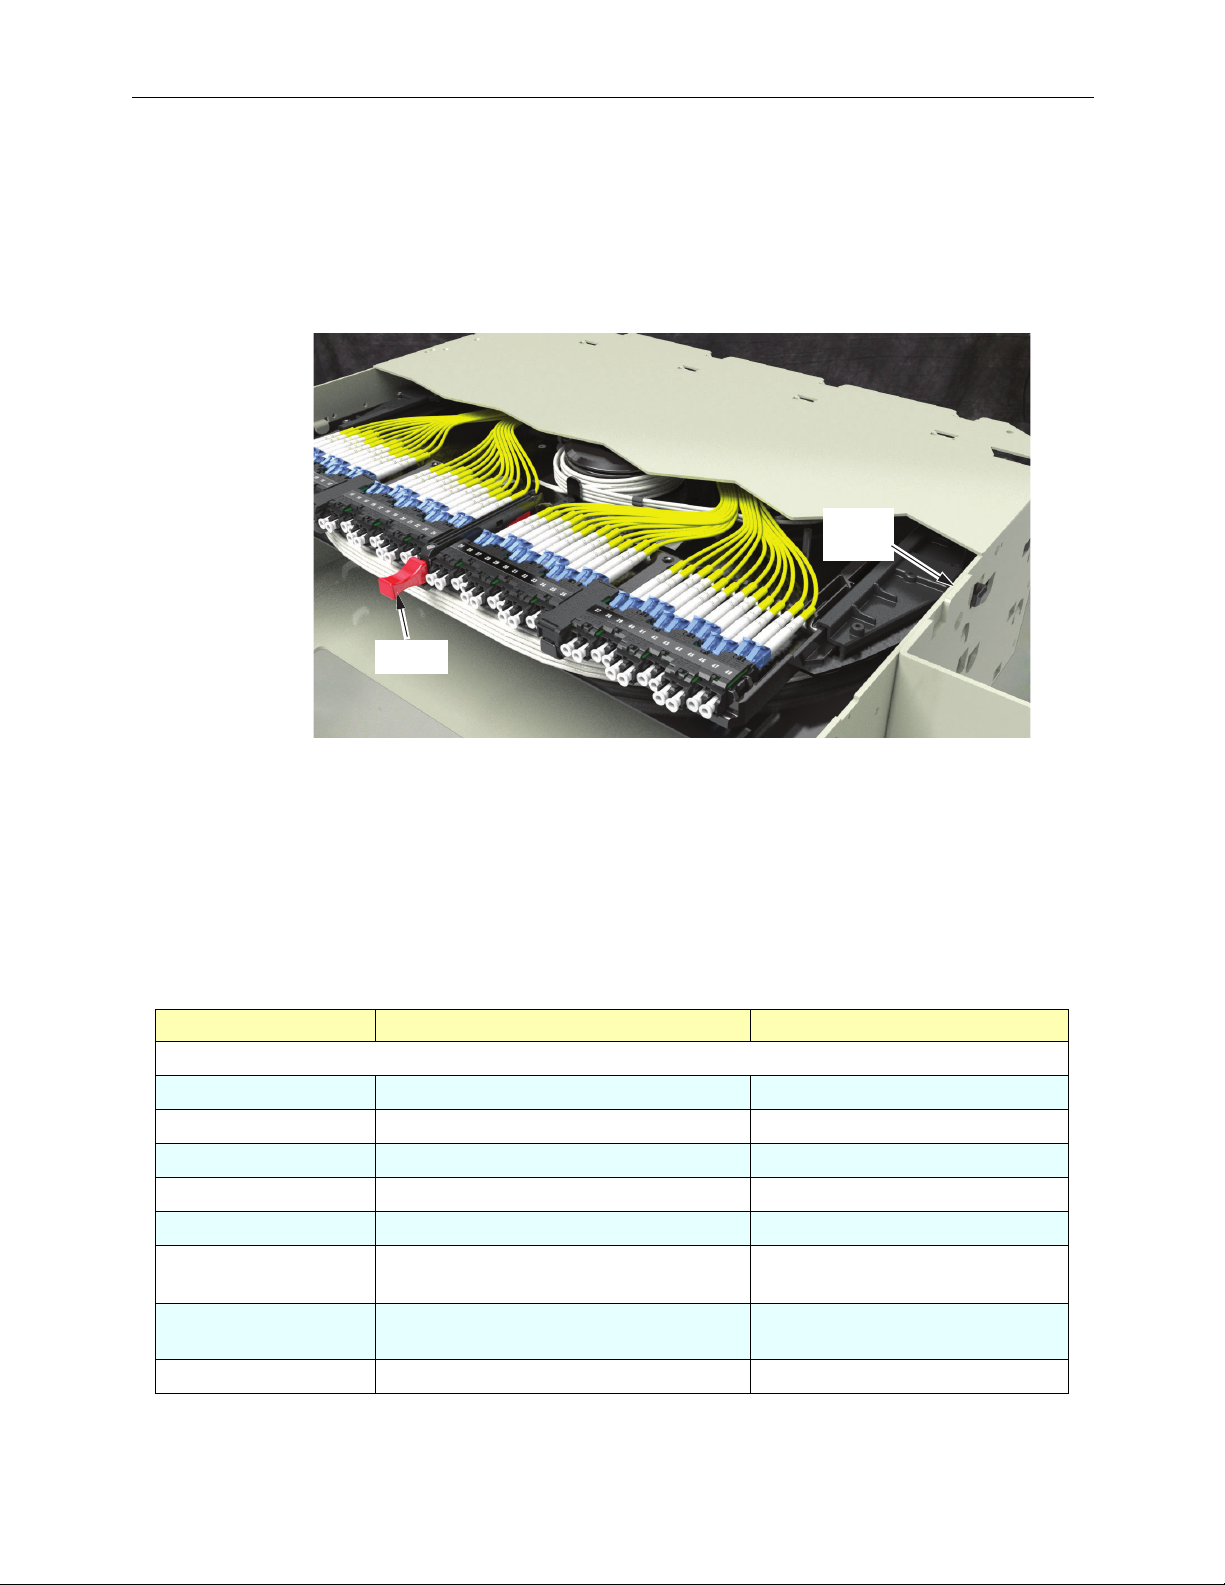
CommScope Rapid Fiber 1RU User manual

300100111888 Rev C Page 1
© 2020 CommScope. All Rights Reserved.
1RU Rapid Fiber Panel
User
Manual
1RU Rapid Fiber Panel
INTRODUCTION . . . . . . . . . . . . . . . . . . . . . . . . . . . . . . . . . . . . . . . . . . . . . . . . . . . . . . . . . . . . . . . . . . . . . . . . . . . . . . . . . . . . . . . 2
RELATED PUBLICATIONS . . . . . . . . . . . . . . . . . . . . . . . . . . . . . . . . . . . . . . . . . . . . . . . . . . . . . . . . . . . . . . . . . . . . . . . . . . . . . 3
1 DESCRIPTION . . . . . . . . . . . . . . . . . . . . . . . . . . . . . . . . . . . . . . . . . . . . . . . . . . . . . . . . . . . . . . . . . . . . . . . . . . . . . . . . . . . 3
1.1 General Description . . . . . . . . . . . . . . . . . . . . . . . . . . . . . . . . . . . . . . . . . . . . . . . . . . . . . . . . . . . . . . . . . . . . . . . . . 3
1.2 Basic Components . . . . . . . . . . . . . . . . . . . . . . . . . . . . . . . . . . . . . . . . . . . . . . . . . . . . . . . . . . . . . . . . . . . . . . . . . . 6
1.2.1 Panel Shell. . . . . . . . . . . . . . . . . . . . . . . . . . . . . . . . . . . . . . . . . . . . . . . . . . . . . . . . . . . . . . . . . . . . . . . . . 6
1.2.2 RapidReel Cable Spool Tray. . . . . . . . . . . . . . . . . . . . . . . . . . . . . . . . . . . . . . . . . . . . . . . . . . . . . . . . . . 7
1.3 Specifications and Dimensions . . . . . . . . . . . . . . . . . . . . . . . . . . . . . . . . . . . . . . . . . . . . . . . . . . . . . . . . . . . . . . . . 9
1.4 Accessory Kits . . . . . . . . . . . . . . . . . . . . . . . . . . . . . . . . . . . . . . . . . . . . . . . . . . . . . . . . . . . . . . . . . . . . . . . . . . . . . 10
1.5 Typical Application. . . . . . . . . . . . . . . . . . . . . . . . . . . . . . . . . . . . . . . . . . . . . . . . . . . . . . . . . . . . . . . . . . . . . . . . . .11
2 UNPACKING AND INSPECTION . . . . . . . . . . . . . . . . . . . . . . . . . . . . . . . . . . . . . . . . . . . . . . . . . . . . . . . . . . . . . . . . . . .11
3 SHIP-ALONG PARTS. . . . . . . . . . . . . . . . . . . . . . . . . . . . . . . . . . . . . . . . . . . . . . . . . . . . . . . . . . . . . . . . . . . . . . . . . . . . . 12
4 TOOLS AND MATERIALS REQUIRED FOR INSTALLATION . . . . . . . . . . . . . . . . . . . . . . . . . . . . . . . . . . . . . . . . 12
5 INSTALLING A RAPID FIBER PANEL WITHOUT EXTERNAL SPOOL . . . . . . . . . . . . . . . . . . . . . . . . . . . . . . . . 12
5.1 Mounting the Panel on the Equipment Rack. . . . . . . . . . . . . . . . . . . . . . . . . . . . . . . . . . . . . . . . . . . . . . . . . . . . 13
5.2 Removing the Latch Shipping Bracket. . . . . . . . . . . . . . . . . . . . . . . . . . . . . . . . . . . . . . . . . . . . . . . . . . . . . . . . . 15
5.3 Unwinding Microcable from Internal Cable Spool Tray . . . . . . . . . . . . . . . . . . . . . . . . . . . . . . . . . . . . . . . . . . 17
6 INSTALLING A RAPID FIBER PANEL WITH EXTERNAL SPOOL. . . . . . . . . . . . . . . . . . . . . . . . . . . . . . . . . . . . . 23
6.1 Mounting the Panel Shell on the Equipment Rack . . . . . . . . . . . . . . . . . . . . . . . . . . . . . . . . . . . . . . . . . . . . . . . 24
6.2 Unwinding Microcable from the External Spool. . . . . . . . . . . . . . . . . . . . . . . . . . . . . . . . . . . . . . . . . . . . . . . . . 26
6.3 Mounting the RapidReel Cable Spool Tray in the Panel Shell. . . . . . . . . . . . . . . . . . . . . . . . . . . . . . . . . . . . . . 27
6.4 Unwinding Microcable from the RapidReel Cable Spool Tray . . . . . . . . . . . . . . . . . . . . . . . . . . . . . . . . . . . . . 30
(continued)
Content Page
Access this QR code
with a smart phone
to view videos of
procedures. If this
manual is electronic,
click on the play
icons for individual
procedures.
TECP-90-814 •Rev C •October 2020
www.commscope.\com

TECP-90-814 • Rev C • October 2020
Page 2
© 2020 CommScope. All Rights Reserved.
7 MICROCABLE UNWINDING AND ROUTING ADDITIONAL GUIDELINES . . . . . . . . . . . . . . . . . . . . . . . . . . . . .34
7.1 Microcable Installed in Open Trough System . . . . . . . . . . . . . . . . . . . . . . . . . . . . . . . . . . . . . . . . . . . . . . . . . . . .34
7.2 Microcable Pulled Through Conduit . . . . . . . . . . . . . . . . . . . . . . . . . . . . . . . . . . . . . . . . . . . . . . . . . . . . . . . . . . .40
8 BULKHEAD ADAPTER ACCESS PROCEDURE AND SERIAL NUMBER LOCATIONS . . . . . . . . . . . . . . . . . . . .44
8.1 Accessing the Bulkhead Adapter Rear Connectors. . . . . . . . . . . . . . . . . . . . . . . . . . . . . . . . . . . . . . . . . . . . . . . .44
8.2 Panel, Cable Spool Tray, and Microcable Serial Number Labels . . . . . . . . . . . . . . . . . . . . . . . . . . . . . . . . . . . .45
9 OPERATION . . . . . . . . . . . . . . . . . . . . . . . . . . . . . . . . . . . . . . . . . . . . . . . . . . . . . . . . . . . . . . . . . . . . . . . . . . . . . . . . . . . . .46
9.1 Connecting Patch Cords . . . . . . . . . . . . . . . . . . . . . . . . . . . . . . . . . . . . . . . . . . . . . . . . . . . . . . . . . . . . . . . . . . . . .46
9.2 Cable Spool Tray Positions and How to Use Them . . . . . . . . . . . . . . . . . . . . . . . . . . . . . . . . . . . . . . . . . . . . . . . .47
10 TECHNICAL ASSISTANCE . . . . . . . . . . . . . . . . . . . . . . . . . . . . . . . . . . . . . . . . . . . . . . . . . . . . . . . . . . . . . . . . . . . . . . . .48
11 QR CODE ACCESS . . . . . . . . . . . . . . . . . . . . . . . . . . . . . . . . . . . . . . . . . . . . . . . . . . . . . . . . . . . . . . . . . . . . . . . . . . . . . . .48
INTRODUCTION
This manual describes the 12-, 24, or 48-port 1 Rack Unit (1RU) Rapid Fiber Panel. The Rapid
Fiber Panel has a RapidReel fiber cable spool tray. It is available with singlemode RBR,
multimode OM4 plenum-rated, or indoor/outdoor (I/O) cable. Panels with a cable length
exceeding the capacity of the RapidReel cable spool tray have an external spool as well. This
manual describes how to install and operate this product.
Revision History
Trademark Information
CommScope, CommScope (logo), Rapid Fiber, and RapidReel, are trademarks. All rights reserved.
Standards Certification
Telcord ia: Designed and tested to meet NEBS Level 3, GR-1435-CORE, and GR-326-CORE.
Admonishments
Important safety admonishments are used throughout this manual to warn of possible hazards to
persons or equipment. Admonishments — in the form of Dangers, Warnings, and Cautions —
must be followed at all times.
Content Page
ISSUE DATE REASON FOR CHANGE
1 11/2015 Original.
2 June 2016 Original.

TECP-90-814 • Rev C • October 2020
Page 3
© 2020 CommScope. All Rights Reserved.
General Safety Precautions
RELATED PUBLICATIONS
Listed below are related manuals and their publication numbers. Copies of these publications can
be ordered by contacting the CommScope Support Center using the following URL:
htt:p://www.commscope.com/SupportCenter
Optical Fiber Connector Wet and Dry Cleaning Instructions 90-159
Multifiber-Push on Assembly Connector Cleaning Instructions 90-150
NG4access ODF Platform Rear Side Routing Guide 90-706
1 DESCRIPTION
1.1 General Description
The 1RU Rapid Fiber Panel, shown in Figure 1, is an up to 48-port, rack-mountable fiber
distribution panel that incorporates CommScope’s RapidReel fiber cable spool.
Each Rapid Fiber Panel consists of a metal panel shell plus a RapidReel cable spool tray that is
mounted within the panel. The RapidReel cable spool tray is equipped with an integral adapter
bulkhead and is wound with either a singlemode or multi-mode indoor plenum-rated cable or
indoor/outdoor cable. The spooled cable is preterminated to the bulkhead on the rear side.
Danger: Danger is used to indicate the presence of a hazard that will cause severe personal
injury, death, or substantial property damage if the hazard is not avoided.
Warning: Warning is used to indicate the presence of a hazard that can cause severe personal
injury, death, or substantial property damage if the hazard is not avoided.
Caution: Caution is used to indicate the presence of a hazard that will or can cause minor
personal injury or property damage if the hazard is not avoided.
Caution: When mounting equipment in the frame, make sure mechanical loading is even to
avoid a hazardous condition, such as loading heavy equipment in the frame unevenly. The frame
should safely support the combined weight of all equipment it supports.
Title/Description Publication Number
Note: The 1RU Rapid Fiber Panel is designed to be installed in an environmentally
controlled network telecommunications facility such as a Central Office, Controlled
Environmental Vault, or Data Center. Only the I/O cable is rated for both indoor and outdoor
use.

TECP-90-814 • Rev C • October 2020
Page 4
© 2020 CommScope. All Rights Reserved.
Figure 1. 1RU Rapid Fiber Panel
On a more specific level, the Rapid Fiber Panel shipped to the customer will vary depending on
the options ordered, as follows:
• The shipped panel will be equipped with up to four 12-fiber indoor plenum-rated
microcables. This will be singlemode G657.A2 reduced bend radius (RBR), multimode
OM4 microcable, or indoor/outdoor microcable.
• The optical fibers that connect internally to the adapter bulkhead will be terminated,
accordingly, with single-mode SC (UPC or APC), single-mode LC (UPC or APC),
multimode SC (UPC), or multimode LC (UPC) connectors.
• The spooled cable that is paid out at the installation site will be terminated on the far end
either with a 12-fiber microcable or with any of the following per customer order:
– MPO connector: 12-fiber. Single-mode or multimode.
– NG4access cabled module (CMOD): either 24-fiber module/s with single-mode LC
(UPC or APC) or multimode LC (UPC); or 12-fiber module/s with single-mode SC
(UPC or APC) or multimode SC (UPC).
– Breakout: 12 fibers, 2 mm or 900 micron in diameter, up to nine feet (2.74 m) in
length, terminated with 12 individual connectors. These will be single-mode SC (UPC
or APC), single-mode LC (UPC or APC), multimode SC (UPC), or multimode LC
(UPC) connectors.
The 1RU Rapid Fiber Panel cable spool tray with plenum rated cable holds up to 200 feet of
cable. Cable lengths of up to 1000 feet are possible through use of a temporary external spool.
Note: Plenum-rated cable may be used in both riser-rated and plenum environments.
Note: Microcables with stub end non-functional connectors look the same as microcables
with MPO connectors. Like MPO connectors, they are housed inside of black pulling
eyes; however, non-functional connectors are not optically terminated. They are crimped
to the cable jacket and strength member yarns. Non-functional connectors are cut off after
the cable has been fully unwound from the spool and is ready to be spliced.
FRONT VIEW REAR VIEW 26140-A

TECP-90-814 • Rev C • October 2020
Page 5
© 2020 CommScope. All Rights Reserved.
When a panel with an external spool is ordered, the panel is shipped as shown in Figure 2 with
the RapidReel cable spool tray mounted in a box on top of the external spool. A carousel for
unwinding the external spool is also provided. The carousel allows the cable on the external
spool to be paid out with the RapidReel cable spool tray still mounted on top of it.
Figure 2. RapidReel Cable Spool Tray Mounted in Box on External Spool
When all of the microcable has been unwound from the external spool, the RapidReel cable
spool tray is removed from the shipping box and then installed in the panel. The cable
remaining on the cable spool tray may then be unwound and routed to an Optical Distribution
Frame (ODF) or fiber panel.
The RapidReel cable spool tray installs in the panel from the front or rear side, as shown in
Figure 3. After the cable spool tray is installed, a lock on the tray holds the adapter bulkhead in
a fixed position with the adapters facing toward the front. When the lock is retracted, the
microcable is easily unwound by pulling it out of the spool. The adapter bulkhead rotates with
the tray to prevent the cable from twisting. Excess microcable slack remains on the spool. The
microcable may be withdrawn from the front or rear of the panel.
The 1RU Rapid Fiber Panel mounts in either a 19- or 23-inch, WECO or EIA, equipment rack
and requires 1.75 inches of rack space. Grounding points are provided on the left side of the
panel for connecting a two-hole grounding lug.
Note: If a Rapid Fiber Panel is installed above or below a non-Rapid fiber panel, 1RU of
open space must be left between the panels. This space is required for accessing the rear
connectors if cleaning is required.
25742-A
RapidReel
CABLE
SPOOL
TRAY
EXTERNAL
SPOOL
CAROUSEL
SHIPPING
BOX
NOTE: SHIPPING BOX IS
CUT AWAY IN THIS VIEW
TO SHOW TRAY INSIDE.

TECP-90-814 • Rev C • October 2020
Page 6
© 2020 CommScope. All Rights Reserved.
Figure 3. RapidReel Cable Spool Tray and Panel
1.2 Basic Components
The 1RU Rapid Fiber Panel has two high-level components: the panel shell and the RapidReel
cable spool tray. These components are described in more detail in the following topics.
1.2.1 Panel Shell
The panel shell, shown in Figure 4, provides a mounting point for the RapidReel cable spool
tray. The panel shell consists of the following components:
•Enclosure– Houses the RapidReel cable spool tray and protects the microcable
assemblies.
•Removable Front Cover – Protects the equipment patch cords at the point where they
enter the panel and connect to the adapter bulkhead. A designation card attached to the
inside of the cover provides a means for identifying and recording connections.
•Ground Connection – Provides a point for securing a two-hole lug (used for connecting a
grounding cable) to the side of the enclosure.
•Mounting Brackets – Secure the panel to the equipment rack. Two sets of mounting
brackets are provided, one set for 19-inch racks and one set for 23-inch racks. The
mounting brackets may be installed to provide a 2-, 4-, or 5-inch recess.
Note: When mounting multiple Rapid Fiber Panels into a rack or cabinet, be sure to
calculate the total weight of all the equipment being mounted to verify that it does not
exceed the rack or cabinet manufacturer’s maximum weight allowance. In Zone 4
Earthquake applications, exceeding the weight rating can compromise the integrity of the
rack during an earthquake.
NOTE: IF THE MICROCABLE ROUTES
FROM THE FRONT, INSERT
THE CABLE SPOOL
TRAY FROM THE FRONT.
IF THE MICROCABLE ROUTES
FROM THE REAR, INSERT
THE CABLE SPOOL TRAY
FROM THE REAR.
26139-A
REAR SIDE
INSTALLATION
FRONT SIDE
INSTALLATION
15 INCHES
(38.1 CM)
15 INCHES
(38.1 CM) PANEL SHELL
RapidReel
CABLE
SPOOL
TRAY

TECP-90-814 • Rev C • October 2020
Page 7
© 2020 CommScope. All Rights Reserved.
Figure 4. Panel Shell (Shown With 19-Inch Brackets)
1.2.2 RapidReel Cable Spool Tray
The RapidReel cable spool tray, shown in Figure 5, consists of the following components:
•Corner Cable Retainers – Provide cable management and radius limiting functions for
patch cords routed to the adapter bulkhead and for spooled cables routed to an Optical
Distribution Frame (ODF) or fiber panel.
• Spool – Stores up to 200 feet of cable when loaded with one dual 3.0 mm plenum cable or
one 12-fiber I/O cable. Stores up to 100 feet when loaded with two dual 3.0 mm plenum
cable or two 12-fiber I/O cables. When the spool is unwound, the cables are routed to an
ODF or fiber panel. Excess slack may be wound back onto the spool.
•Adapter Bulkhead – Provides a point for connecting the equipment patch cords to the
cable assemblies.
•Front Port Designation Plate – Identifies the optical port numbers on the adapter
bulkhead. The designation plate must be removed before the cables can be unwound from
the spool.
Note: The factory pre-installs the 23-inch mounting brackets on the panel in the 5-inch
recess position. If a 2- or 4-inch recess is required, the brackets must be removed and
repositioned. If the panel will be installed in a 19-inch rack, the 23-inch brackets must be
removed and replaced with the 19-inch brackets.
ENCLOSURE
MOUNTING
BRACKETS
REMOVABLE
FRONT
COVER
GROUND CONNECTION 26141-A

TECP-90-814 • Rev C • October 2020
Page 8
© 2020 CommScope. All Rights Reserved.
Figure 5. RapidReel Cable Spool Tray (Shown Without Panel Shell or External Spool)
• Microcable Assemblies – Are loaded into each panel based on customer order. Options
for a particular panel include either 12-fiber microcables or a dual microcable consisting
of two 12-fiber subunits. The microcables may be either single-mode reduced bend radius
(RBR) or multimode. The internal cable ends may be terminated with single-mode SC
(UPC or APC), single-mode LC (UPC or APC), multimode SC (UPC), or multimode LC
(UPC) connectors. The external cable ends may be terminated with connector fanout
assemblies, NG4access cabled modules, MPO connectors, or stub end non-functional
connectors.
The fanout assemblies will be 12-fiber single-mode SC (UPC or APC), single-mode LC
(UPC or APC), multimode SC (UPC), or multimode LC (UPC). The NG4access cabled
modules will be either one 24-fiber LC module (UPC or APC) or two 12-fiber SC modules
(UPC or APC). The MPO connectors are of 12-fiber construction and equipped with a
pulling eye for use in paying out the cable. The stub end non-functional connectors are of
similar construction and appearance as MPO connectors, and also equipped with pulling
eyes, only the connectors are not connected optically and are designed to be cut off after
the cable is paid out. Each fanout assembly is also equipped with a pulling eye.
•Red Latch – (Shown in Figure 6) is used to engage and disengage the spool locking tab
and associated inner linkage, allowing the internal spool to rotate and to actuate the inner
linkage to allow the cable spool tray to be slid inward or outward into three positions:
CORNER CABLE
RETAINERS (REAR)
CORNER CABLE
RETAINERS (FRONT)
SPOOL
BULKHEAD ADAPTER
FRONT PORT
DESIGNATION PLATE
MICROCABLE
ASSEMBLIES
26173-A
FRONT
FRONT
NOTE: SHOWN WITHOUT PANEL
SHELL TO ALLOW VIEWING OF
CABLE SPOOL TRAY DETAILS

TECP-90-814 • Rev C • October 2020
Page 9
© 2020 CommScope. All Rights Reserved.
operation (home); cable payout (inward); and full connector access (outward). For a
description of tray positions, refer to Topic 9.2 on Page 47.
•Spool Locking Tab – (Shown in Figure 6) is a black tab that protrudes from the panel
shell when the cable spool tray is in the operation (home) position. For a description of
tray positions, refer to Topic 9.2 on Page 47.
Figure 6. Red Latch and Spool Locking Tab
1.3 Specifications and Dimensions
Table 1 lists specifications. Figure 7 shows dimensions for the 1RU Rapid Fiber Panel.
Table 1. Rapid Fiber Panel Specifications
PARAMETER SPECIFICATION REMARKS
Mechanical
Dimensions (HxWxD) 1.72 x 17.42 x 14.73 in. (4.4 x 44.24 x 37.4 cm)
Mounting rack 19-inch or 23-inch EIA or WECO
Recess options 2, 4, or 5 inches (5.08, 10.16, or 12.7 cm)
Weight 14 lb. (6.35 kg) Fully loaded (two cables)
Number of ports 12 (SC or LC), 24 (SC or LC), or 48 LC
Front panel connectors Single-mode SC or LC (UPC or APC);
multimode SC or LC (UPC)
Microcable Single-mode RBR, multimode OM4,
or Indoor/Outdoor
Maximum pull force 40 lbs. (18.14 kg)
26178-A
RED
LATCH
SPOOL
LOCKING
TAB

TECP-90-814 • Rev C • October 2020
Page 10
© 2020 CommScope. All Rights Reserved.
Figure 7. 1RU Rapid Fiber Panel Dimensions
1.4 Accessory Kits
For cables equipped with 12-connector fanout assemblies, kits are available for securing the
fanouts to an Optical Distribution Frame including NGF, NG3, LSX, FCM, and NG4access. A
Pulling eye diameter
(MPO connector)
0.72 in. (1.83 cm) Two pulling eyes can be pulled
through a 1.1 in. (2.8 cm) diameter
opening
Microcable far-end
connectors
MPO, stub, fanout with SC or LC (24 fibers
maximum)
MPO (receptor); single-mode SC
(UPC or APC); single-mode LC
(UPC or APC); multimode SC or LC
(UPC)
NG4access LC cabled module one 24-fiber LC (UPC or APC); or
two 12-fiber SC (UPC or APC)
Environmental
Operating conditions +23°F to +131°F (-5°C to +55°C)
5% to
85% RH
No condensation
Storage conditions −40°F to +158°F (−40°C to +70°C) 10% to
95% RH
No condensation
Table 1. Rapid Fiber Panel Specifications
PARAMETER SPECIFICATION REMARKS
22.96 INCHES
(58.32 CM)
1.72 INCHES
(4.4 CM) 26142-A
22.31 INCHES
(56.67 CM)
FRONT VIEW
17.42 INCHES
(44.24 CM)
5.0 INCHES
(12.7 CM)
14.73 INCHES
(37.4 CM)
TOP VIEW
AT LEAST 3 INCHES (7.6 CM) OF CLEARANCE
MUST BE PROVIDED AT THE REAR SIDE OF THE
PANEL TO ALLOW THE SPOOL TO ROTATE
FREELY WHEN THE CABLE IS UNWOUND

TECP-90-814 • Rev C • October 2020
Page 11
© 2020 CommScope. All Rights Reserved.
universal kit is also available for attaching 9 foot long 2 mm fanout assemblies to a Glide or
interbay management panel.
1.5 Typical Application
Figure 8 shows a typical application for the Rapid Fiber Panel. In the example shown, the Rapid
Fiber Panel is installed adjacent to an active equipment rack. The Rapid Fiber Panel
microcables are unwound from the spool and routed to an “other end” solution such as a
termination panel or splice panel. The termination panel in this configuration could be a NGF,
NG3, LSX, or NG4access panel in an Optical Distribution Frame or a stand-alone FPX panel.
Fiber jumper patch cords are used to connect the Rapid Fiber Panel to the active equipment.
Figure 8. Typical Rapid Fiber Panel Application
2 UNPACKING AND INSPECTION
Use the following procedure to unpack and inspect the product.
1. Before installing the product, open the shipping carton(s) and carefully unpack the
contents.
2. Check the panel for damages or missing ship-along parts (per the list provided in Section
3). If there are damages, contact CommScope for an RMA (Return Material
Authorization) and to reorder if replacement is required.
26143-A
Active
Equipment
Connectorized Other End Solutions
Rapid Panel
Connectorized Microcable Microcable with Stub End
Splice
Enclosure or
Splice Panel
*See NG4access Optical Distribution frame (ODF) Platform catalog (314120AE Rev 9/12)
Note: FPX Series Fiber Panels can also be used (109156 Rev 9/10)
Fiber
Jumper
Active Equipment Bay Outside Plant
Equipment
NGF
NG3 LSX
NG4access

TECP-90-814 • Rev C • October 2020
Page 12
© 2020 CommScope. All Rights Reserved.
3. If a 23” mounting bracket is damaged in shipment, replace it with a 23” mounting bracket
shipped loose with the panel.
3 SHIP-ALONG PARTS
The product is shipped with the following additional parts.
• Front port designation plates (1)
• 19-inch mounting brackets (2)
• 23-inch mounting brackets (2)
• #12-24 mounting screws (4) and #12-24 lock washers (4)
• #10-32 screws (4) and lock washers (4)
4 TOOLS AND MATERIALS REQUIRED FOR INSTALLATION
• #2 Phillips screwdriver
• Torque wrench with #1 and #2 Phillips screwdriver bits
• 2-hole grounding lug (0.625 inch hole spacing)
• Equipment and supplies for connecting the panel to the local facility ground bus
• Equipment and supplies for cleaning LC connectors
• Equipment and supplies for cleaning MPO connectors (panels equipped with cables
terminated with MPO connectors)
5 INSTALLING A RAPID FIBER PANEL WITHOUT EXTERNAL SPOOL
There are three main activities involved in installing a Rapid Fiber Panel without an external
spool: mounting the panel on an equipment rack, removing the latch shipping brackets, and
unwinding the RapidReel cable spool tray. This section provides a procedure for each of these
activities.
Note: The Rapid Fiber Panel is designed to be installed in an environmentally controlled
network telecommunications facility such as a Central Office, Controlled Environmental
Vault, or Data Center. Only the I/O cable is rated for both indoor and outdoor use.
Note: When mounting multiple Rapid Fiber Panels into a rack or cabinet, be sure to
calculate the total weight of all the equipment being mounted to verify that it does not
exceed the rack or cabinet manufacturer’s maximum weight allowance. In Zone 4
Earthquake applications, exceeding the weight rating can compromise the integrity of the
rack during an earthquake.
Note: Due to space constraints in conduit, only cables with MPO connectors or MPO-like
non-functional connectors should be routed through conduit.

TECP-90-814 • Rev C • October 2020
Page 13
© 2020 CommScope. All Rights Reserved.
5.1 Mounting the Panel on the Equipment Rack
The Rapid Fiber Panel can be mounted in either a 19-inch or 23-inch rack or cabinet. Use the
following procedure to mount the panel, referring to Figure 9.
Figure 9. Mounting Bracket Installation
1. Determine if the rack or cabinet width is 19 or 23 inches. Also, determine recess required
(2, 4, or 5 inches) for mounting the panel. Refer to Figure 9.
2. If the panel is being installed in a 23-inch rack or cabinet in other than the 5-inch recess
position, remove the 23-inch mounting brackets and re-install them at the required (2- or
4- inch) recess position, as shown in Figure 9.
3. If the panel is installed in a 19-inch rack or cabinet, remove the 23-inch mounting brackets
and install 19-inch brackets at the required recess position, as shown in Figure 9.
4. Secure the panel to the rack or cabinet using the four #12-24 screws and #12-24 lock
washers provided, as shown in Figure 10.
5. Connect a grounding wire to the panel in either of the two locations shown in Figure 11 on
Page 14 using the two #10-32 screws and star washers provided. A two-hole grounding
lug (not provided but shown here for reference) is recommended for this connection.
Note: If a Rapid Fiber Panel is installed above or below a non-Rapid fiber panel, 1RU of
open space must be left between the two panels. This space is required for accessing the rear
connectors if cleaning is required.
Note: Ground the unit to the local facility CBN (Common Bonding Network) or IBN
(Isolated Bonding Network) per local practice.
BRACKET FOR
19-INCH RACK
BRACKET FOR
19-INCH RACK
BRACKET FOR
23-INCH RACK
5-INCH
RECESS
2-INCH
RECESS
4-INCH
RECESS
26144-A
BRACKET FOR
23-INCH RACK
8-32 SCREW (2 PLACES)
TIGHTEN TO 15 INCH-LBS
(1.7 Nm) OF TORQUE

TECP-90-814 • Rev C • October 2020
Page 14
© 2020 CommScope. All Rights Reserved.
Figure 10. Mounting Panel in Rack
Figure 11. Grounding Rapid Fiber Panel
PROVIDE AT LEAST 3 INCHES (7.6 CM) OF
CLEARANCE AT THE REAR SIDE OF THE
PANEL TO ALLOW THE SPOOL TO ROTATE
FREELY AS THE CABLE IS UNWOUND
3 INCHES
12-24 SCREW
AND LOCK WASHER
(4 PLACES)
26146-A
26145-A
10-32
SCREWS
(TIGHTEN
SECURELY)
STAR
WASHERS
FRONT
GROUNDING
LOCATION
REAR GROUNDING LOCATION
NOTE: FRONT GROUNDING IS NOT
AVAILABLE WHEN THE MOUNTING
BRACKETS ARE INSTALLED IN THE
2-INCH RECESS POSITION

TECP-90-814 • Rev C • October 2020
Page 15
© 2020 CommScope. All Rights Reserved.
5.2 Removing the Latch Shipping Bracket
When a latch shipping bracket is present, remove it using the following procedure.
1. Remove the fiber tape from the front center of the panel as shown in Figure 12.
Figure 12. Removing Fiber Tape from Latch Shipping Bracket
2. Pull out the cable spool tray (1) and remove the blue tape (2), as shown in Figure 13.
Figure 13. Pulling Out Tray (1) and Removing Blue Tape (2)
26174-A
FIBER TAPE
26175-A
LATCH
SHIPPING
BRACKET
1
2
BLUE
TAPE

TECP-90-814 • Rev C • October 2020
Page 16
© 2020 CommScope. All Rights Reserved.
3. Withdraw the latch shipping bracket slightly (enough to clear it from the red latch), and
move the shipping bracket to one side, as shown in Figure 14.
Figure 14. Locking Tray Into Payout Position
4. Slide the latch shipping bracket out of the cable spool tray as shown in Figure 15 and clear
it from the panel, then push the red latch and tray in to operational position.
Figure 15. Removing Latch Shipping Bracket from Tray
Caution: When removing shipping bracket, use caution to avoid damaging fibers.
26176-A
LATCH
SHIPPING
BRACKET
26177-A
LATCH
SHIPPING
BRACKET

TECP-90-814 • Rev C • October 2020
Page 17
© 2020 CommScope. All Rights Reserved.
5.3 Unwinding Microcable from Internal Cable Spool Tray
Use the following procedure to unwind the microcable on the RapidReel cable spool tray.
1. Open the Rapid Fiber Panel front cover to provide clearance for the spool to rotate.
2. Pull the red latch out to release the tray, as shown in Figure 16.
Figure 16. Pulling Red Latch Out to Release Tray
3. While holding the red latch out, push the tray back slightly. Continue pushing until the tray
locks into the payout position as shown in Figure 17.
Figure 17. Locking Tray Into Payout Position
26147-A
RED LATCH
26148-A
RED
LATCH

TECP-90-814 • Rev C • October 2020
Page 18
© 2020 CommScope. All Rights Reserved.
4. Remove the blue tape that secures the cable to the right rear of the panel as shown in
Figure 18.
Figure 18. Removing Blue Tape
5. Based on the location of other equipment at the site, determine whether the cable would be
best routed from the rear or front of the panel.
6. If the cable will be routed from the rear of the panel, start unwinding the internal spool by
pulling on both the microcable connector pulling eye and the cable, causing the internal
spool and attached bulkhead panel to rotate.
Note: Provide at least 3 inches (7.6 cm) of clearance on the rear side of the panel to allow
the spool to rotate freely as the microcable is unwound.
Caution: If the cable fails to unwind, check for obstacles or obstructions that would prevent the
spool from turning. The maximum recommended pull force that may be applied to the MPO
connector pulling eye, fanout assembly pulling sock stub connector pulling eye, or to the cable
itself is 40 lbs. (18.14 kg).
Caution: Avoid using excessive force when unwinding microcable from the internal spool. Use
the hand-wrap method if pulling on the cable by hand; refer to Figure 19.
26149-A
BLUE
TAPE

TECP-90-814 • Rev C • October 2020
Page 19
© 2020 CommScope. All Rights Reserved.
Figure 19. Hand-Wrap Method for Pulling Cable
7. To re-route a cable with MPO connectors or a stub end with non-functional connectors to
the front of the panel:
a. Pull out enough cable to rotate the internal spool 90º as shown in Figure 20.
Figure 20. Pulling Microcable to Front of Panel for Front Routing
b. Remove the microcable from the rear cable retainer and then push the connectors back
into the space between the left side of the panel and the bulkhead panel. This will form
a slack loop at the front of the panel.
c. Pull on the slack loop to draw the connectors through to the front.
NOTE: TOP REMOVED TO SHOW
CABLE SPOOL TRAY AND MICRO-
CABLE ROUTING DETAIL
26150-A
STEP b: PUSH MICROCABLE INTO
CHASSIS TO FORM SLACK
LOOP AT FRONT OF PANEL
STEP a: ROTATE SPOOL UNTIL BULKHEAD
PANEL IS ALIGNED AS SHOWN
CONNECTORS
STEP c: PULL ON SLACK LOOP
TO DRAW CONNECTORS
TO FRONT OF PANEL

TECP-90-814 • Rev C • October 2020
Page 20
© 2020 CommScope. All Rights Reserved.
8. To re-route a cable with fanout assemblies (with individual connectors) or cabled modules
to the front of the panel:
a. Remove the two #4-40 bonding screws located on either side of the panel at the points
indicated in Figure 21. Save both screws for reuse.
Figure 21. Location of #4-40 Bonding Screws
b. While pressing in on release tabs (shown in Figure 22) on both side of the panel (on
the rear side), pull the spool tray out from the rear of the panel.
Figure 22. Pressing In Release Tabs To Withdraw Spool Tray
c. Remove the microcable from the cable retainer at the rear side of the spool tray and
route the cable to the front as shown in Figure 23.
Note: There is a cable retainer on each corner of the panel. Any of the cable retainers can
be used.
26151-A
SEE DETAIL A
*REMOVE SCREWS FROM BOTH
SIDES OF PANEL WHEN
REINSTALLING TIGHTEN TO
6 INCH-LBS (0.7 Nm) OF TORQUE.
REAR SIDE
*4-40 SCREW
DETAIL A
26153-A
REAR SIDE
DETAIL A
RELEASE
TAB
Table of contents
Other CommScope Cable Box manuals
Popular Cable Box manuals by other brands

Channel Plus
Channel Plus 8200 user guide

LED Group
LED Group Robus REX4P0-01 instruction manual

Seaside Communications
Seaside Communications DCT 6208 user manual

Palmer
Palmer PLI01 manual

Minebea Intec
Minebea Intec PR 6130/68S installation manual

Grundfos
Grundfos LC-Ex4 Installation and operating instructions