Compacttilt CT2 User manual

USER MANUAL
INSTRUCTIONS
PRODUCT INFORMATION
CT2, CT3, CT6, CT10
Patentno.:
PCT/DK2016/050047

1
Congratulations on choosing Compacttilt!
We are happy that you have chosen our product - and look forward to it working for you.
Here at Compacttilt, we develop and create products based on the vision of creating the best user experi-
ences. Therefore, it is also important for us that you remain satisfied with your Compacttilt product, and if
something unexpected arises or questions - contact us or your machine dealer.
Compacttilt products are our own development and is manufactured in 380Invent’sd factory in Denmark.
This means that each part of the product is engineered based on our vision of what supplies the best tilt
product. But we cannot avoid the fact that maintenance and correct use of the product is the way forward,
for full utilization of the product's lifetime. Therefore, read this instruction and perform the maintenance
according to the regulations.
Again, congratulations on your choice of Compacttilt. We look forward to a long and good cooperation.
Just contact us for more information.
Daniel Duus,
CEO of 380Invent and product engineer of the Compacttilt.dk product line
Compacttilt.dk // 380Invent
Compacttilt is a patented and protected product: The full ownership of all intellectual property rights re-
garding the product's manufacture, design, trademarks and copyrights, belongs to 380 ° Invent ApS.
Compacttilt ™ lives up to PLc cf. DS / EN ISO 13849-1: 2015.

2
Apendix
➢EC- Declaration of conformity
➢Certificat: Lifting Hook
➢Safety instructions
➢Warning –Prohibition –Reminders
➢Techinical data Compacttilt
➢Installation
▪Use of quick change with valve system
▪Decoupling the bucket
▪Lifting Hook - Use and Restrictions
▪Safety - Hydraulic quick change
➢Maintenance
➢Sparepart list
➢Service book

3
EC declaration of conformity
According to The Machinery Directive 2006/42/EF, Appx. IIA
Manufacturer:
380°Invent ApS
Fabriksvej 5
5580 Nørre Aaby, Danmark
Tlf.: +45 6442 2080
Hereby declare that the following equipment:
Product: Compacttilt™
Type:
Serie no _______________________________________
Year: _______________________________________
Complies with the following directives:
2006/42 / EC Machinery Directive
The following harmonized standards have been applied:
DS / EN ISO 12100: 2011 Machine safety - General principles of construction - Risk assessment and risk
reduction
DS / EN ISO 4413: 2010 Hydraulics - General rules and safety requirements for systems and their com-
ponents.
DS / EN 474-1: 2006 + A5: 2018 Earthmoving machines - Safety - Part 1: General requirements
ISO 13031: 2016 Earth-moving machinery - Quick couplers - Safety
DS / EN ISO 13849-1: 2015
Safety of machinery - Safety related parts of control systems - Part 1: General principles of construction
Place / Date
Name/Title
Maria Gade, Administrator
Signature
The undersigned is the representative for the
collection of the technical dossier
CT2
CT3
CT6
CT10

4
Certificat: Lifting Hook
See application and restrictions further down in the manual.

5
Safety instructions
This instruction manual must be thoroughly read by any user of the Compacttilt before use. The Compact-
tilt may only be used for the purposes described in this manual.
The Compacttilt is a quick-coupling equipment that connects the carrier with an implement - therefore user
instructions and safety instructions from these two products must always be understood and complied with
before the product is used.
Compacttilt ™ follows PLc cf. DS / EN ISO 13849-1: 2015.
CompacttiltTM: purpose and function
➢To give the excavator increased flexibility, so as the Compacttilt is mounted between an excavator's
arm and a attachment such as a shovel. Compacttilt adds the function that the attachment can be
tilted.
➢NOTE: The weight of the Compacttilt and the increased range can lead to impaired stability which
in the worst case can lead to personal or property damage.
➢The Compacttilt is only for use in implements intended for excavators and must not be used for
other purposes.
Restrictions on use
The Compacttilt is only intended for use with digging implements. It is not recommended to use the Com-
pacttilt for oil hammer / hydraulic hammer, as it significantly reduces the service life of the Compacttilt.
Compacttilt must not be used with a crane arm, for transporting or lifting people.

6
Before Use
➢This instruction only involves the Compacttilt - the safety information described will at all times de-
pend on the carrier, where the applicable safety instructions and lifting graphs for the carrier as
well as any other equipment, to be read and understood at all times before commissioning and
subsequently complied with.
➢It is ensured that the information in the declaration of conformity corresponds to the information
plate mounted on the Compacttilt. If there are deviations, contact the supplier immediately before
carrying out the installation.
➢Make sure that the hydraulic system is depressurized before you start working on the system.
➢It is strictly forbidden, at any time, that:
-Stay under the Compacttilt.
-To influence, sabotage or manipulate the Compacttilt using 3rd party objects.
-To use the Compacttilt for other machine types than the specific one for which it is manu-
factured, cf. the type plate.
Before Daily Use
➢The mounting points are safety components that require regular inspection and adjustment. In the
event of signs of wear or cracking, the Compacttilt must not be used.
➢Always follow the instructions and pay attention to the personal and environmental instructions in
the data sheet that comes with hydraulic oil and grease.
➢Never use your hands to check for leaks in the hydraulic system - there is a risk of personal injury.
➢When mounting the Compacttilt and / or tool holder, check the limits for tiplast.
➢Implements connected to the Compacttilt may only be used if the locking has been carried out cor-
rectly.
➢Never use the Compacttilt on a damaged or defective machine or bucket.
➢Never try to increase the maximum capacity of the machine.
➢Always replace damaged or unreadable labels and warning signs before using the machine.
➢Always insulate electrical conductors and components when installing electrical equipment.
➢There is a risk of burns when in contact with hot hydraulic oil.
➢The implement lock may only be activated when the bucket or work implement is switched on and
off.
➢There is a risk of crushing with moving parts.
➢When lifting, use a lifting hook for lifting to the extent that the excavator is approved for.
➢If you have any doubts about use and safety instructions, contact your dealer or the manufacturer
of the Compacttilt.
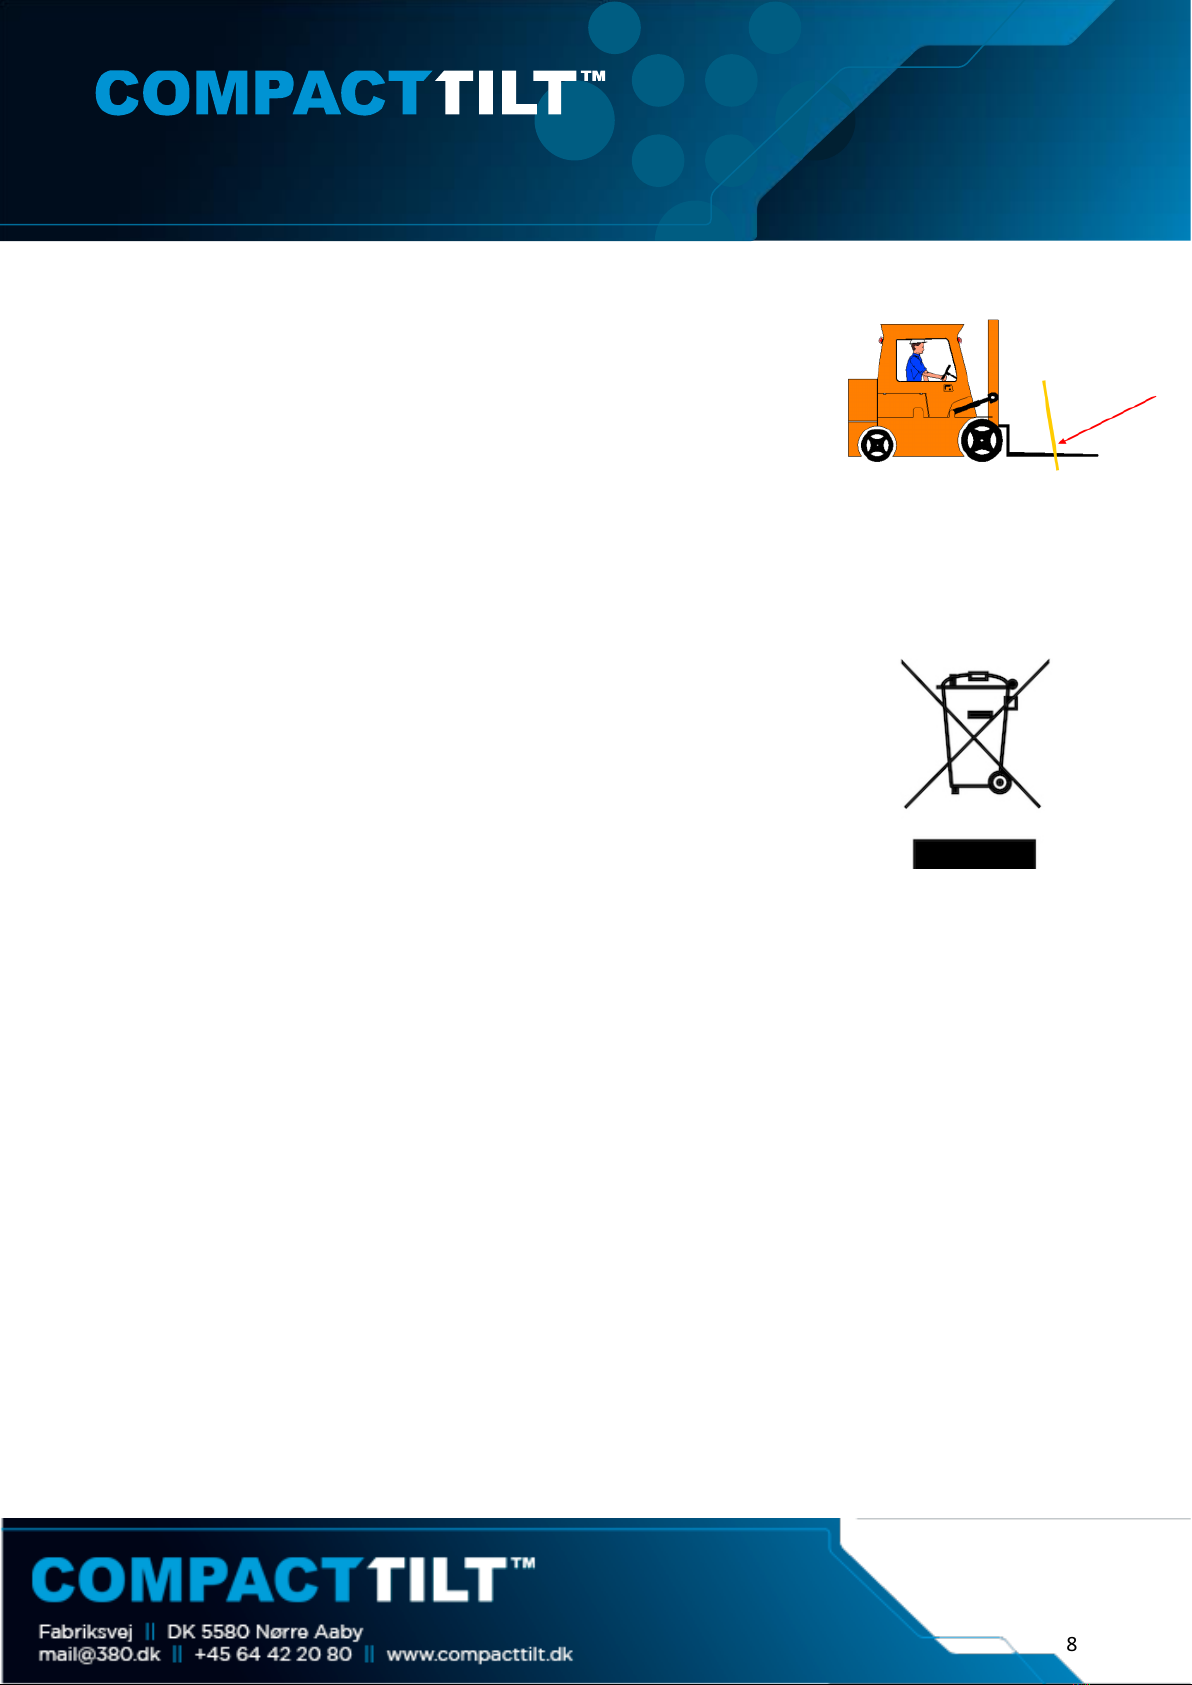
➢Be extremely careful when handling long objects due to forces due to “live/movable weight” and
the increased risk area. Risk of personal injury and property damage.
➢The Compacttilt must not be used beyond the maximum capacity.

7
The manufacturer require attachment control
The manufacturer require checking the locking pawls,
damage occurs, contact servicesupport
➢It is not permitted to manipulate or otherwise change the installation and / or function of the Com-
pacttilt.
➢Maintenance and repair may only be performed by professionally trained personnel.
➢Assembly and installation may only be carried out by an authorized workshop.
➢Do not start the tool without:
▪The tool is set correctly, including that the mechanical locking device is set correctly.
▪It is ensured that hoses, hydraulics etc. does not bother the Compacttilt and its features.
▪The operator and the third party are not under the tool and / or in the working area of the
tool, where the hazardous squeezing situation may occur.
➢Especially for the Compacttilt valve system:
▪Always test the valve function every morning before starting, to ensure that the valve sys-
tem is fully functional. This is done by making a full turn until both are seated and then
checking that the locking pawls are not unlocked when tilting.
NOTE. if this is not the case - contact your service center.
▪Checks for leaks. The Compacttilt must not be used if leaks are found on the valve system.
▪Pay attention to wear on hoses. In the event of signs of wear, these must be replaced im-
mediately.
Regular security checks
•Inspection of hydraulic hoses, fittings, pipes and joints.
•Inspections of welds and suspensions.
•Inspections of forks wear
•Inspections of lock
•Only instructed personnel may operate the machine part.
•The operator must pay attention to proper fastening of the machine part before start-up.
•The machine part must not be installed with irregularities and must be notified to the person in
charge immediately.
•Everyone who operates the part must be registered by the person in charge.
•When working and repairing, all moving functions must be in the locked stop.
•When working with the machine part, the manufacturer requires operators to have personal pro-
tection.

8
Moving the product
Always ensure that there are no objects, persons or third-party objects under
the product, or with the risk that it may interfere with the movement.
When moving, use correct lifting devices, e.g. truck or crane. Always remem-
ber to ensure that the product is properly secured during the move. It is the
user's responsibility that lifting straps, or lifting chains, are safety approved
for the weight of the product. For truck transport, machine parts must be secured with straps. For crane
lifting, lifting chains / straps must be designed for the weight.
Disposal: Cessation of use and disassembly
A plan for disassembly must be prepared, the plan must include a risk assessment
for the work and for disposal of the machines / machine part. Plan and risk as-
sessment must be prepared in accordance with applicable rules at the time of dis-
mantling.
The equipment must not be pressurized during disassembly and must be drained
of oil.The product is dismantled and sorted into categories that require in applica-
ble environmental requirements.
The product is subject to: Directive 2008 / EC & Directive 2002 / EC on waste.
The product is obsolete, all the components that make up the machines / machine part must be sorted and
handed in at an approved recycling site, or carried out by an approved recycling company.
The product must not be disposed of with unsorted household waste. Use the local WEEE collection points
for the disposal of electrical components of this product and make sure that all relevant regulations are ob-
served.
The product consists of the following parts and must be sorted accordingly:
➢Iron
➢Aluminum
➢Plastic (hard & soft)
➢Rubber
➢Oil & grease
➢Electrical components
➢Copper
➢Other metals
If parts of the machines are resold for purposes other than disposal, it is the owner's responsibility to make
the recipient aware of the disposal rules.
Stop at fork

9
Warning –Prohibition - Reminders
This manual must be available immediately at the machine. If this is not possible, the machine must clearly
mark where the manual is stored.
Other rules, established by national or other authorities or by the company itself, must be observed. If
these are violated, the manufacturer and his representative disclaim any responsibility for damage to per-
sons or material.
The machine must be operated in accordance with the instructions and instructions given in this and the
other instructions that together constitute the operating instructions for the machine.
This manual must be read before using the machine.
All operators and others who must operate the machine must review this manual before working on the
machine. By operators is meant all persons working at the machine, both operators and employees who
are engaged in e.g. unloading and loading, cleaning, maintenance etc.
Only those persons who need it as part of their work may access the machine.
If it is necessary to provide access to the machine for persons unfamiliar with the function (eg during re-
pairs, visits or demonstrations), this must be done under the pre-determined safety precautions. The per-
son responsible for the operation of the machine must be informed of the presence of strangers.
Operators and repairers who are to operate or work on the machine must undergo training in the use of
the machine before the work may take place. The manufacturer carries out the necessary training of opera-
tors and repairers when handing over the machine.
If the safety instructions are ignored by the user, the manufacturer and his representative disclaim all re-
sponsibility
If the user changes, disassembles or adds to the original design, mechanical shielding, electrical safety,
pneumatics, hydraulics, as well as functions related to the original design, the manufacturer's CE marking
➢Only instructed personnel may operate the machine part.
➢The operator must pay attention to proper fastening of the machine part before start-up.
➢The machine part must not be installed with irregularities and must be notified to the person in
charge immediately.
➢Everyone who operates the part must be registered by the person in charge.
➢When working and repairing, all moving functions must be in the locked stop.
➢When working with the machine part, the manufacturer requires operators to have personal pro-
tection.

10
Tecnical data Compacttilt
Data/Compacttilt str.
CT2
CT3
CT6
CT10
Max machine weight of the digger
2.000 kg
3.000 kg
6.000 kg
10.000 kg
Min. installation height [H]
170mm
200mm
235mm
270mm
Width [B]
148mm
198mm
198mm
288mm
Length [L]
200mm
313mm
302mm
381mm
Weight incl. Qyuickcoupler/ex top
21,5 kg
36 kg
53 kg
85 kg
Total swing angle [Tilt]
100°
100°
100°
100°
Tilt angle
2x50°
2x50°
2x50˚
2x50°
Max. Hydraulic pressure [MPa]
250
250
250
250
Recommended Hydraulic Flow [L / min]
2-4
3-6
4-12
6-14
Torque [Nm at 210bar]
0,6
1
1
1
Type of semi-automatic shift
3165,2
4220,2
5655,3
9437
Type of quick change
S30
S40
S40/H45
H45
Max. Excavation torque [kNm]
18,2
30,7
41,1
62,1
Max. Breaking torque [kNm]
12,3
20,6
31,1
38,4
* Max. Digging and breaking torque is calculated in rela-
tion to the following bucket size. Width height
500/550mm
600/800mm
600/800mm
600/950mm

11
Installation
Prior to installation, make sure that additional documentation on the carrier is available and
complied with.
The following describes how to mount the Compacttilt directly on an excavator arm. By
When using the Compacttilt on a tool holder, use the carrier's manual for
coupling of implements.
Before start of installation
➢Check the limits for tip plastic taking into account the weight of the Compacttilt and the extended
range, which may make it necessary to reduce the volume of the bucket, for example.
➢Place the carrier on a level and non-slip surface.
➢Place the bottom of the Compacttilt on a flat and non-slip surface, making sure the tilt is in neutral
position (Figure 1). The digging arm is moved into position so that the arm can be lowered against
the Compacttilt's without contact.
Figure 1

12
Installation
Position the link arm so that its pin bolt hole is flush with the mounting
holes in it the fortification (Figure 2).
Fit the pin bolt of the link arm and lock it with a bolt or locking pin in the
transverse hole of the mounting box (Figur 3).
OBS. Use the supplied pin bolts, if supplied.
Lower the main arm into the bracket until its pinhole hole aligns with it
the mounting holes in the mounting.
The arm is also locked with a pin bolt corresponding to the link arm (Figure 4).
Figure 4
Figure 2
Figure 3

13
Hydraulic connection
Before starting the installation of hydraulic hoses, the machine must be switched off and the hydraulic sys-
tem pressure less.
Hoses are pulled so that there is no squeezing or risk of squeezing when using the machine and connected
equipment.
Standard Connection
Magnetic coil connection
The magnetic coil connected to an approved switch contact. An acoustic signal is activated, which is active
when the magnetic coil is activated. It is the machine dealer's responsibility to ensure that this is done cor-
rectly.
quickchange
quickchange

14
12V Magnetic coil connect to
switch connector
connection direction 1 / un-
locking quick change 06L
connection direction 2 / lock-
ing quick change 06L

15
Connection of Equipment
Before connecting the quick-change equipment, make
sure that the quick-release locking pawls are pushed
out, which can be seen by pulling in the indicator pin
(Figure 5).
The equipment to be connected must be positioned so
that the quick-change shaft can catch.
The quick-change shaft is engaged with the coupling shaft
of the equipment (Figure 6).
When the quick-change fork eyes have caught, the
implement swings into place so that it abuts against
the quick-change shafts. The quick change is acti-
vated and the locking pawl is retracted (Figure 7).
The activation of the quick change can be seen by
pushing the indicator pin out.
Figure 6
Figur 5
Figure 7
Figure 5

16
The machine is now ready for use with the connected im-
plement.
Use of quick change with valve system
Control of installation
1. Check that the Compacttilt is working properly.
2. Check that no hoses or anything else is exposed to pinch, cut or stretch damage.
3. Check leaks.
4. Check that bolts are properly tightened [See carrier's instruction].
5. Check that there is no contact with the digging arm and the Compacttilt at full swing.
6. Ensure that the bracket fits the carrier [see machine sign].
7. Ensures that the pin lock is fully engaged and the indicator pin is mounted correctly.
OBS: Installation may only be carried out by workshops approved by the manufacturer. No modifications
may be made to the assembly without the manufacturer's permission. Workshops approved by the manu-
facturer are dealers with their own workshop, unless otherwise stated before the delivery.
activate bucket lock and activate
tilt to the right
indicator stick running
shovel is taken off and new
shovel is put on
deactivation of bucket lock
shovel is placed against terrain.
Tilt to the left

17
Product Steering range
Compacttilt has the following steering features that must be taken into account:
Tilt function på 2 x 50° (Figure 8)
Lifting Hook - Use and Restrictions
Application
This illustration (Figure 9) is taken from the standard DS / EN 474-1, which describes how to lift the hook
(Figure 10) must be used. However, it is not required that there is a lifting hook on one's Compacttilt prod-
uct, and therefore there will be no requirement for the customer about this.
Restriction
There is a maximum capacity load on the following Compacttilt with lifting hook:
Producttype
Max. load [Ton]
CT1
1
CT2
1
CT3
2
CT6
3
CT10
3
Figure 8
2 x 50°
Figure 9
Figure 10
Lifting hook

18
Decoupling the bucket
The bucket / equipment is lowered so that it supports a solid
surface (Figure 11).
The bucket lock is unlocked by the operator until the
indicator pin is retracted. This releases the tilt locking
pawl of the tilt of the bucket (Figure 12).
With the bucket lock open, the tilt is now moved away
from the bucket (Figure 13).
Figure 11
Figure 13
Figure 12

19
Safety - Hydraulic quick change
The compacttilt quick change is fitted with heavy-duty springs to ensure that blades and equipment are not
released in the event of a hose breakage or internal leakage in the hydraulic cylinder of the bucket lock.
The Compacttilt must not be used if the springs are damaged or removed.
This manual suits for next models
3
Table of contents
Other Compacttilt Industrial Equipment manuals